Experiment: Test Out Light’s Behavior in Landscapes (and Everywhere). Macro Photography Can Help.

Photography is largely about work with light. No matter whether you enjoy shooting landscapes or portraits of your friends, the direction and quality of light is expressed everywhere. You can get an idea for how exactly photons influence your subject by experimenting on a table with ordinary objects from home.
Light is a photographer’s best friend. We’ve all probably heard about how landscapes are best photographed in the morning or the evening, precisely due to how the sun is in exactly the right position at those times. The position of your light source is similarly important in other areas of photography as well.
While for natural scenery, testing different light positions can take a long time, at home you can do a simple experiment with a lamp or headlamp replacing the sun, and you can then easily test and become aware of the corresponding effects.
Getting Ready
It’s important to have a subject or subjects set up. It’s good to choose something small, so you don’t have to worry about its surroundings in the scene. So the absolute best idea is to use a macro lens and any object that you can photograph with it. For the different light positions to have any effect at all, your subject needs to not be completely flat (so not a paper leaflet for example)—you want something more 3-D. I chose a printed circuit that had shorted out some time earlier. I can imagine just about anything else in this role, and it doesn’t have to be just one object: close-ups on tools can work, as well as, say, tacks scattered onto the table, seashells, or various kitchen utensils.
Your light source can be anything: a lamp, a phone, a bike light, or if you like going wild, even something like Christmas lights. But here for starters I’d like to stick to a less chaotic source, where you can see its effects much better.
The last element is your favorite camera, and likely a tripod as well. I chose black paper as my foundation, so that I wouldn’t have even a little bit of my yellow table in the picture, but this element isn’t so important.
How to Take the Pictures
It’s better to work in a dark room, so that exterior light will not impact your pictures. Or you can just wait for night, and that problem will solve itself.
Even though a tripod or other support is not strictly necessary, if you decide to shoot without one, keep in mind that you’ll have very little light. Meanwhile you have to keep the exposure short to prevent blurring from the motion of your camera.
Depending on the lens, the camera stabilization, and your own stability, the exposure can be somewhere around 1/50 second. Because of this, depending on the light and lens you use, you’ll most likely be forced to use a high ISO—often even over 3,200. A tripod frees you from this problem; you can take your picture at ISO 100 and collect enough light using a long exposure.
A tripod has another major advantage as well: when you use a tripod, you don’t have to take care of your camera, so you gain room to concentrate on light. You don’t have to lay the light somewhere or attach it to a stand—it’s generally enough to hold it in your hands. For the light, it doesn’t matter if it’s shaking a little during the shot. You can very quickly discover the right position for it.
During the shot itself, it’s better to use your camera’s manual mode, because there will be a large brightness difference between the light and dark areas, and the automatic metering will get confused. Manual mode lets you precisely control the situation and repeat it.
This time I won’t be listing exposure settings for the individual pictures, because I brightened some of the pictures slightly on my PC, and also because I didn’t always keep the lamp at the same distance (which changes the picture’s brightness and thus also the exposure), so stating any specific settings would tend to be misleading. But I fluctuated around an aperture of f/5.6, an ISO of 100, and a time of 1/5 second. The focal length was 100 mm each time. (All of this is for a full-frame camera.)
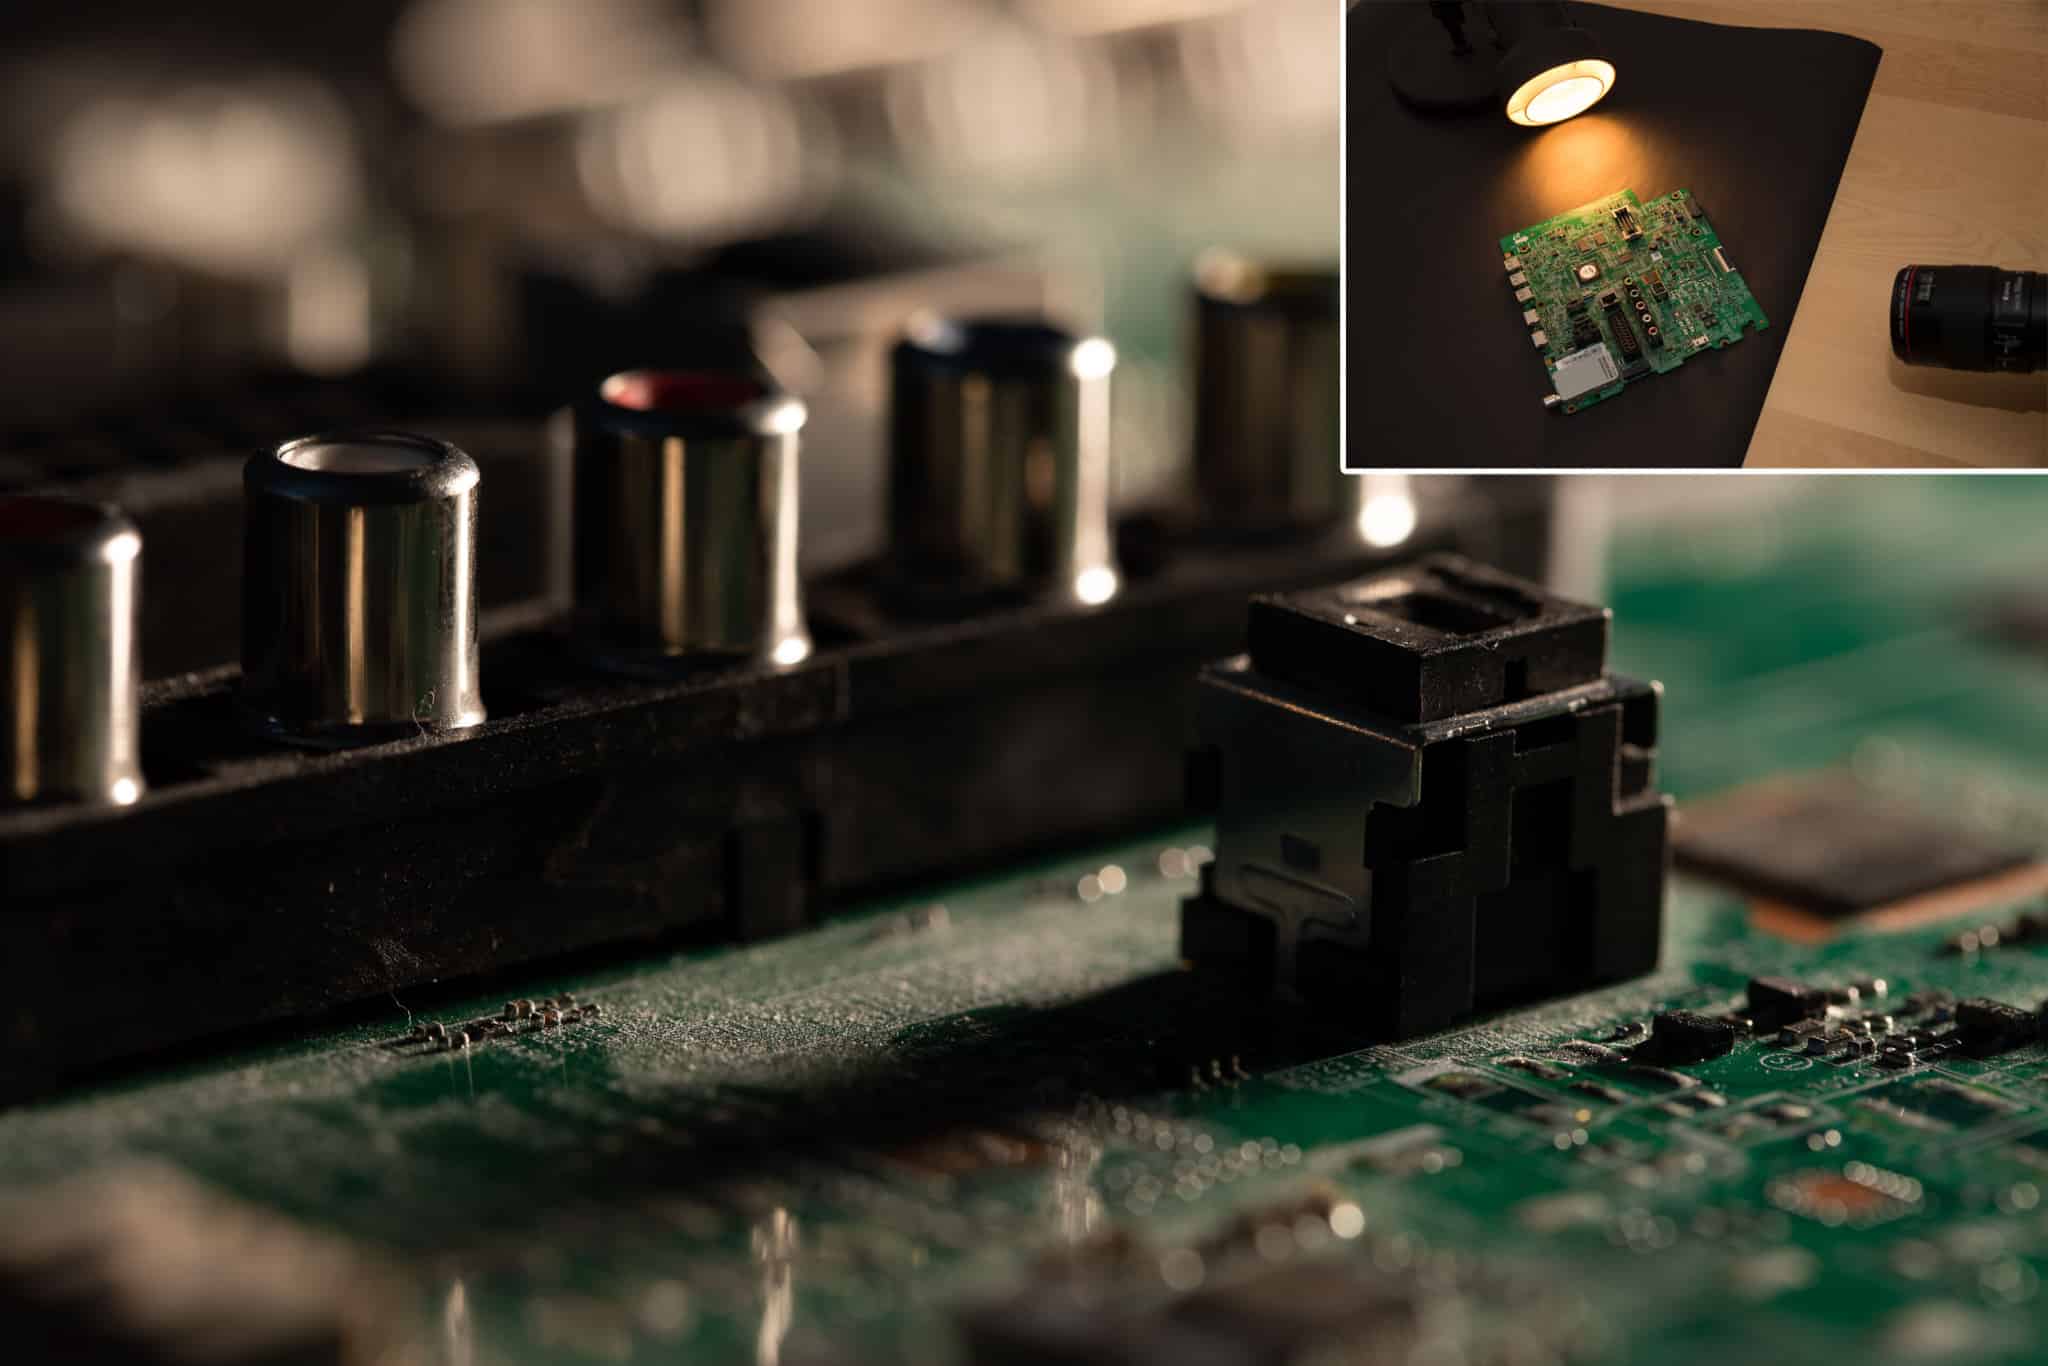
Starting Out: Light From in Front
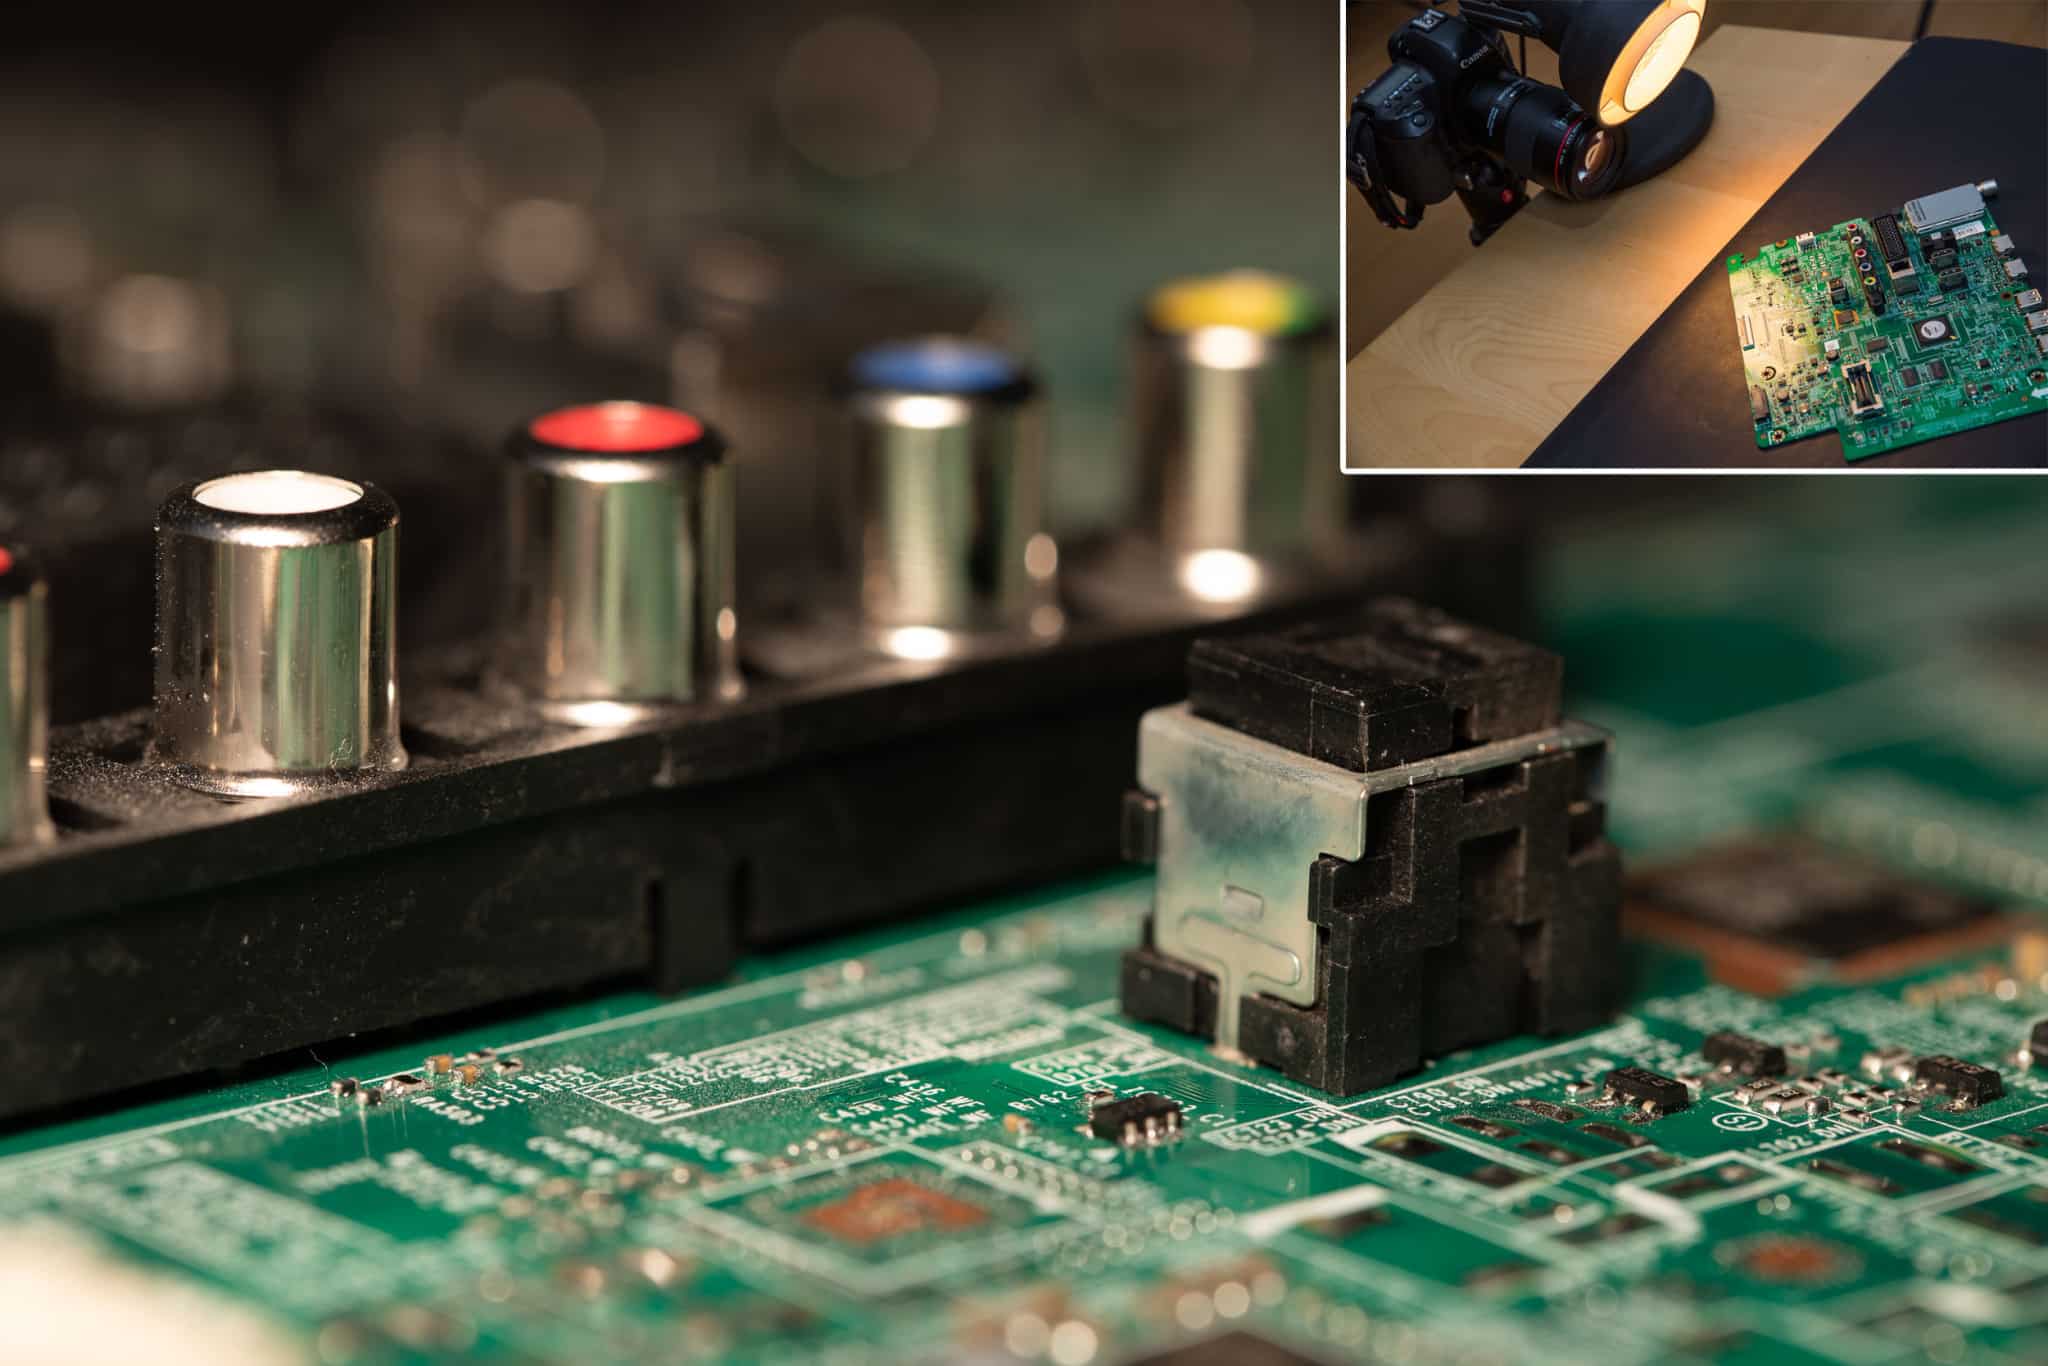
At first it might seem that light from the direction you’re taking the picture in makes the most sense—after all, flashes are mounted onto cameras. But that’s only because it’s simplest. Light from the photographer’s position is itself rather flat and boring.
In this case I’m still doing well, because even if the desk lamp were directly above the lens, I’m taking pictures at such tiny distances that from the standpoint of the scene, it seems as if the light were higher up. Thanks to this, there are a few small shadows after all, and these reduce the picture’s flatness.
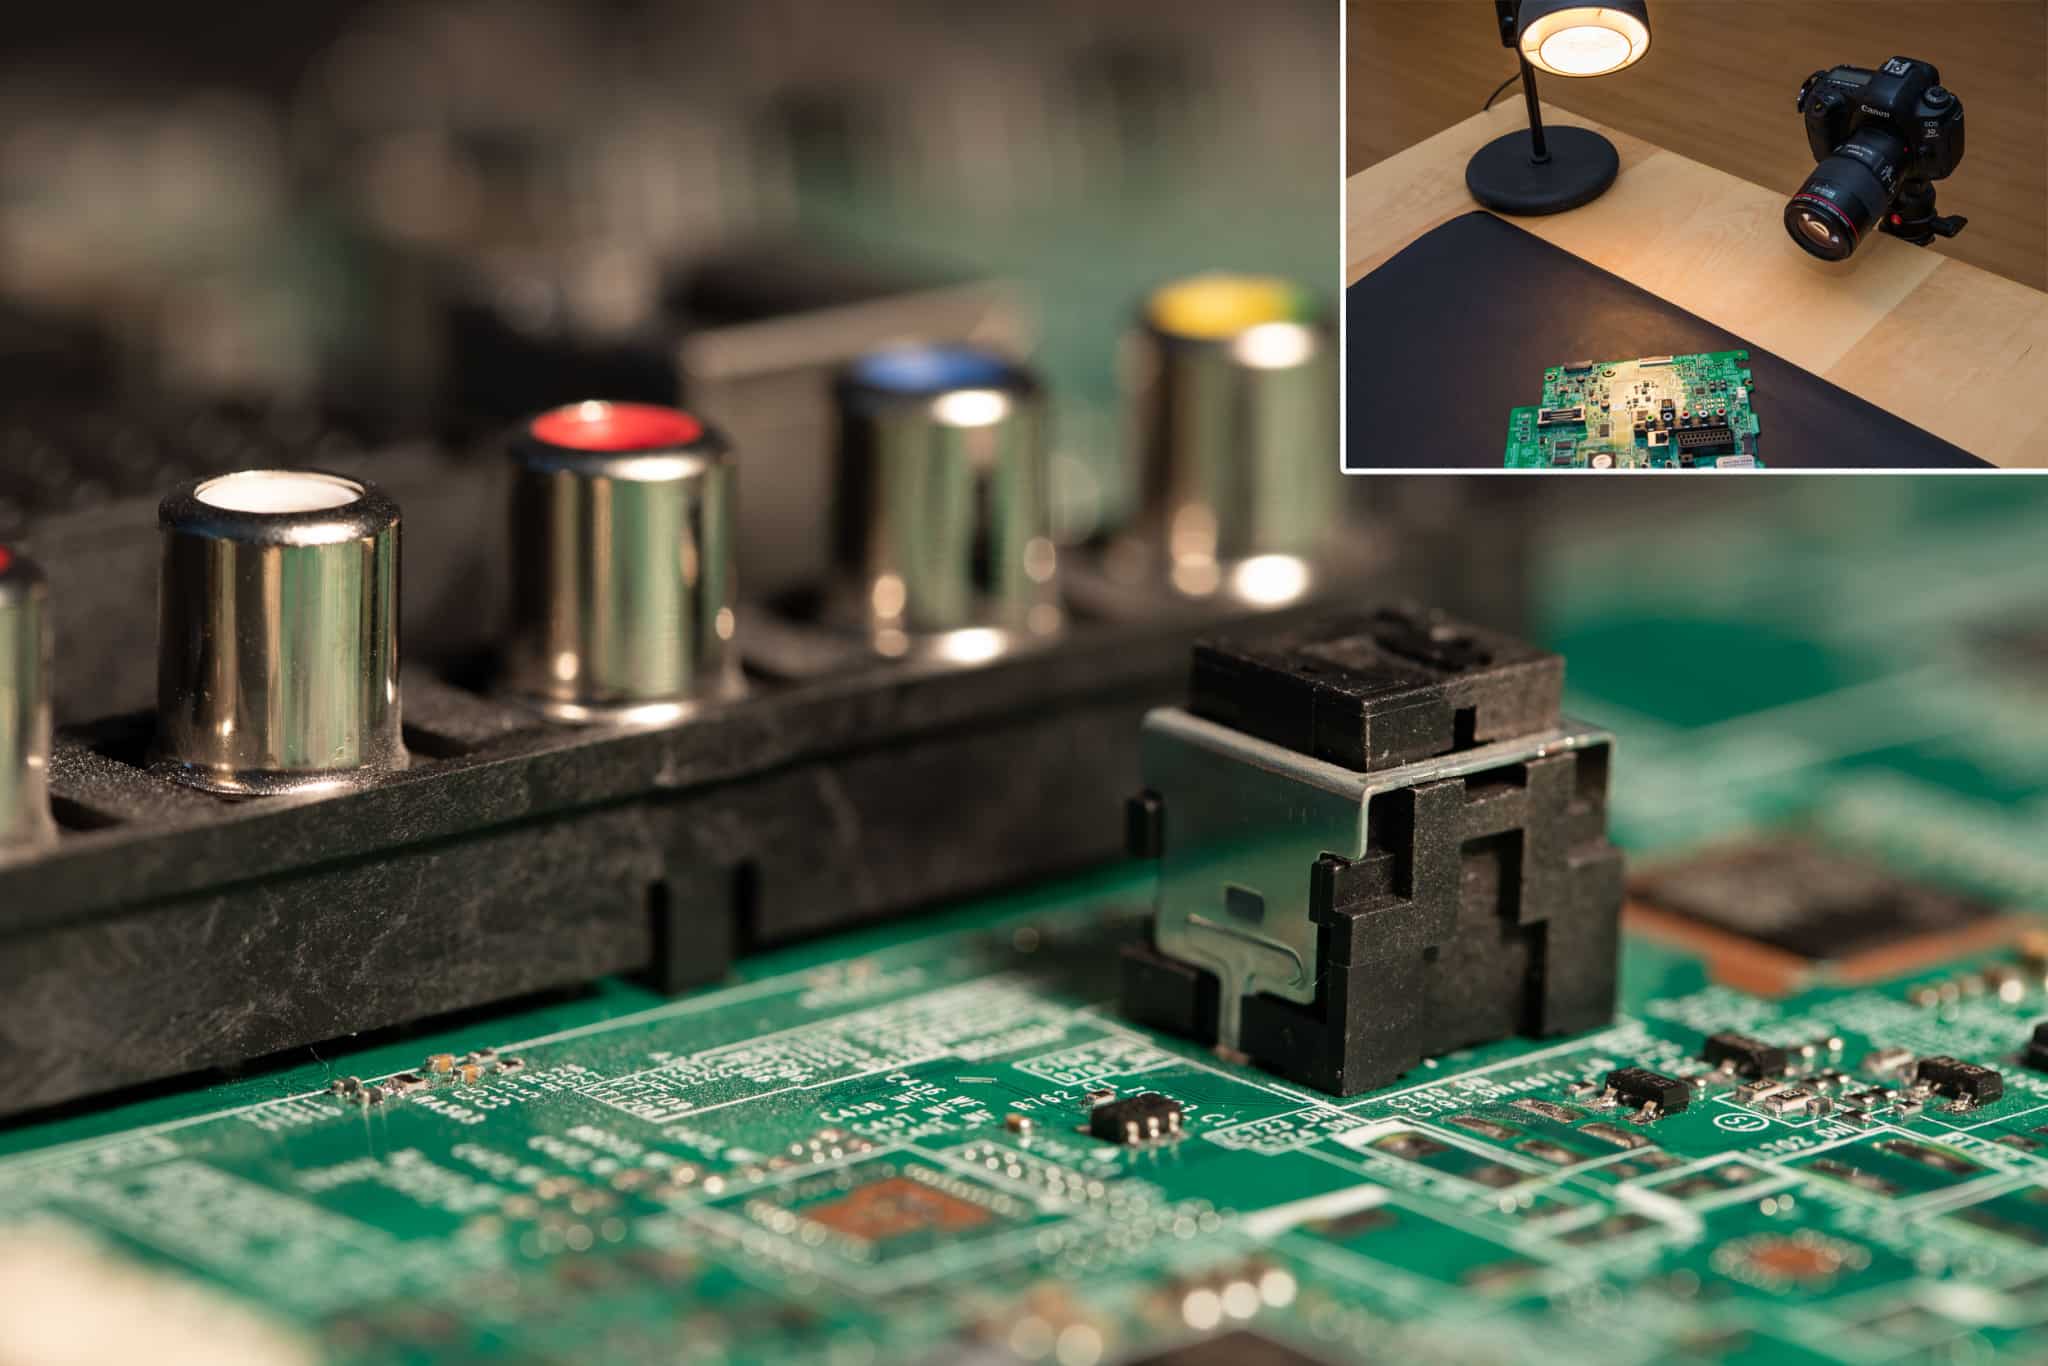
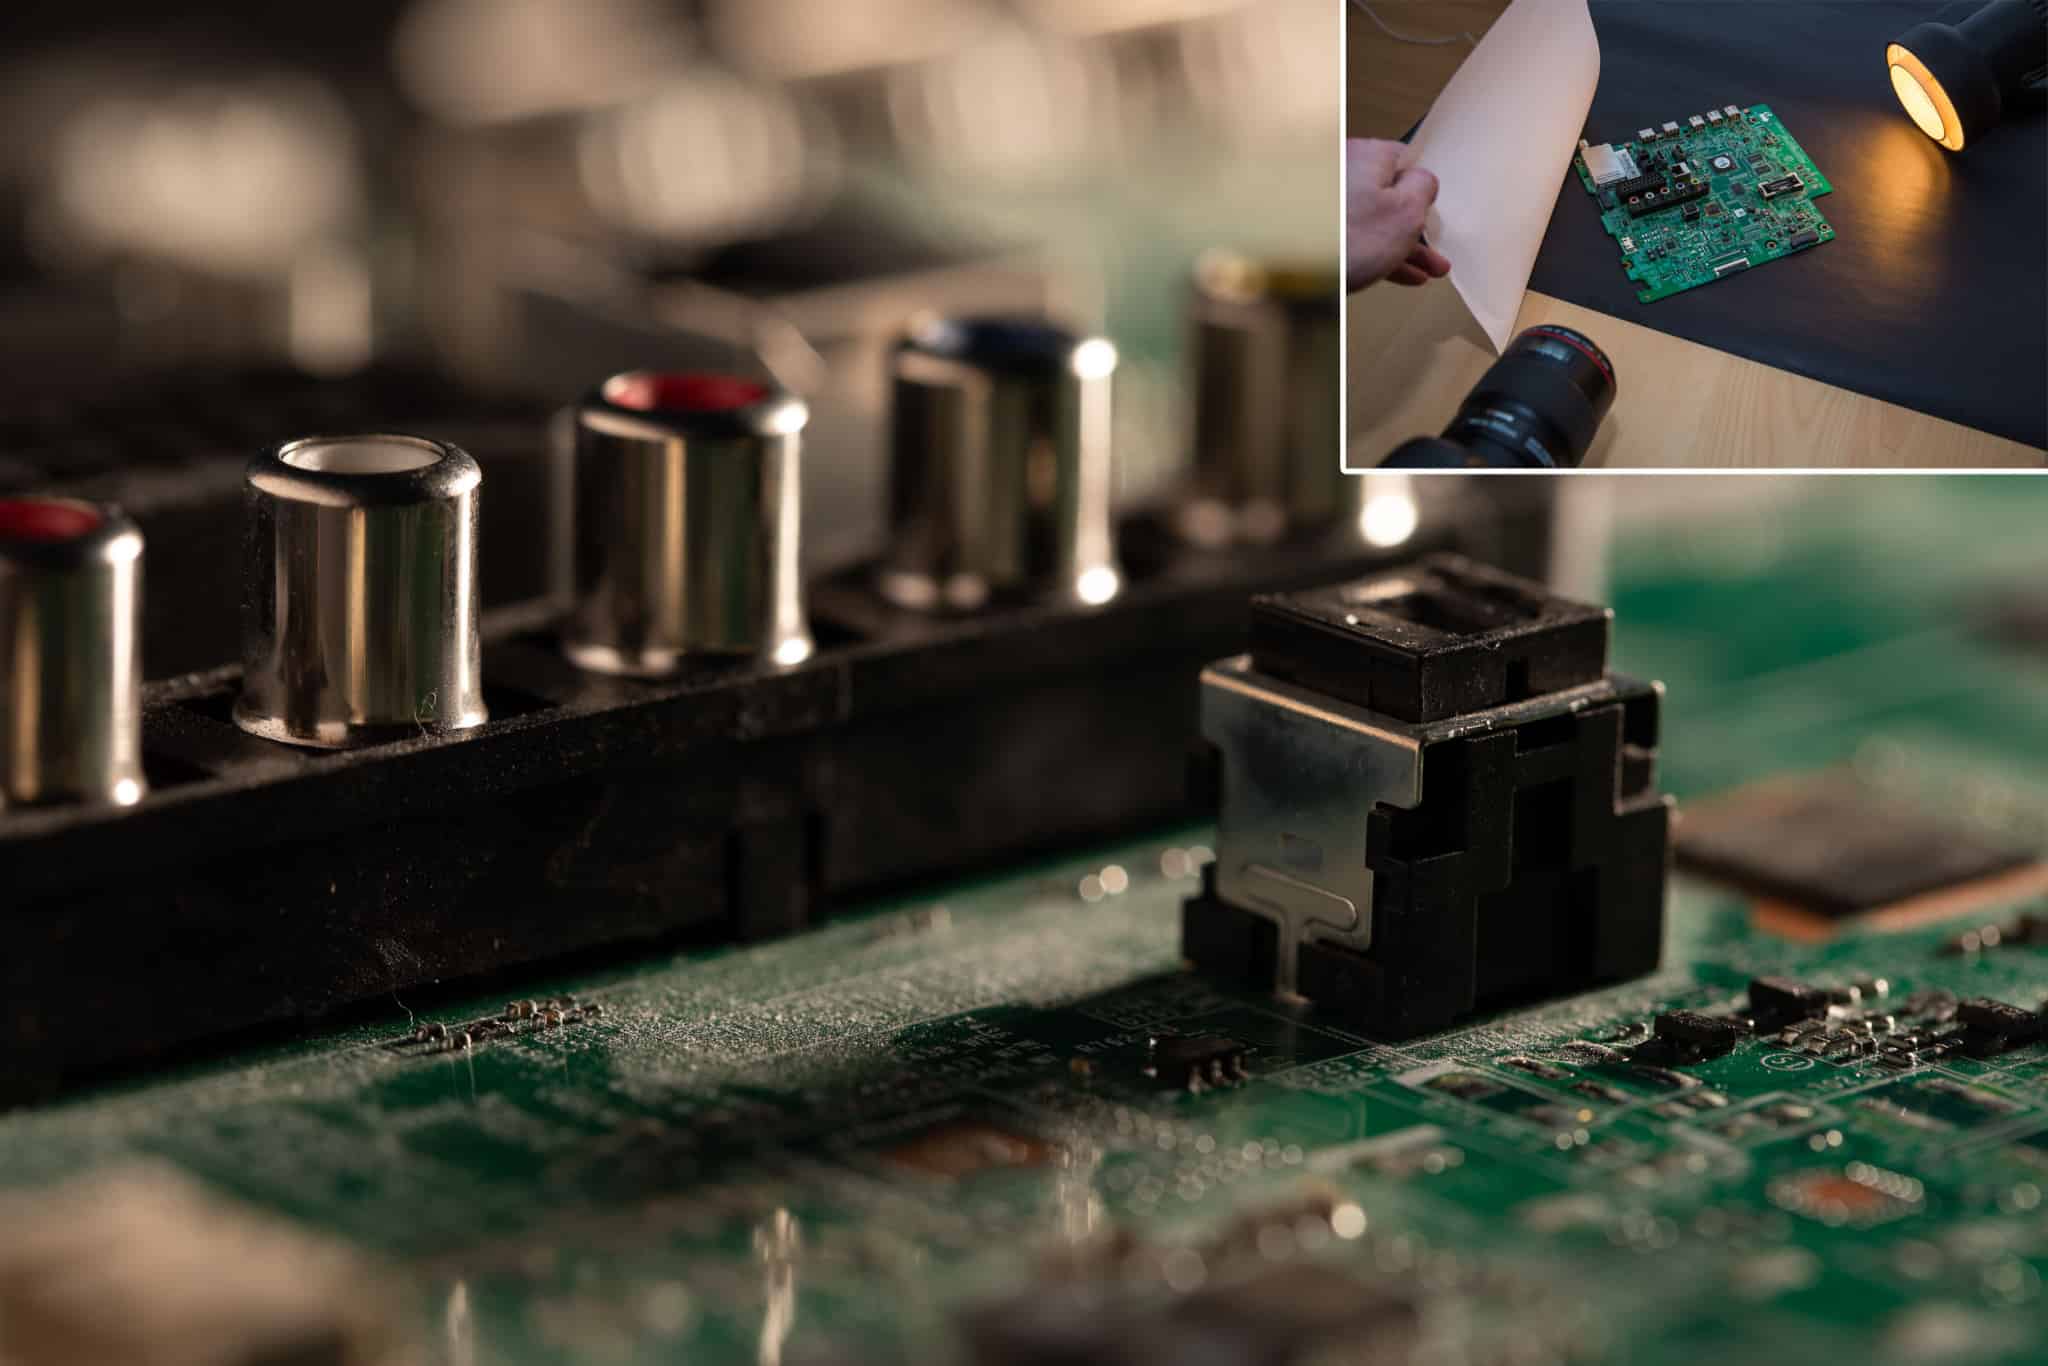
Light Diagonally From the Side
I’ve moved the lamp 45 degrees to the right, and so stronger shadows have appeared, and the board’s parts are more interesting as well.
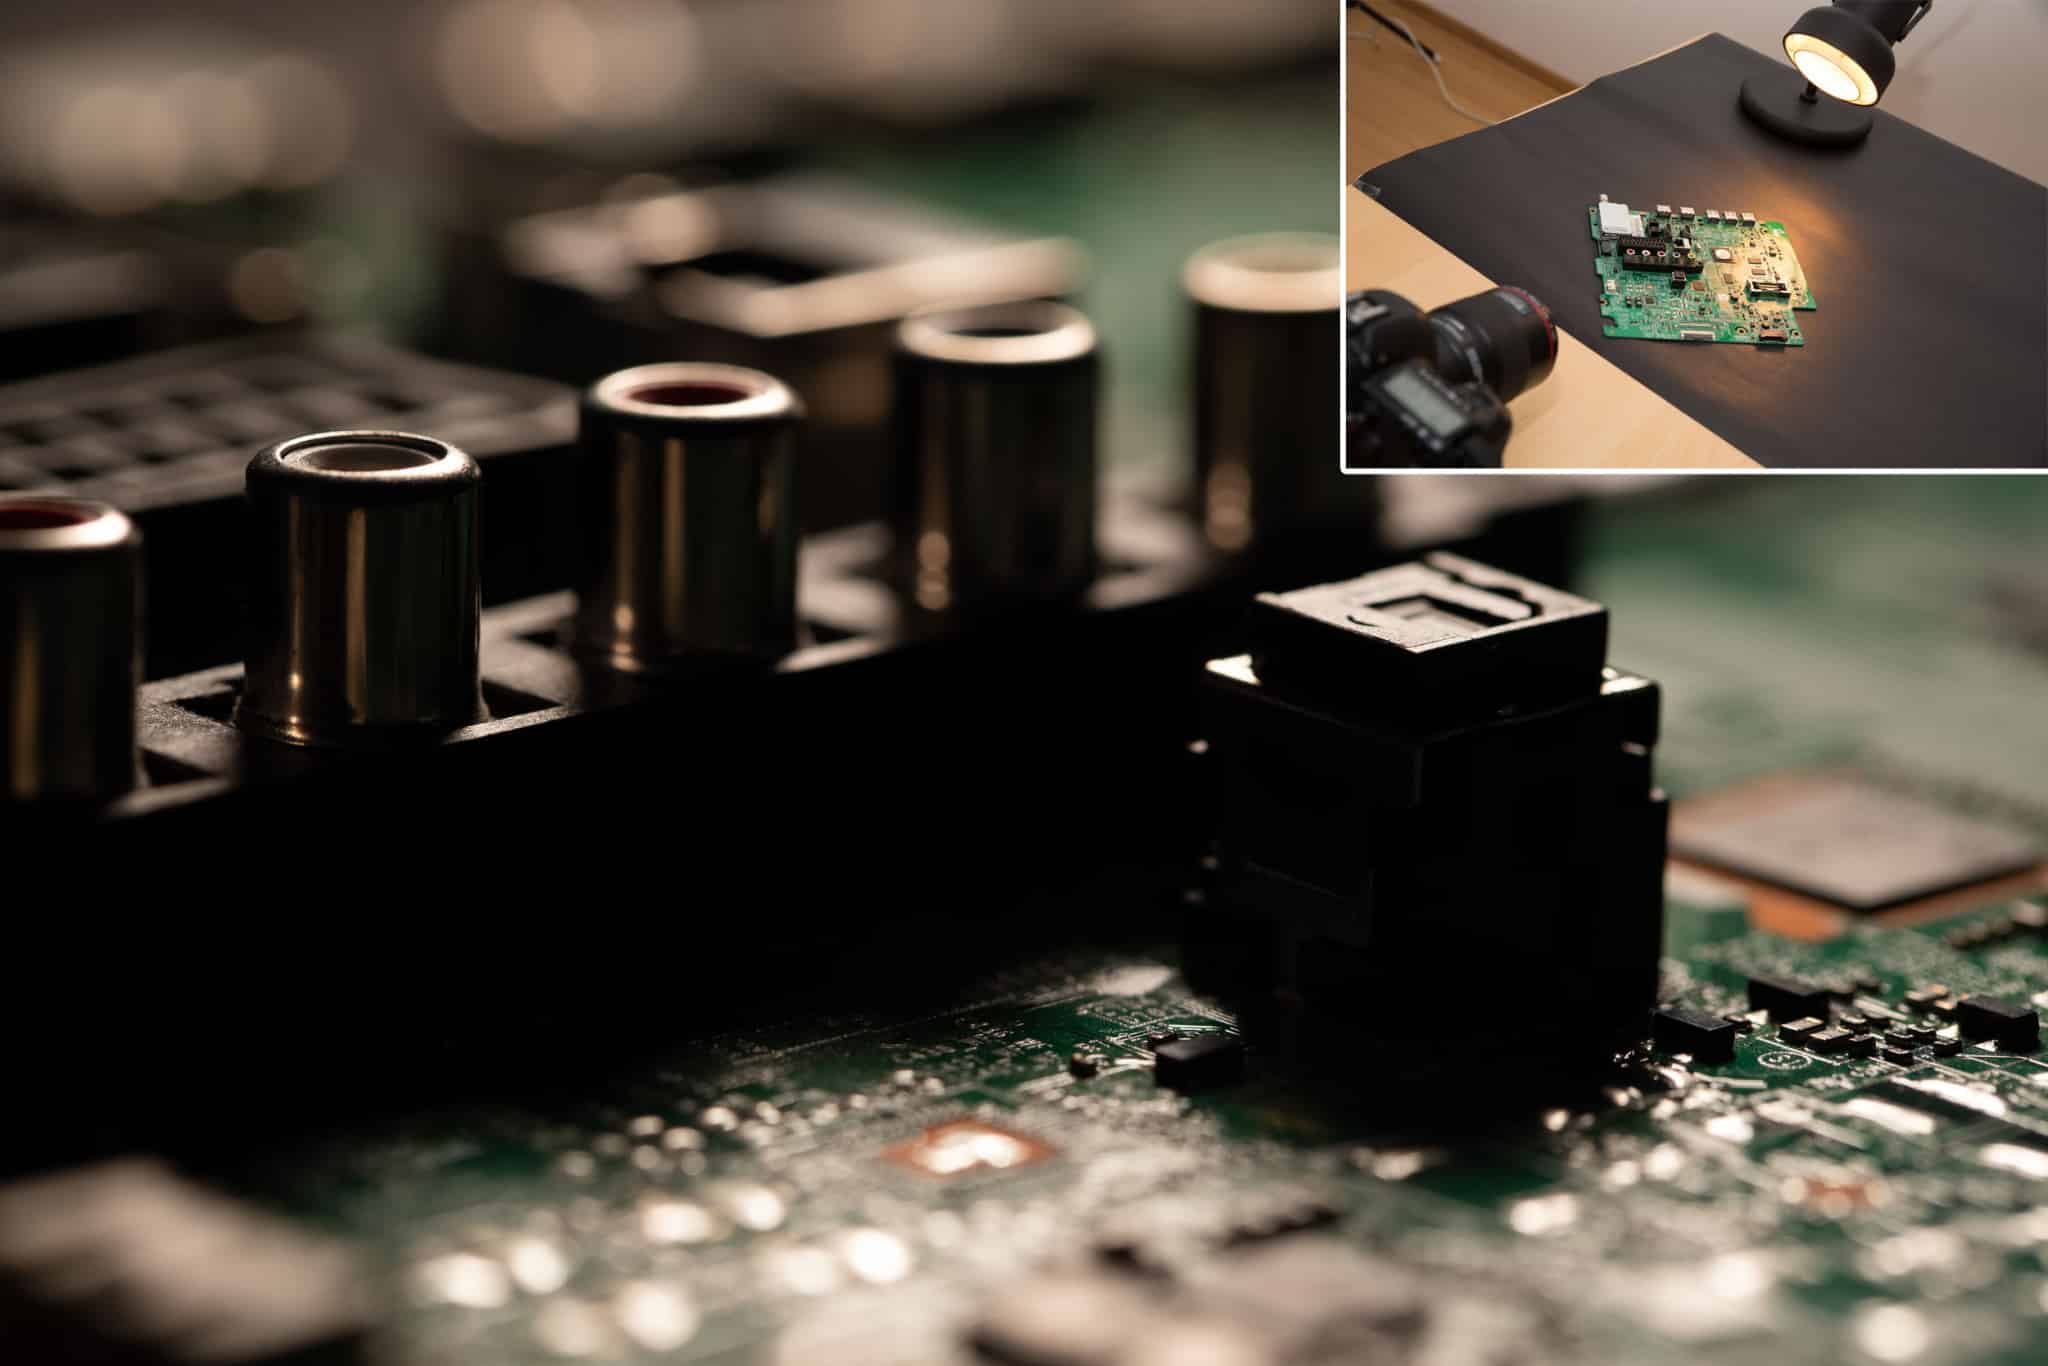
Light From the Side
My third picture shows off lighting placed to the side. The shadows have become stronger yet again.
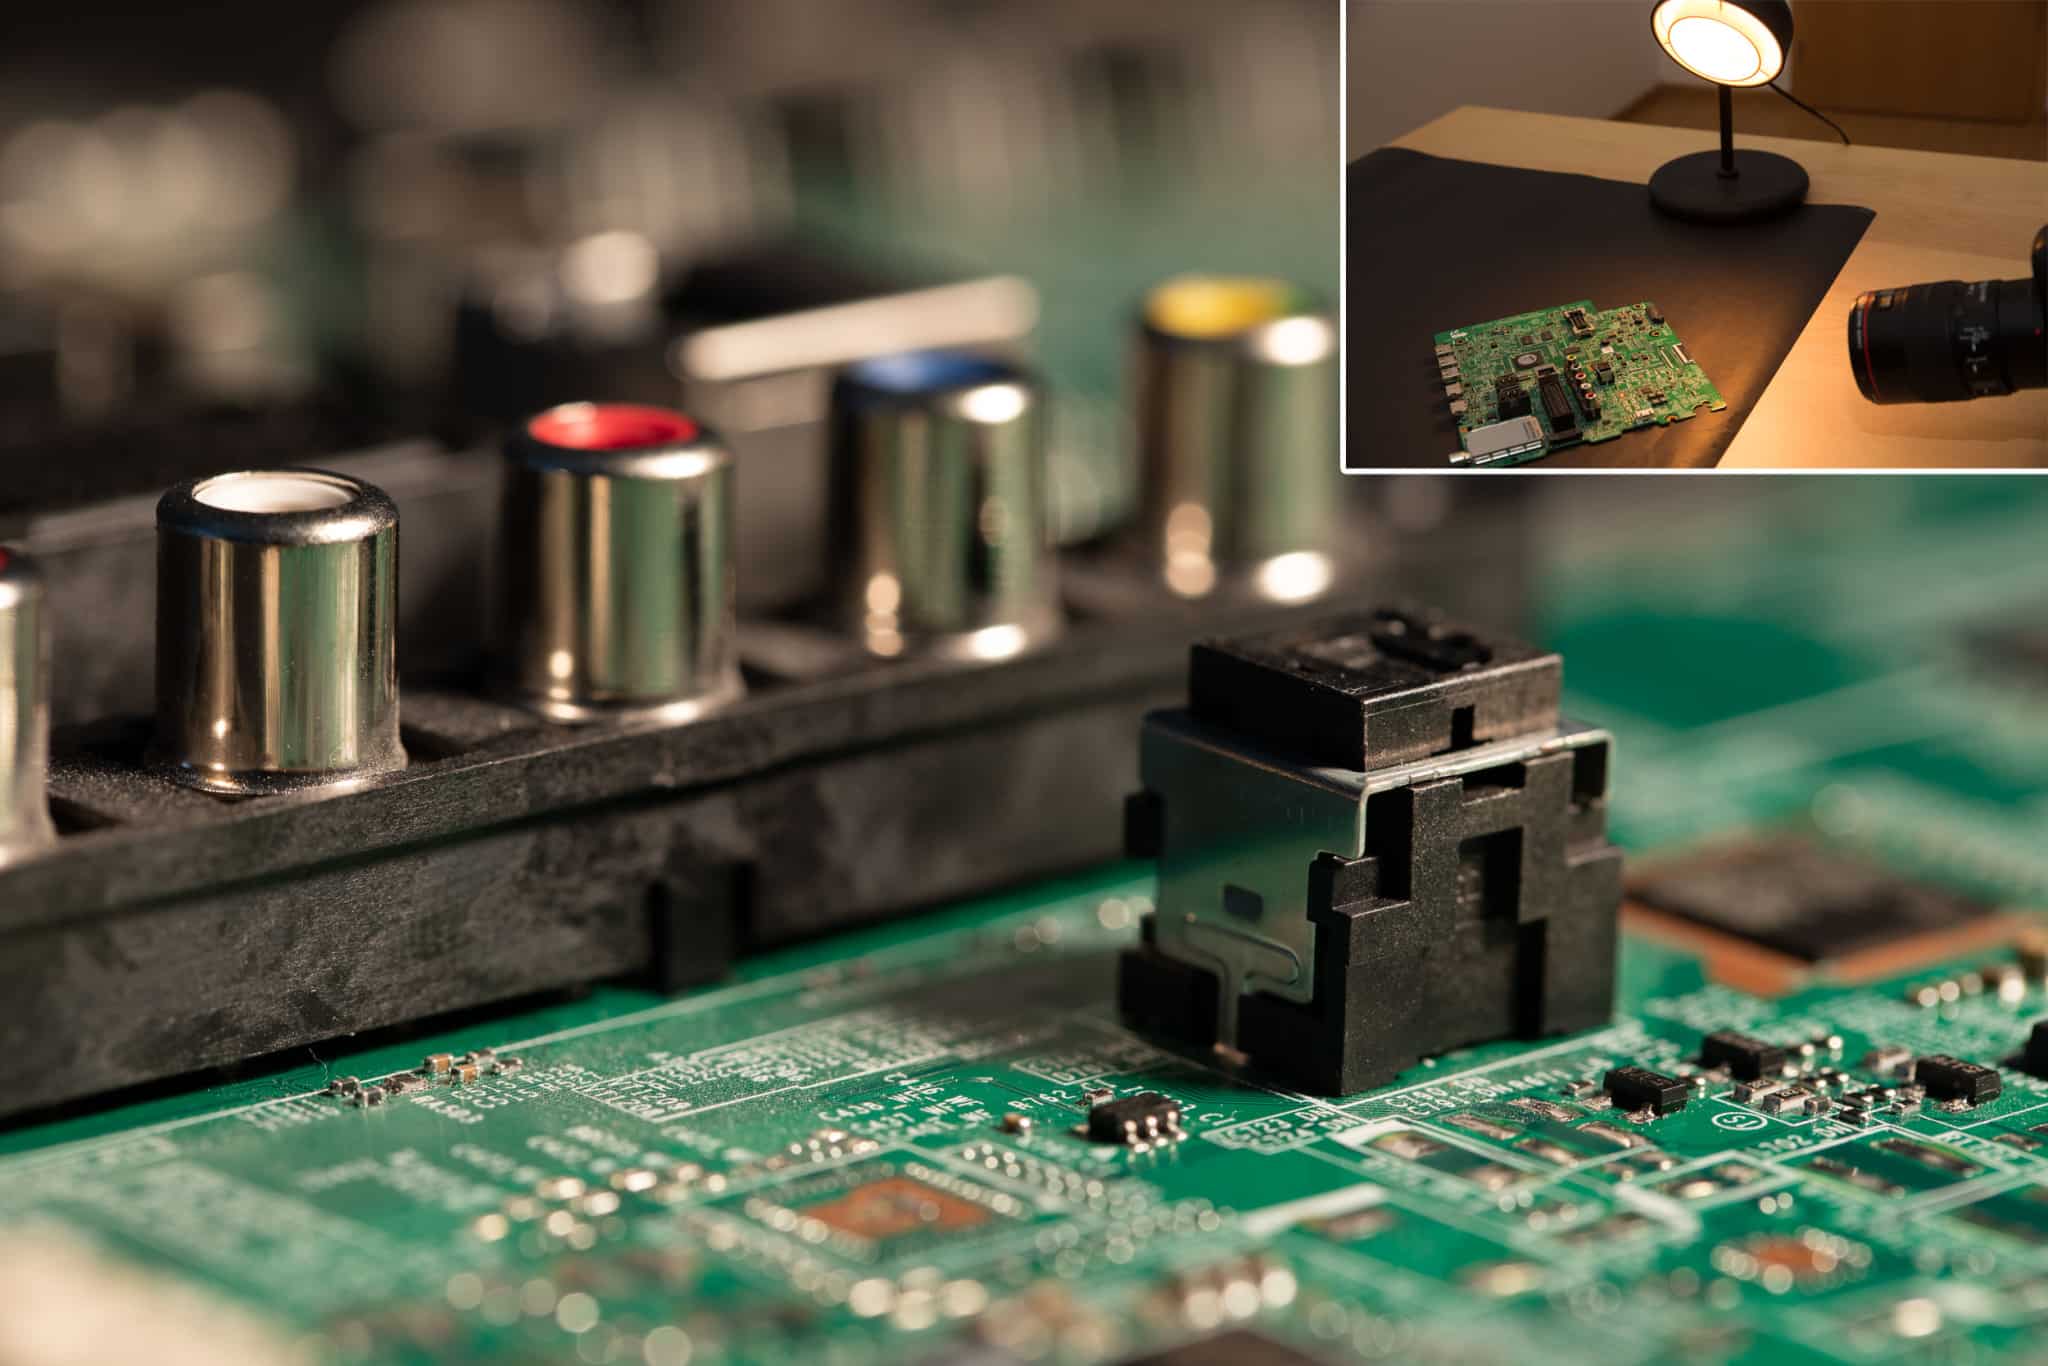
However, rotating the lamp around the subject on just one axis is not the only possible change. What if, for example, we lower it? Here the light is once again from the side, but this time it’s practically touching the table.
A few things have now happened: the vertical shapes are either lighted as much, or even more strongly if they’re shiny and the light source has reflected off of them directly into the camera. With this kind of placement, you’re basically looking through the camera mirror directly into the lamp, which you may or may not want.
The second effect here is the opposite: horizontal parts are illuminated less. The green base is much darker, so anything that’s above it now stands out in the picture much more.
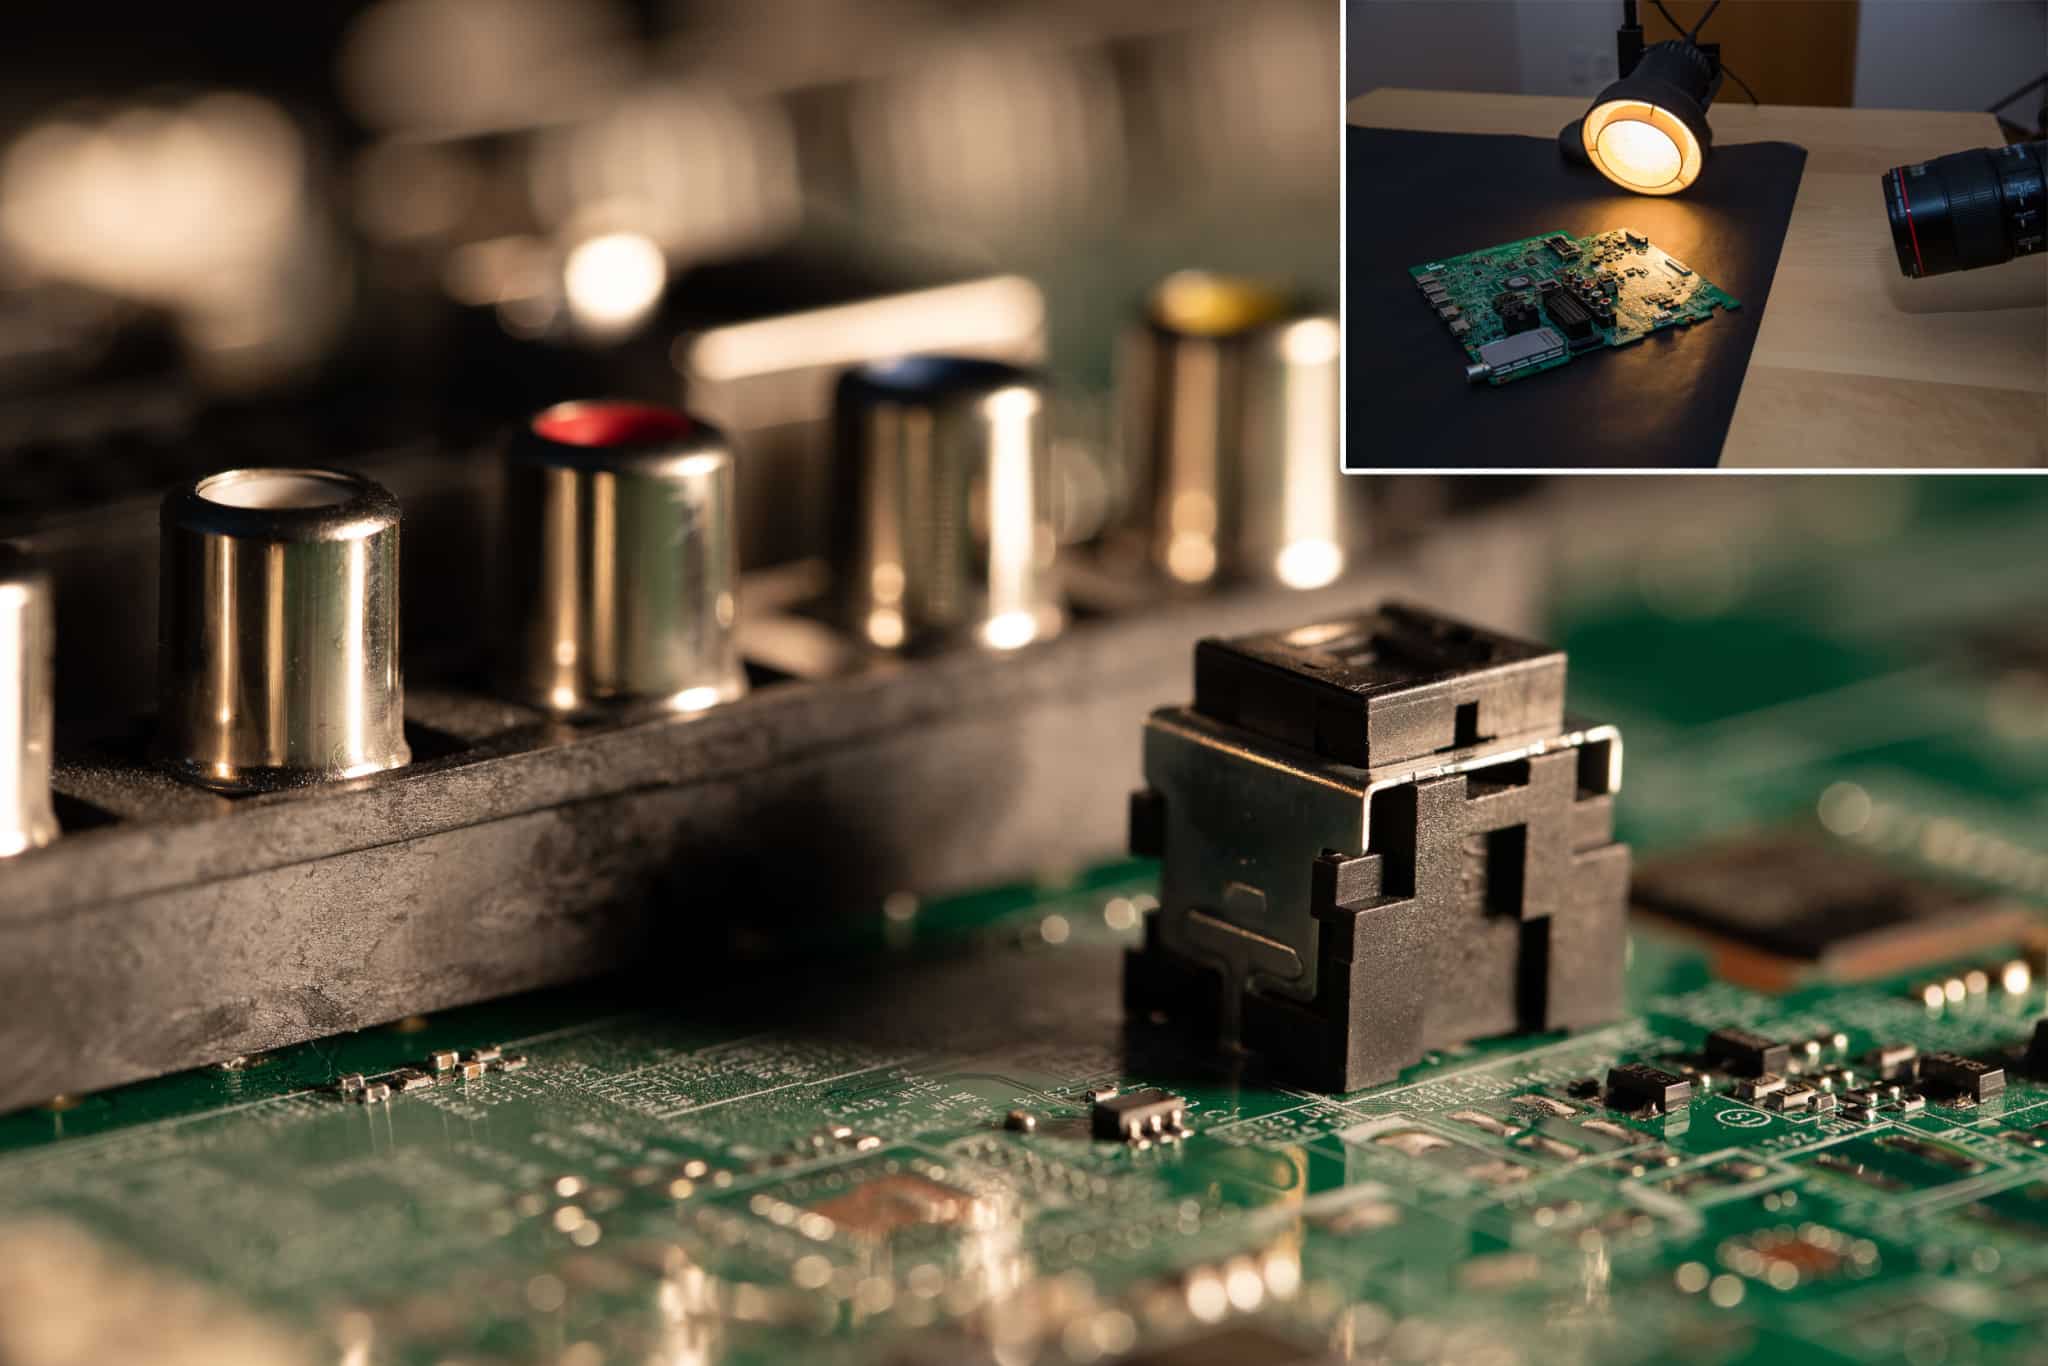
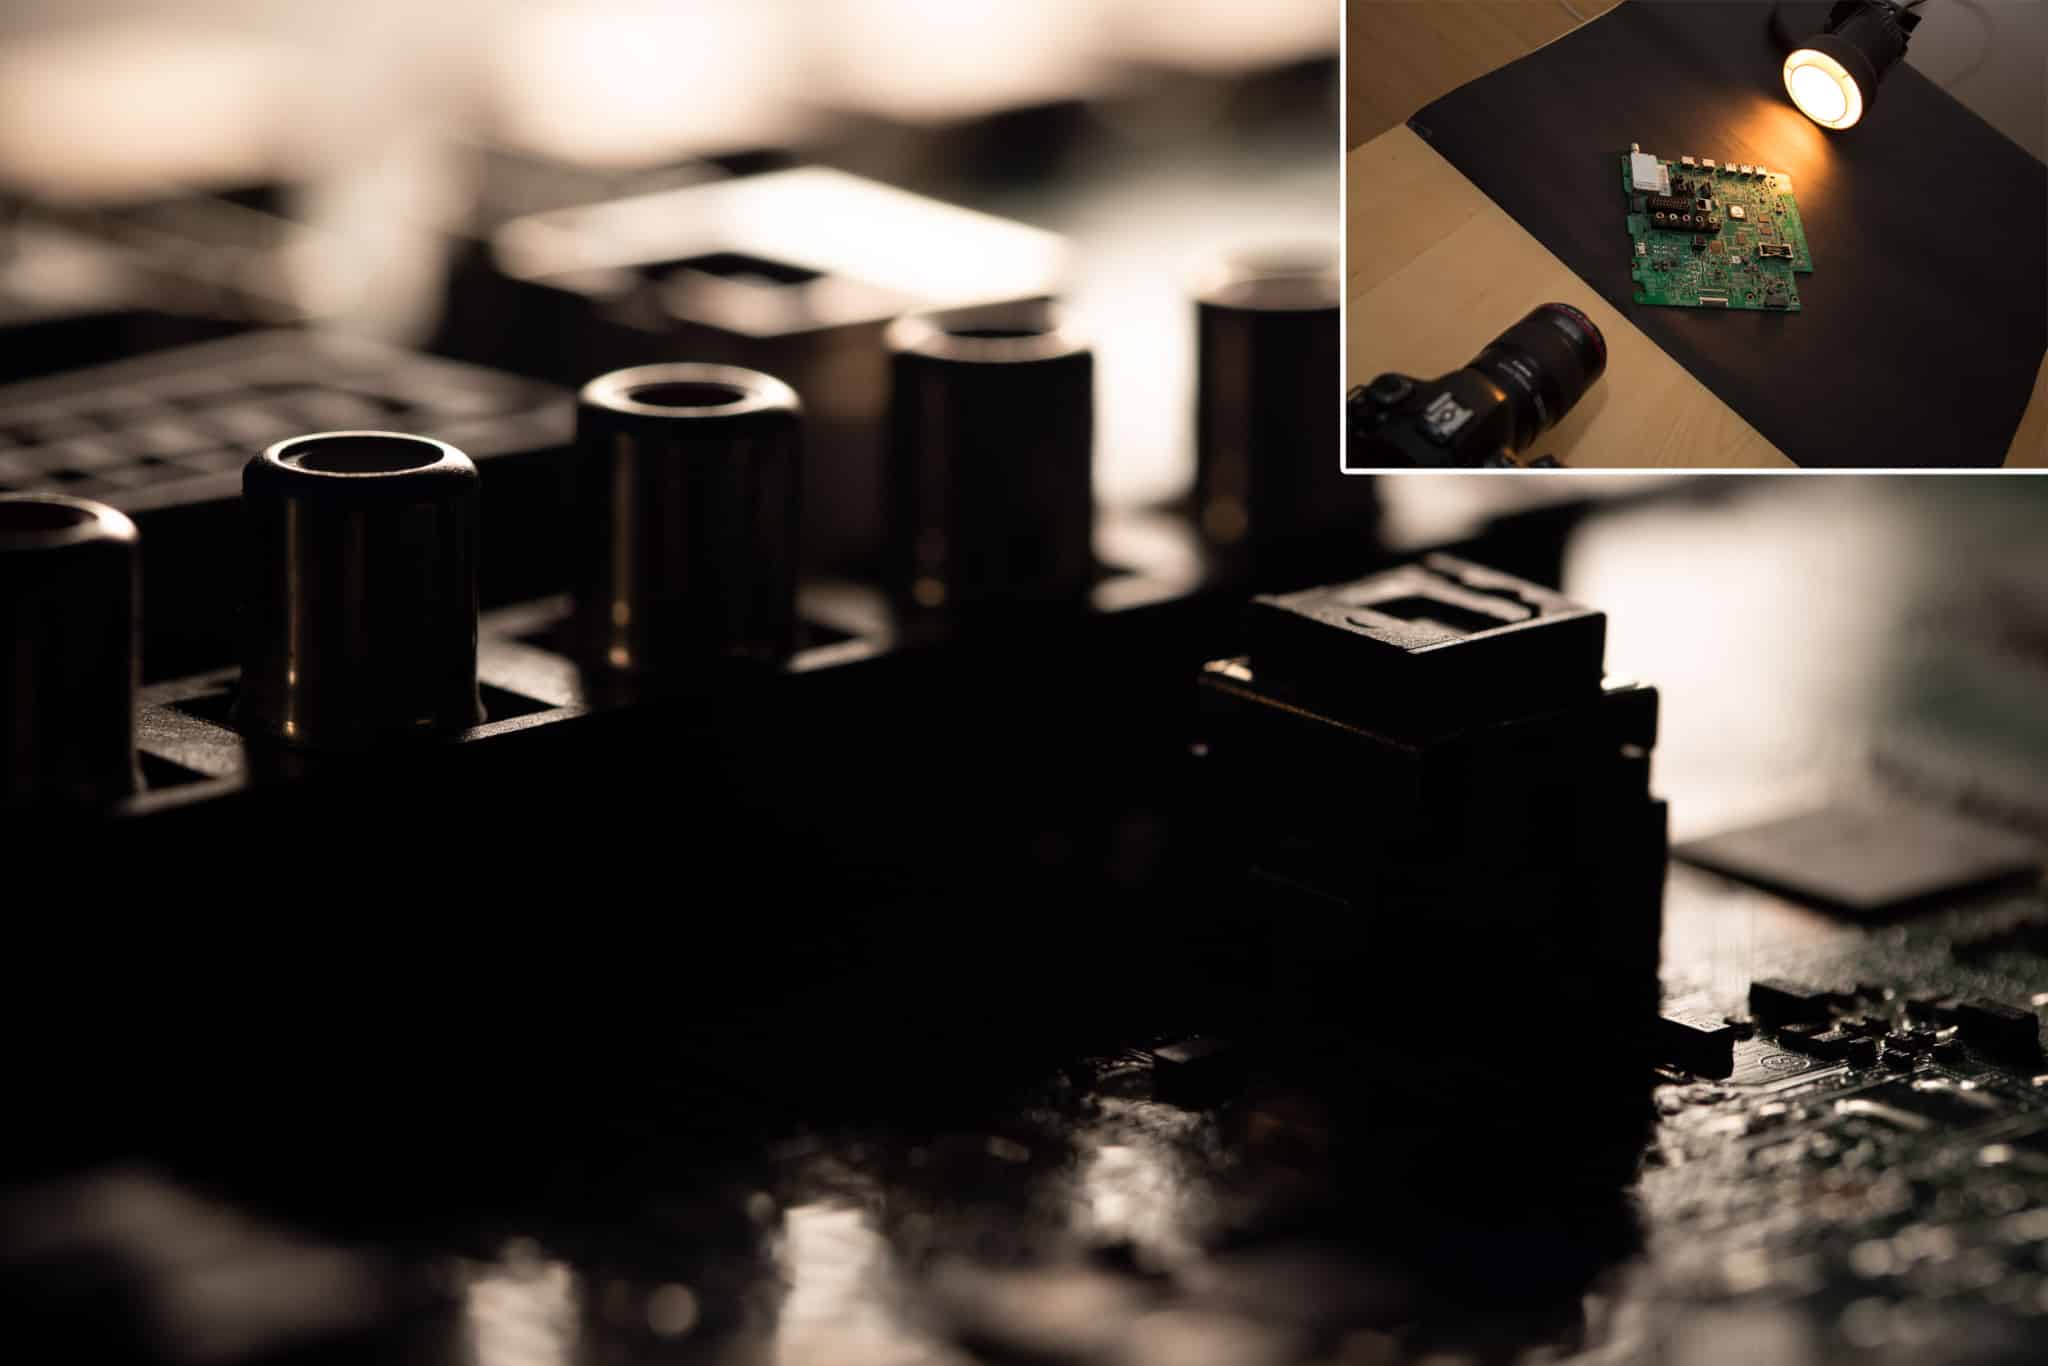
Light From Behind and the Side
The next stop on my lamp’s journey will make things even more dramatic.
The differences between light and dark areas are even more dramatic now; we can mainly see the outlines. Unfortunately, the dust that my dust rag missed has also become even more visible in several places. Incidentally, in these situations, dust particles are a huge enemy, and you can see for yourself how visible they’re becoming with this low-placed light, and how the moment you wipe off one set of particles, another set replaces them.
It may seem that the objects in front of the camera have become darker, even indiscernible. There is an easy solution for this. You just need to place or hold a white sheet of paper on the opposite side from the light source. The light is reflected from it and draws detail in the shadows. I’ve thus created a “fill light.”
Light From Behind
One last direction remains. Light from behind naturally creates silhouettes. Here it is additionally is being reflected from a horizontal surface, and so this shot was taken with an exposure length ten times shorter, to keep from making half the picture completely white.
If the light’s reflection were to become a problem, it would be enough to place it higher, and the contrast would stop being so extreme.
Parallels with Nature
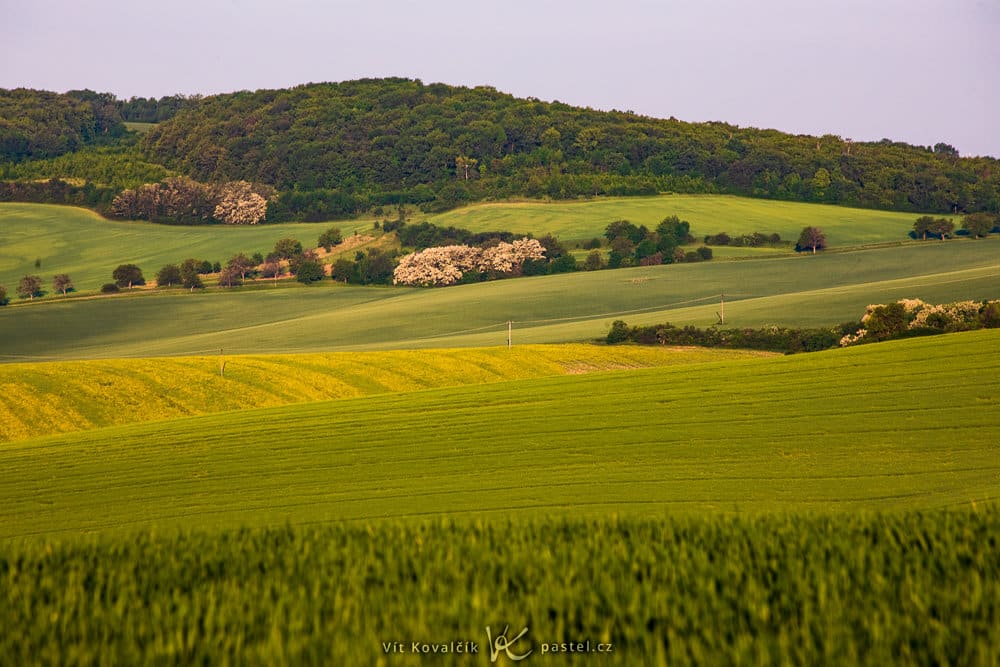
For a bit of proof that light works similarly at larger scales as well, check out the following pictures from the Czech countryside.
If you’re taking pictures with light at your back, the landscape will be shadowless, making it boring and hard to “read.”
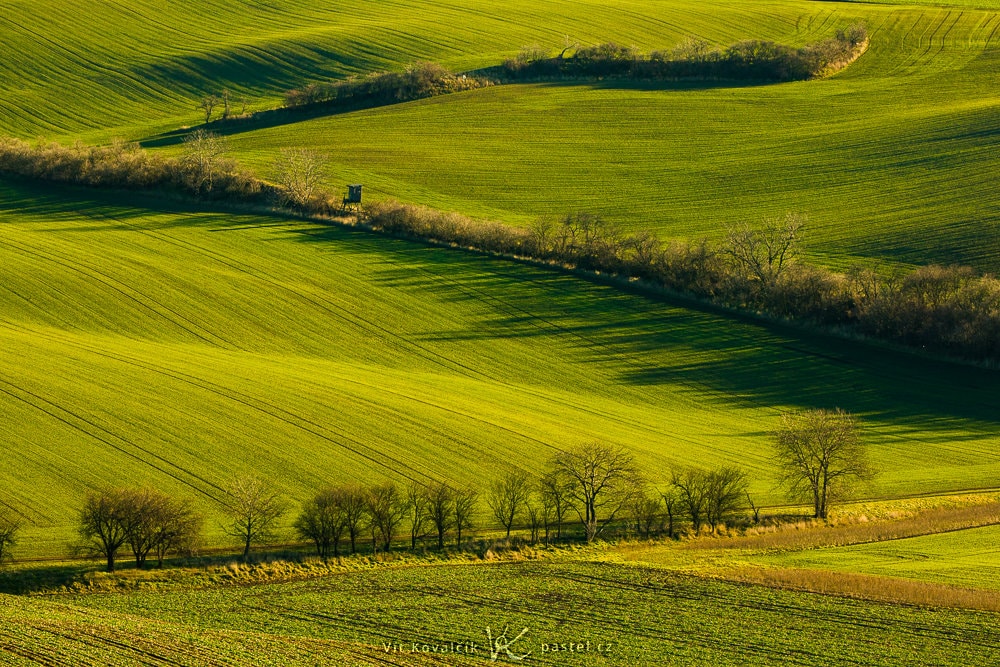
Meanwhile when the light is coming from the side, the trees and houses, for example, stand out, and every hill is also expressed with a soft or darker shadow on the surface.
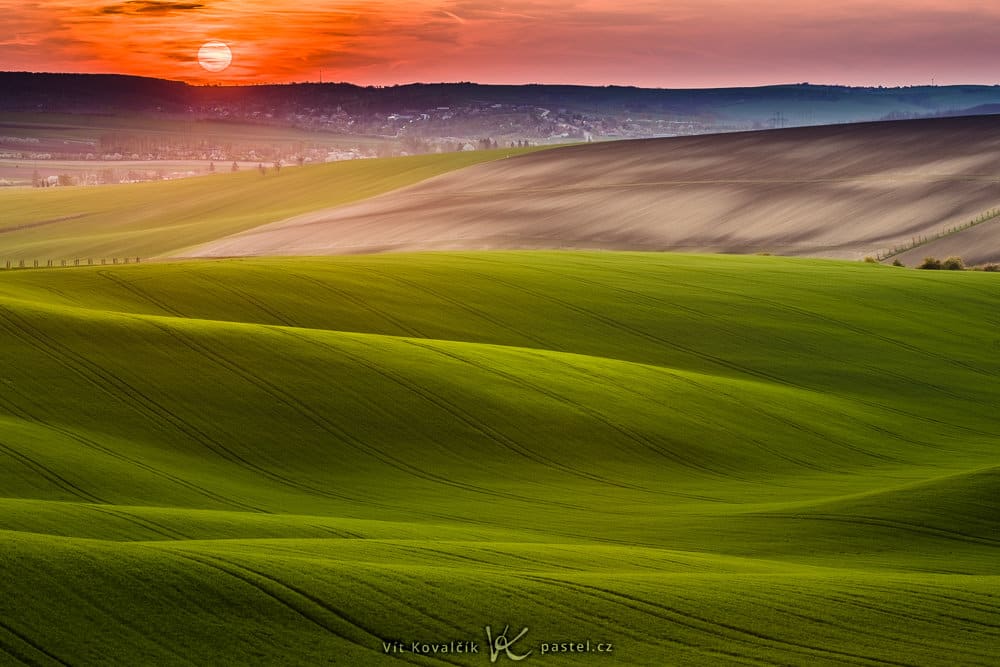
When I shoot against the light, the top parts of the hills stand out more, while their sides facing away from me are dark.
These nature shots are just for illustration. Light would behave the same with, for example, people both indoors and outdoors as it does with macro or landscapes.
Another Possibility—A Stripe of Light
One large advantage of macro is your control over the light. Position isn’t everything; you can also diffuse the light, or cut into it. You can easily create a stripe of light between two books.

Try Your Own Experiments
You can shoot a lot of compositions on a table in just a short while and gain a lot of practice this way. By the way, some other photos I took of the same circuit board might be an inspiration for you.
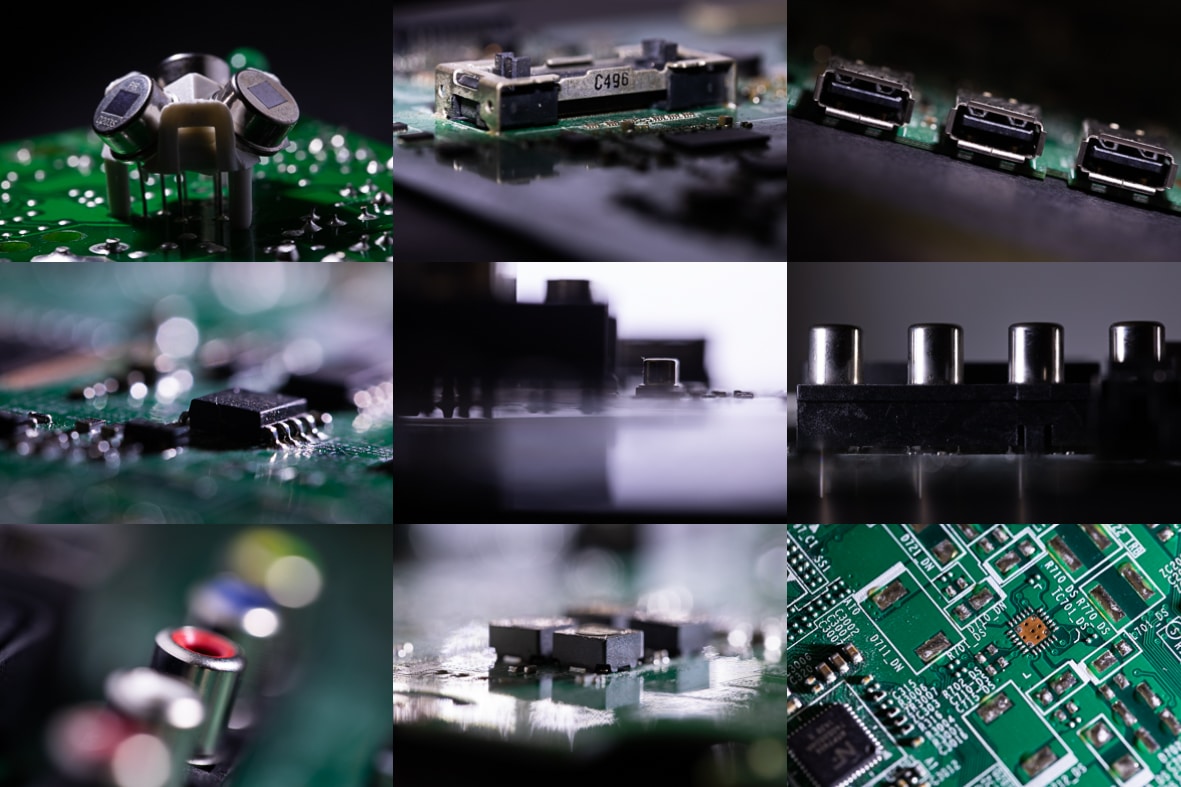
The usual rules of composition apply here; you can also use various reflections and blurring of elements in the background. This little exercise can bring you new knowledge and a new view of light and how to use it.
There are no comments yet.