Foundations of Portrait Composition Part I: Framing Your Model
It doesn’t matter whether you’re taking your pictures with an expensive camera or an old phone. In portraits, the same rule of composition will always apply. And your portraits will look a lot better if you stick to them. Rules are made to be broken, of course, but before you break them, you should know them. So let’s take a look at the basic ones. As you’ll see, knowing them can dramatically improve your pictures.
In this article I’ll focus on the basic rules of composition that directly concern a portrait’s subject. My “part two” article will describe work with your subject’s surroundings. You don’t need to remember all of these rules, nor do you have to always uphold them; there are no limits on creative rule-breaking. But still, try as you’re reading this to think about whether you’re subconsciously making some needless and easy-to-fix mistakes.
Be Far Enough Away
This is a classic problem for every beginner who takes their pictures using their phone’s or camera’s basic lens.
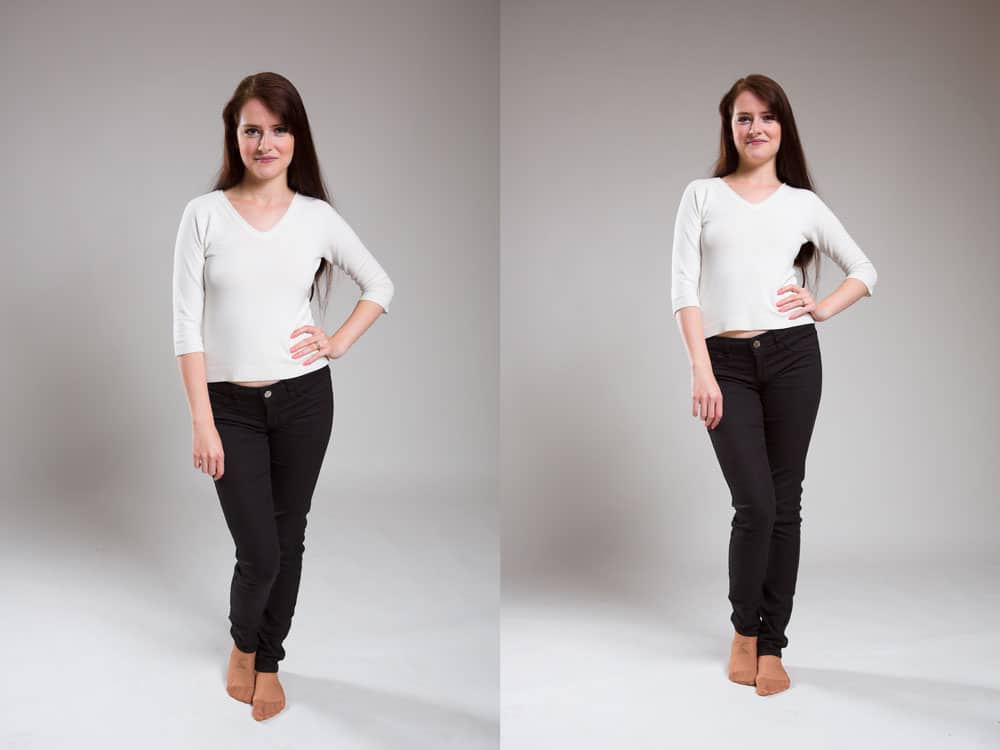
The trouble here is that the typical basic lens is around 30 mm, which means a rather wide angle of view (note that this focal length and the others mentioned here are stated as full-frame equivalents). If you take this kind of lens and use it for a “head and shoulders” photo without including any of your model’s surroundings in the picture, the wide angle will force you to step up very close to your subject. The result is an altered perspective. The human eye doesn’t even register it, but a camera will ruthlessly capture an enlarged nose, chubby cheeks, and a rounder look for the head overall.
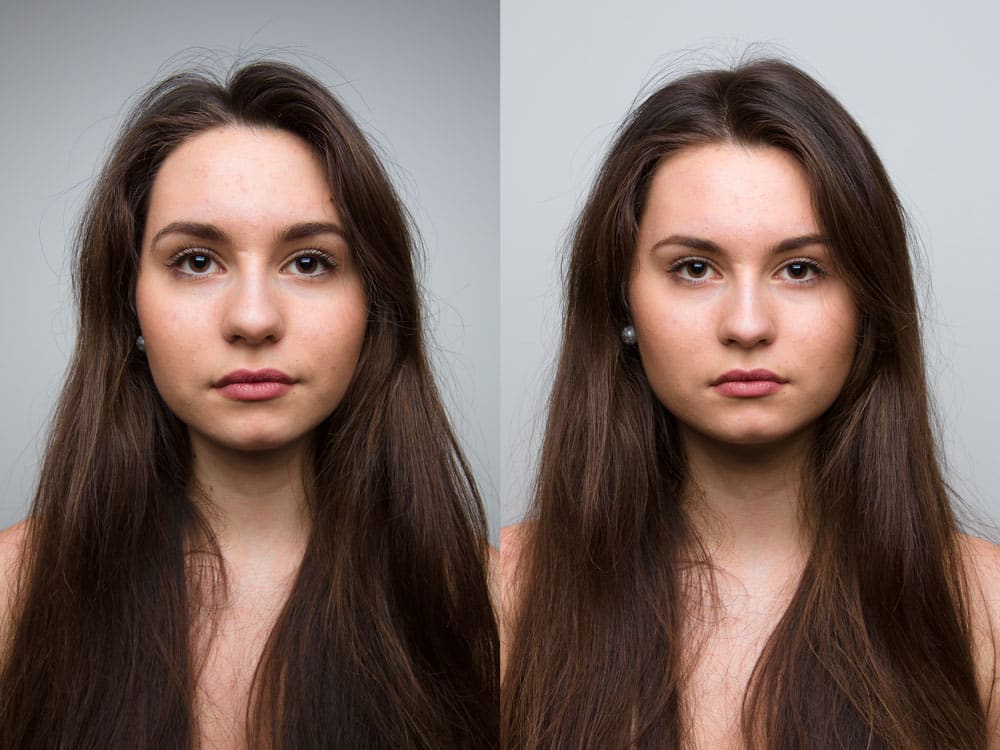
So it’s better to take your picture from a larger distance and then “zoom in on” the model. The ideal focal length tends to be 85 mm or higher. You’ll learn more about focal lengths in our article that has a comparison of how different focal lengths look when used for the exact same portrait.
If your goal is an environmental portrait where you’re including both your subject and their environment, there’s no need to zoom in. But you should still keep enough distance to prevent the facial perspective deformations that I’ve described.
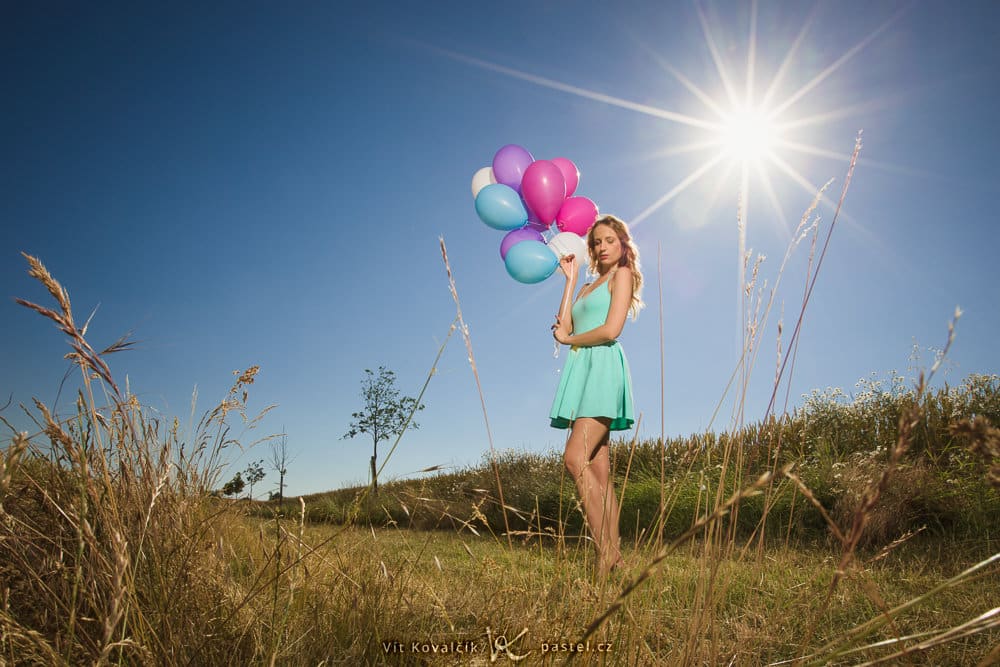
Shoot From the Right Height
When you are considerably taller than your model, you get a situation where shooting from your own height makes the model look like a child. So it’s better to take your pictures from about your model’s eye level.
However, practical and creative exceptions from this rule do exist. When you take a full-body shot from eye level, perspective distortion makes your model’s legs look much shorter, so don’t be afraid to bend down even below eye level. In another one of our articles, you can find a comparison of how the human body looks when photographed from different heights.
But models with a double chin will look bad when photographed from low angles. Either prevent them from looking into the lens, or photograph them from slightly above. When viewed from above, people’s skin tautens, which looks more photogenic. You can also take pictures from slightly above for creative purposes in situations where a double chin isn’t a problem.
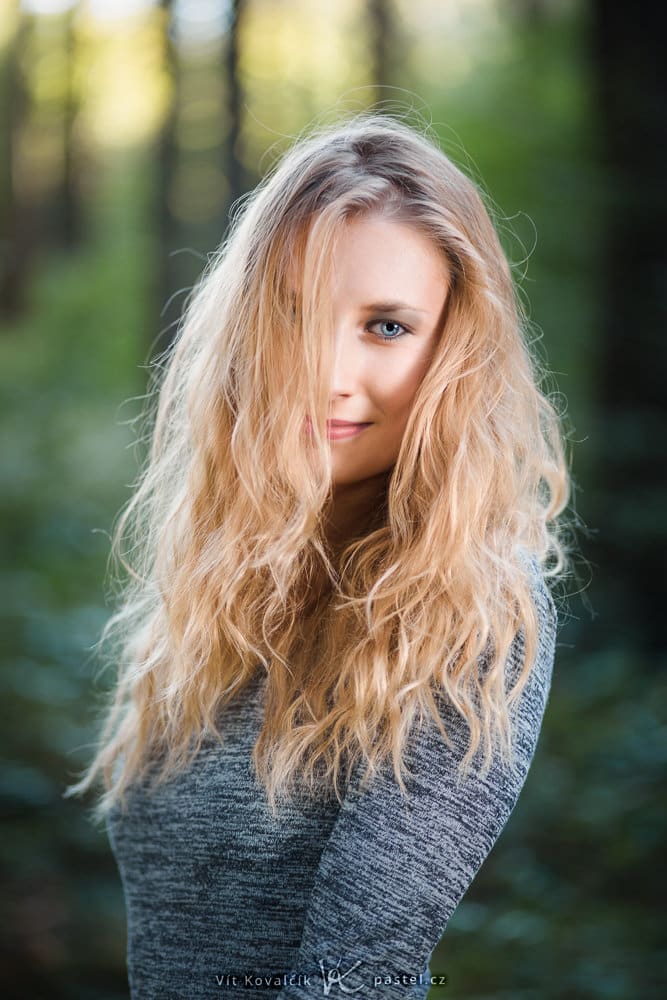
Watch the Golden Crop
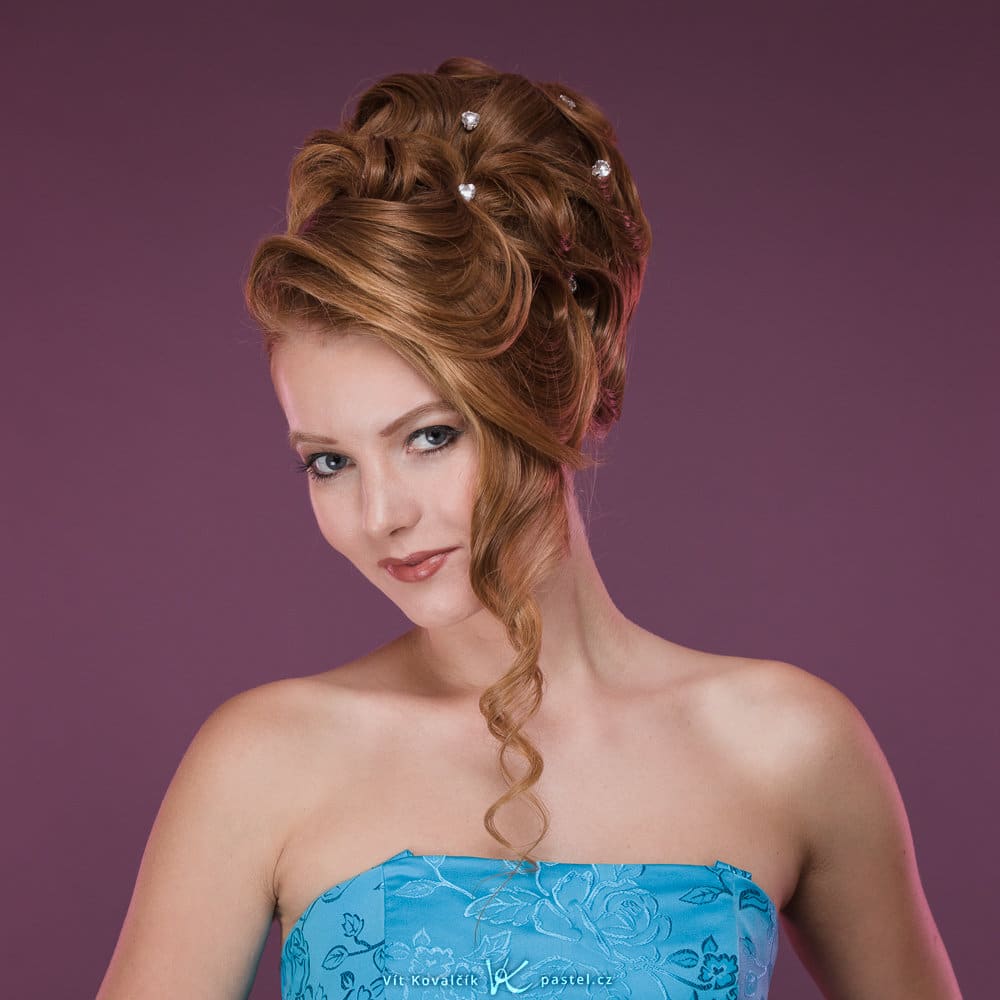
One of the most basic rules of composition is the golden crop rule, sometimes also called the rule of thirds. To put it simply, your subject should be one third of the way into the frame in terms of width (from its right or left) and height (from its top or bottom).
Another tip that goes hand in hand with the placement of the model’s head is that they should be looking towards an empty area in the picture.
But you can’t always maintain these rules. It’s often more important to include the right elements from the model’s surroundings or leave their gaze turned away so that the portrait looks more mysterious.
This rule is very often broken where width is concerned—the model is simply in the middle. But it remains in effect for height. One typical basic mistake is to put the head halfway from the bottom, leaving lots of empty space at the top. It’s better to have the head shifted up to one-third from the top so that there isn’t excess sky.

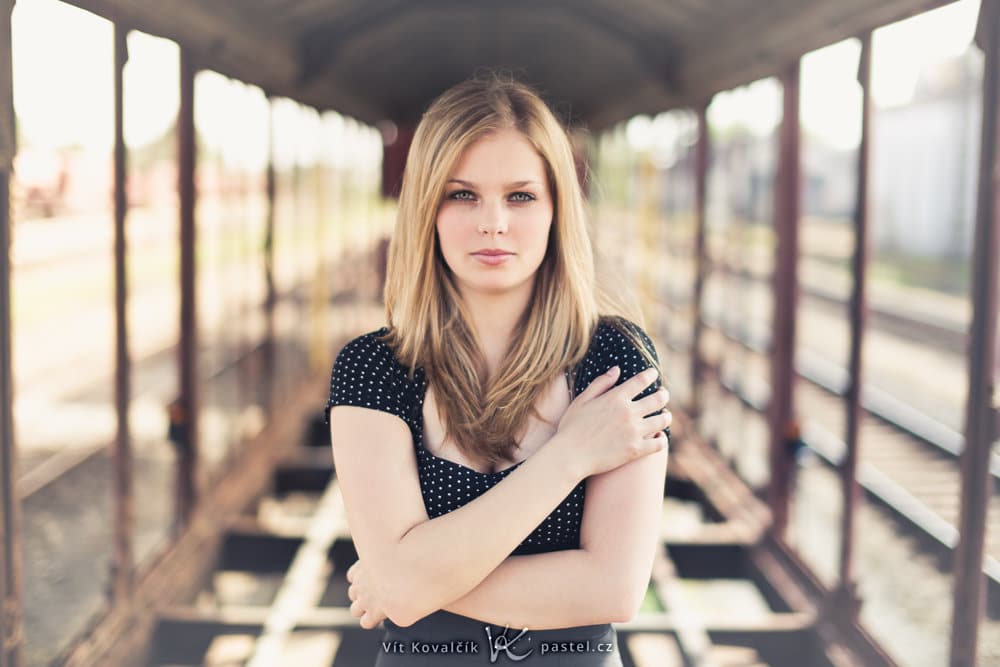
Don’t Crop at the Joints
Normally you won’t be showing your model in full, which leads to a key question: where should your picture’s edges be? Whatever your answer, you should usually avoid cropping at any of your subject’s joints.
There are three typical solutions here:
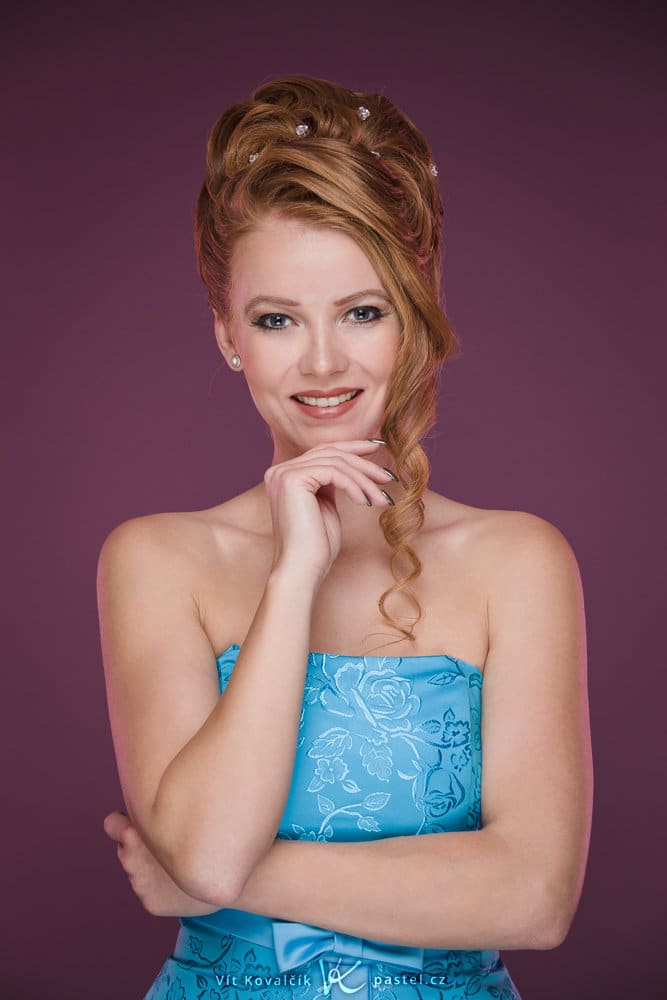
- For “head and shoulders” portraits, the picture is cut off just below the model’s shoulders. Their specific clothing and pose will influence the exact crop used. For example, it doesn’t make sense to cut a necklace in two, and more generally, it’s better to include necklines in full.
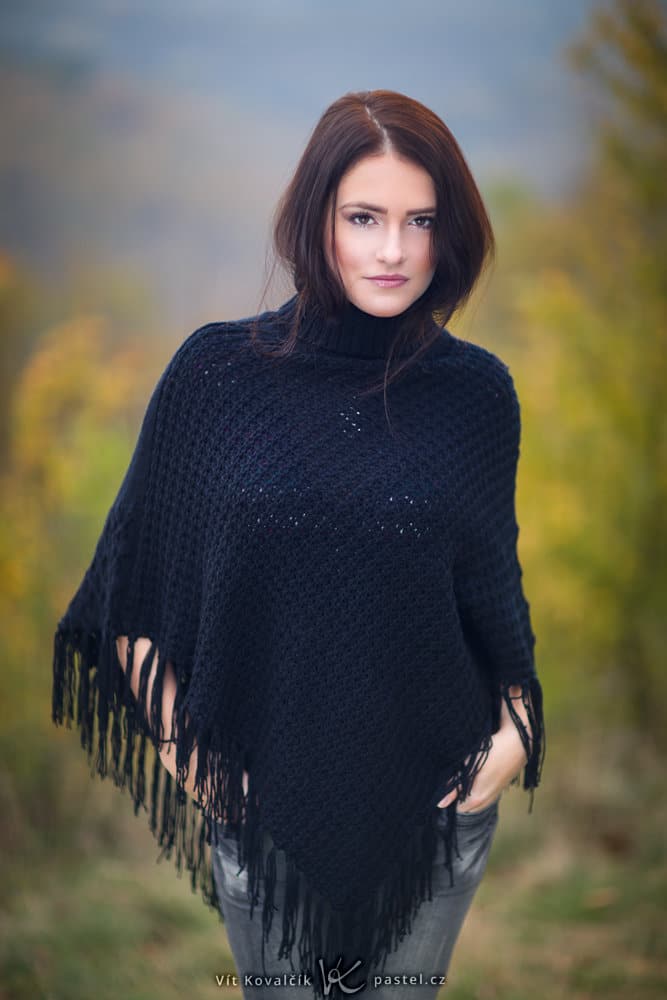
- Portraits down to the waist are also quite common. Here the arms are a potential problem; it’s safest to include these in the picture in full.
- Then there are portraits that go halfway down the thighs. Their advantage is that no matter what gestures the subject chooses to make, their arms will practically always be in the frame. And yet this still give a tighter picture than including the subject’s legs, and so it’s easier for the viewer to recognize their expressions.
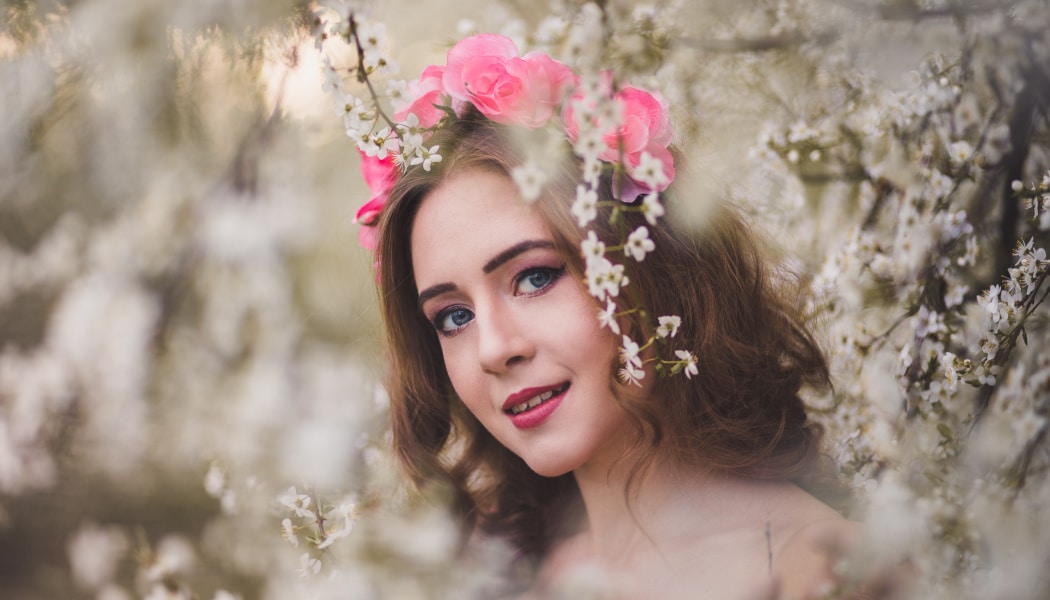
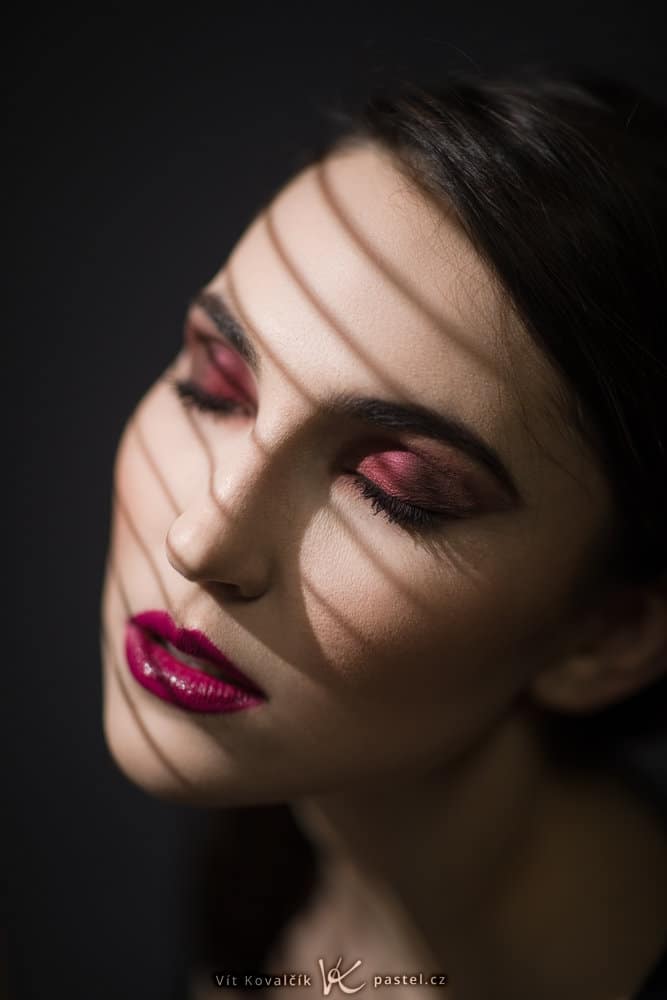
Focus on the Eyes
Naturally the correct way to focus a portrait is on the subject’s head, or more precisely on their eyes. Especially for head-and-shoulders portraits, and when you’re using a low f-stop, the difference between focusing on the eyes vs. the shoulders or hair, for example, tends to be highly visible.
If you’re taking a closeup of your model’s head, you have to focus even more precisely, and so it’s better to focus on the nearer eye(or on the other eye if the nearer eye is covered by their hair).
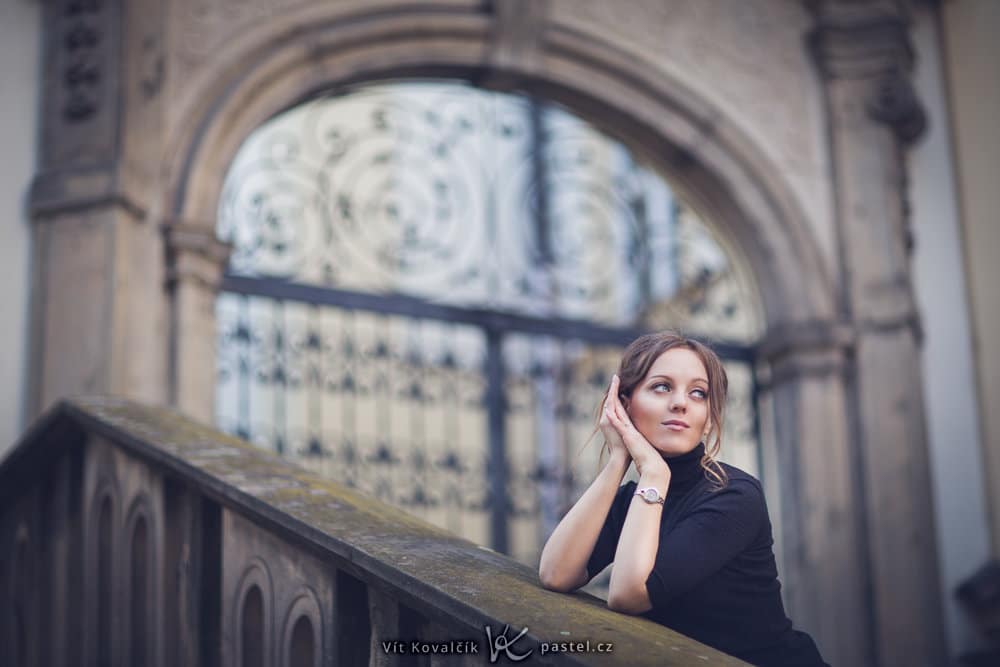
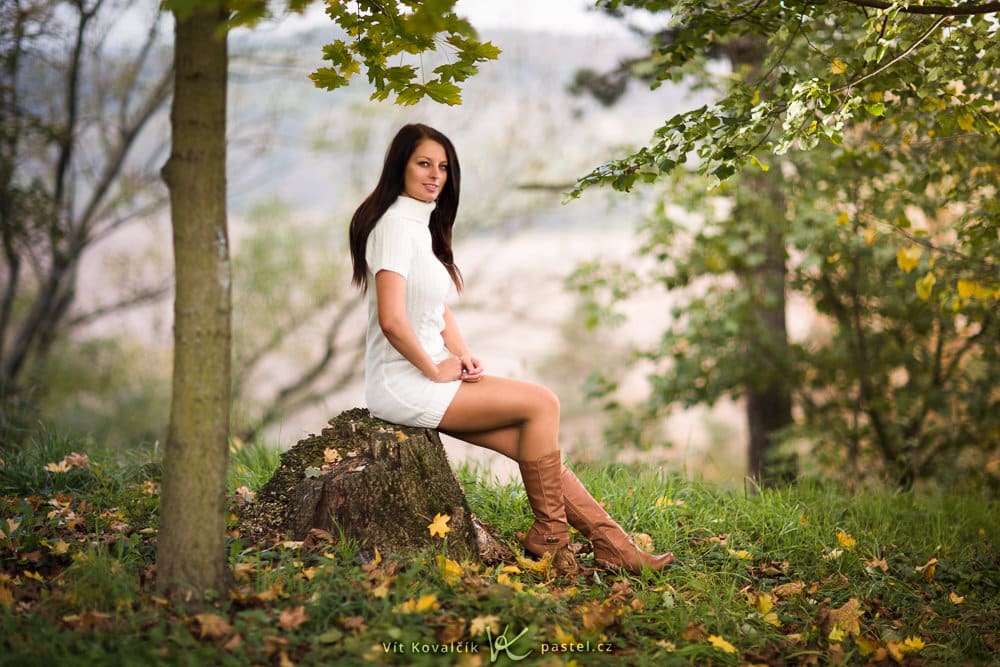
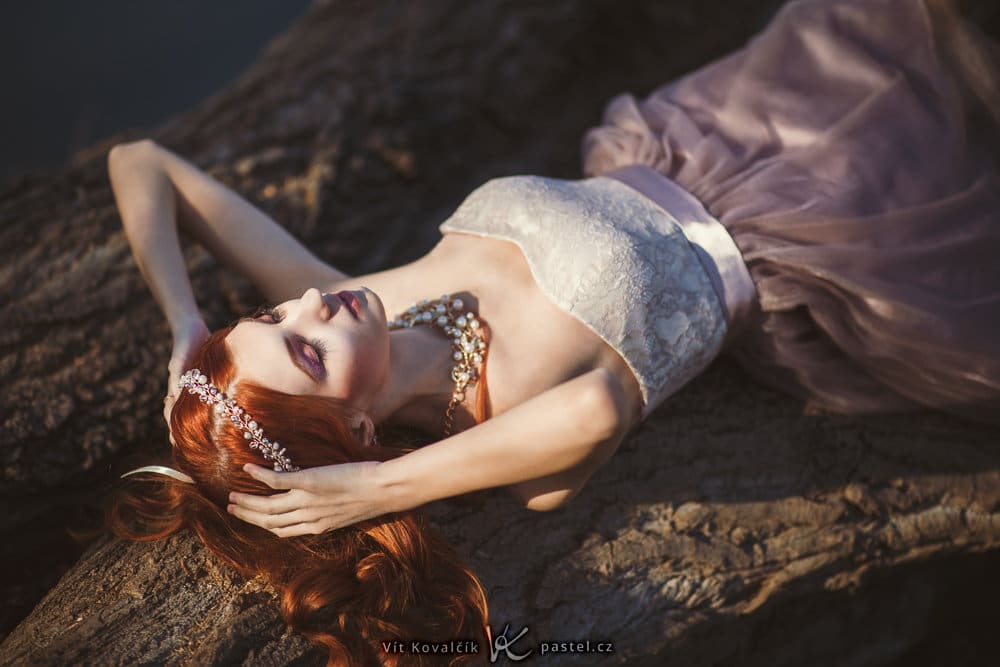
Try a Different Position
A portrait doesn’t have to be set into empty space; the model can occupy their hands and body by leaning or sitting or lying on something.
When you apply the rule of thirds and the rules about shooting from eye level, these positions will get you pictures just as good as any others.
In this situation, don’t be afraid to experiment and shoot from higher up. But when the model’s lying on their back, the rule is that it’s better to stand behind their head than at their feet. Otherwise you’d be pointing down at their chin, and the result would look bad.
Wrapping Up
Here I’ve gone over some basic rules here about composition work with a portrait’s model. In the second part, I’ll go over composition work with a view to that model’s surroundings.
There are no comments yet.