Get High Precision—Use a Drawing Tablet

The article is over 5 years old. The information in it may be outdated.
![]()
We are working on its update. In the meantime, you can read some more recent articles.
Have a drawing tablet and haven’t tried it yet for photos? Thinking about getting one? Try using a tablet for your photo editing in Zoner Studio. You’ll especially appreciate it when you need to adjust fine details that are awkward to alter with a mouse. The drawing tablet’s greater precision will make your work more efficient and more fun.
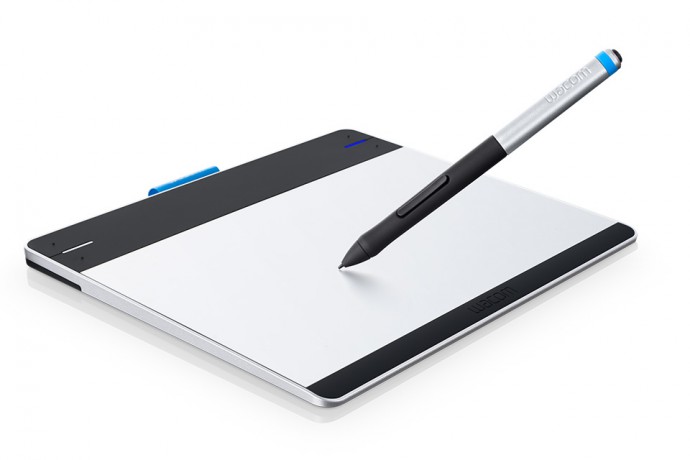
A drawing tablet—a plastic board that you connect to your computer over USB and draw on with the mouse—is a common friend of graphic artists, architects, and building engineers. That’s because it lets them draw much more finely and precisely than they could with a mouse.
But drawing tablets are also a huge aid to photographers. Check out work with a tablet in Zoner Studio.
First Steps
Generally the first time you connect your tablet to your computer, Windows automatically recognizes it. But for safety’s sake, go ahead and install the manufacturer’s drivers. I’ve seen cases where some features didn’t work otherwise.
Next, start exploring how your particular tablet works and how to work with it.
The rectangle of the tablet corresponds to your computer’s screen. So the left edge of the tablet is the left edge of your monitor, the right is the right, and the middle is the middle.
Work with a drawing tablet feels strange at first, since you’re holding a pen instead of a mouse. That is, a drawing tablet works like a pen and paper—you draw on the board, and your work is shown on the monitor.
Don’t be surprised when your hand hurts after a few hours of work with the pen. That’s because you’re using different muscles than the ones that a mouse requires. But don’t give up.
Settings in Zoner Studio
Your tablet doesn’t require any more setup than your mouse. Don’t worry that you’ll be spending any significant time adjusting settings.
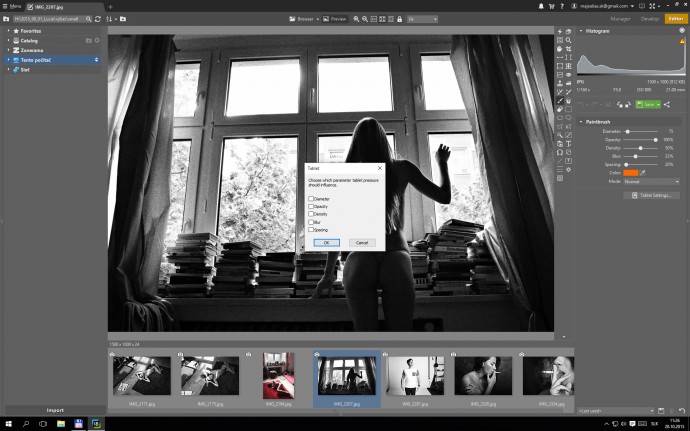
Zoner Studio does offer some tablet settings, though. When you’re working with a tool that can benefit from such settings, a Tablet Settings button is shown under the rest of that tool’s settings. You can set for example the tool’s size, its density, blurring, edges, and effect strength.
Many tools have their own specific traits, and settings as well. But they are very similar, differing only in the details.
Pen Pressure
Again, a tablet works like pen and paper. The more you press with a pen, the greater its pressure on the paper. Zoner Studio can work with pressure in the same way if you want. To turn it on, use the tablet settings inside Zoner Studio. With the pressure active, the harder you press, the greater a tool’s strength. And vice versa.
The pressure effect on a tablet actually isn’t to everyone’s taste. If you try turning it on and you don’t like it, you may be one of them—in that case, just turn it off.
Like Pen and Paper
Other than pressure, work with a tablet is like work with a mouse. Just much more precise—like a real pen.
On a tablet, each time you make a “stroke,” it’s like clicking and holding down the mouse. So it works exactly like a pen and paper. Just, electronically. So don’t be surprised if you fall in love with it quickly.
Personally, I don’t use a tablet everywhere, but I do use it to wrap up post-processing. Specifically for retouching, fine-tuning local contrast, etc. But you’ll need to decide for yourself based on your own needs and workflows. For things like trimming your archive and converting from RAW, you don’t need a tablet.
Another thing—try not to become too tablet-addicted, because someday somewhere on the road, you may end up having to edit photos with your mouse, and struggling with it.
Where and How?
Since it’s a drawing and editing accessory, you’ll mainly be using your tablet in the Editor part of Zoner Studio.
It will save you work when you’re marking what to edit. Just zoom in on the photo and start “drawing” on it like you would draw on paper.
A tablet is an ideal friend for retouching, local contrast adjustments, spot brightening and darkening, and sometimes local desaturation. In the following lines we’ll talk about how to work with it in Zoner Studio.
Retouching
The main retouching tool in Zoner Studio is the Clone Stamp.
Zoom the photo in to 1:1. Turn on the Stamp, set it up, and you can start retouching. While doing this, take advantage of the spacebar. It makes it easy to reach any spot in the photo. Specifically, holding down the spacebar turns on Panning—the “hand.”
For classical retouching, a tablet is much more efficient than a mouse, because it’s much more precise, and you can make much finer brush strokes.
That means you don’t have to work nearly as cautiously as during awkward mouse work. You’ll see how you have to use Undo less. For example, I retouched this photo in two minutes with the help of a tablet, while with a mouse it would have taken five or more.
Local Contrast
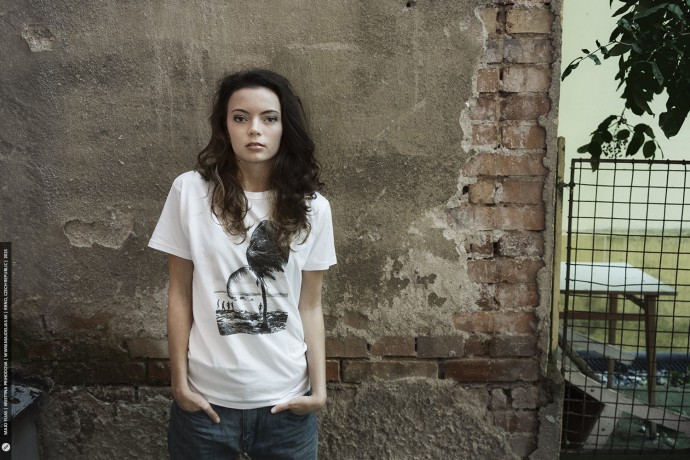
For local contrast, use the Effect Brush. It lets you “paint on” added contrast (and other changes) with a brush. Turn to it especially for portraits—highlights and light/darkness transitions. You’ll spend less time fine-tuning contrast this way with a tablet than with a mouse.
Local Desaturation
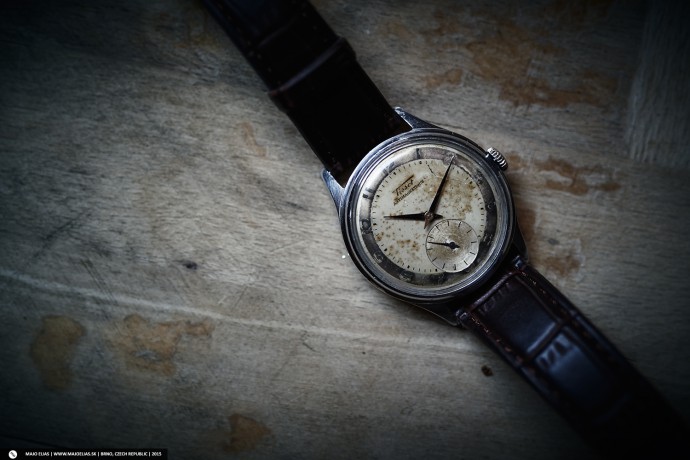
Use local desaturation when a photo contains something very conspicuously colored that’s hurting the picture’s look. Lower the saturation in that area by about 50 to 70 percent. But never so far that it looks grayscale. Here too, use the Effect Brush to “draw on” this desaturation.
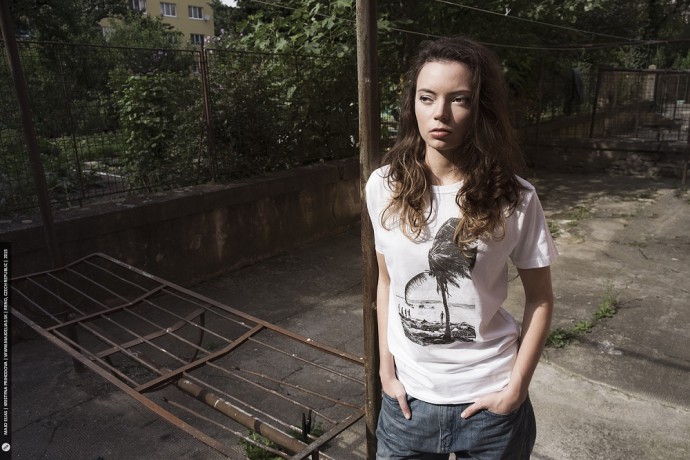
Editing work with the other tools works similarly.
Try a Tablet Too
Drawing tablets offer you precision that you can harness quickly and efficiently for use with many different edits in many graphics editors. Why not give one a try, when Zoner Studio supports tablets directly?
If you are still just thinking about purchasing a tablet, then we can recommend the Wacom brand, specifically their Intuos line. You don’t necessarily need a big one. For example the Intuos Small Pen is a solid product. You don’t need a high-priced one, either. The basic line is enough.
Want to check out photo editing with your tablet, but still need a photo editor? Try Zoner Studio for 7 days for free.

There are no comments yet.