How to Photograph Landscapes III: Tips for How to Work With Your Camera
Landscape photography doesn’t work the same way every time, but a few basics will apply for most of your photo opportunities. If you’re not sure what camera settings to use or what tricks will get your landscapes looking even better, turn to this article for advice.
In the previous articles in this series, I went over how to photograph landscapes at different times of the day and in a variety of weather conditions. This time I’ll be looking at the details of your camera settings.
Always Shoot to RAW
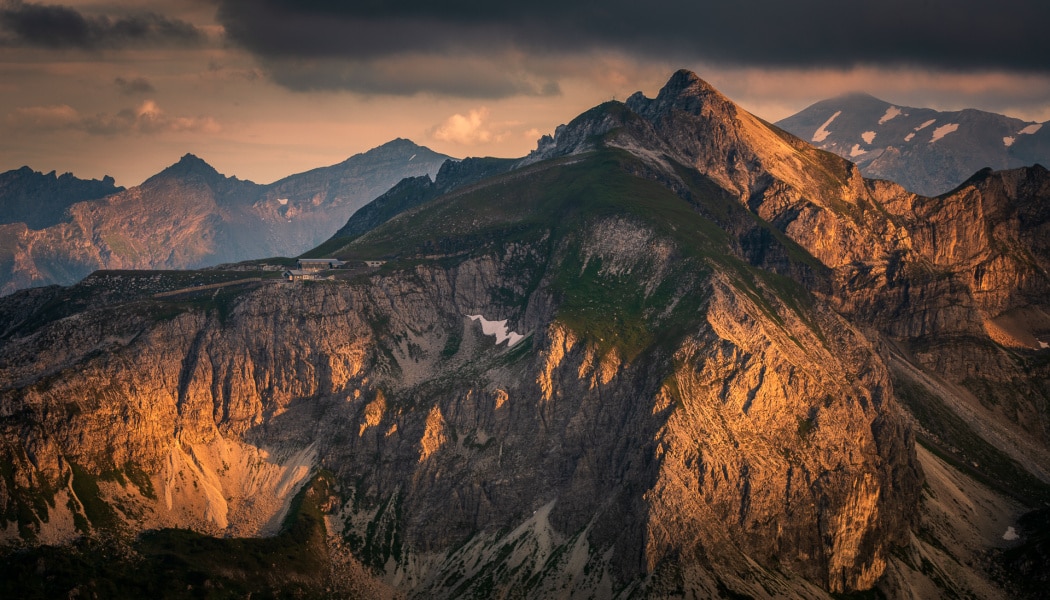
I recommend using RAW for every important shoot. Compared to the JPEG format, it contains more precise information on individual pixels’ colors, and so your editing work on your PC later on will be much easier and give better results. You also won’t have to worry as much about white balance during the shoot, because you can easily change it as needed later. All without any loss of quality.
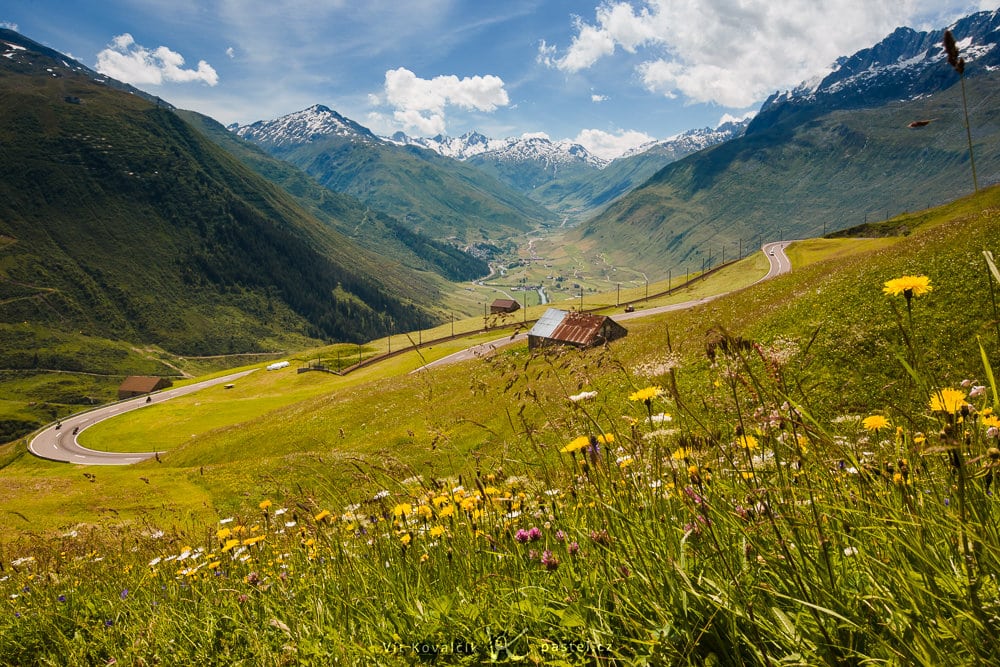
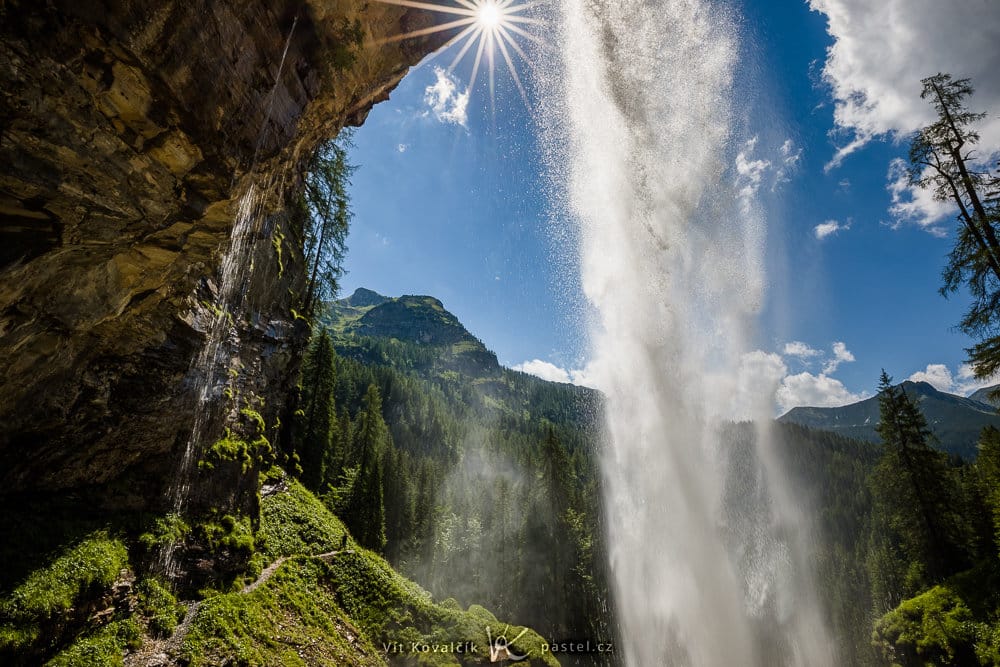
Canon 5D Mark IV, Canon EF 70-300/4-5.6 IS, 1/500 s, f/13, ISO 100, focal length 170 mm
For a more detailed description of RAW’s benefits, see our article on the RAW format.
Choose the Right Focusing Mode
Theoretically it’s a better strategy to use One Shot mode, where your camera focuses just once and you don’t have to worry about your subject after that. For stationary scenes, this mode tends to be more reliable and precise than Continuous mode (AF-C on Nikon, and AI Servo on Canon), where the focus tries to automatically and continuously follow any motion by your subject.
But the trouble is, if e.g. an animal suddenly runs past and you want to photograph it (or if you’re switching back and forth between photos of the landscape and photos of your children), this one-shot focus is useless, and you have to choose something else.
The reliability of various focusing types depends on your camera, and often on the intensity of the surrounding light as well. For example at night, One Shot can be markedly better, while at other times Continuous is just as good.
Personally I almost always use Continuous, but meanwhile I have a special button set up to activate focusing. So the trigger isn’t involved in focusing at all; for landscapes, this makes it a lot easier to shoot from a tripod, where it’s enough to just focus once and then press the trigger when the light is right.
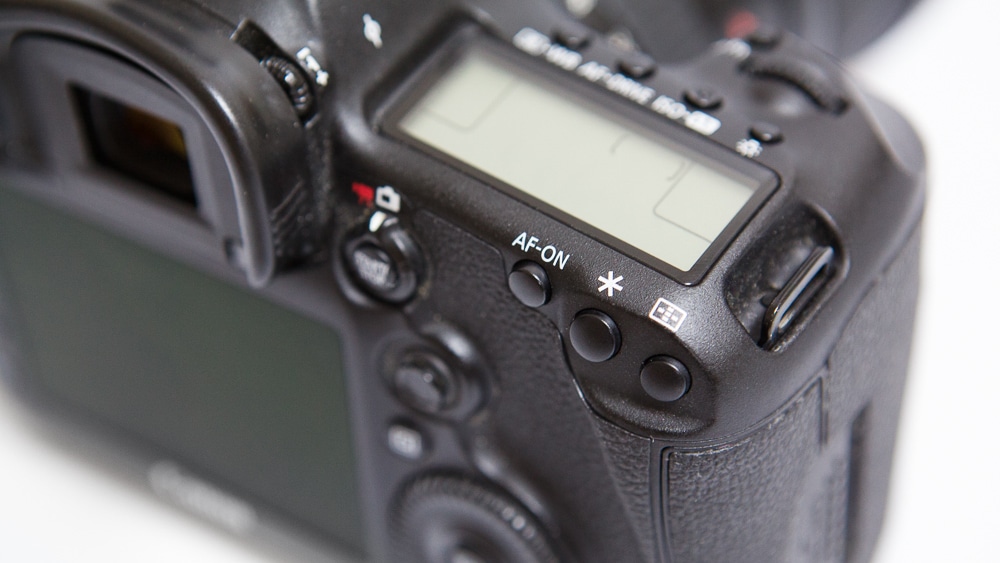
If you’re still a bit lost in all the different modes, then definitely read up on the right way to use automatic focusing.
Getting a Straight Horizon
I recommend using the digital level in your camera, if it has one. If it doesn’t, you can always turn on some sort of grid in the viewfinder or on the LCD to help you level the horizon.
You can also use a tiny water level with a bubble instead; you can even mount a level like this into your flash mount. But work with this kind of level isn’t as smooth as work with a digital level.
Tripod or Stabilizer?
A tripod is a classic for landscapes, and you’ll find it especially useful when you’re taking pictures at night or with long focal lengths.
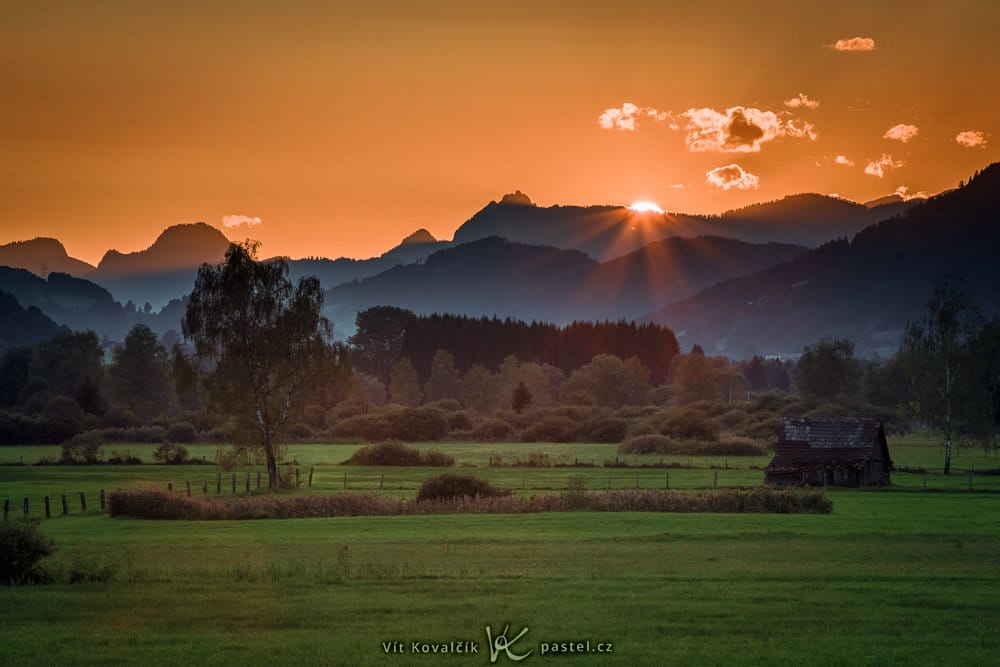
Canon 5D Mark IV, Canon EF 16-30/2.8 III, 8 s + 30 s, f/11, ISO 100, focal length 19 mm
But in many cases you actually can make do without a tripod. And actually, if you’re not traveling alone, the limits of your friends’ patience often won’t even let you use a tripod. It’s helpful to have a stabilizer in your camera or your lens; this keeps you flexible in every situation.
Don’t forget—the classic rule is to turn off the stabilizer inside your camera when you’re using a tripod. Otherwise it could increase camera shake instead of decreasing it.
Manual Mode or Aperture Priority?
Choosing an exposure mode isn’t as much of a thorny question as it used to be. With the rise of mirrorless cameras (and for that matter, phones and compacts too), you’ll often be able to see your picture’s final look before you take the picture. Whether you choose manual mode or some other mode, there will always tend to be ways to quickly provide some exposure compensation, change the ISO, etc. So it all just depends on which mode is most comfortable for you.
That means aperture priority will usually work just as well for you as manual mode. And it also has the advantage of being simpler and faster, because it makes most of the needed decisions in a fraction of a second.
You’ll see a large difference in quality, however, when you’re taking pictures in deep darkness with exposure times on the order of multiple seconds (from several up to hundreds). In this situation your camera’s measuring system gets confused, and it’s much safer to take your pictures in manual mode.
With truly long exposures, it can be hard to estimate whether you should use, say, 600 seconds, or just 300. You can always take a test photo, but who wants to wait five minutes for that? The practical solution is to take a test picture with a very short exposure, but an ISO of e.g. 3,200, inspect the results, repeat until you find a length that works, and then switch the ISO to 100 and use 32x that exposure length.
Keep the ISO Low
For landscape photography, you’ll typically use the lowest ISO that your camera can offer. Usually this will be somewhere around 100. Some cameras, and some phones too, can go significantly lower as well, but sometimes the lower limit is instead higher than 100.
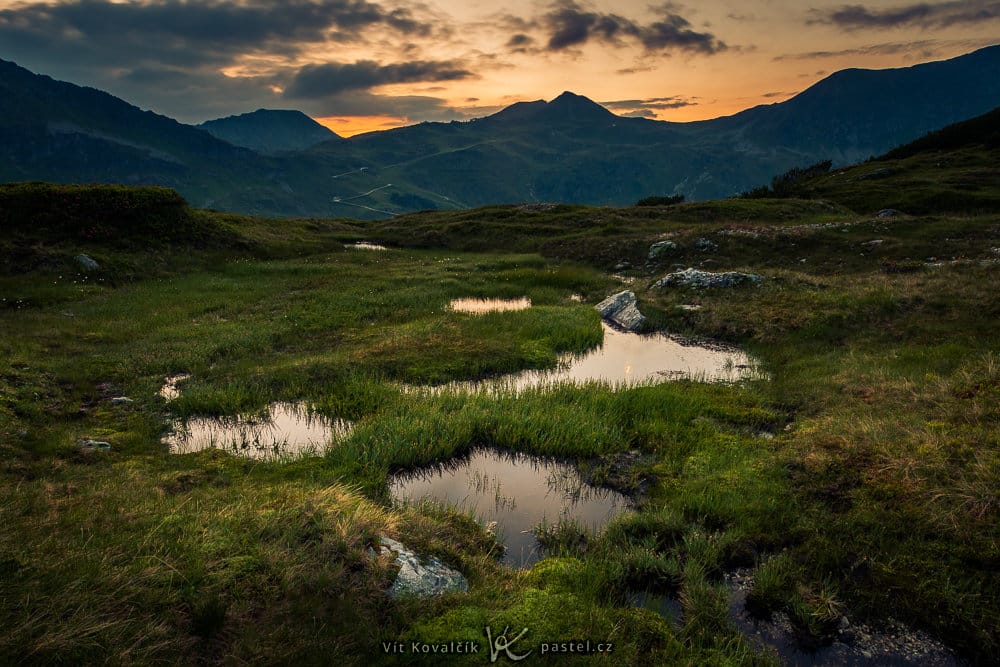
The advantage of low ISOs is reduced noise, and also increased dynamic range—which is very useful if you’re going to be editing your pictures on a PC later on.
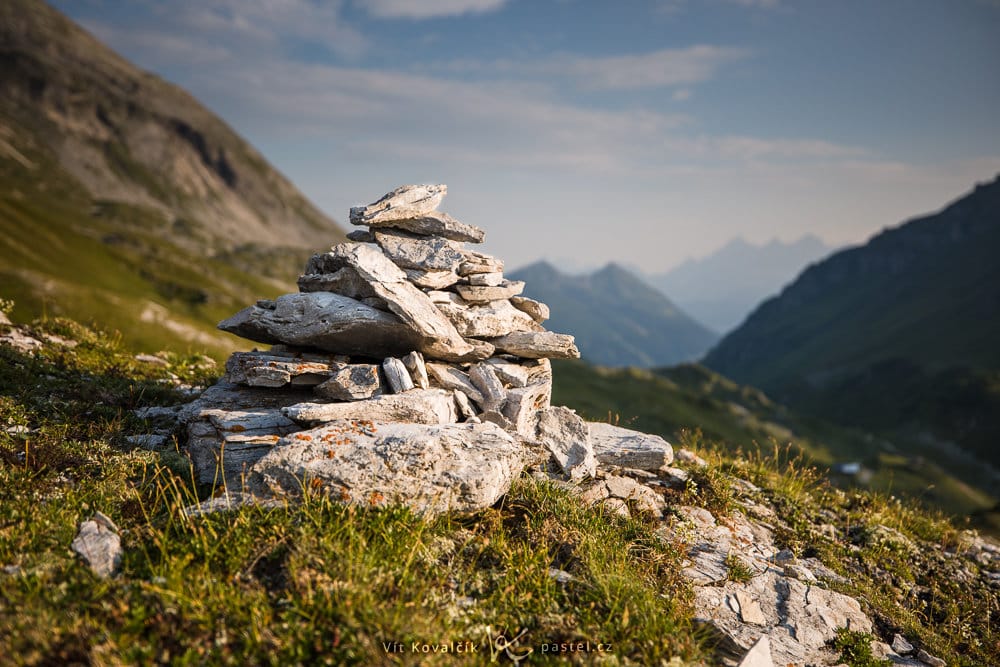
Canon 5D Mark IV, Canon EF 16-35/2.8 III, 1/13 s, f/18, ISO 100, focal length16 mm
However, it’s not always possible to maintain a low ISO. More on that in the section on exposure length.
Keep a High Aperture
Your aperture value, on the other hand, should be as high as reasonably possible. However, this doesn’t mean that it’s best to use the very highest value that your camera offers, for example f/22 on a full-frame camera. Unfortunately the highest aperture values are connected with the effect called diffraction, and so instead of giving you a perfect picture, they’ll actually reduce sharpness.
So typical aperture values are in the range from f/8 to f/16 on a full-frame lens. That corresponds to f/4 through f/8 on a Micro Four Thirds system.
Canon 5D Mark III, Canon EF 16-35/2.8 II, 1/125 s, f/20, ISO 500, focal length 28 mm
One consequence of this is that fast lenses don’t tend to be very important for landscape photography—although they can still be useful sometimes.
Canon 5D Mark IV, Canon EF 16-35/2.8 III, 1/1600 s, f/2.8, ISO 100, focal length 35 mm
Let the Exposure Fit the Situation
Generally you won’t need to worry too much about the exposure length, and you’ll just be checking that the automatically set length is giving you results with reasonable brightness and no blowout. The best way to check exposure is using the histogram. If you can see there that the picture is too dark or too bright, use exposure correction. (If you’re a real connoisseur, you can make your pictures as bright as possible and expose to the right.)
Naturally you’ll have the most leeway for work with exposure length if you’re using a tripod. When you’re shooting by hand, you really are limited and can forget about any truly long exposures. But not even a tripod is a silver bullet here. When the wind is blowing the nearby grass or trees, or when you’re photographing a stormy sea and you don’t want to blur it on purpose, you’ll have to use a short exposure, tripod or no.
Unfortunately, if you’re facing a lack of light as well, you’ll have to compromise by using either a lower f-number or a higher ISO. Not even the best equipment in the world will help you here; even the sensor size stops being important.
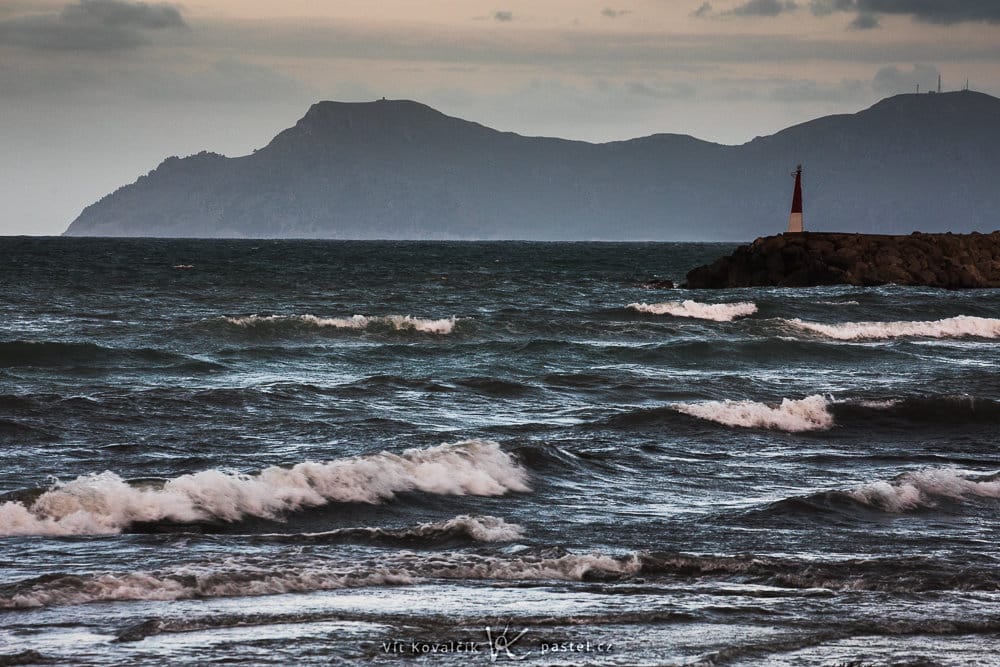
Canon 5D Mark IV, Canon EF 70-300/4-5.6L, 1/80 s, f/10, ISO 1000, focal length 200 mm
Bracketing
Bracketing, that is, taking several pictures with different exposure levels in a single press of the trigger, is also a useful technique. This gives you a series of pictures: one each for a dark, normal, and light exposure.
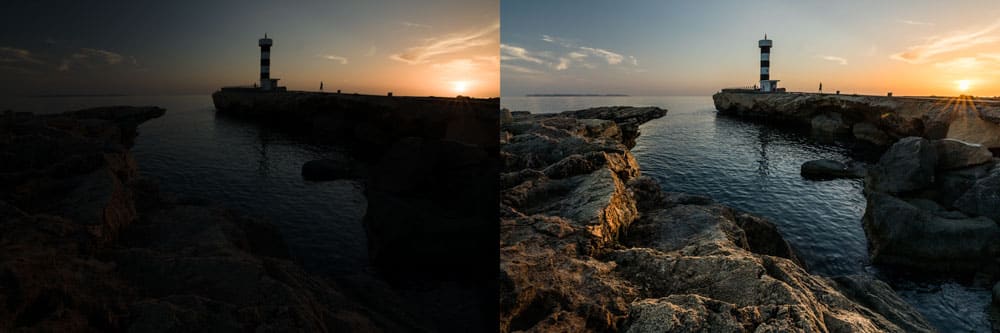
Bracketing is mainly useful in two situations. The first is when you’re taking several source shots that you’ll later be assembling on a computer to produce an HDR photo. This approach is often used when a scene’s dynamic range is too large for a single shot to capture both the light and the dark places at once without loss of detail.
Canon 5D Mark IV, Canon EF 16-35/2.8 III, 1/50 up to 1/1250 s, f/16, ISO 100, focal length 16 mm
The second way that bracketing is used is much simpler and more ordinary, and it’s mainly important for DSLRs, where you don’t have an exact idea of how your picture will look before the shot. By bracketing, you can get three different photos to choose from, in just a single second. I personally use this approach very often, and I delete one of the three photos right away (the one with the worst underexposure or overexposure).
That leaves me two photos for my later processing. On my computer I make my final decision and either use the one that’s higher-quality, or if it turns out for example that it’s suffering from motion blur, I have a second one as a backup, even if it has a little extra noise. This approach lets me take my shots very fast if someone’s traveling with me, so that I’m not holding them up.
Patience Above All
It’s important to know how to handle your camera, but it’s even more important to be in the right place at the right time. And if it’s not the right time yet, then: to even just sit and wait until conditions improve. For the very best photos, you need not only the right gear, but also patience and planning. Or at least a heap of luck.
There are no comments yet.