How to Shoot Products on White Backgrounds
Items shot with a white background are a classic you can use almost anywhere. Read on for the ins and outs of these standard shots.
It’s common to need to photograph an object from time to time—usually for web product photos, occasionally for other reasons. Let’s take a look at the steps for these shots in various situations where you need certain looks for the product.
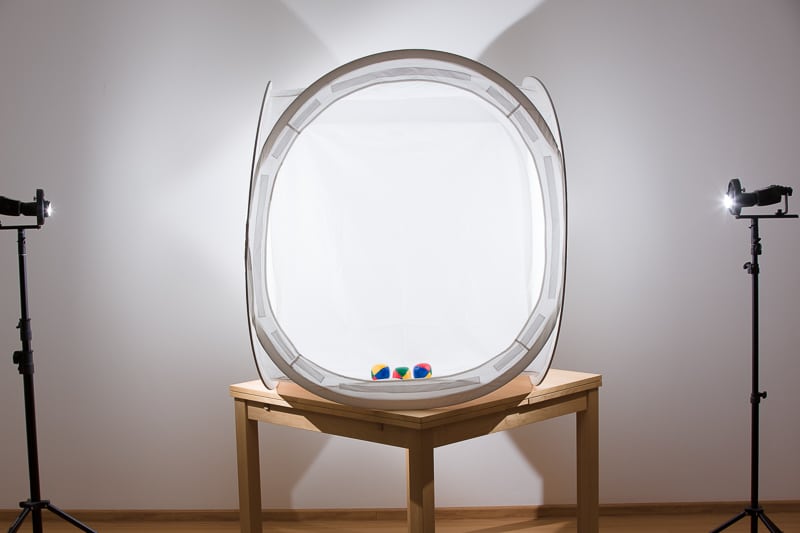
Recently we covered how to create a tabletop mini-studio, the simplest possible option for photographing small objects. Today for my sample pictures I’ll be adding complexities, including external flashes. But there are many ways to light these shots, from cheap to costly, so take these illustrations as just illustrations.
What You’ll Need
Just like in the tabletop-studio article, I strongly recommend using manual camera mode and a tripod to ensure you can repeat the shot while fine-tuning its details. But that’s it for the camera requirements. If you won’t be printing out large posters, nobody will be able to tell whether you used a compact or an expensive DSLR. The only key factors are your lighting and the scene mode.
Dust is often noticeable on small items photographed from close up. The more dramatic your lighting and scene, the more visible the dust, so when using a white background and lighting from the front, you’ll hardly notice the dust, but with a black background and lighting from the back, every mote will be clear. I recommend having a dish towel available for first aid.
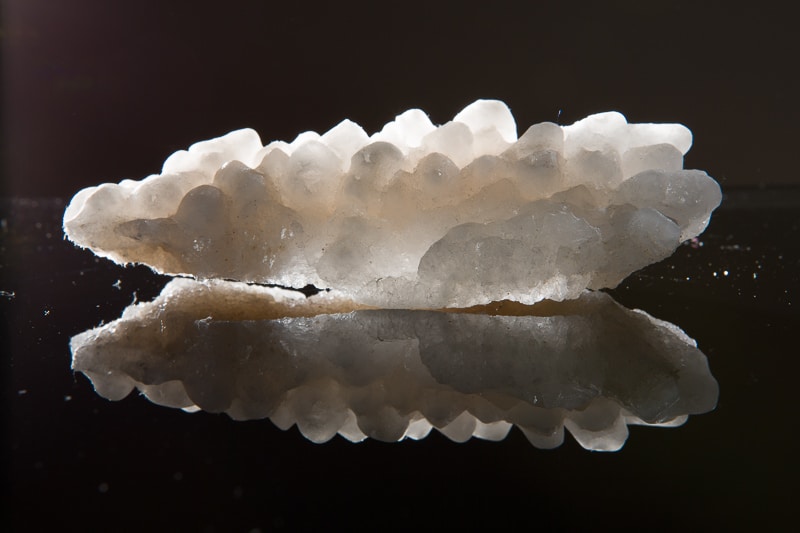
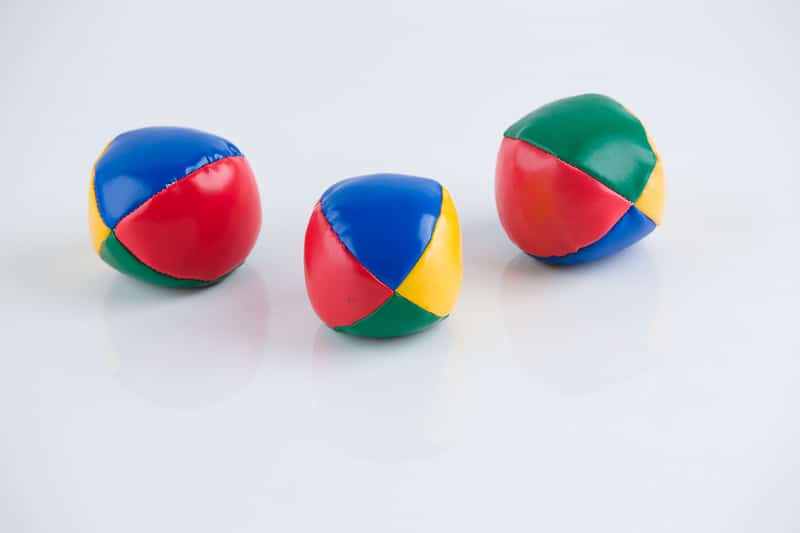
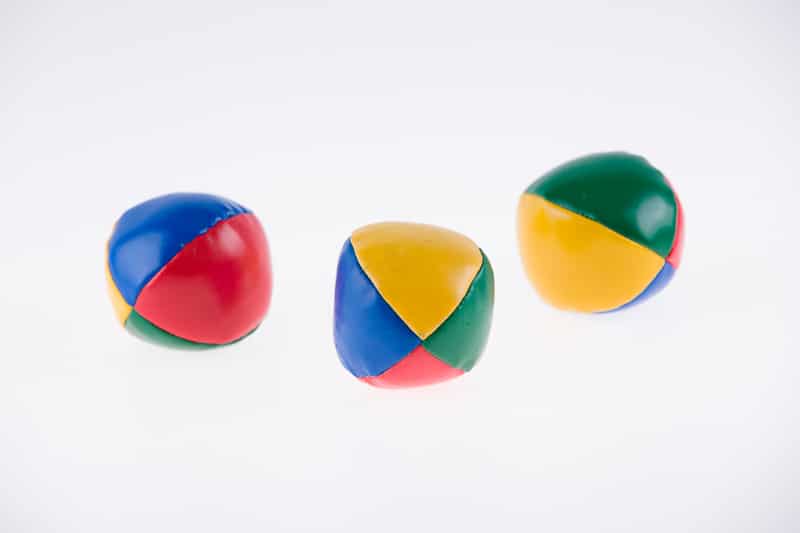
Canon 5D Mark III, Canon EF 24-27/2.8, 1/160 s, F18, ISO 200, focus 70 mm
A Few Basic Tips
Because the depth of focus is small when you focus at short distances, you’ll typically be using high F-numbers, such as the extreme F18 in the picture above. Even at these numbers, you can end up with the product not completely in focus, so choose your focus point carefully. Usually it’s best to focus on the front of the object. You can risk moving the focus point in a little deeper than that, but typically not much more than one third of the way into the object.
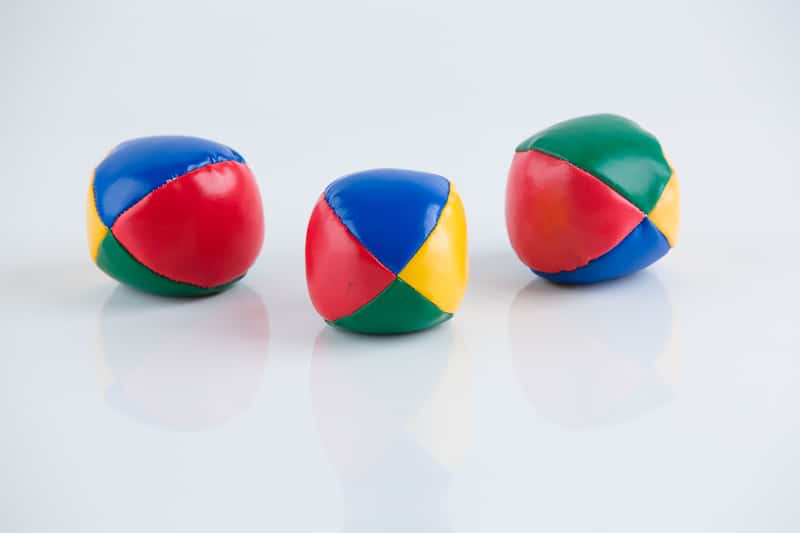
Canon 5D Mark III, Canon EF 70-200/2.8 IS II, 1/200 s, F14, ISO 400, focus 130 mm
If you need a focus that’s beyond the normal limits of what’s possible, then your only options are a lens with a tilted plane of focus (a tilt-shift) or software-based joining of shots with differing focus points—“focus stacking.”
My last note here would be: even if you’re a product photography expert, sometimes it’s best to stick to simple workflows. For example, personally I don’t use a white background when I photograph old items I want to sell on the Web. Instead I deliberately take “throwaway” tabletop photos, to make the shots feel as genuine as they are, so that potential buyers don’t think I’ve just copied a photo from some e-shop.
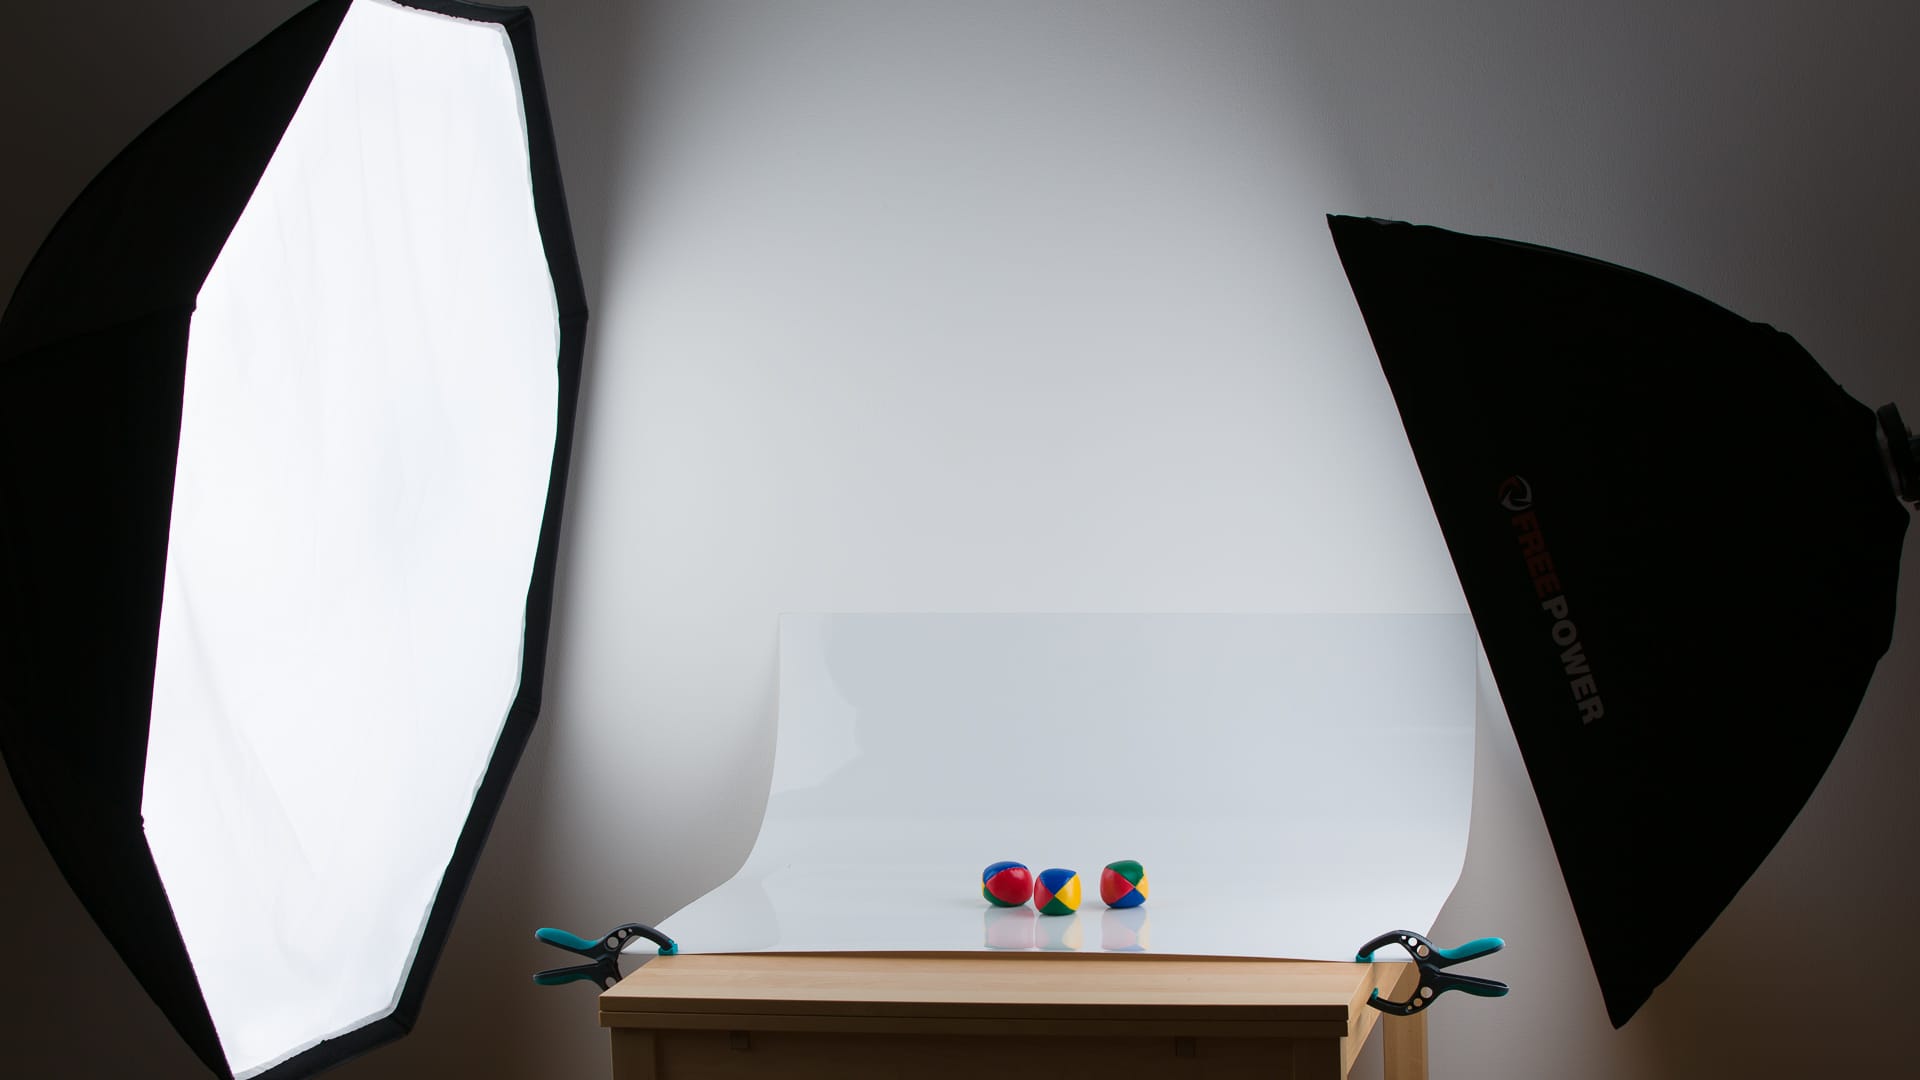
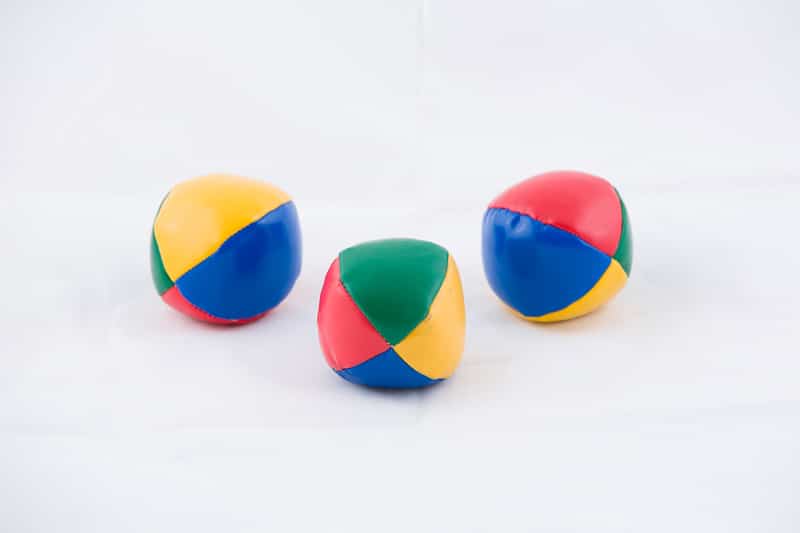
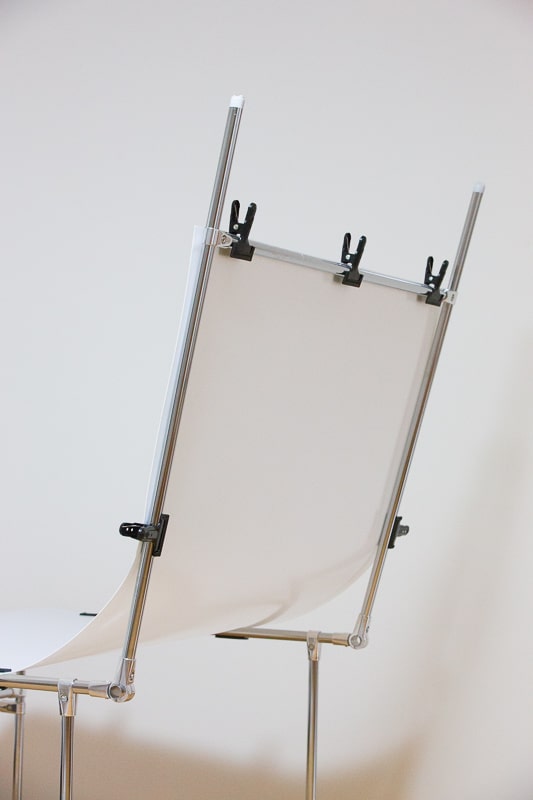
Against a white background
Just as in the previous article about the mini-studio, even on this larger scale it’s no problem to take a (larger) piece of paper or a foldable plastic sheet—as shown in the illustration. If the sheet is glossy then it also provides reflections, which can give you an interesting look. But keep in mind that if you’re going to be shooting at a low angle, a large part of the sheet will be in the bottom part of the photo, and unless it’s perfectly straight, the reflection will be deformed. But usually the area right around the product is fine, so it’s enough to just crop the picture at an appropriate distance. While this will rob you of part of the reflection, its mostly undeformed upper portion will remain.
You can position lights however you want and very precisely. Softboxes are generally what’s used to create soft lighting. Using two softboxes on opposite sides eliminates most shadows and also gives objects a textured look.
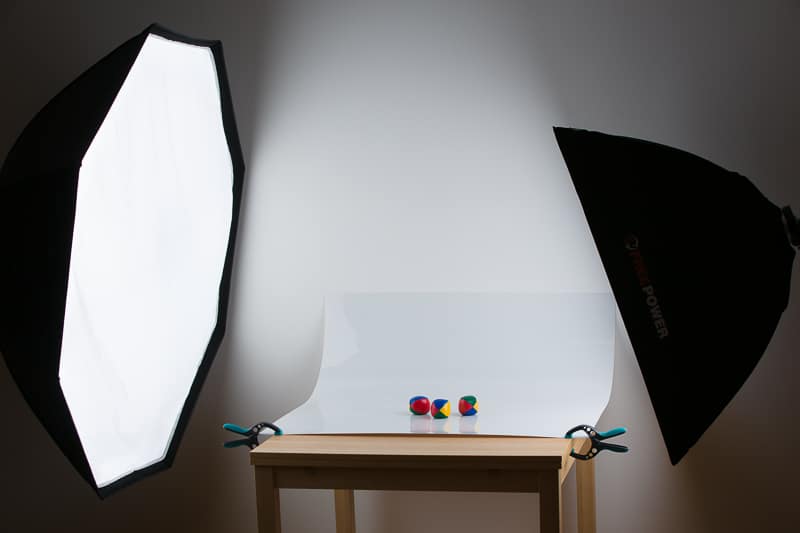
Depending on the situation, you can also use a single light to empasize shadows, or two lights at different angles, or a third for stronger lighting, etc.
If you are photographing in a small room, highly reflective objects are a problem. Light that hits the walls (and you, the photographer) is all reflected in some degree back on the object. We’ll talk about fighting that, as far as it’s possible, in a future article.
Against a white background inside a diffusion box
A diffusion box, also called a lighting tent, is a common alternative to the setup above. It simplifies work with mildly reflective objects, because it hides surroundings that could otherwise be distracting. (Strongly reflective objects are a problem even with a box.) It’s also nice that you won’t need a softbox, since the walls of the diffusion box naturally diffuse light, and diffuse it from all sides, eliminating potential problems with dark shadows. Although you can’t control light very precisely here, as long as you only want a simple photo against a white background, you don’t need fine control. Meanwhile you can use almost any light and always get a very good-looking picture.
Commercially-available diffusion boxes typically come with both a white and a black background, making them usable in a wider range of situations than it can at first seem. There’s also a variety of Internet guides to building your own box, so you can hack together an improvised version quite cheaply.
It’s also no problem to put a plastic sheet inside the diffusion box to get the benefits of both the box and the sheet.
A shooting table for an even whiter background
A shooting table is a special alternative that’s especially useful when you want your background truly 100% white with absolutely no shadows. The standard varieties use a board made out of a translucent material, enabling you to light through it from below.

In the above photo, you can still see the light coming from below. If even that is too much, you can take advantage of the fact that shooting tables are specially contructed and that for horizontal shots, no pipes or other supports are in the optical path beyond the board. So it’s easy to replace the board with a fully transparent one and use a separate light to push the illumination back to the background beyond the table (e.g. to the wall).
Shooting tables, too, can be bought readymade or built at home (a home-built table was used for the pictures here).
A Word in Closing
That’s it for photography against a white background. If you have more complex needs, then keep your eyes open for our upcoming article on more complex backgrounds and effects.
There are no comments yet.