[Infographic] Selection Tools
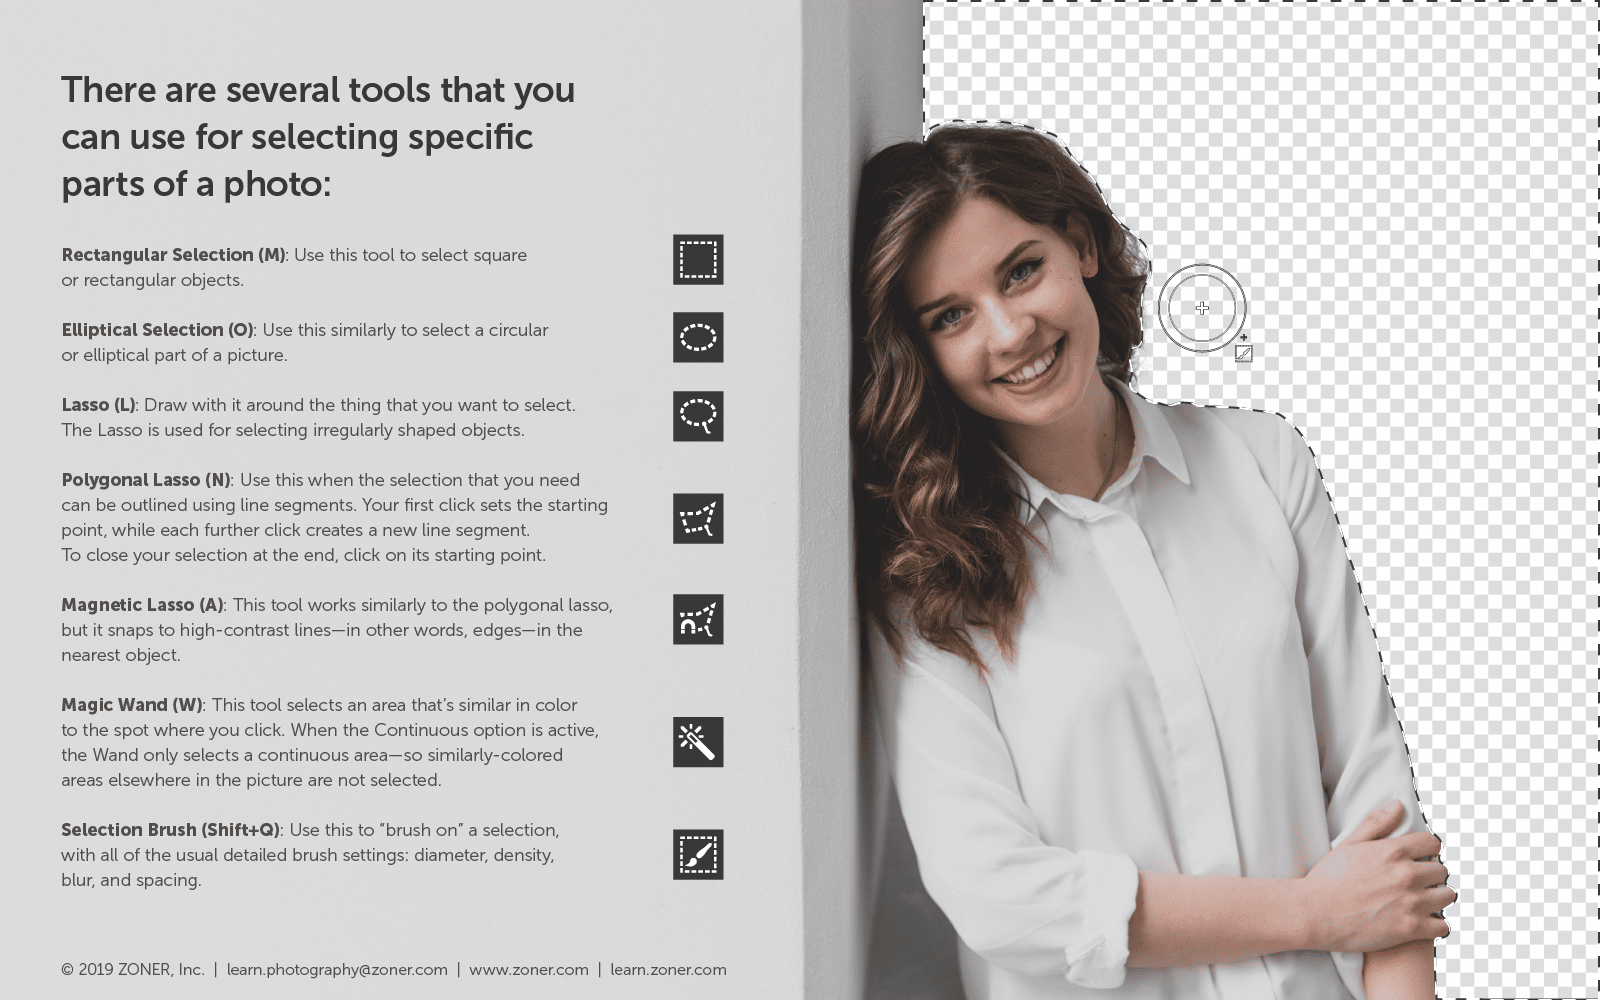
Creating the perfect picture is often a matter of luck. But you can use selection tools to create your own luck. In Zoner Studio, there’s nothing easier than using one or more of these tools to select just the part of a picture that you want to edit.
So you can use the selection tools when fixing absolutely any imperfection—from backgrounds that are too sharp to skies that are too bright to objects that are the wrong color.
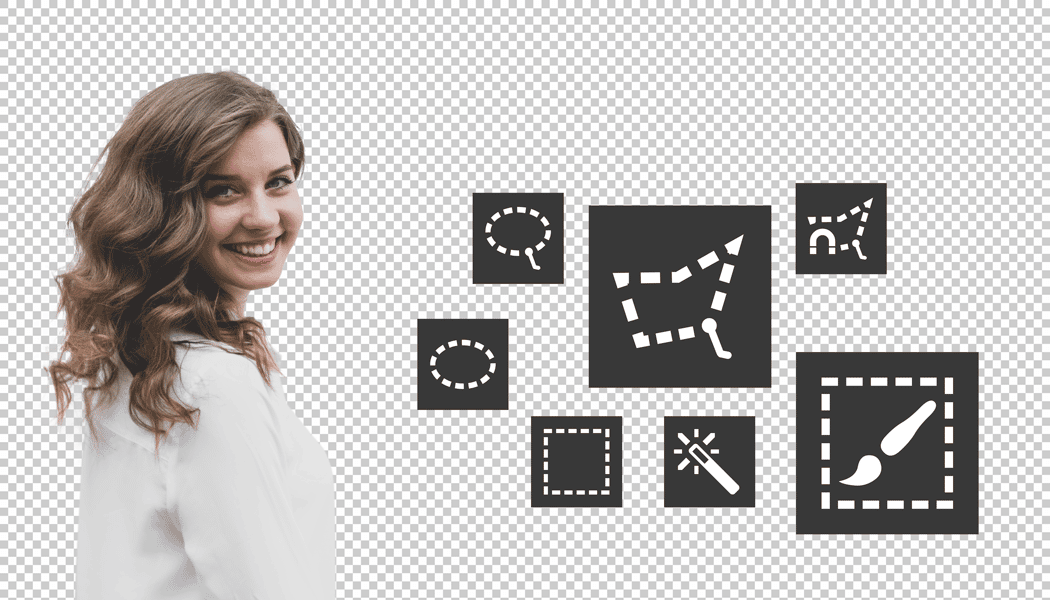
Selection tools are used to select a certain part of a picture that you want to work with separately. But you can also use them in the opposite direction—for marking the part of a picture that you don’t want to work with. The selection tools in Zoner Studio are available through the Selection Tools icon in the Editor’s right panel.
You can also download this infographic as an easy-to-print PDF. Just click the button below:
There are no comments yet.