ISO Settings for Night Photography: Long Exposures and Handheld Action Shots
Night photography is always a balance between light, noise, and sharpness. The right ISO setting helps you capture sharp images even without flash—whether you’re using a tripod or shooting handheld. In this article, you’ll find tips on ISO settings for night cityscapes, action shots, and astrophotography. You’ll also learn when to lower ISO and when it’s safe to increase it.
In this article, you’ll learn:
- What ISO settings to use for night photography with a tripod.
- ISO settings for action shots at night.
- How to photograph in the city at night without a tripod.
- What ISO to use for photographing stars and the Milky Way.
- When it pays to use Auto ISO.
- How to find the right balance between noise and sharpness.
Cameras also have automatic ISO. However, Auto ISO can’t read your mind and doesn’t know what you’re trying to capture. It’s often better to set ISO manually, or at least guide Auto ISO with more detailed settings.
Let’s look at the different situations you might encounter, from the simplest to the most demanding.
ISO settings for static night scenes with a tripod
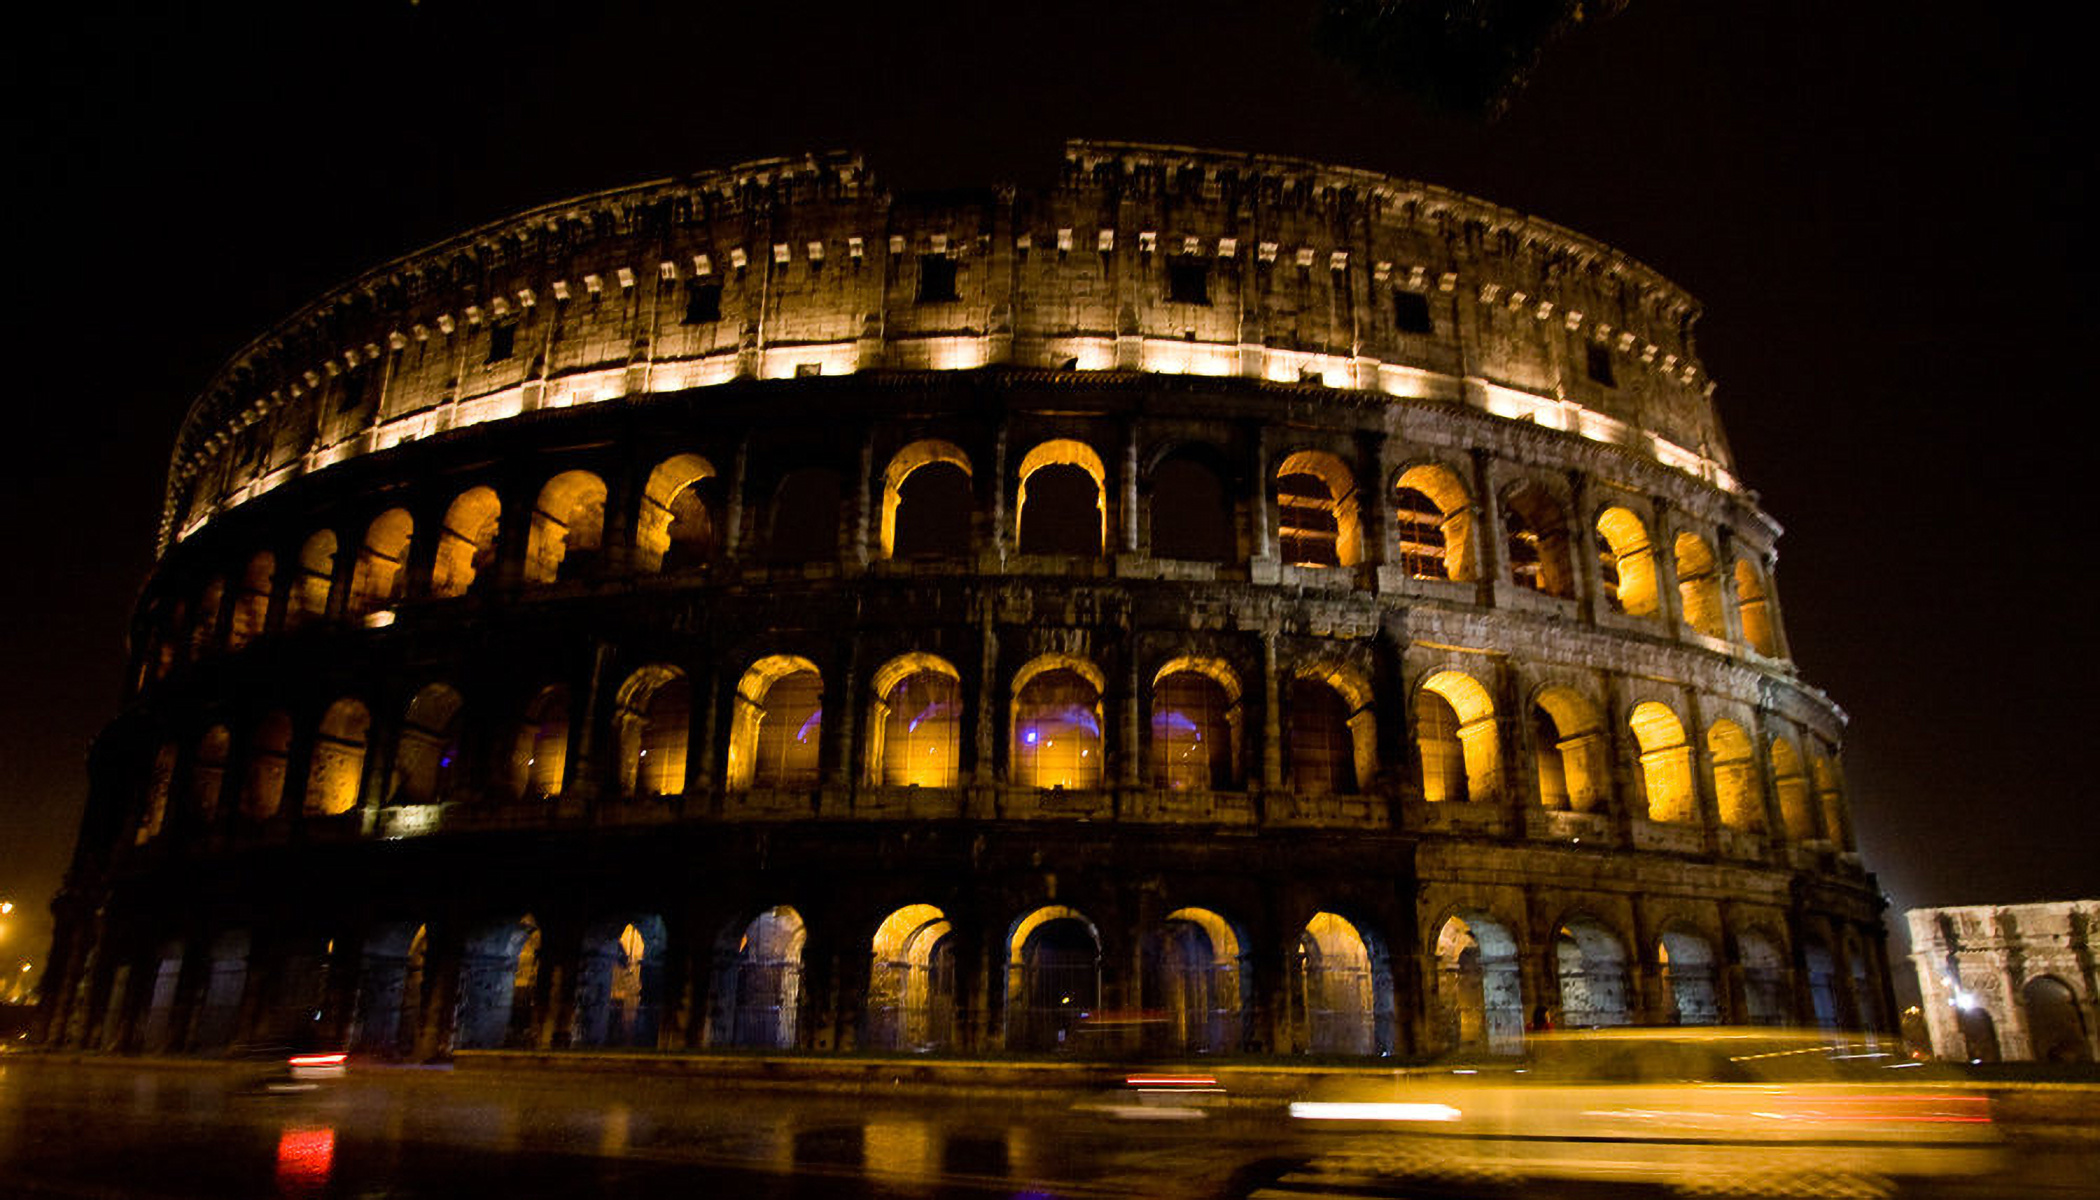
You’re standing in front of a beautifully lit landmark or city skyline with a camera and tripod. This is the best-case scenario. Set ISO manually to the lowest value (usually around 100). This means you need to capture more light with a longer shutter speed, which is no problem with a tripod. Exposures lasting several seconds or even tens of seconds are easy to handle. You can also use a higher f-number to keep everything pin-sharp.
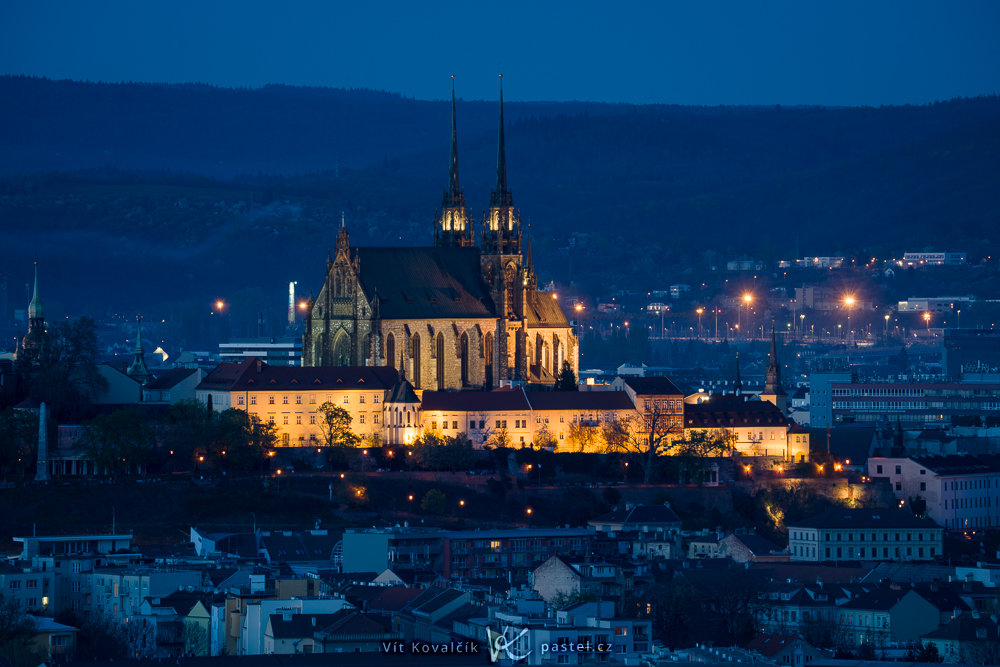
Sony A7R V, Tamron 150-500/5-6.7, 8s, f/11, ISO 100, focal length 352mm
If you want to set a specific ISO value, you don’t have to switch to full Manual mode. You can stay in Aperture Priority mode (A or Av) and adjust ISO using a dial or button. Values range from ISO 100 up to tens of thousands.
For maximum image quality in scenes with both very dark and very bright areas, try shooting multiple exposures and combine them.
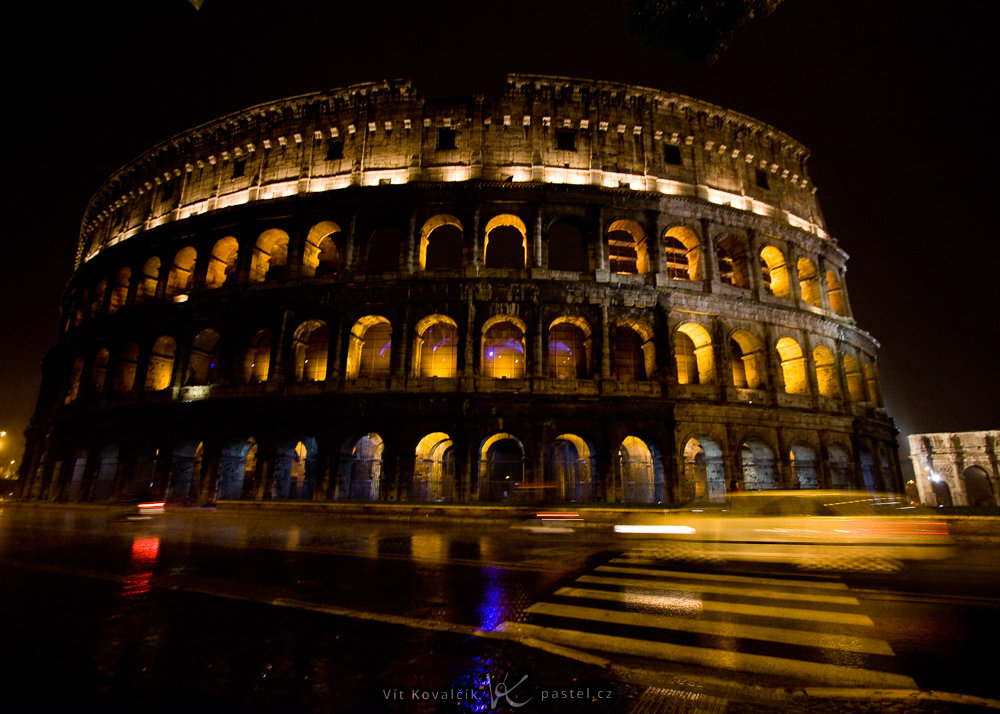
ISO setting for light trails with a tripod
Photographing passing cars, carousels, or other moving objects is easy—as long as you don’t mind motion blur. In fact, it’s often desirable. Long light trails are something you can only capture at night.
Again, keep ISO as low as possible . Then adjust shutter speed and aperture depending on how long you want the light trails to be. It may take a few attempts to fine-tune the settings, but once you do, you’ll get consistently good results.
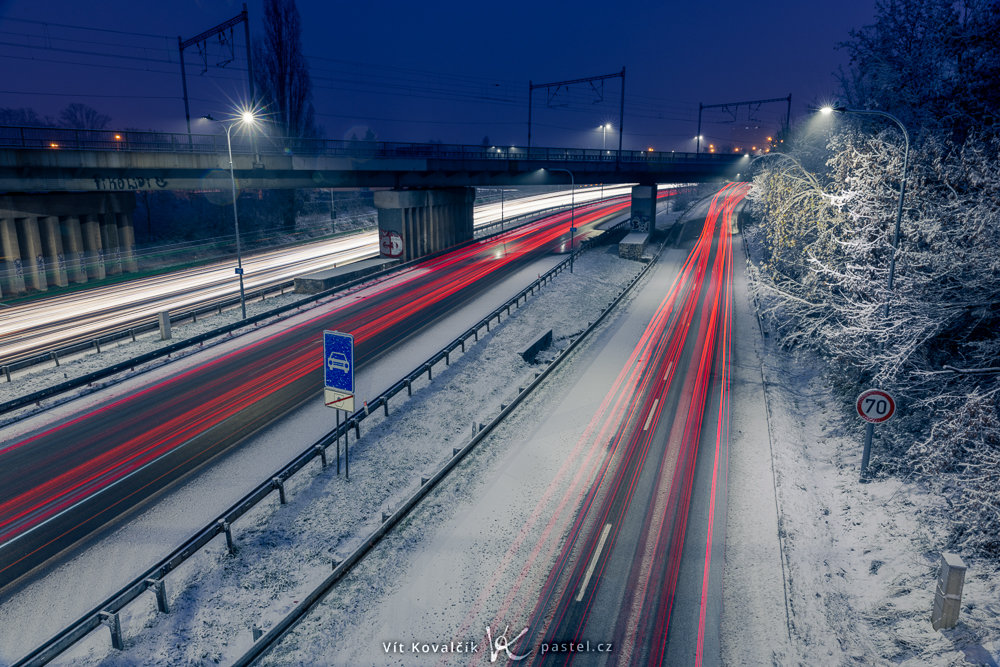
Canon R5, Canon EF 24-70/2.8 II, 15s, f/13, ISO 100, focal length 24mm
ISO settings for night sky photography with a tripod
Night sky photography isn’t quite as straightforward. Stars move across the sky, so to keep them sharp, your shutter speed must stay below a certain limit (often calculated using trial and error). This usually means exposures of a few tenths of a second, so use the lowest f-number your lens allows, and if that’s still not enough, increase ISO.
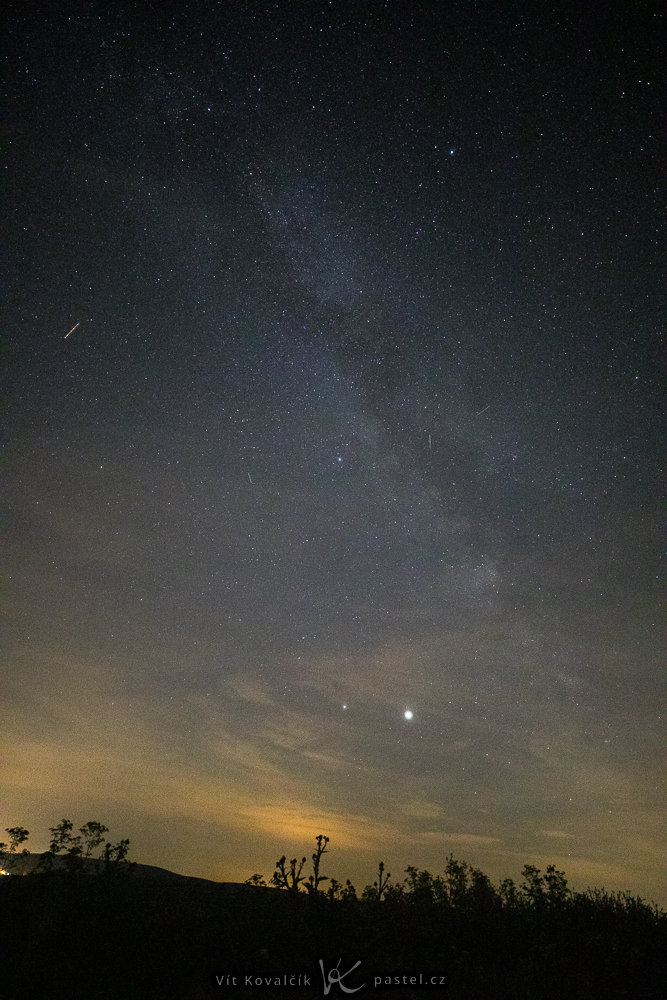
Canon 5D Mark IV, Canon EF 16-35/2.8 III, 3.2 s, f/2.8, ISO 25600, focal length 16mm
Astrophotographers often combine multiple shorter exposures. This helps keep everything sharp or, on the flip side, creates star trails while removing unwanted objects like airplanes or satellites. You can find more details in the article How to Photograph the Stars and the Moon.
ISO settings for handheld night photography
You won’t always have a tripod with you. When you’re out and about with just a camera or phone, you still want to capture the scene.
In that case, you need to balance aperture, shutter speed, and ISO.
Use relatively low f-numbers. Don’t expect a value like f/16, but rather f/5.6 at most.
Shutter speed depends on how effective your camera’s image stabilization is. You can improve stability by leaning against something sturdy, like a wall or railing. This can allow shutter speeds of fractions of a second, sometimes even whole seconds.
Set ISO based on what those settings allow, so your image is reasonably bright. You’ll often end up at ISO 1600 or higher.
Take a test shot and adjust based on the result:
- Too dark—use a lower f-number, slower shutter speed, or higher ISO.
- Too bright—lower ISO, use a faster shutter speed, or open up the aperture.
- Blurry—use a faster shutter speed, compensate with a lower f-number or higher ISO.
- Grainy—lower ISO is possible; otherwise, accept some noise rather than blur.
Canon 40D, Canon EF-S 10-22/3.5-4.5, 1/8s, f/3.5, ISO 800, focal length 10mm
ISO settings for night photography with moving subjects
This is one of the most challenging situations and most commonly includes moving people.
There’s little light, but you still need to freeze motion. You need a relatively faster shutter speed, typically between 1/100 s and 1/500 s. With groups, you can afford slower shutter speeds, but athletes or animals may require even faster shutter speeds.
To avoid pushing ISO too high, use the lowest possible f-number. Fast lenses are a big advantage here.
ISO often needs to be high, usually ISO 3200 or more, sometimes much higher. If that’s what it takes to get a sharp image, the noise is usually worth it.
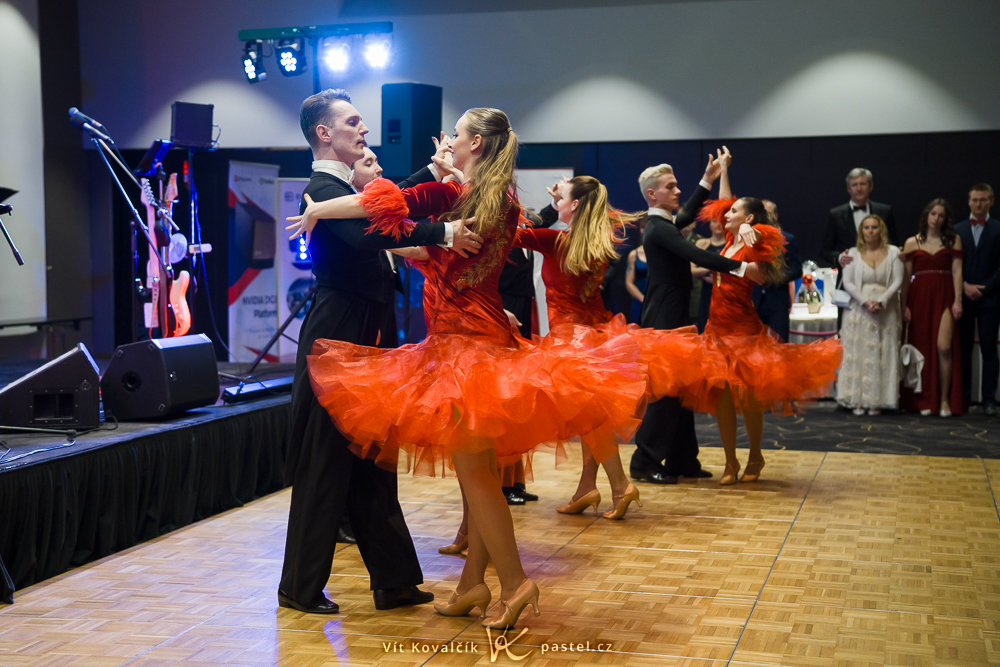
Sony A7R V, Tamron 35-150/2-2.8,1/500s, f/2.5, ISO 4000, focal length 52mm
ISO settings in changing conditions
If you’re moving between bright and dark areas, or just don’t want to constantly adjust ISO, Auto ISO is a practice solution. You give the camera a few settings so it can calculate everything more accurately.
A good approach is to use Aperture Priority mode (A or Av), set your desired aperture, and switch ISO to Auto. The camera then adjusts shutter speed and ISO automatically.
How you refine Auto ISO depends on your camera. Over the years, this feature has evolved, but the basic principle is that the processor tries to calculate the shutter speed, and if it’s too long, it increases ISO until the shutter speed reaches a reasonable value. What constitutes a “reasonable value” depends on the specific camera.
Depending on how old your camera is, you might encounter the following:
- No Auto ISO (but that’s ancient history like the Canon 350D from 2005).
- The minimum shutter speed is based on the focal length and generally follows the classic “1/focal length” rule—meaning, the longer the telephoto lens, the faster the shutter speed needs to be. In the menu, you can adjust this using a multiplier to increase or decrease the value.
- For the shutter speed, there’s an option for the minimum value allowed, such as 1/100 of a second.
- For the ISO range, you can set high/low limits.
- Automatic aperture adjustments when limits are reached.
It’s worth exploring these options in the manual, because they can save you a lot of effort.
For example, when photographing people, a minimum shutter speed of around 1/250 s helps avoid motion blur. This is especially true with higher megapixels and when using a telephoto lens. The ISO then stays at the necessary value and even automatically drops when the subject moves into the light.
When shooting interiors with a wide-angle lens, you might allow slower speeds like 1/30 s, sometimes even slower. I don’t worry too much about the exact ISO again. I just check every now and then to make sure auto mode is choosing acceptable values.
Automatic vs. manual ISO
Auto ISO is great for past-faced situations where lighting changes quickly. Manual ISO works for carefully composed shots where you want clean images and minimal noise.
FAQs—ISO settings for night photography
What is the best ISO for night photography?
It depends on the situation. With a tripod, use ISO 100 for maximum image quality. Without a tripod, you’ll typically use ISO 1600-6400 or higher for moving subjects.
Is it better to raise ISO or use a slower shutter speed?
For static scenes on a tripod, use a slower shutter speed and keep ISO low. For handheld shots or moving subjects, increase ISO to maintain sharpness.
How can I avoid noise when shooting at night?
Use the lowest ISO possible, shoot in RAW, and aim for proper exposure right from the start. You can also combine multiple images or apply noise reduction during photo editing.
What ISO should I use for photographing stars?
For photographing stars and the Milky Way, ISO 1600-6400 is typically used, depending on your lens speed and shutter speed.
What is Auto ISO and when should I use it?
Auto ISO adjusts sensitivity based on lighting conditions. It’s useful for photojournalism or shooting rapidly changing light, when you don’t have time to adjust settings manually.
There are no comments yet.