Color Shift: Now for Local Edits Too! Introducing Local Color Shift and Curves Editing
The article is over 5 years old. The information in it may be outdated.
![]()
We are working on its update. In the meantime, you can read some more recent articles.
With the addition of Color Shift this year, Zoner Studio gained a great new tool for adjusting any color needed throughout a photo. But “just” enabling global edits throughout a whole photo wasn’t enough for us, and so we’ve added tools for changing colors locally as well. You can easily select any part of a photo to fine-tune its colors. And that’s not all. With the help of local color-curve editing, you can really bring a photo to perfection. Read on to learn how.
When you go into the Develop module in Zoner Studio, you’ll find both traditional edits to a whole photo, and local tools. Specifically the Gradient Filter, the Radial Filter, and the Filter Brush. They work in basically the same way—but are applied to just one part of the picture. They mainly differ in the shape of the area affected. Besides more traditional adjustments, you can newly use them to locally adjust colors and curves too.
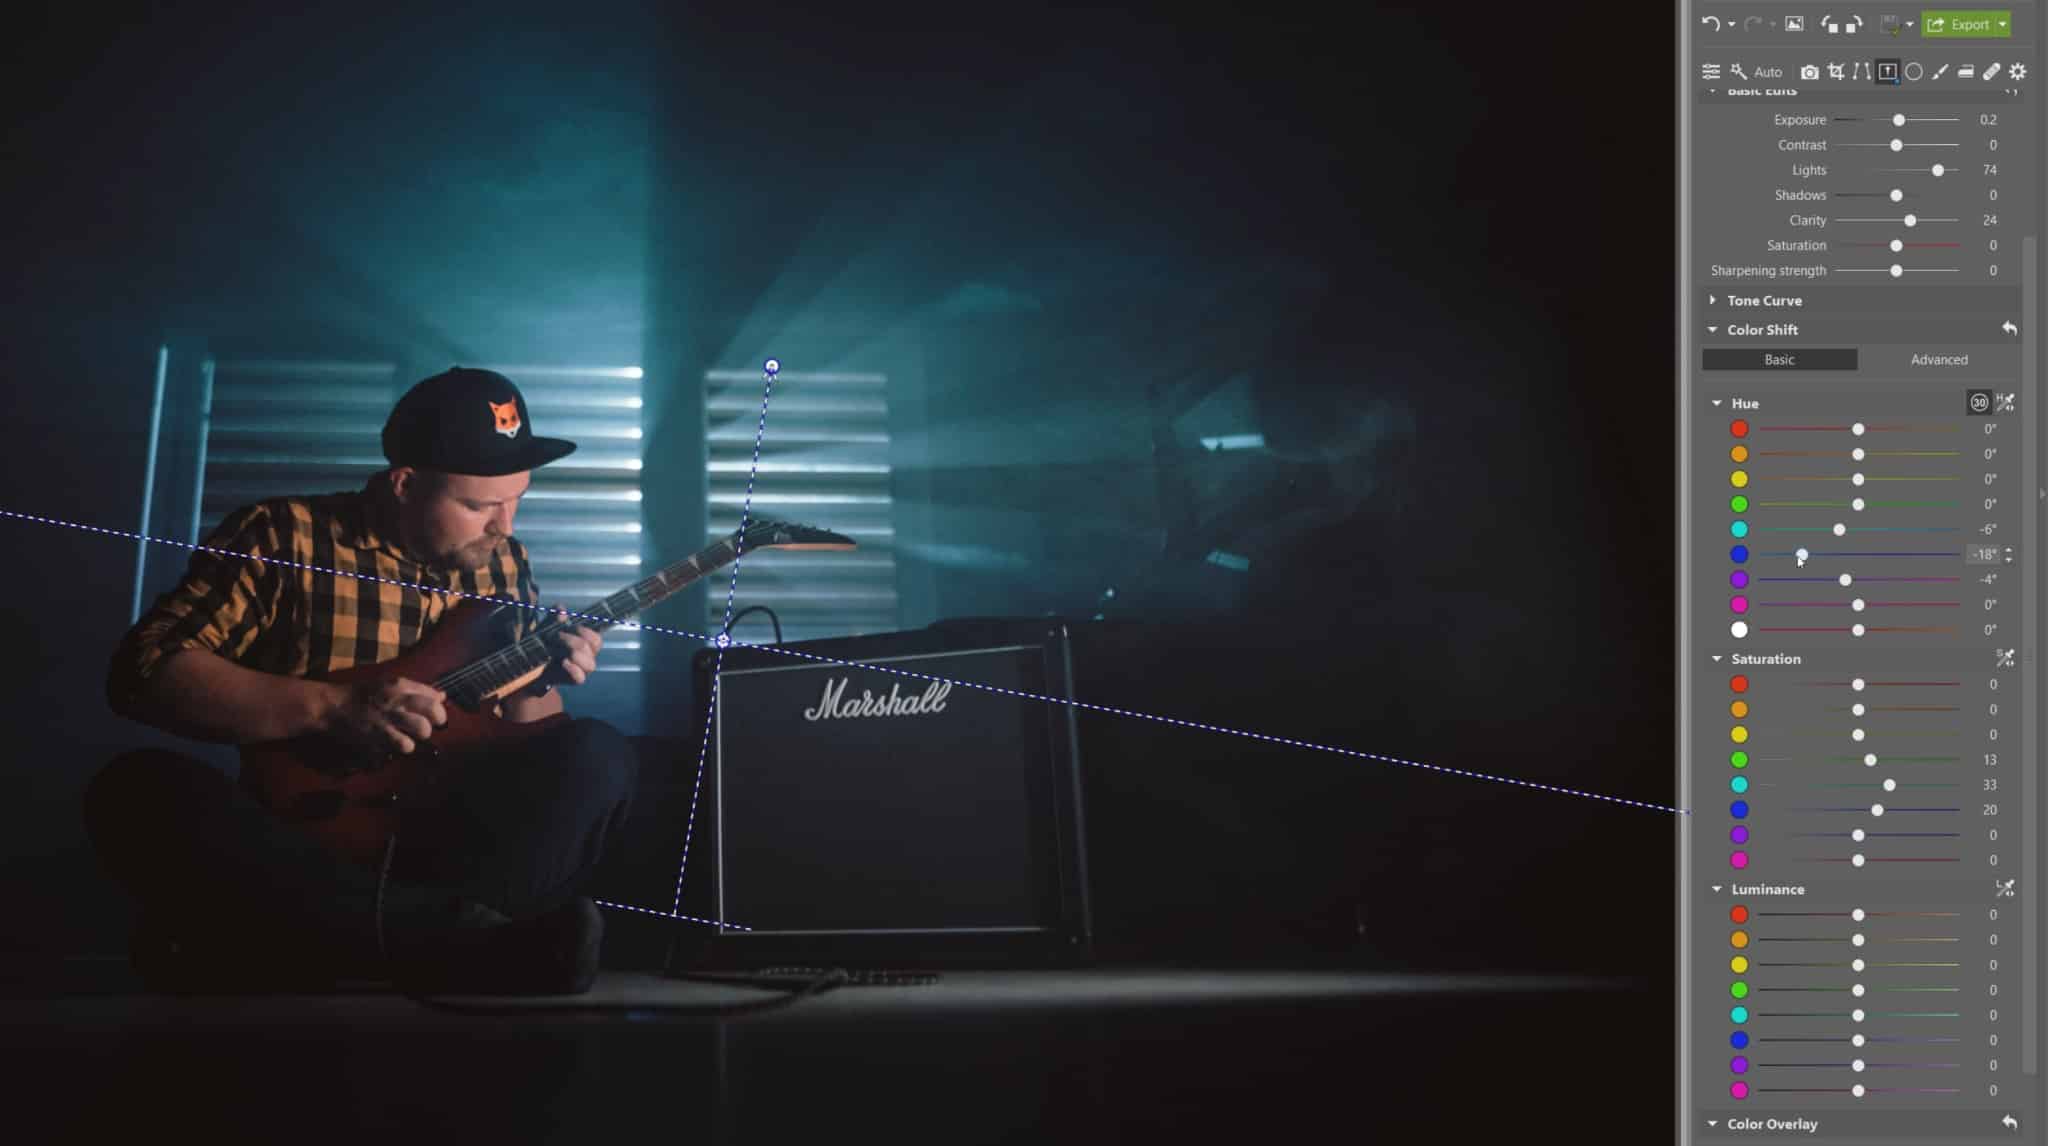
The Gradient Filter
You can use the Gradient Filter to adjust a part of a photo that you define using a gradual linear transition—a gradient. Everything about this gradient is configurable, including how gradual it is. It’s often used for editing skies or other large areas of a photo.
To use it, activate the Gradient Filter tool (G) and then click and drag to position it in the photo. The longer axis sets the gradient’s rotation, while the shorter axis sets its smoothness. You will see a translucent purple area—called a mask—whenever you are working with this filter (or the other local filters in Develop. This makes it clear at first sight where your adjustment will be applied.
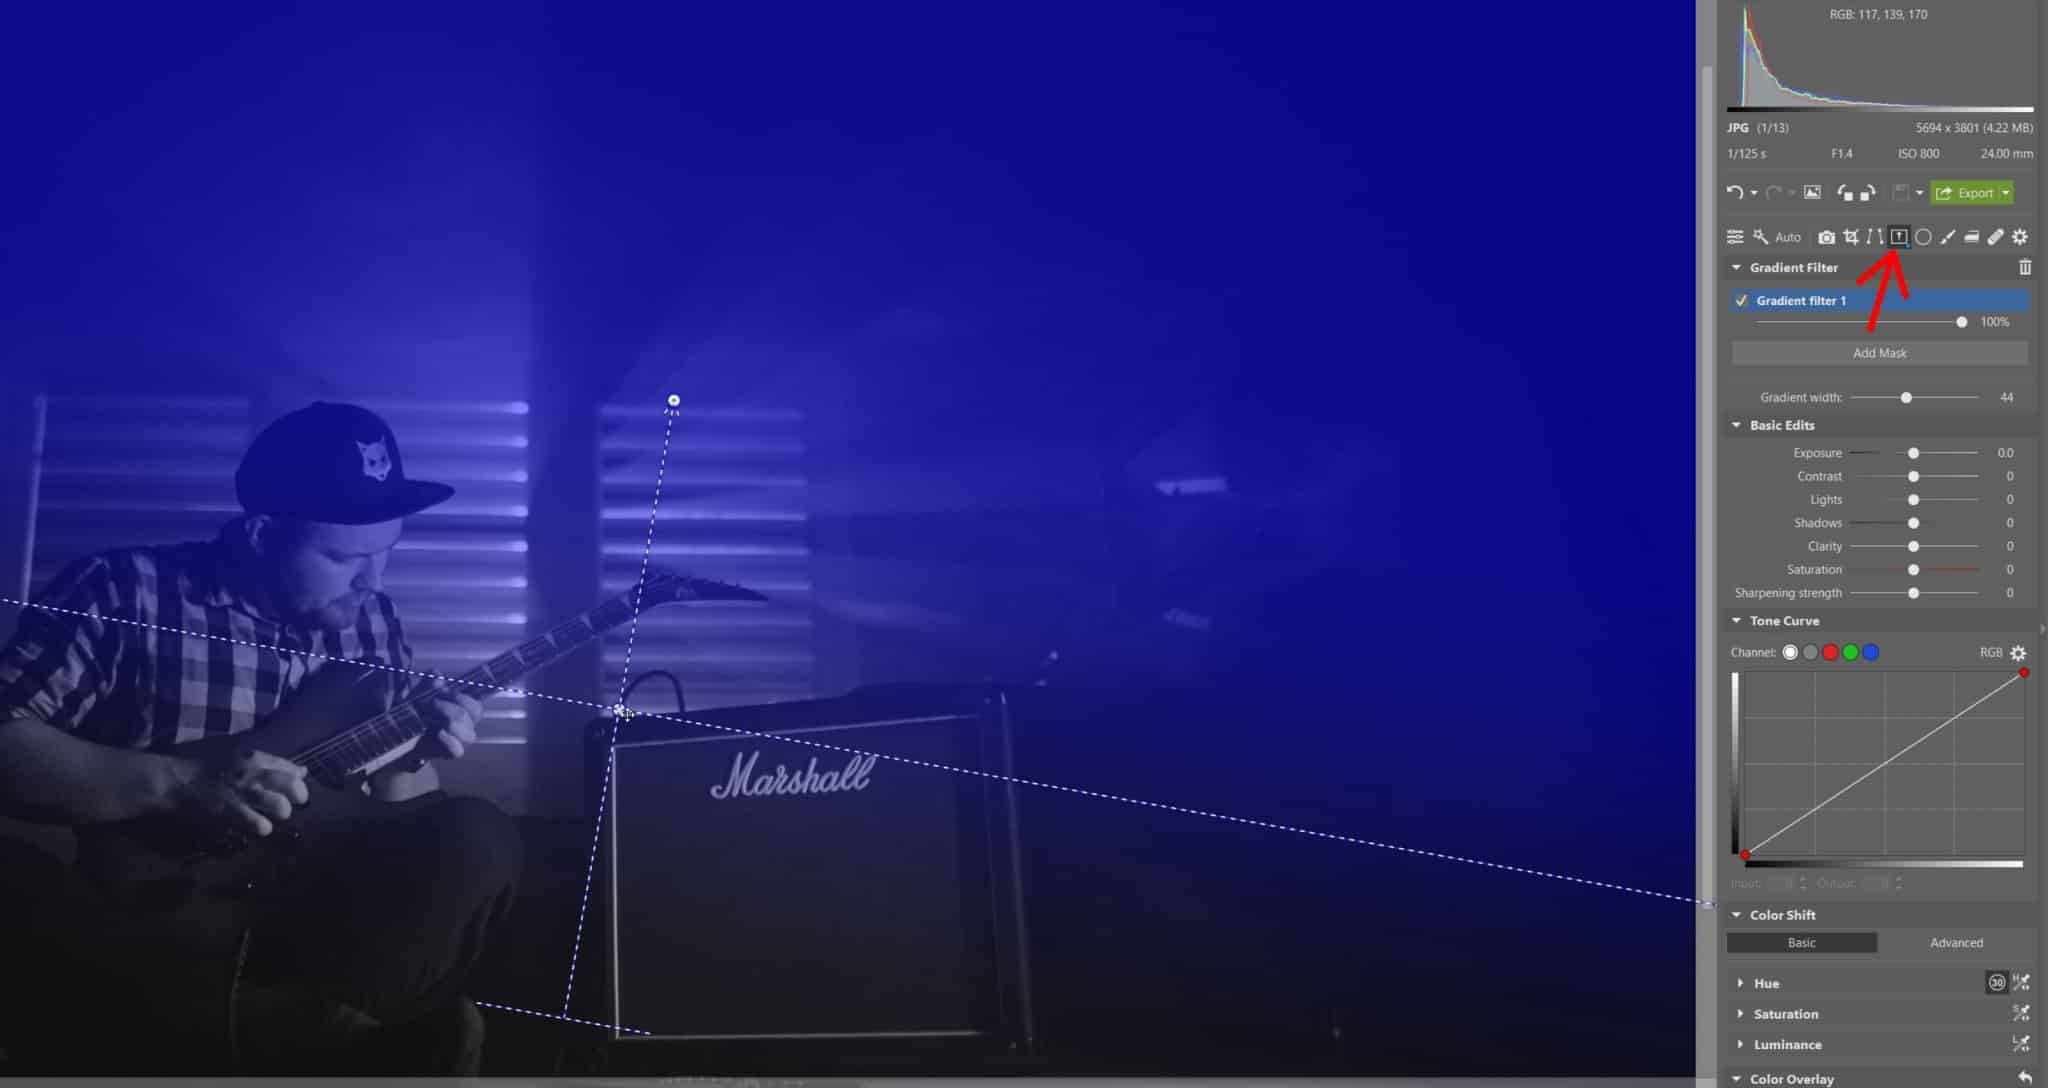
The settings here offer the usual basic adjustments to exposure, sharpening etc. You’ll also find Tone Curve here, and last but not least Color Shift. Use Color Shift to change the Hue, Saturation, and Lightness of any color you want. In this illustration, I’m upping the lightness of the sun rays in the background while slightly adjusting the Hue of blues towards green.
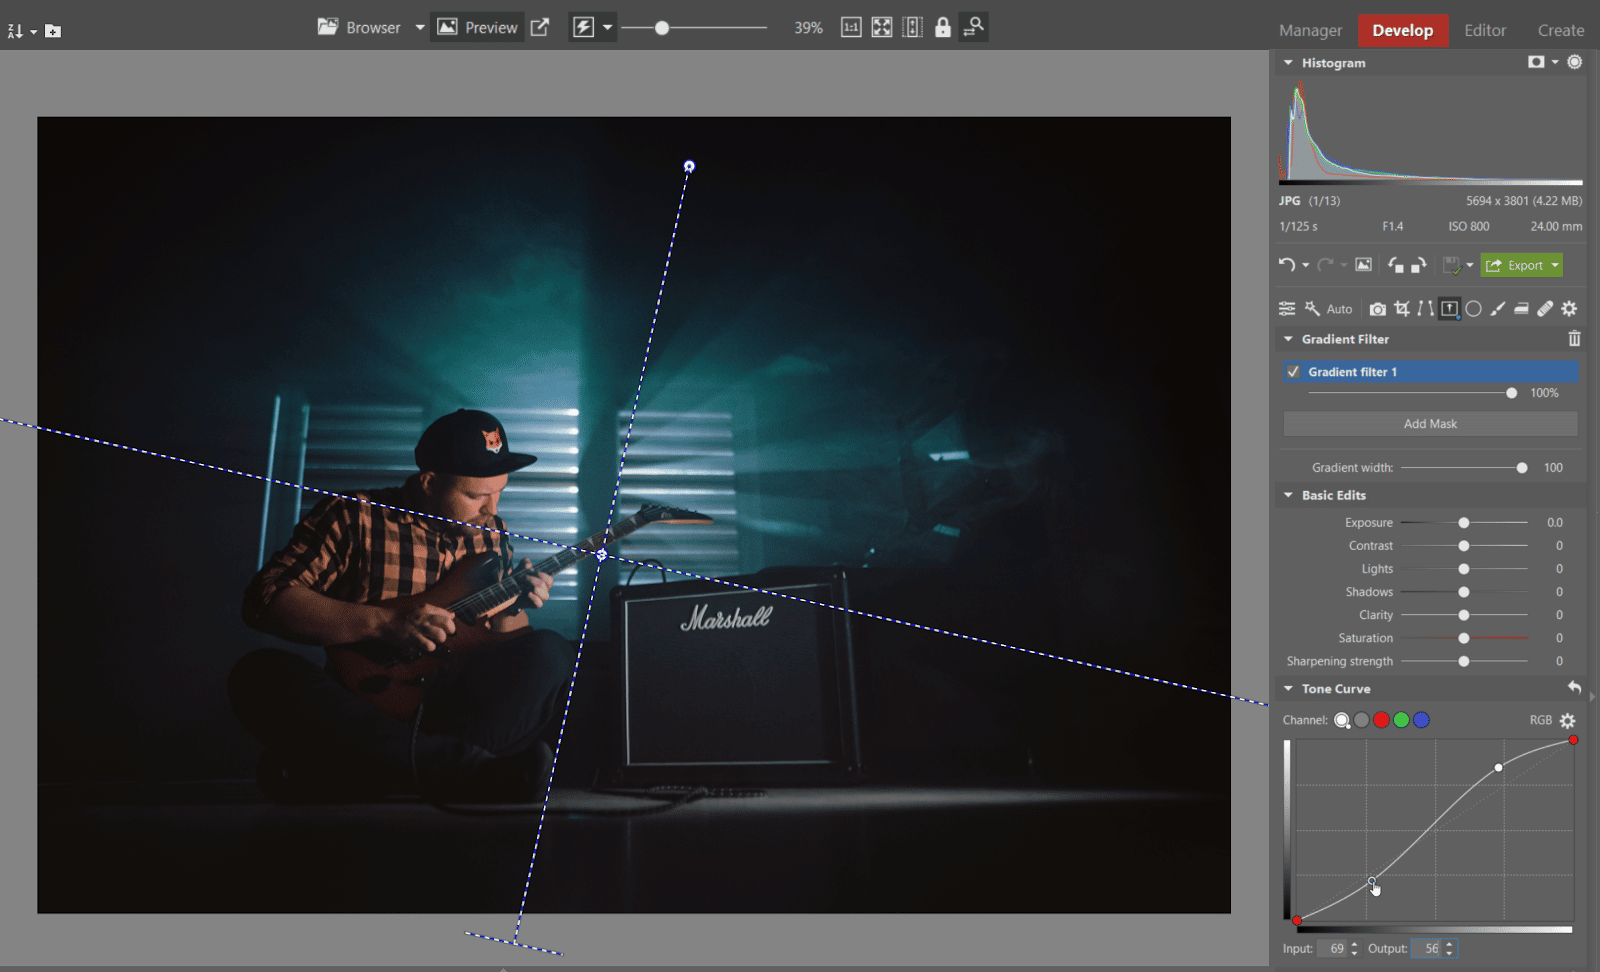
Local Contrast Adjustments Using the Tone Curve
Besides my color edits, I’d also like to locally adjust this picture’s contrast to make the sun rays stand out more. I can handle this problem easily by using the Tone Curve in the Gradient Filter settings.
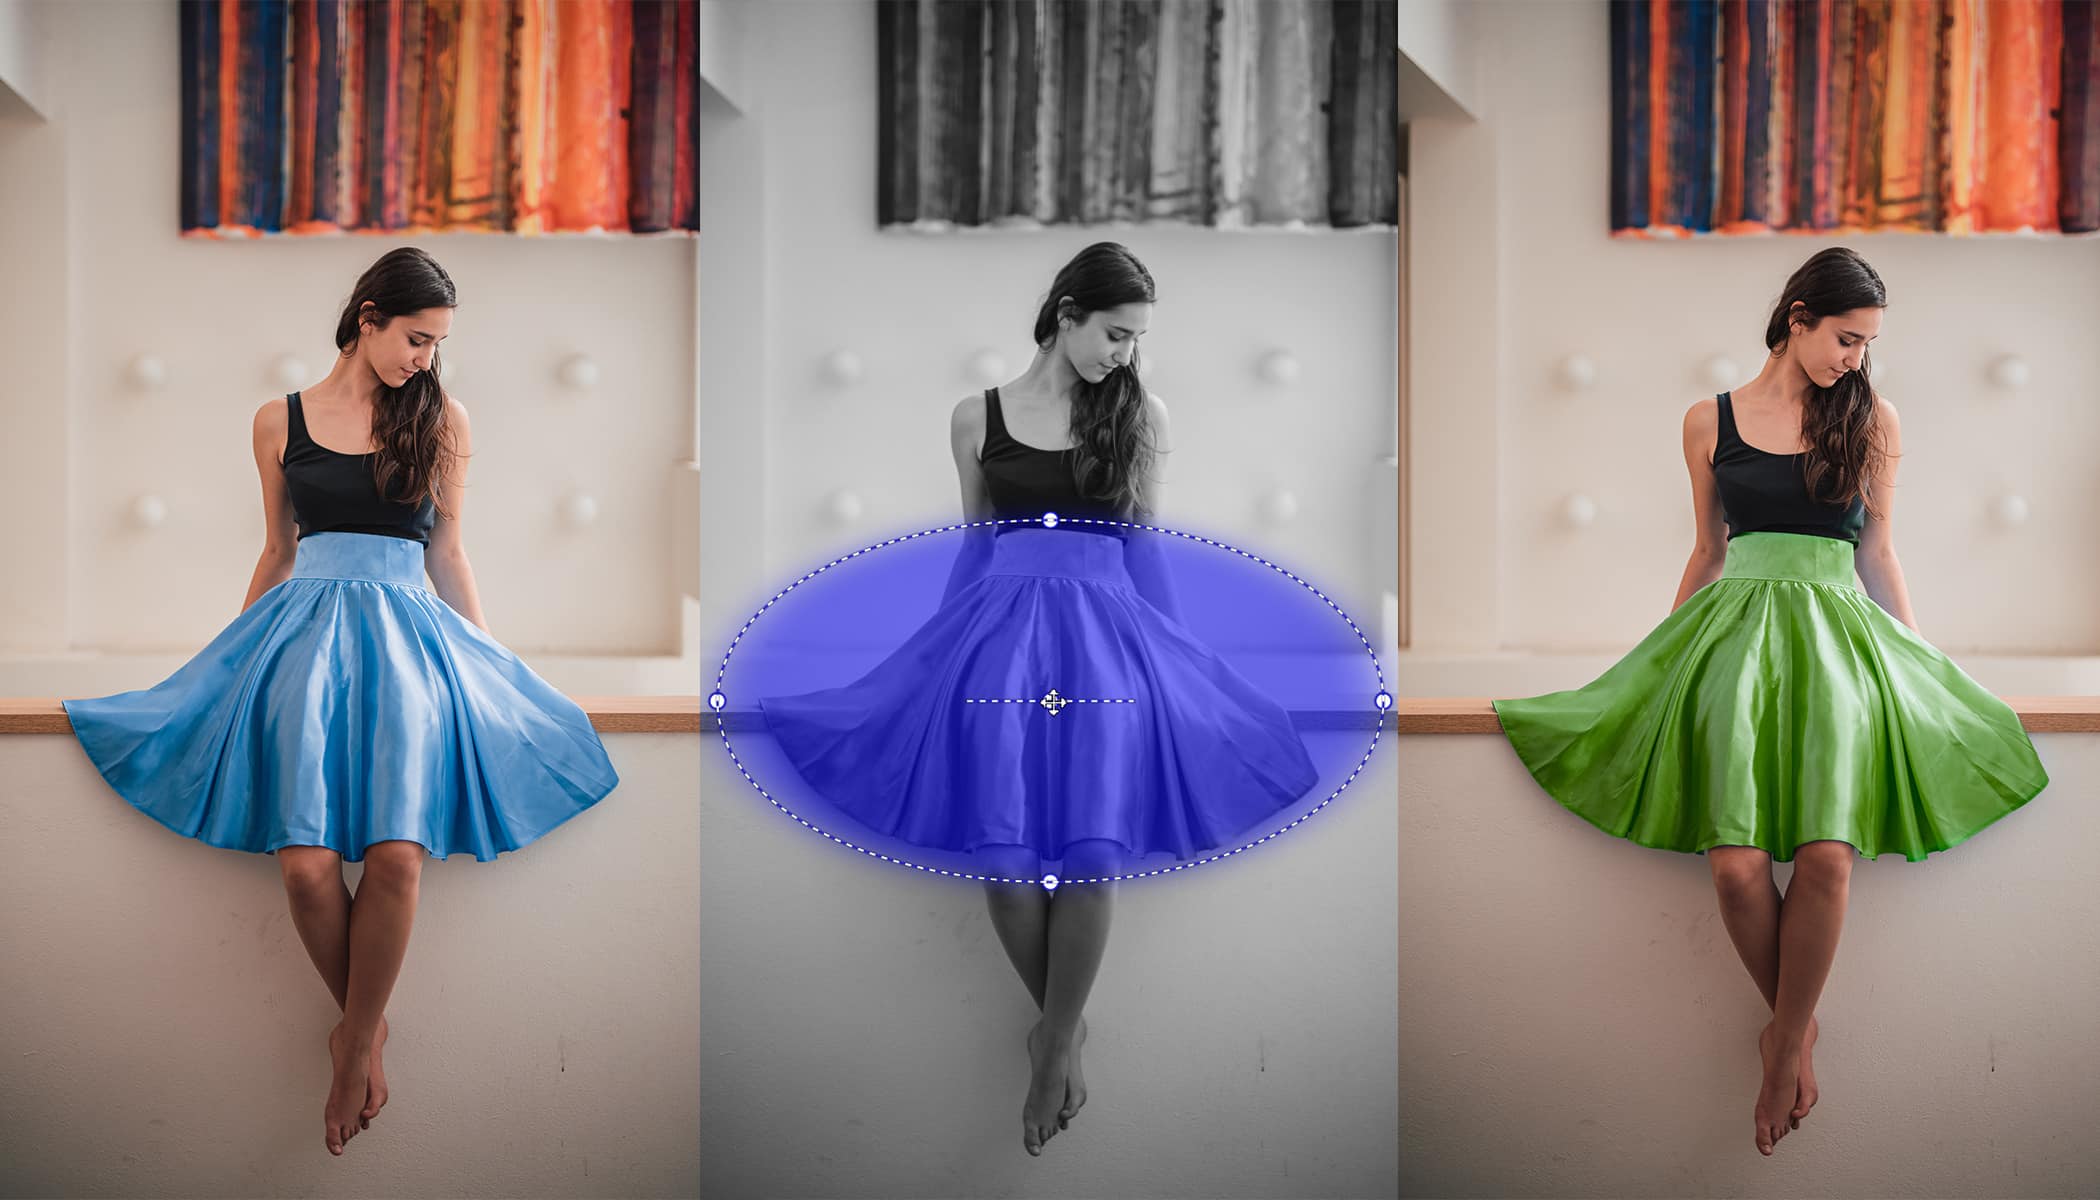
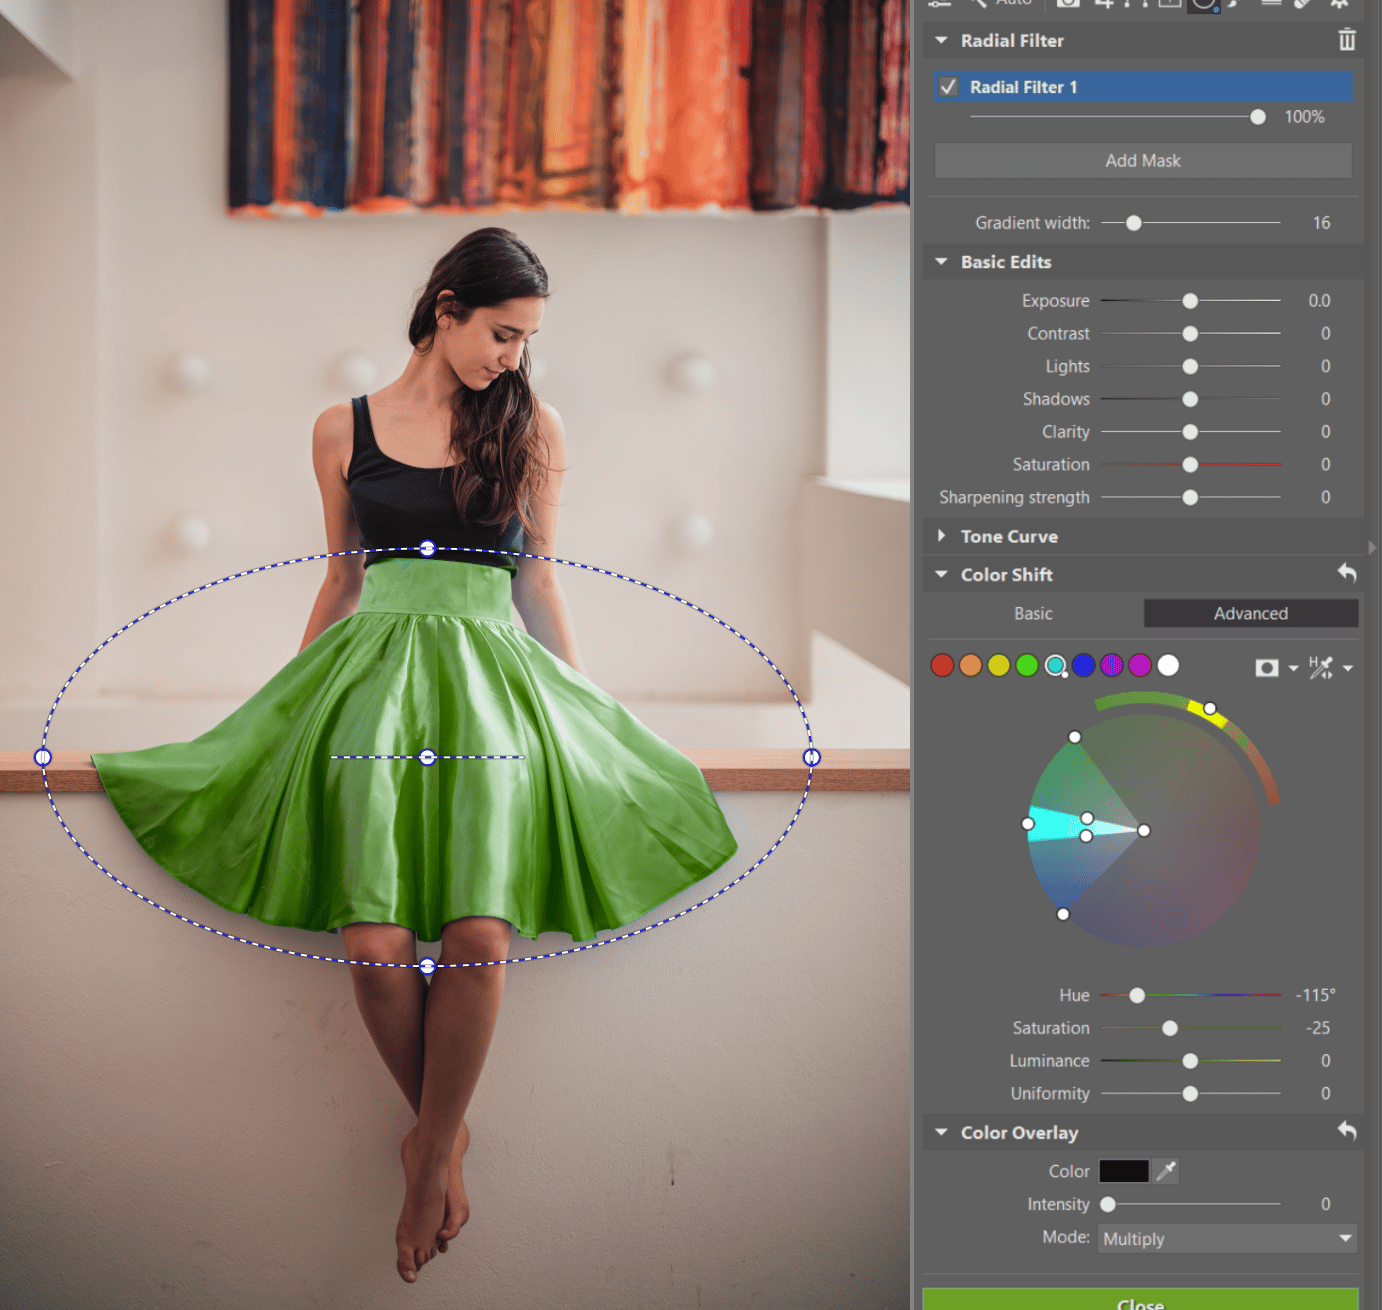
The Radial Filter
Use the Radial Filter (R) when you want to edit something with a round or oval shape. It’s typically used e.g. when editing a portrait to add light and sharpness to the face. But additionally, in combination with Color Shift, it gains a bounty of other uses. For example it’s an invaluable aid for color-related quick fixes.
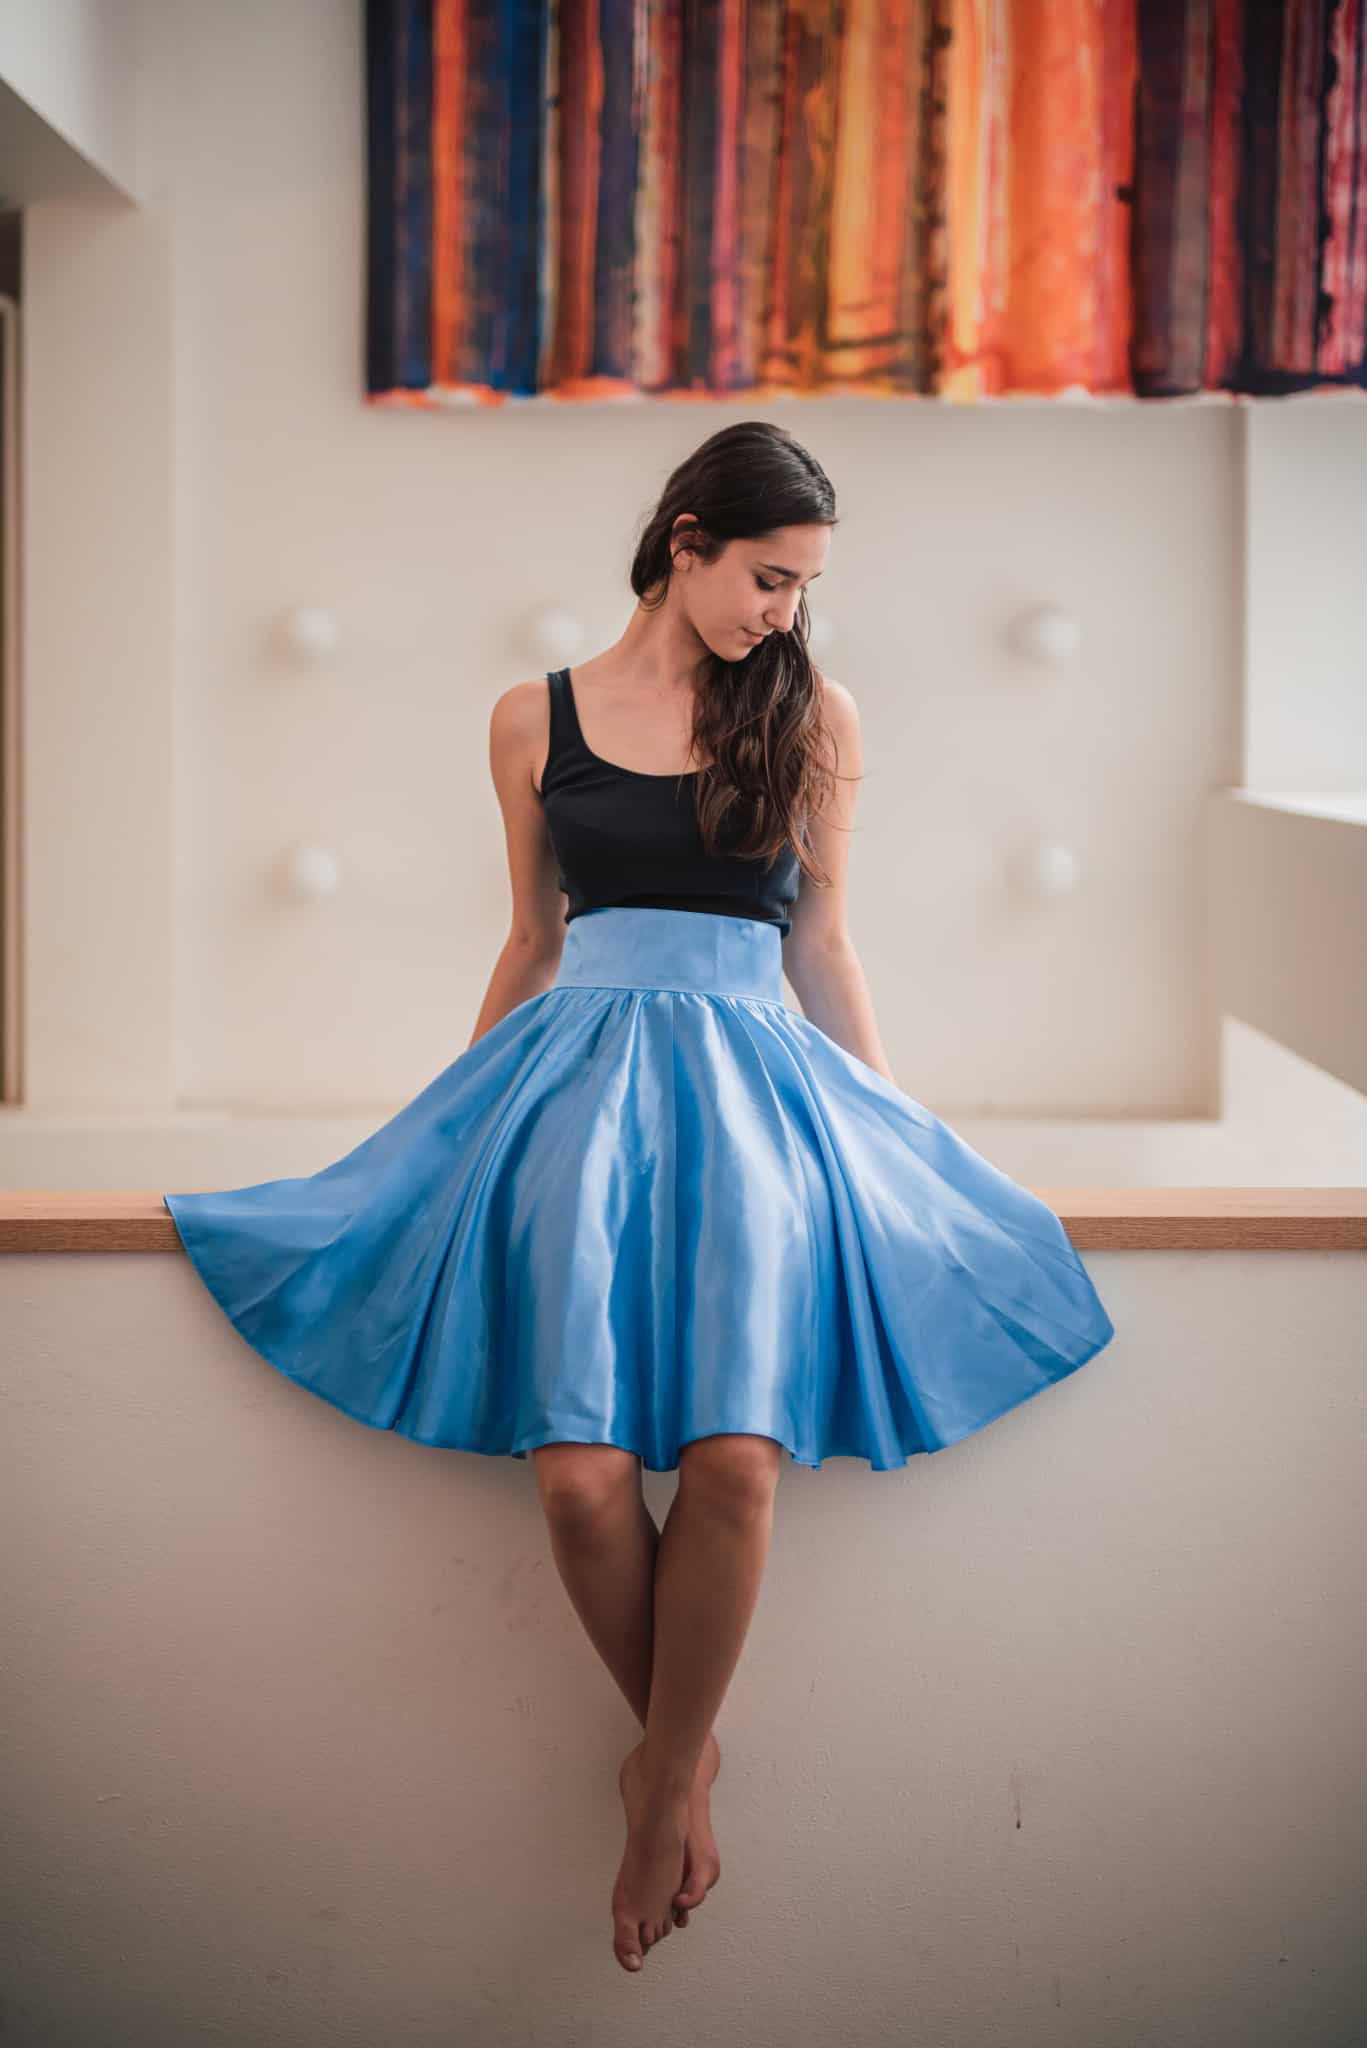
Simply make sure your selected area doesn’t contain anything else with similar tones, and then you can locally change a color in just a few clicks. I’ll illustrate the use of this combo on a photo where I want to change the color of a skirt.
A global adjustment to blue (a change throughout the photo) wouldn’t work, because there are blue tones at the top of the picture too. But there are no blue tones in the skirt’s immediate surroundings, and so I can use the Radial Filter (R) with no worries. I activate this tool and then click and drag to apply it onto the picture.
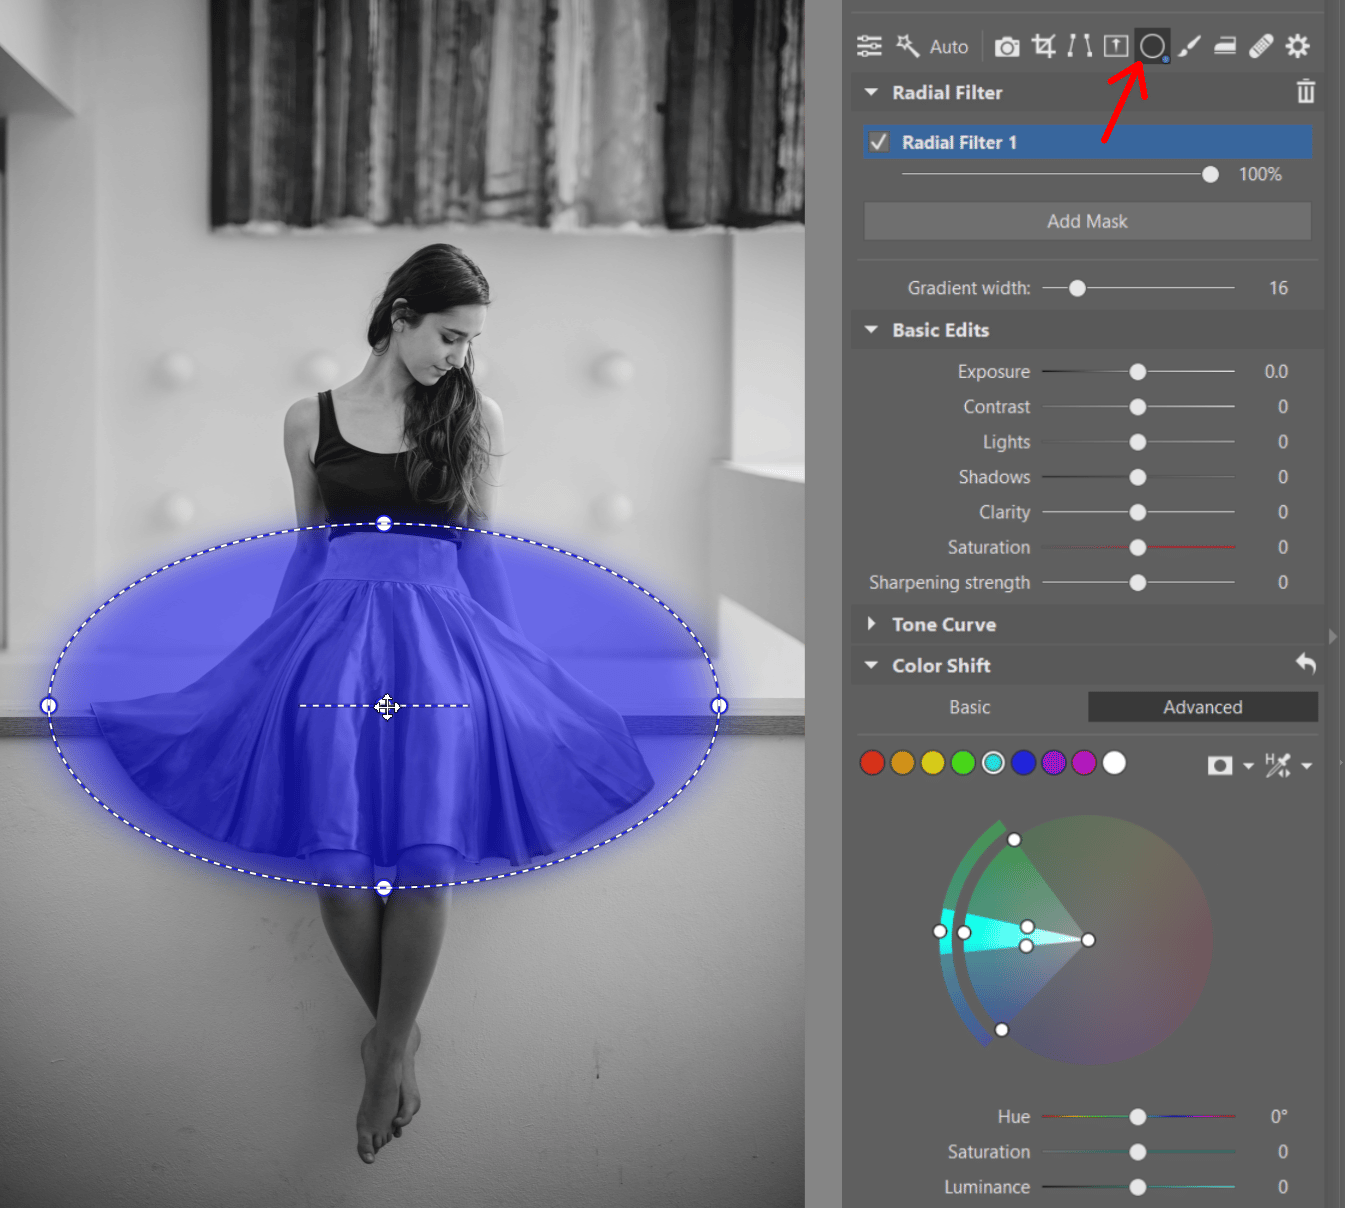
Then I use the eyedropper to suck in the color of the skirt and shift its Hue the way I want.
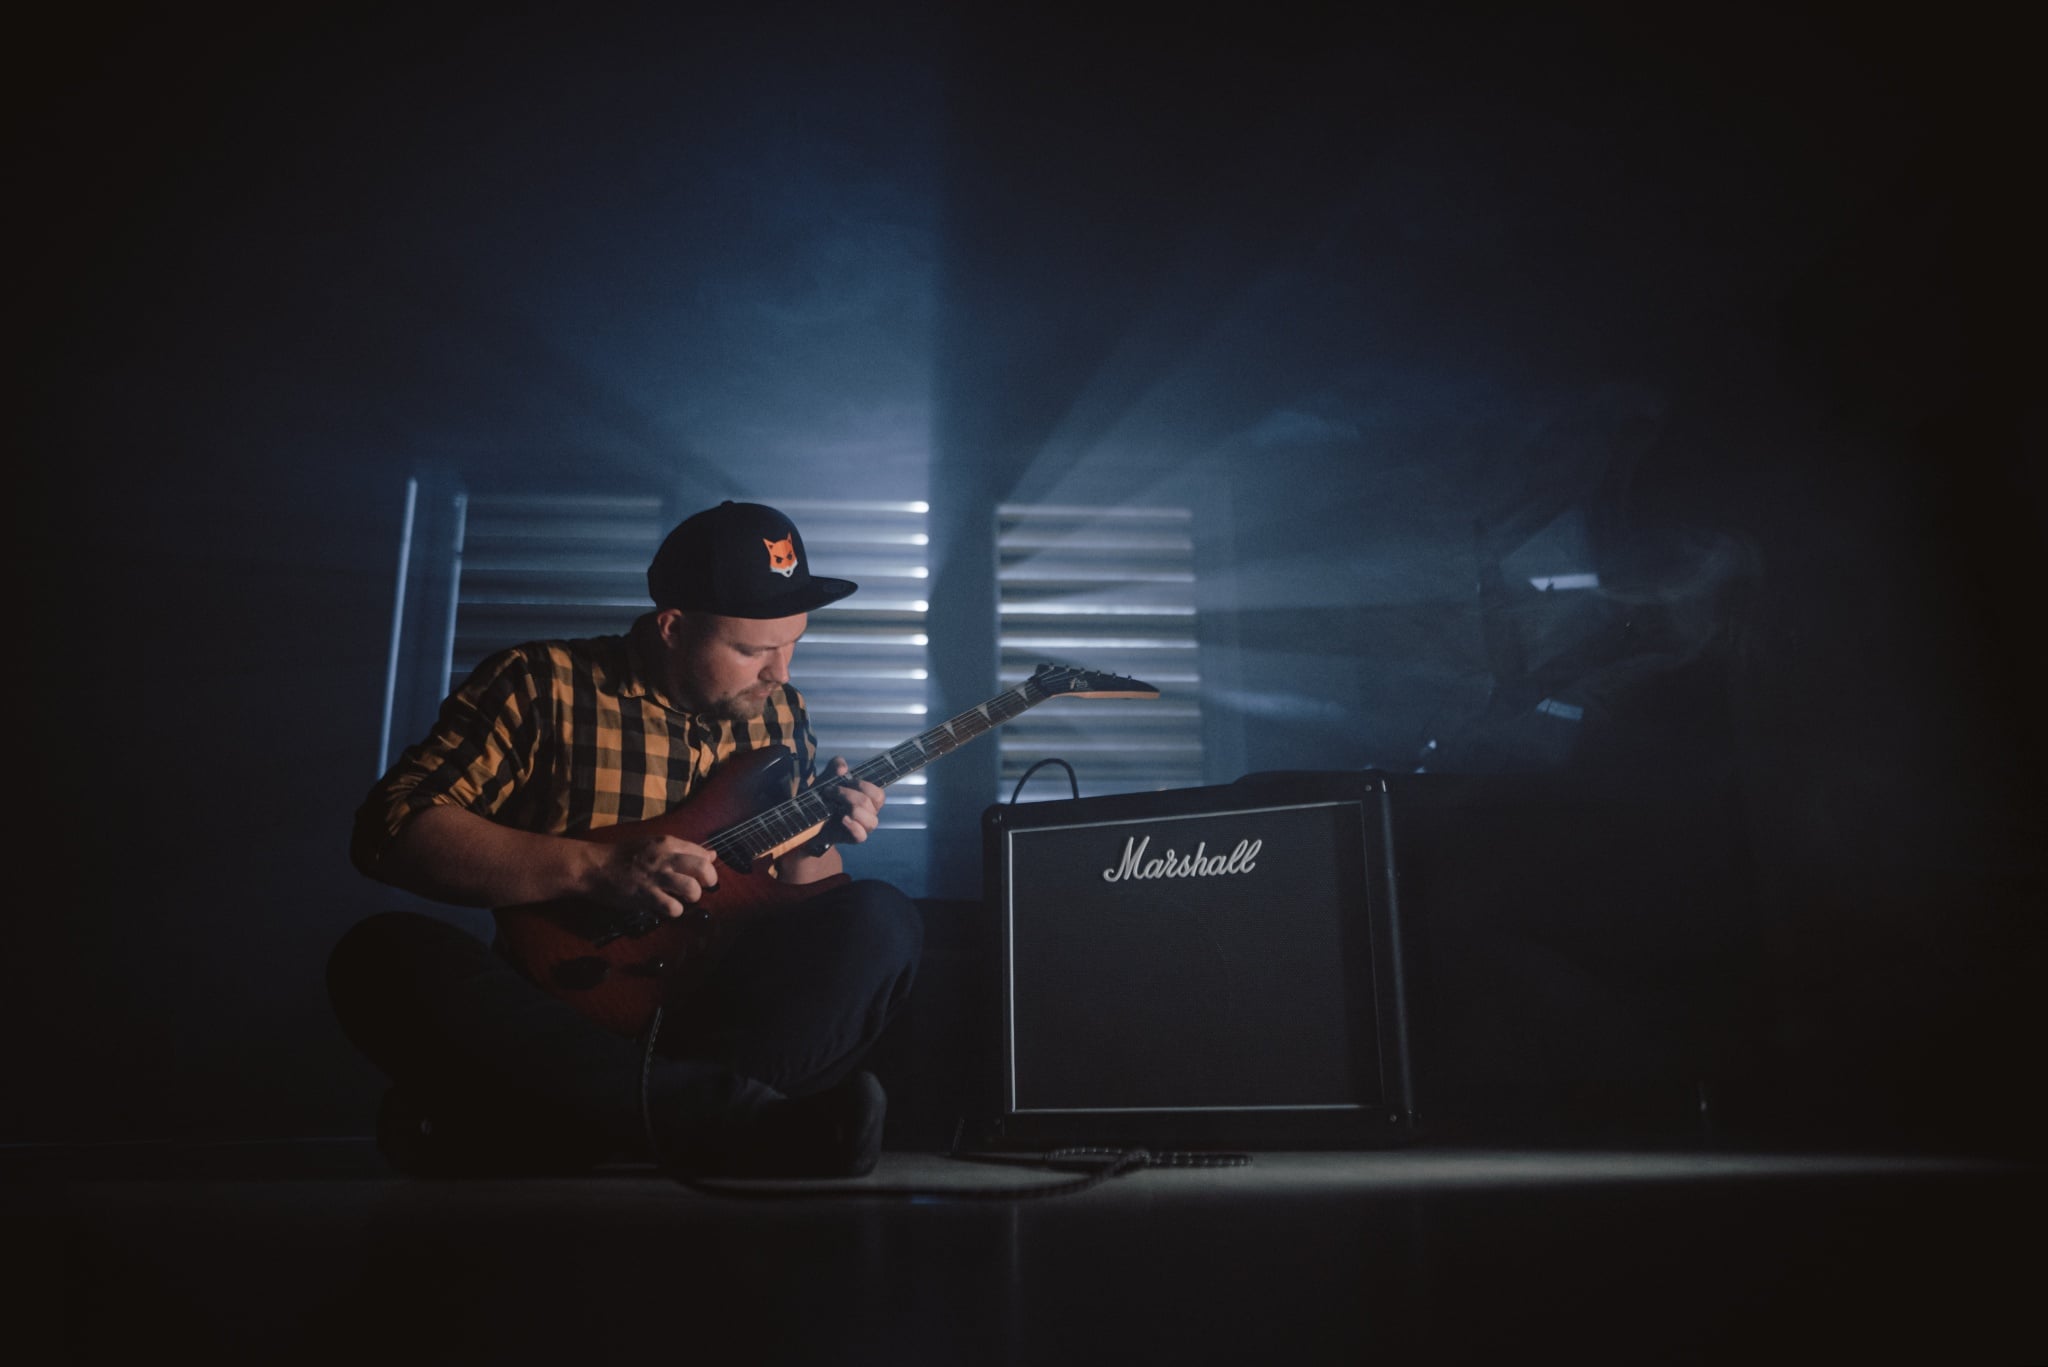
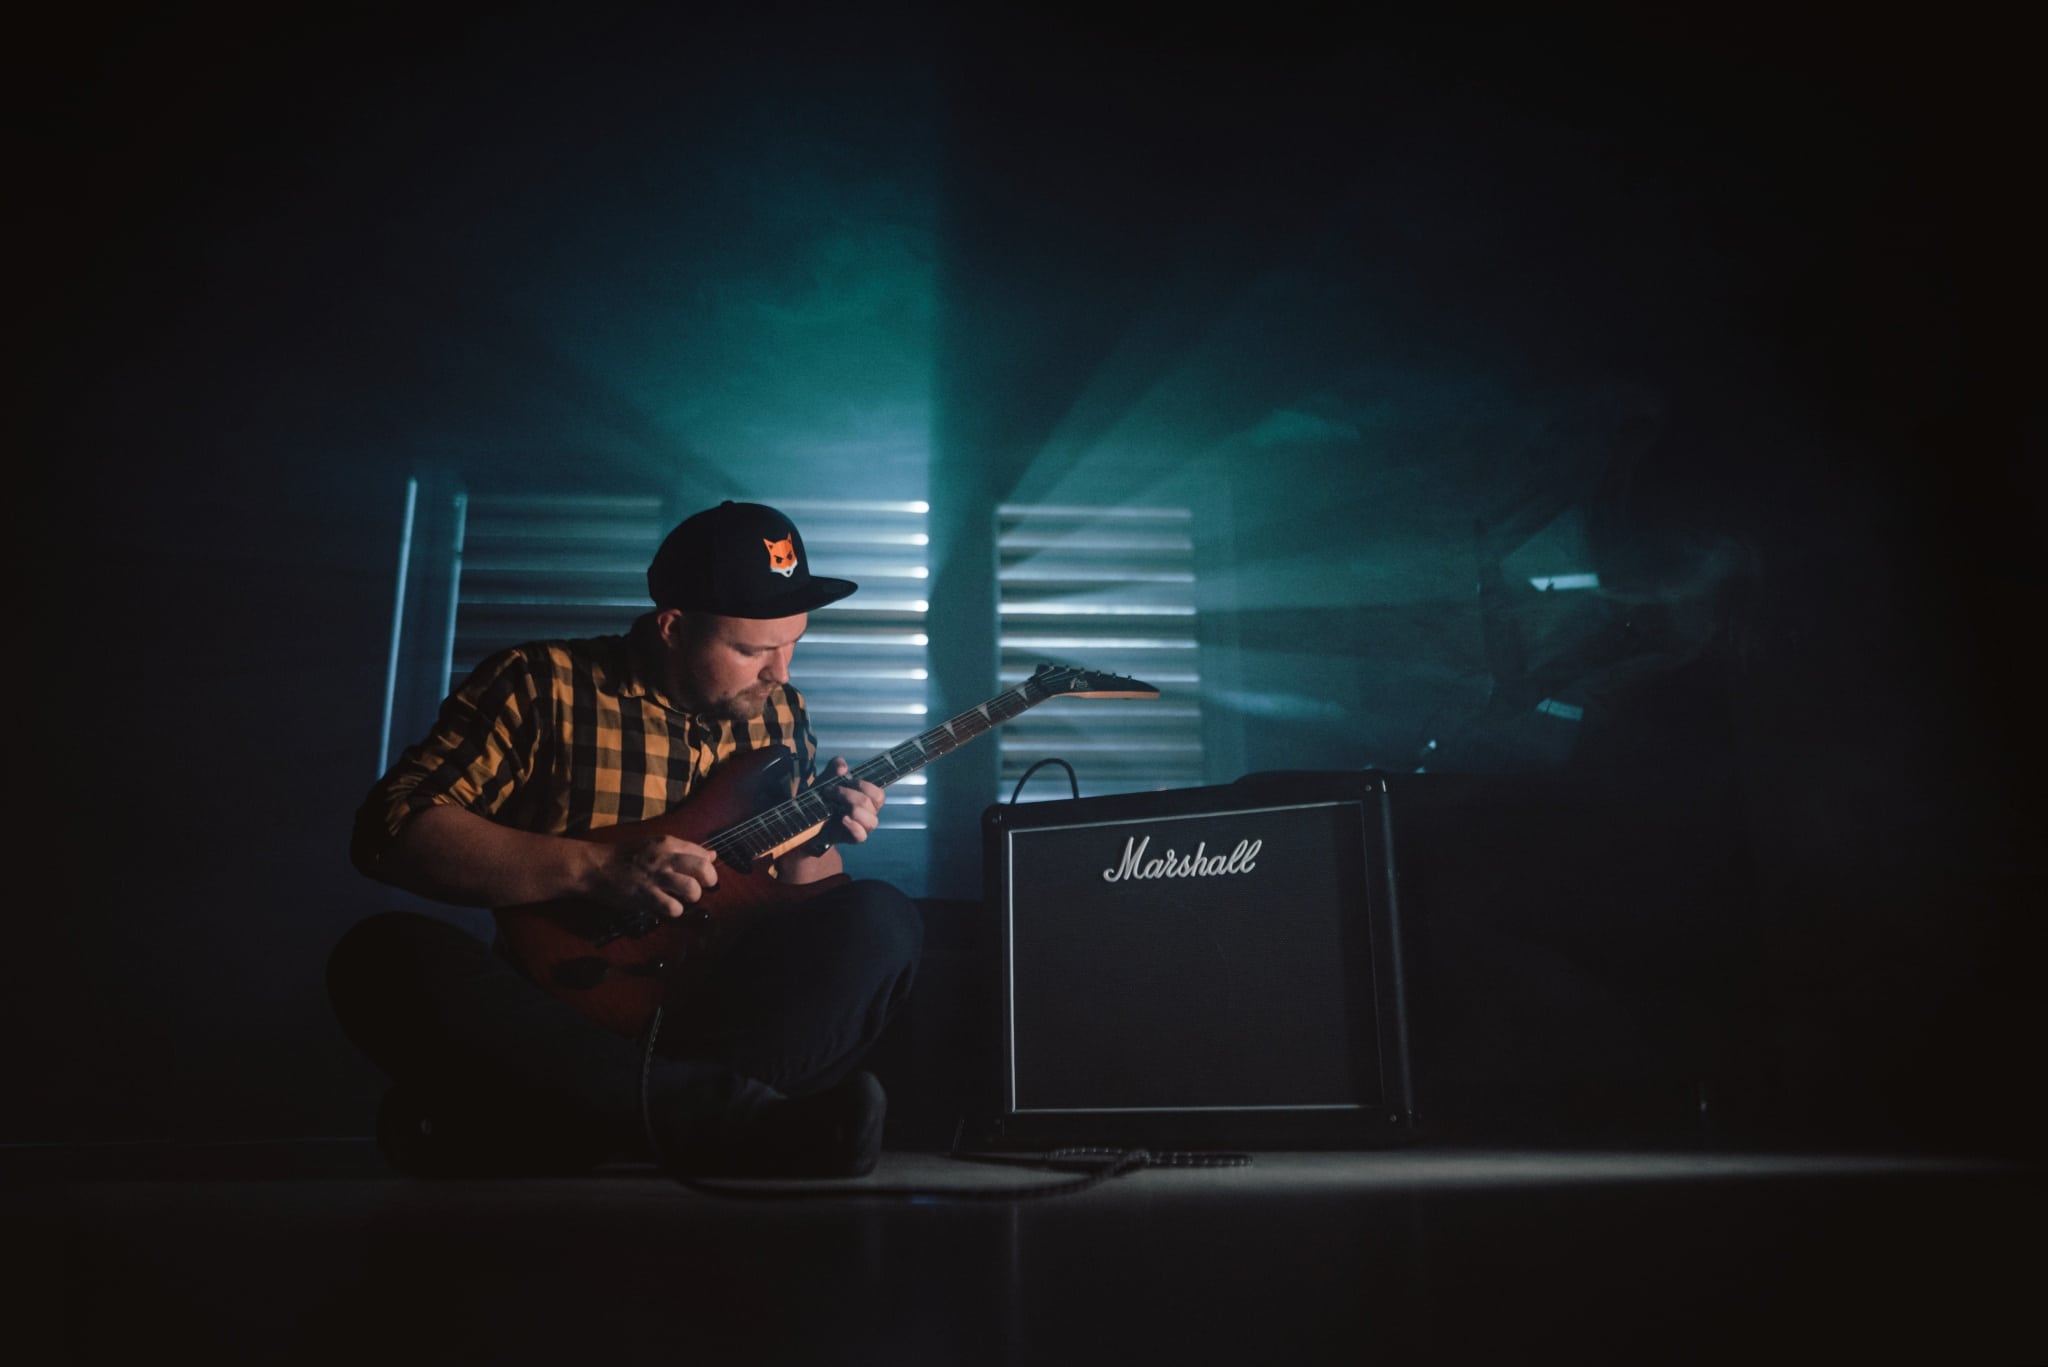
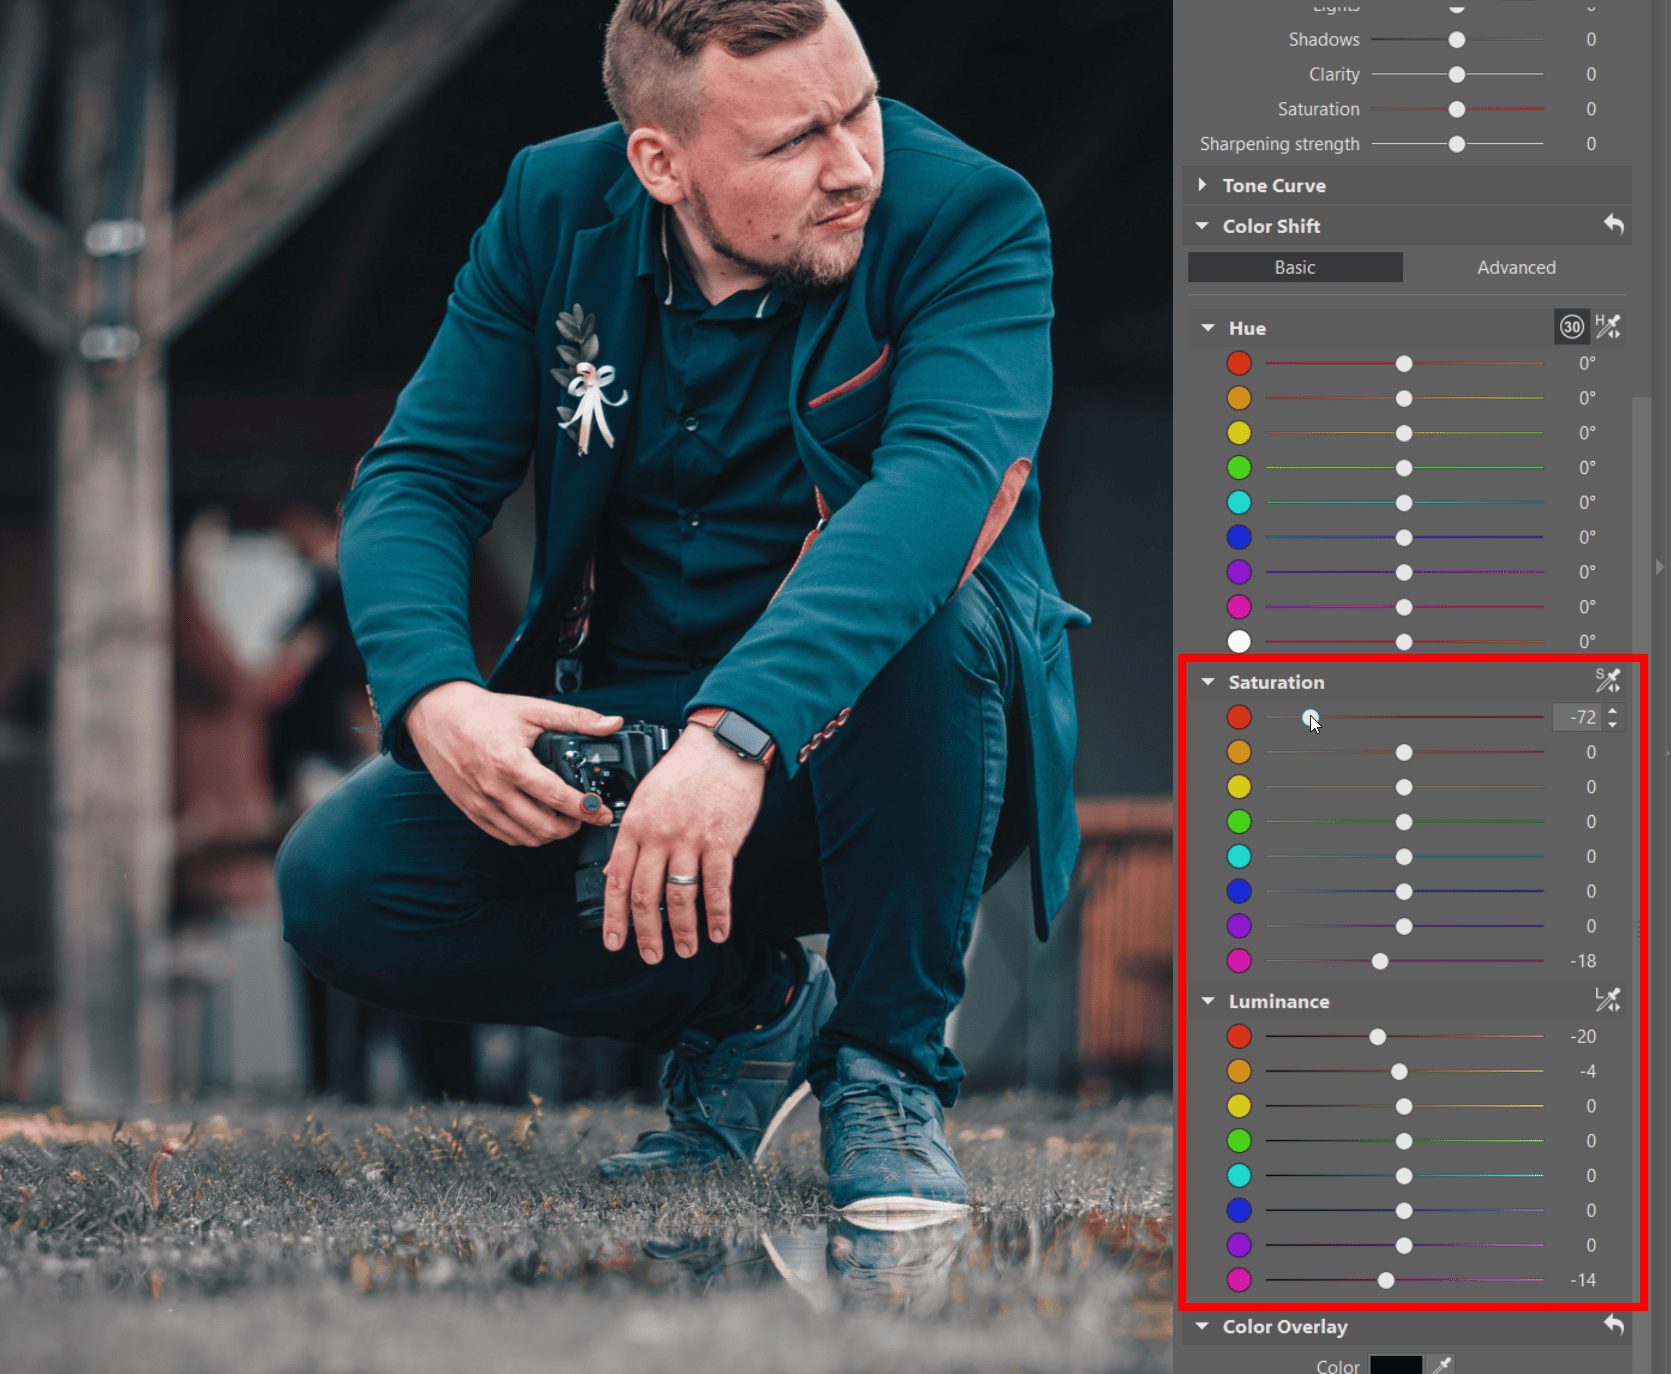
The Filter Brush
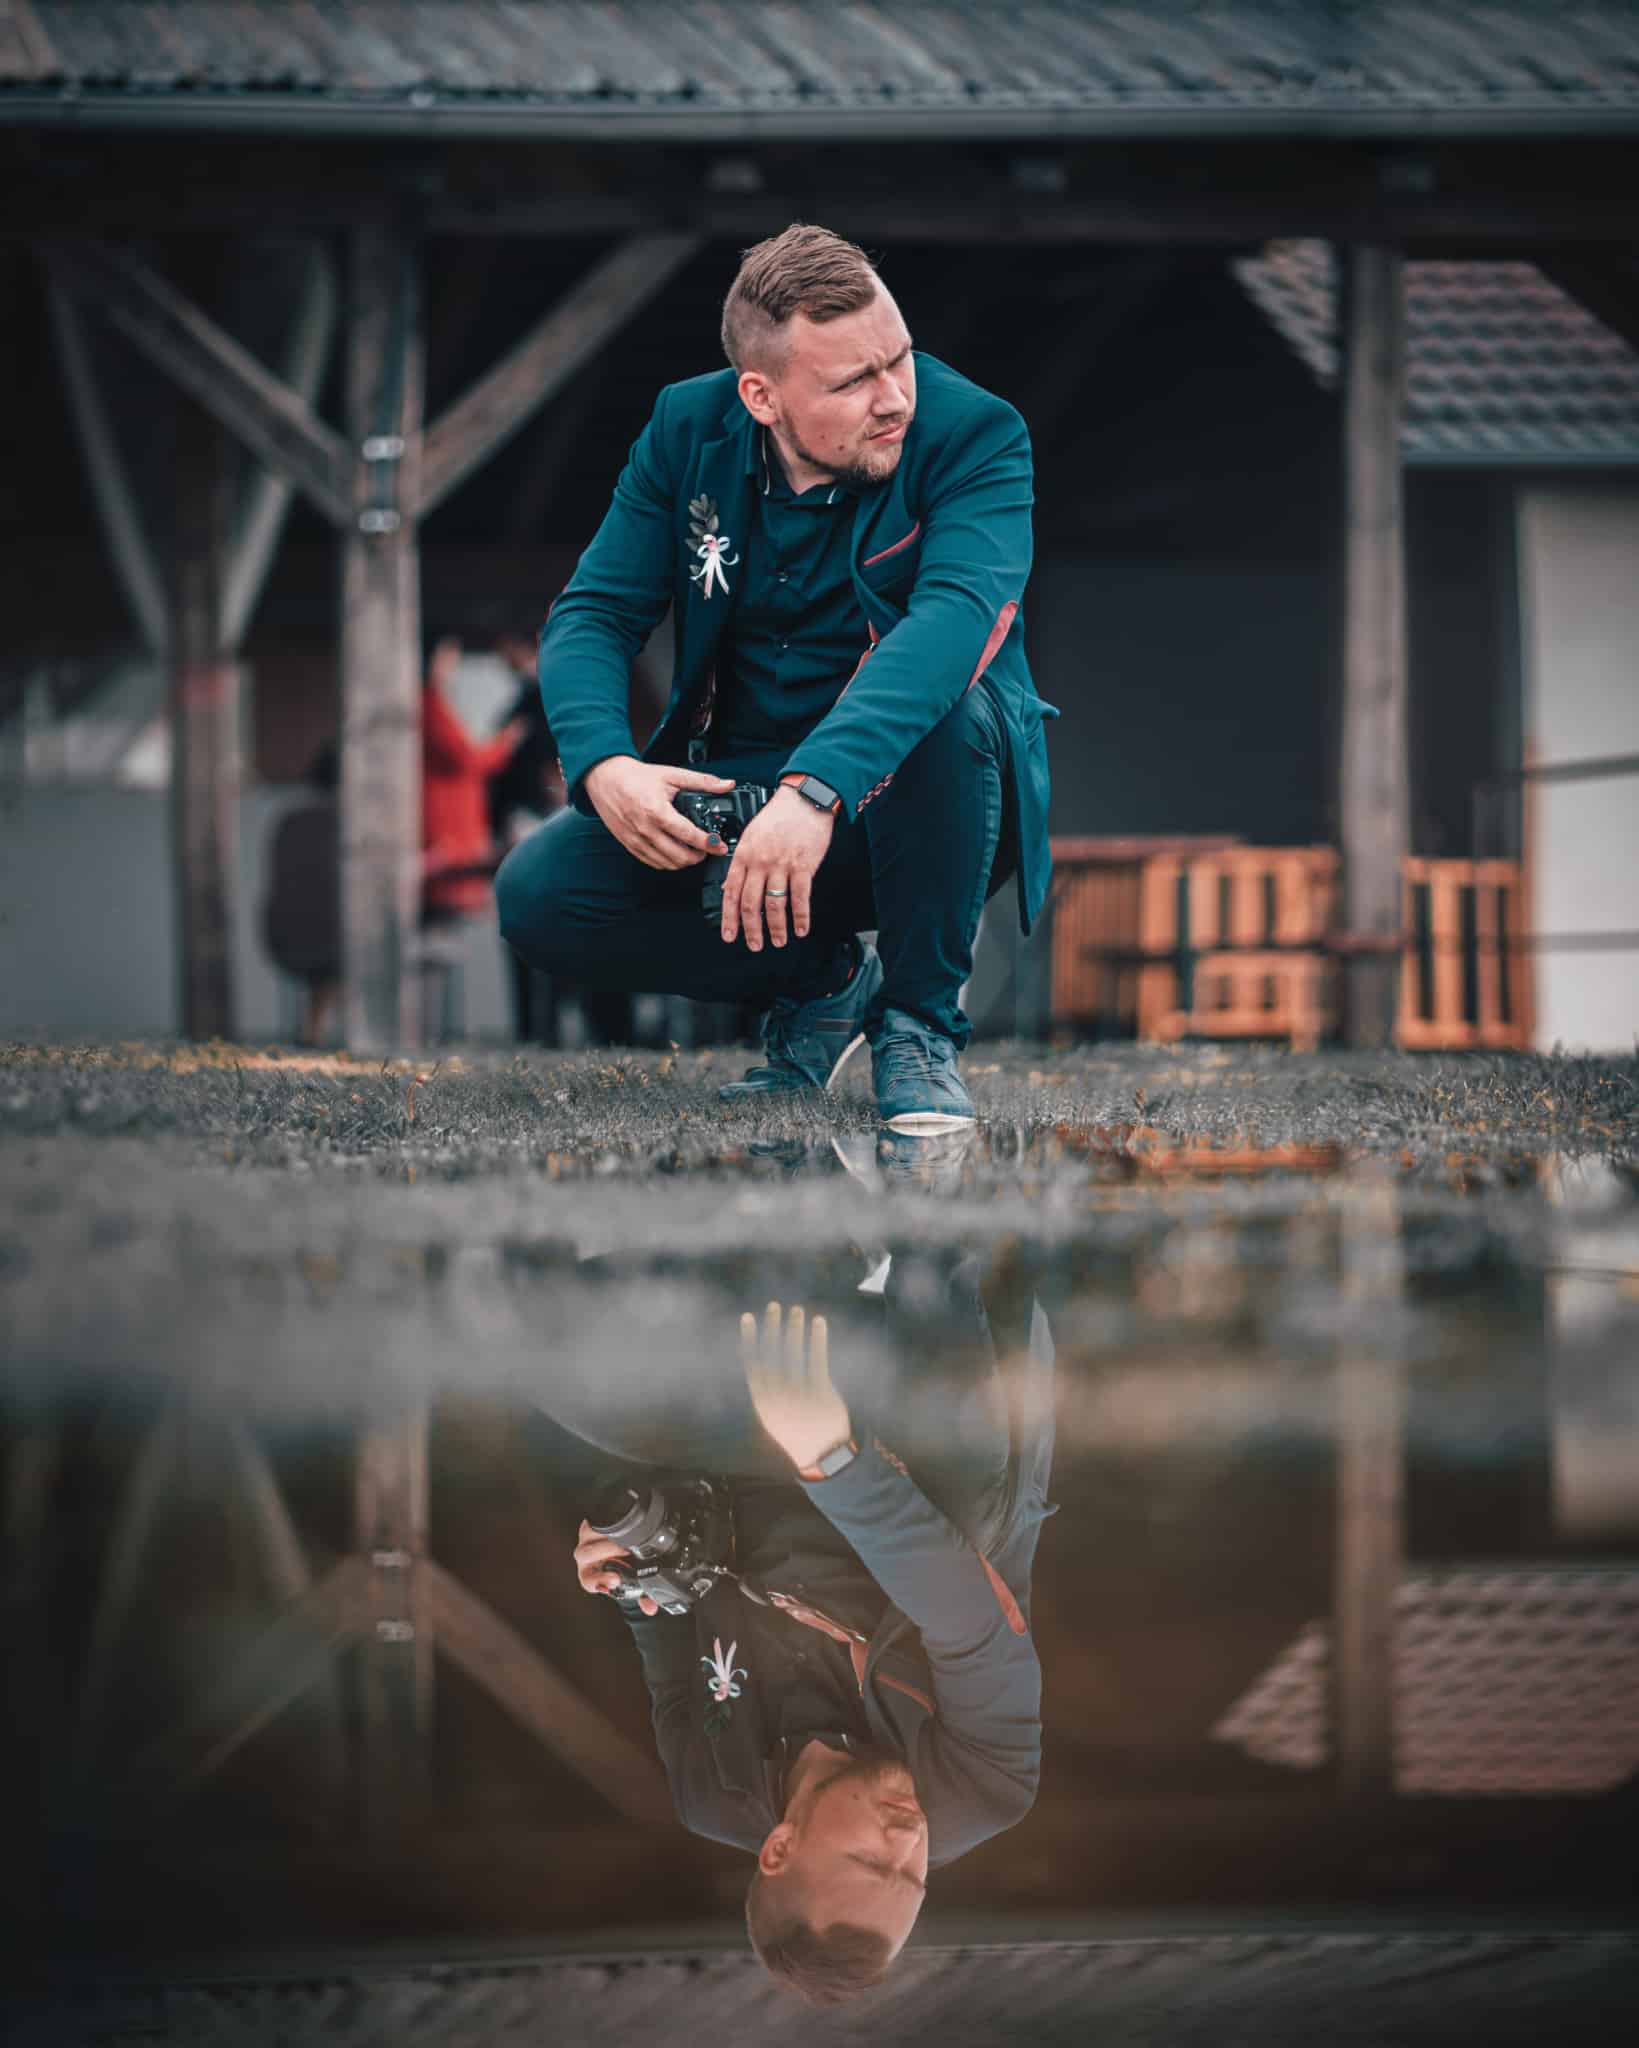
If the Radial Filter isn’t enough and there’s a similar color right next to the object you want to recolor, reach for the Filter Brush (B). Use it to set the outline for your local edits however you need. In this example, although the person in the background is blurry, their striking red clothing is drawing attention away from the subject.
To fix a problem like this, first activate the Filter Brush (B) and set an appropriate brush radius (Shift+mouse wheel). Then “paint” the area you want to edit into the picture. Just as with the other filters, here as well you’ll see a purple mask indicating what areas your edit will affect.
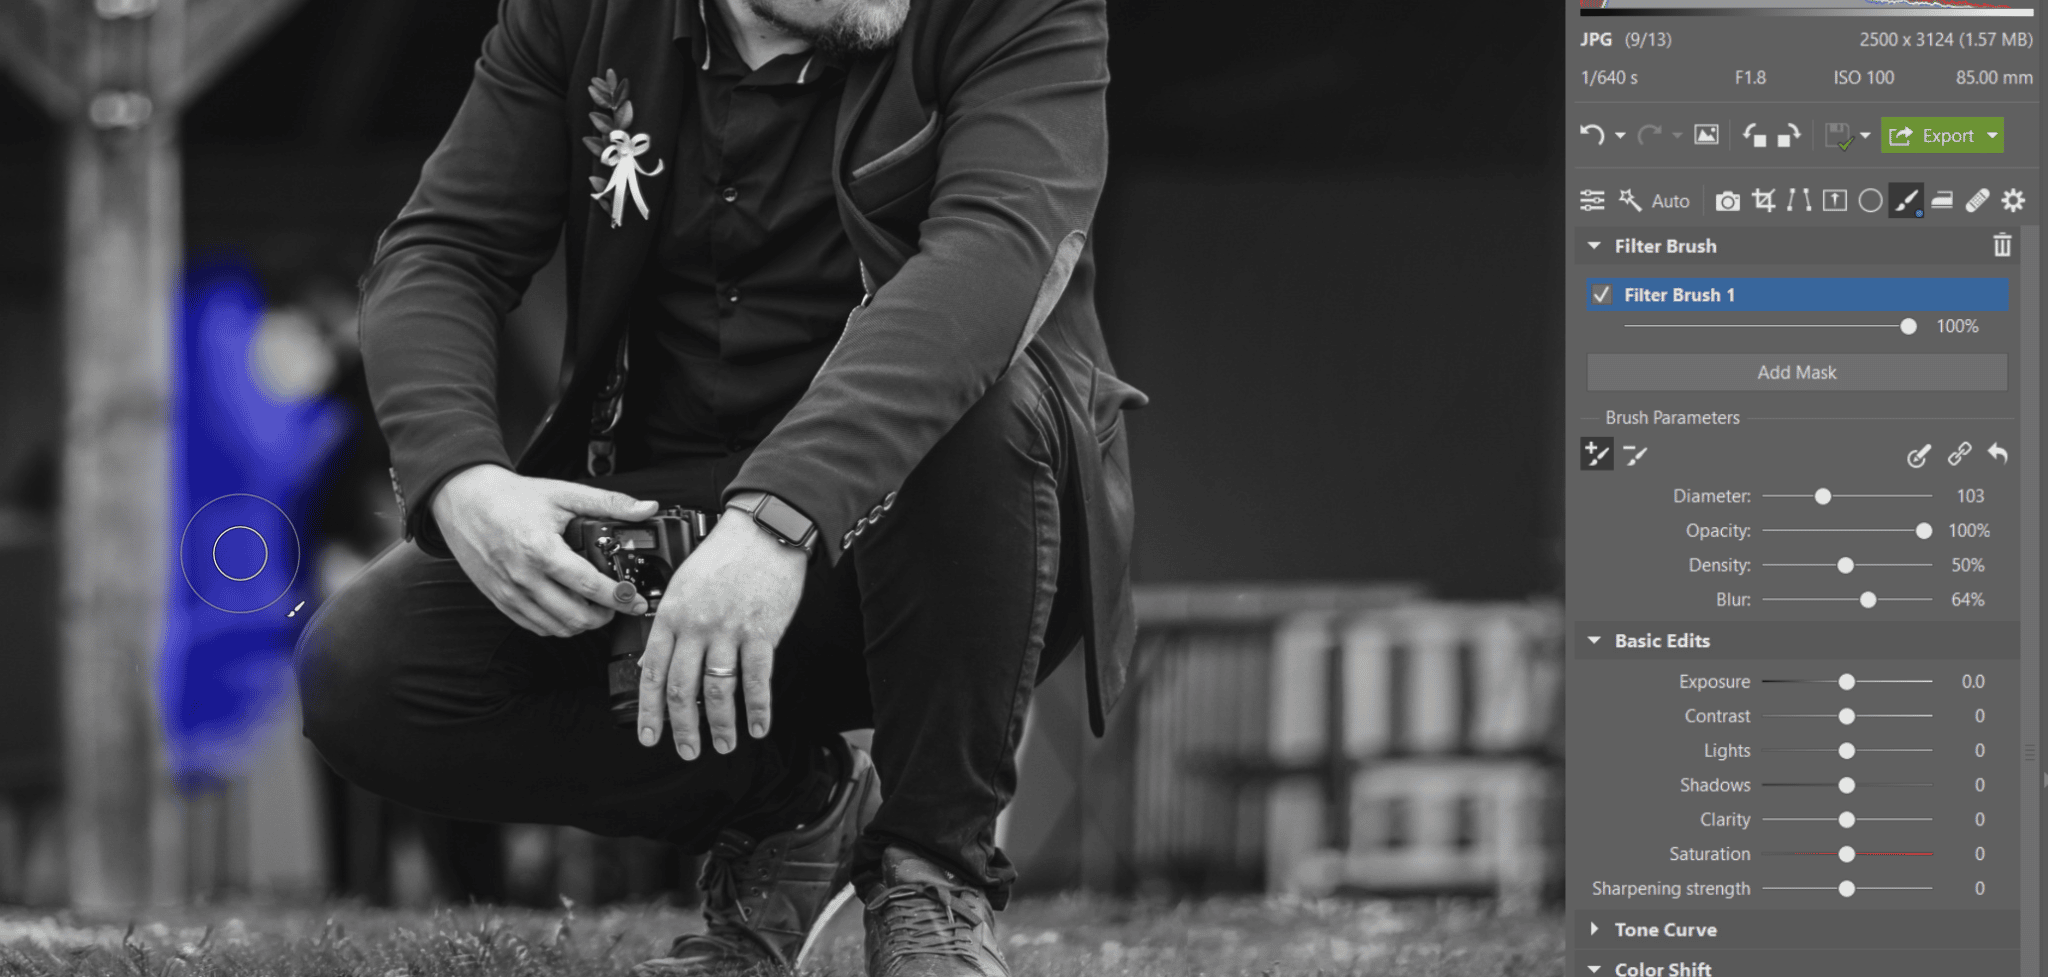
Once you’ve outlined the area to affect, you can start fine-tuning its colors. In this case we’re desaturating the red tones that are so distracting in this part of the picture. A local edit is definitely needed for this particular job, because a global edit would also desaturate all the reds elsewhere in the picture.

Give Local Edits a Good Look
Local edits are a tool that camera settings can’t replace. Download Zoner Studio, use it free for 7 days, and start adjusting colors in just the right parts of your pictures today. If your trial period has run out, don’t despair. We’ll extend it by another 15 days!
There are no comments yet.