Male portraits: How to photograph men

Photographing men can sometimes pose a bigger challenge than photographing women. Maybe it’s because men often don’t like having their picture taken. This may explain the disparity of information about men and women’s portraiture. In this article, we won’t spend time addressing how to convince a man to have his portrait taken, but rather we’ll hone in on some key points that will help you achieve better results. The tips we share are for male portraits, but many of them can be applied to women as well.
Before we get to work, it’s important to know who you are photographing and what their expectations of the photoshoot are. This applies to any type of portraiture. A bit of friendly conversation can help your subject relax – and that is what’s sure to get you a great photograph. Does he want to appear professional, tough, sexy, trustworthy, or friendly? How does he plan to use the photograph? Pose him in a way that will help him achieve the desired look and atmosphere while finishing it off with the right facial expression.
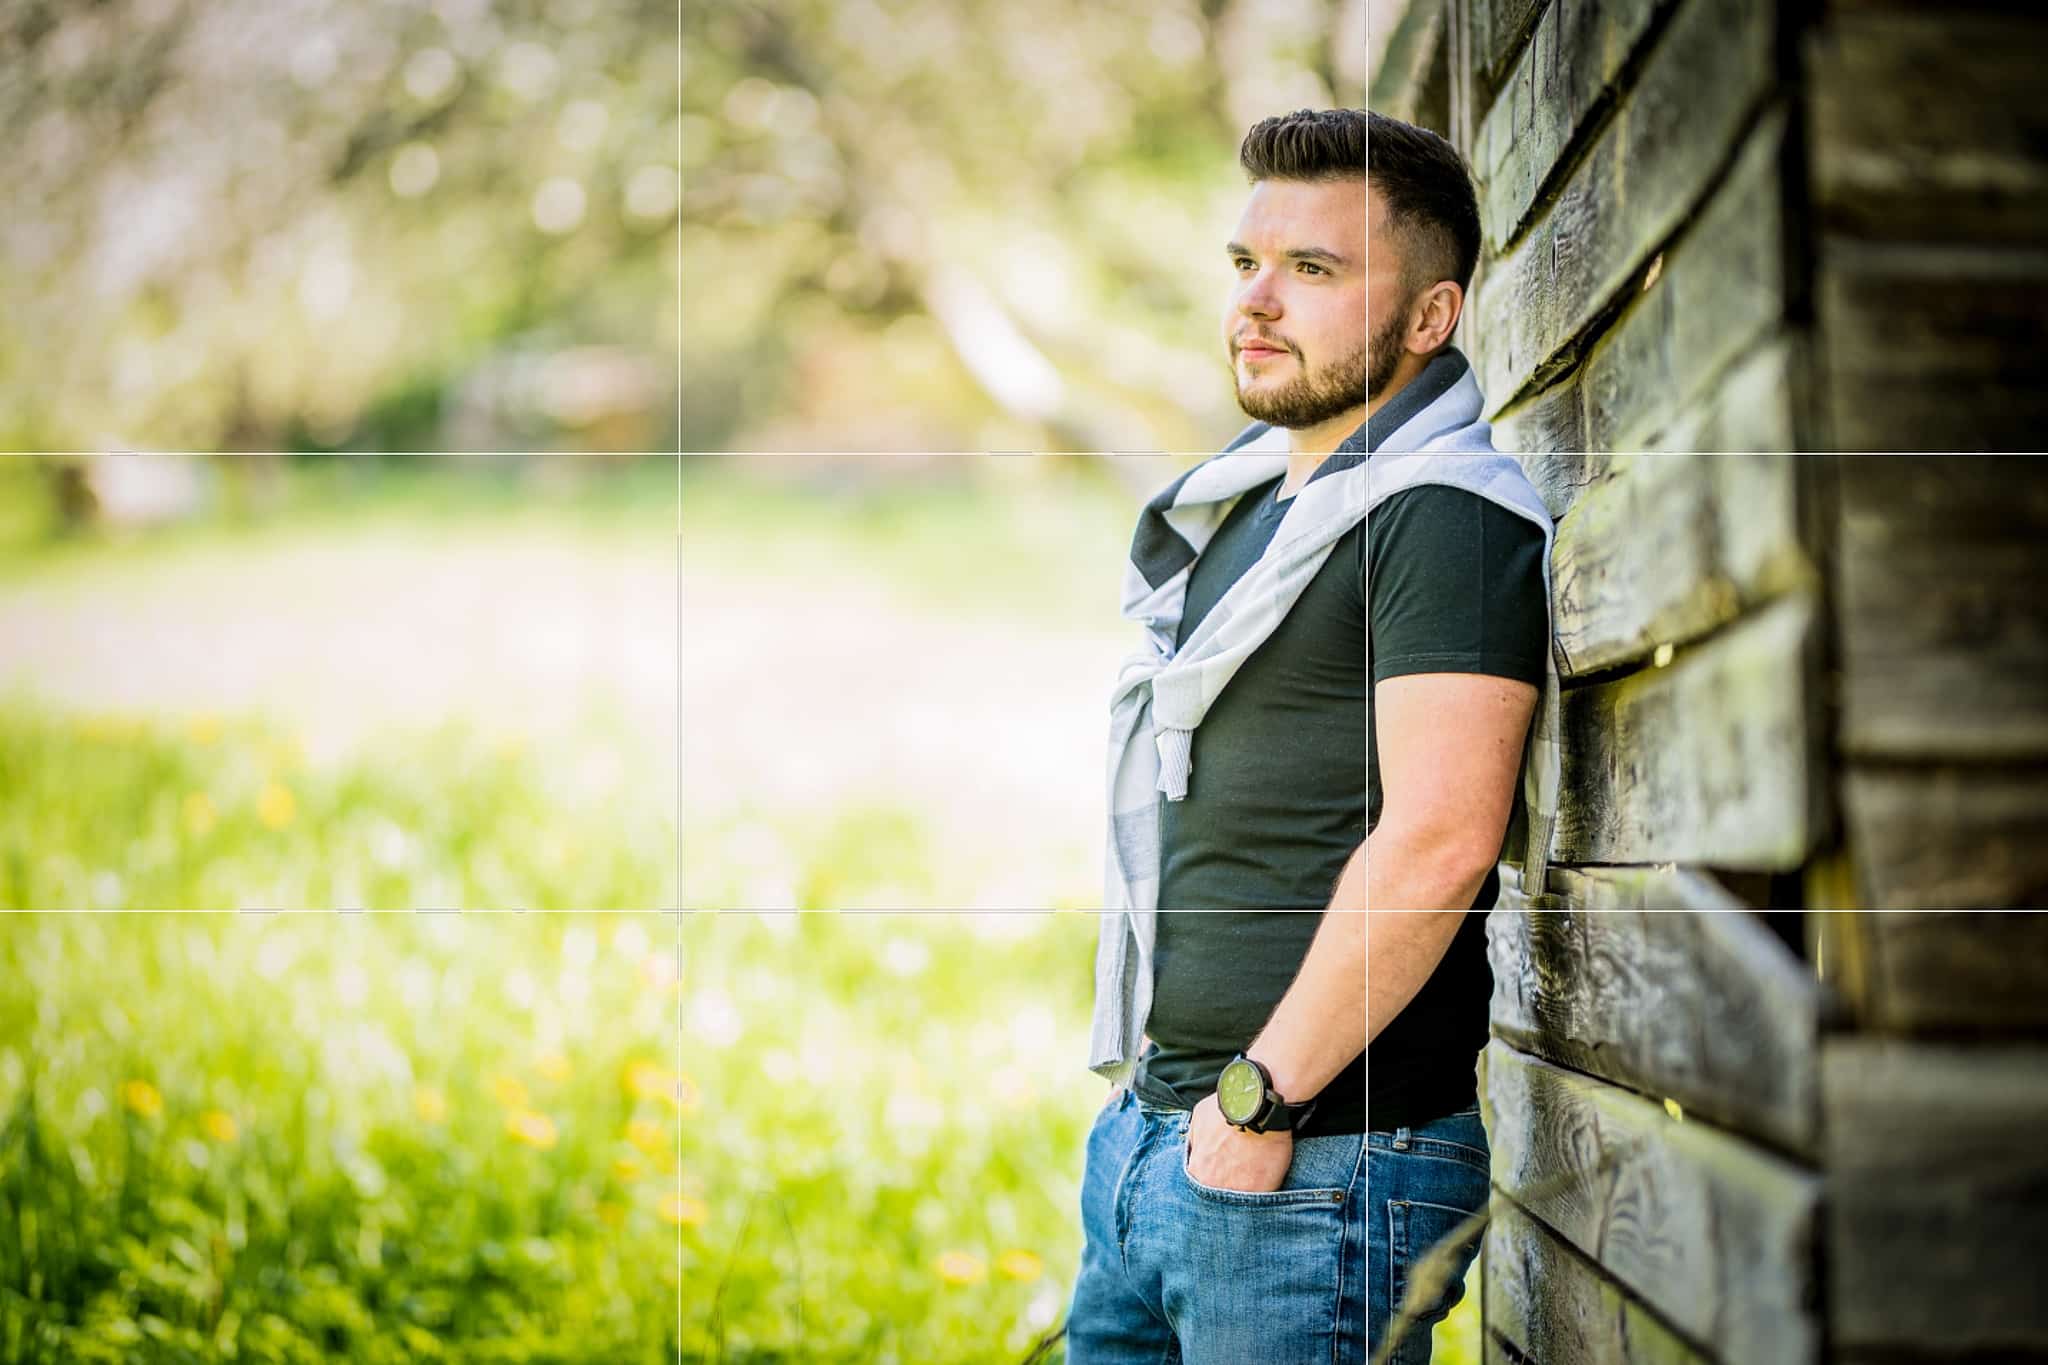
Be sure to use the right composition and cropping
When choosing the right composition, make the rule of thirds your best friend. The idea is to divide the photograph both horizontally and vertically into three equally-spaced parts and then place your subject along these lines. However, your photograph may look better if it is composed a bit differently. If so, don’t be afraid to go ahead and bend the rules a bit.
With regards to cropping your portrait, it’s generally recommended that you avoid cropping at the joints (elbows, knees, ankles, and so on). I personally recommend you follow these guidelines, though it always depends on each specific example. There’s an exception to every rule. Even cropping that is technically wrong might not look bad in the end.
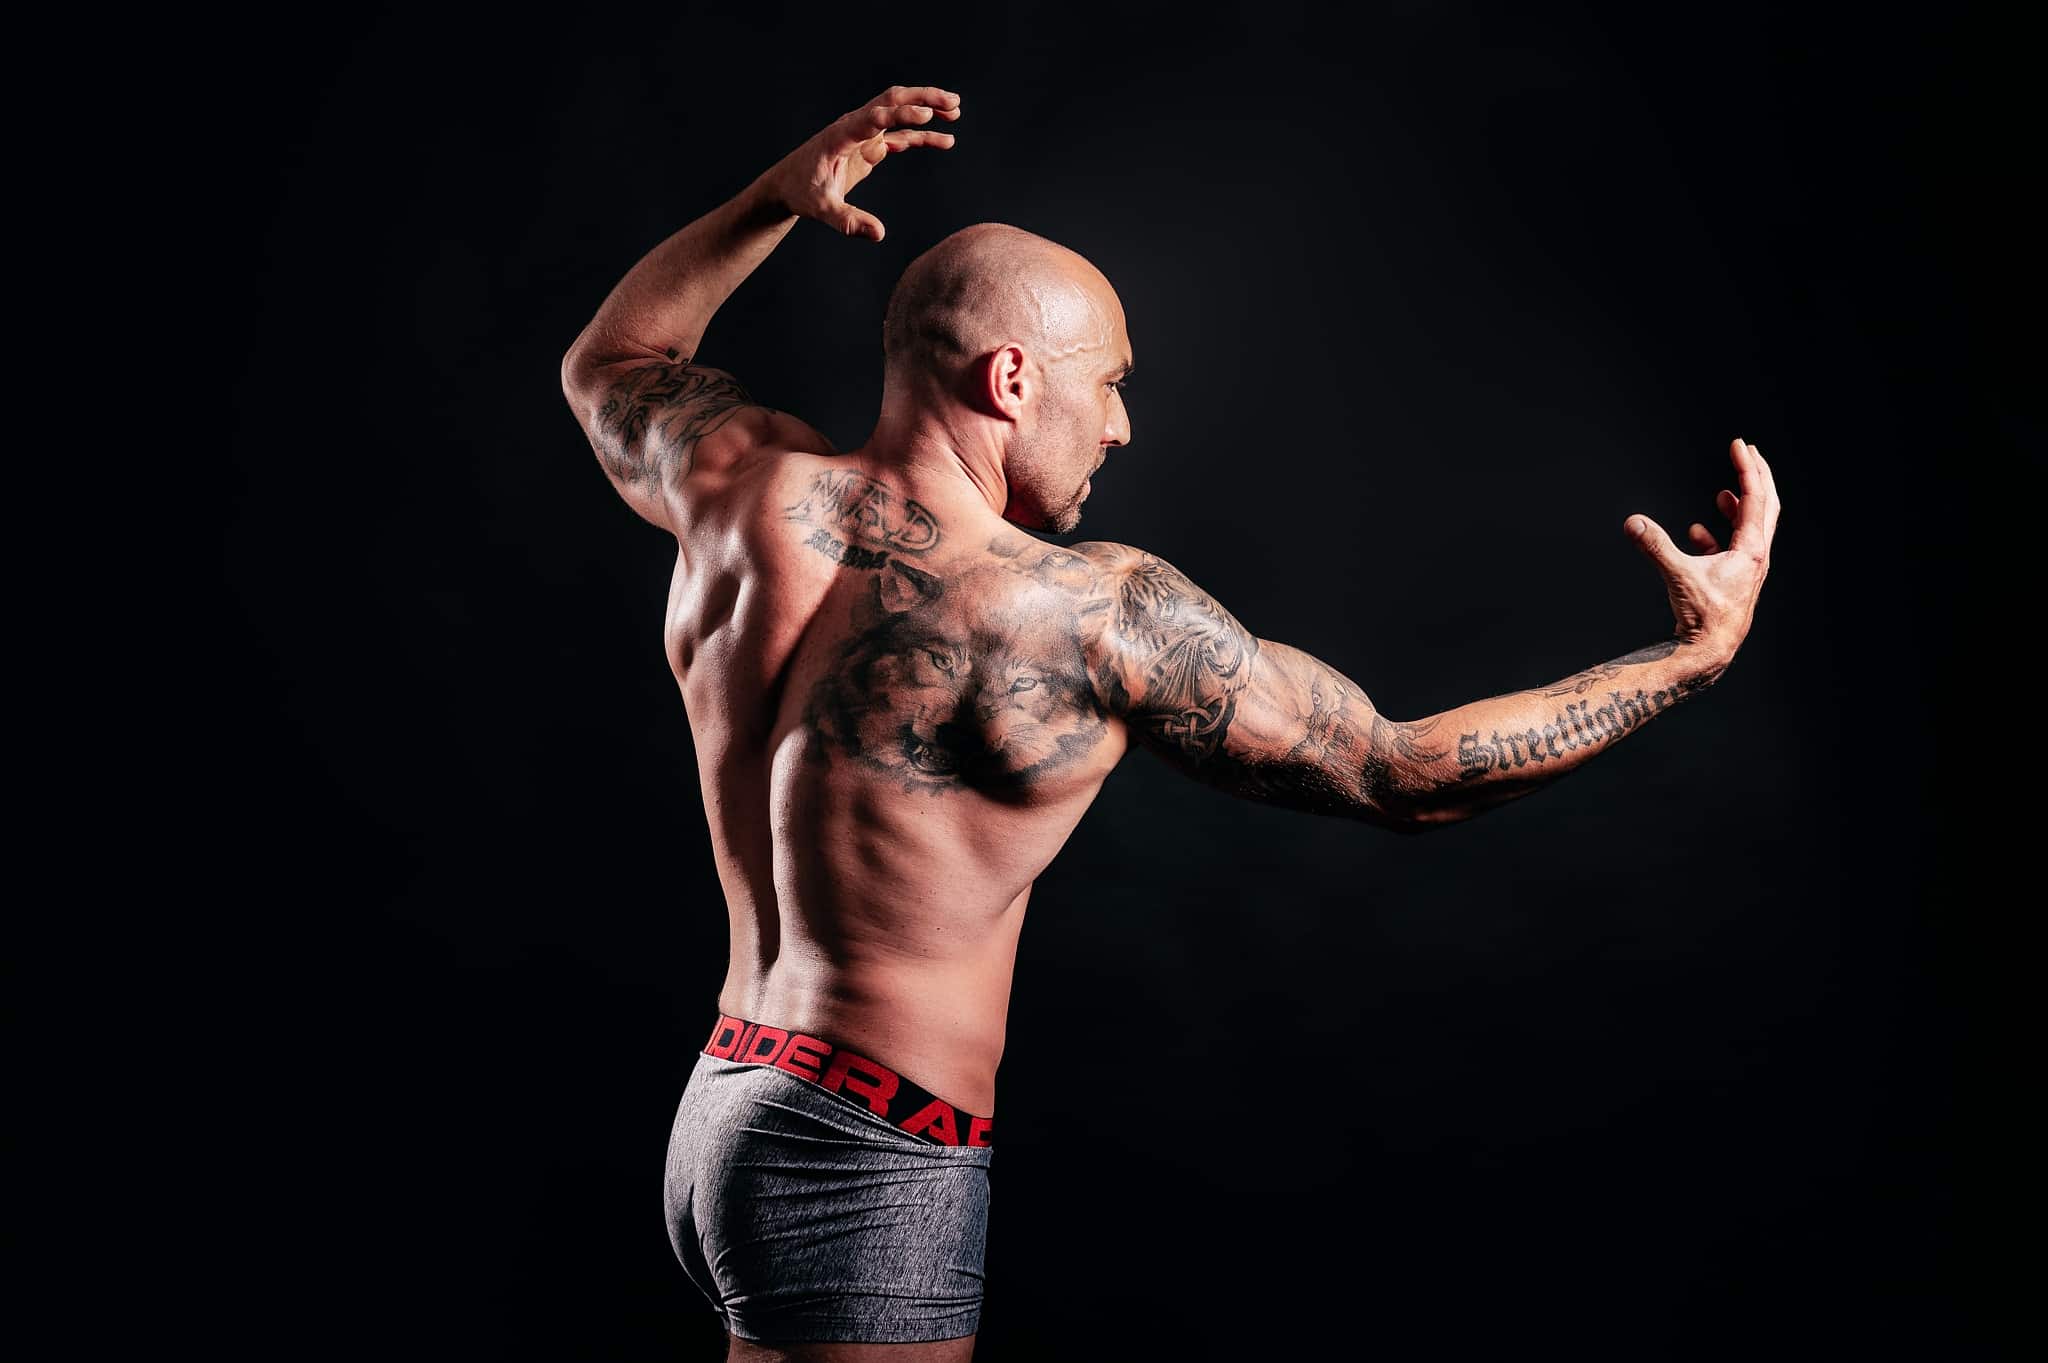
Lighting
Lighting is the most important aspect of photography and there’s always a lot to experiment with. Angular lighting and drastic shadows are often flattering to men. When photographing a more muscular figure, it can bring emphasis to his muscles. If you are photographing a man that is perhaps more plus-size, it can make him appear slimmer. This can all be achieved with the right lighting.
In the studio, unlike with natural lighting, the intensity, distance, and direction of the lighting are completely in your hands, so don’t be afraid to make the most of it. To begin, one or two light sources should be plenty. Shooting outdoors on the other hand makes the job more organic and oftentimes simple in that it doesn’t require any setup. Nevertheless, you have to work with what you get. The bright light of a sunny day creates strong shadows while overcast days create soft shadows.
Choose flattering poses
Finding the right pose is crucial for any type of portrait. Most men consider appearing masculine to be fundamental to their portrait. They will achieve this look if you have them put their square their shoulders, lift their chest, and flex their stomach. Above all, your subject should feel good. If he doesn’t feel comfortable, it will be easy to tell in the way he holds his body.
When shooting portraits (and not only male portraits), you’ll frequently hear your subject say, “I don’t know what to do with my hands.” Don’t be afraid to make use of body language in your photograph. Arms crossed gives your subject a strong, independent look. It’s one of the simplest poses and is flattering, especially for men who aren’t accustomed to professional poses.
When posing standing up, they also look good with their hands in their pockets. This way, you’re guaranteed to get your subject to hold their body in a more relaxed, natural way.
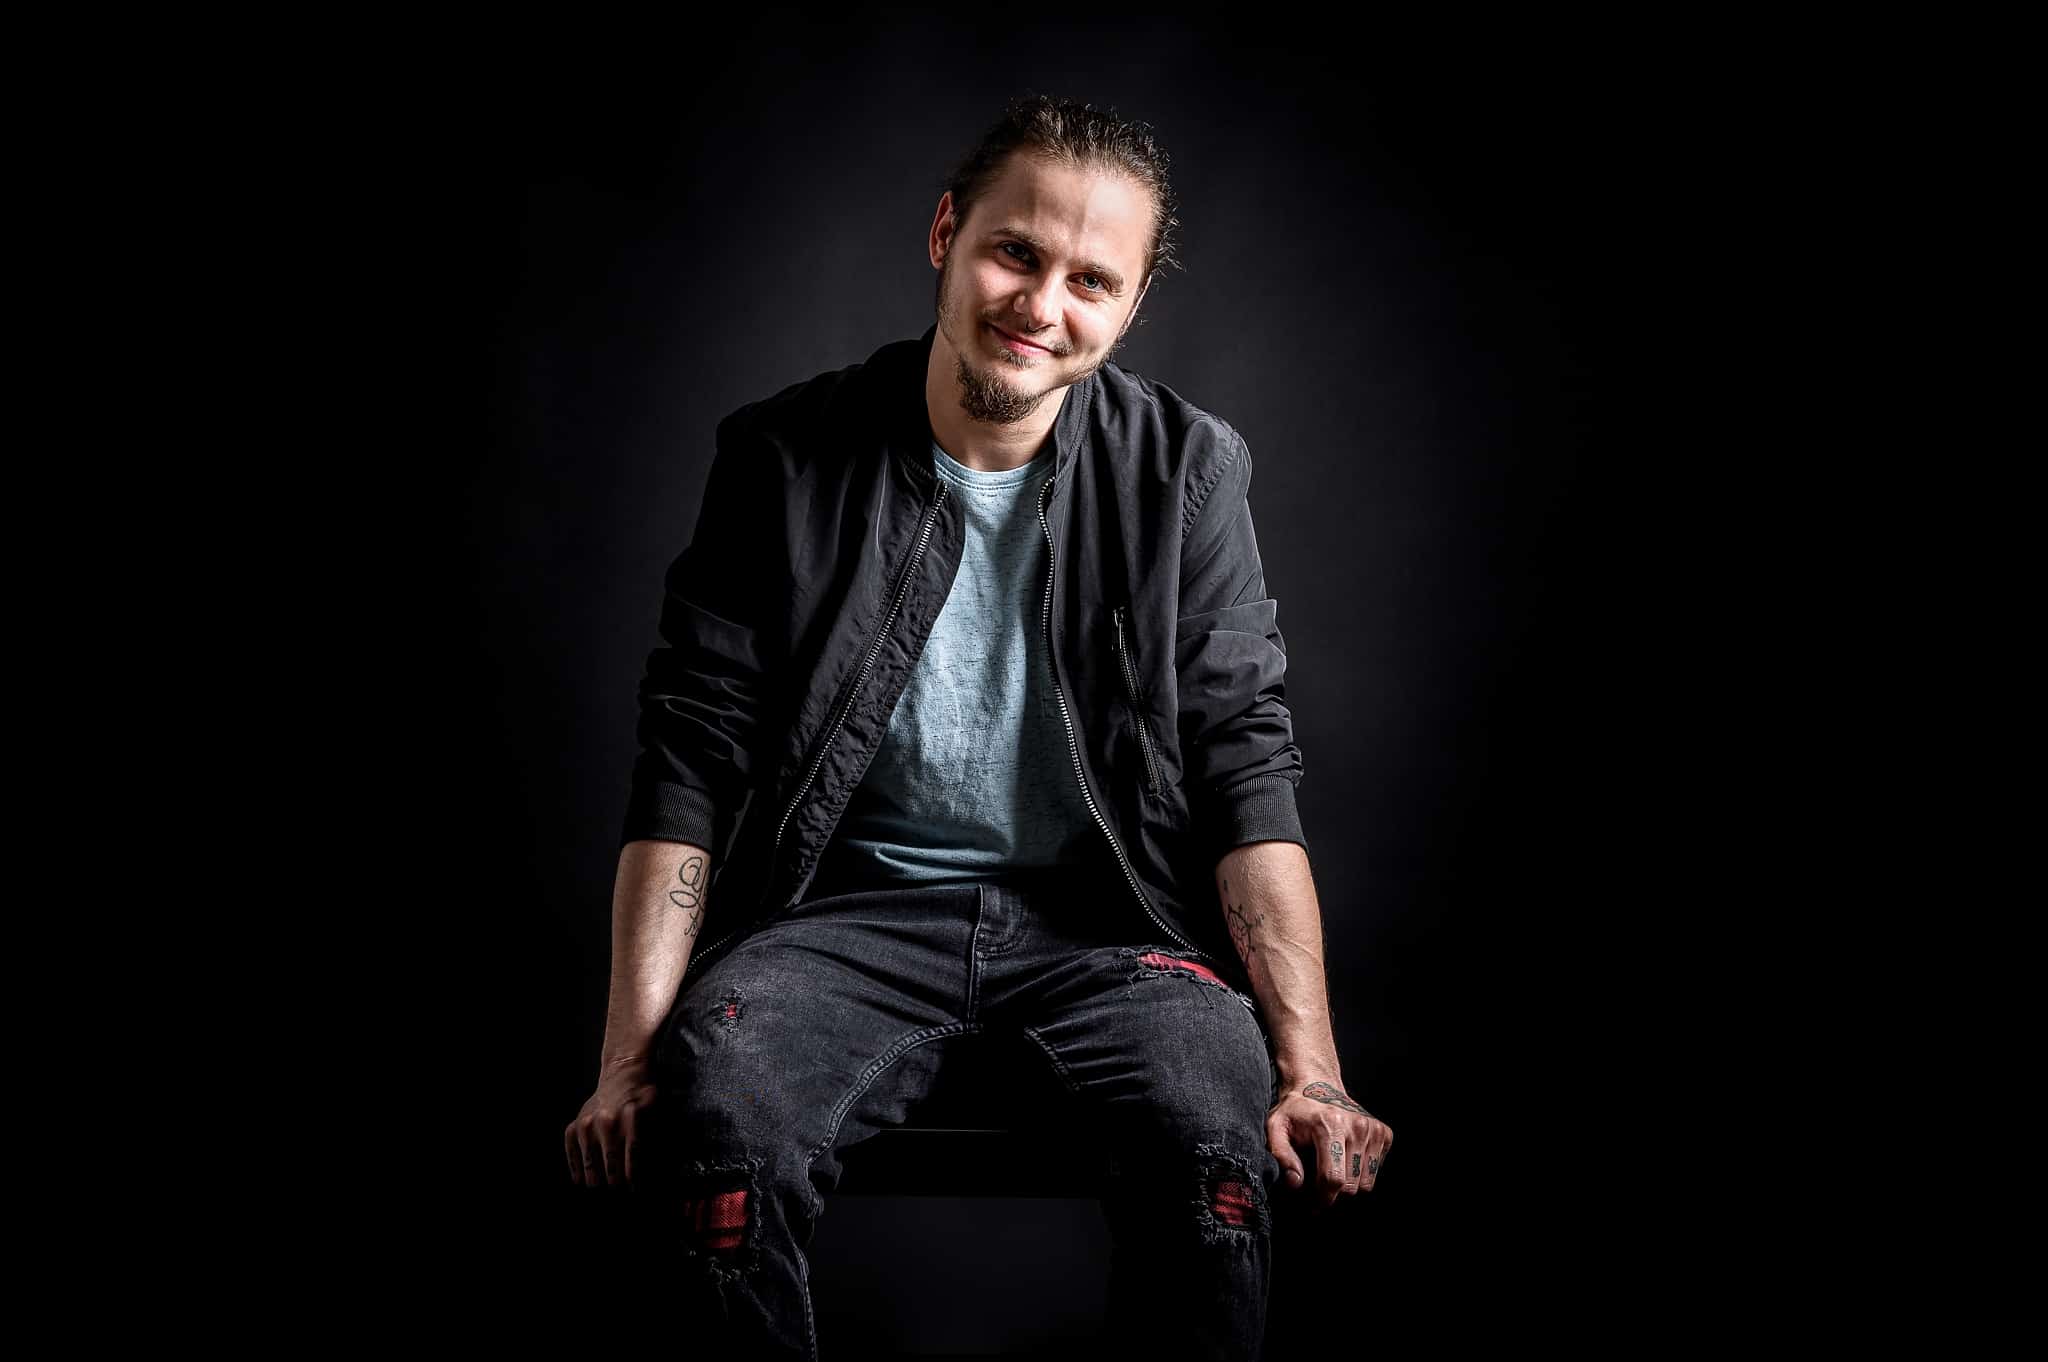
When seated, they can interlace their fingers, clasp their hands, or even lean their arms or legs against a wall or chair. Seated poses are fine for starting out if the subject isn’t used to having his photo taken. He’ll relax a bit and appear more confident in subsequent standing poses.
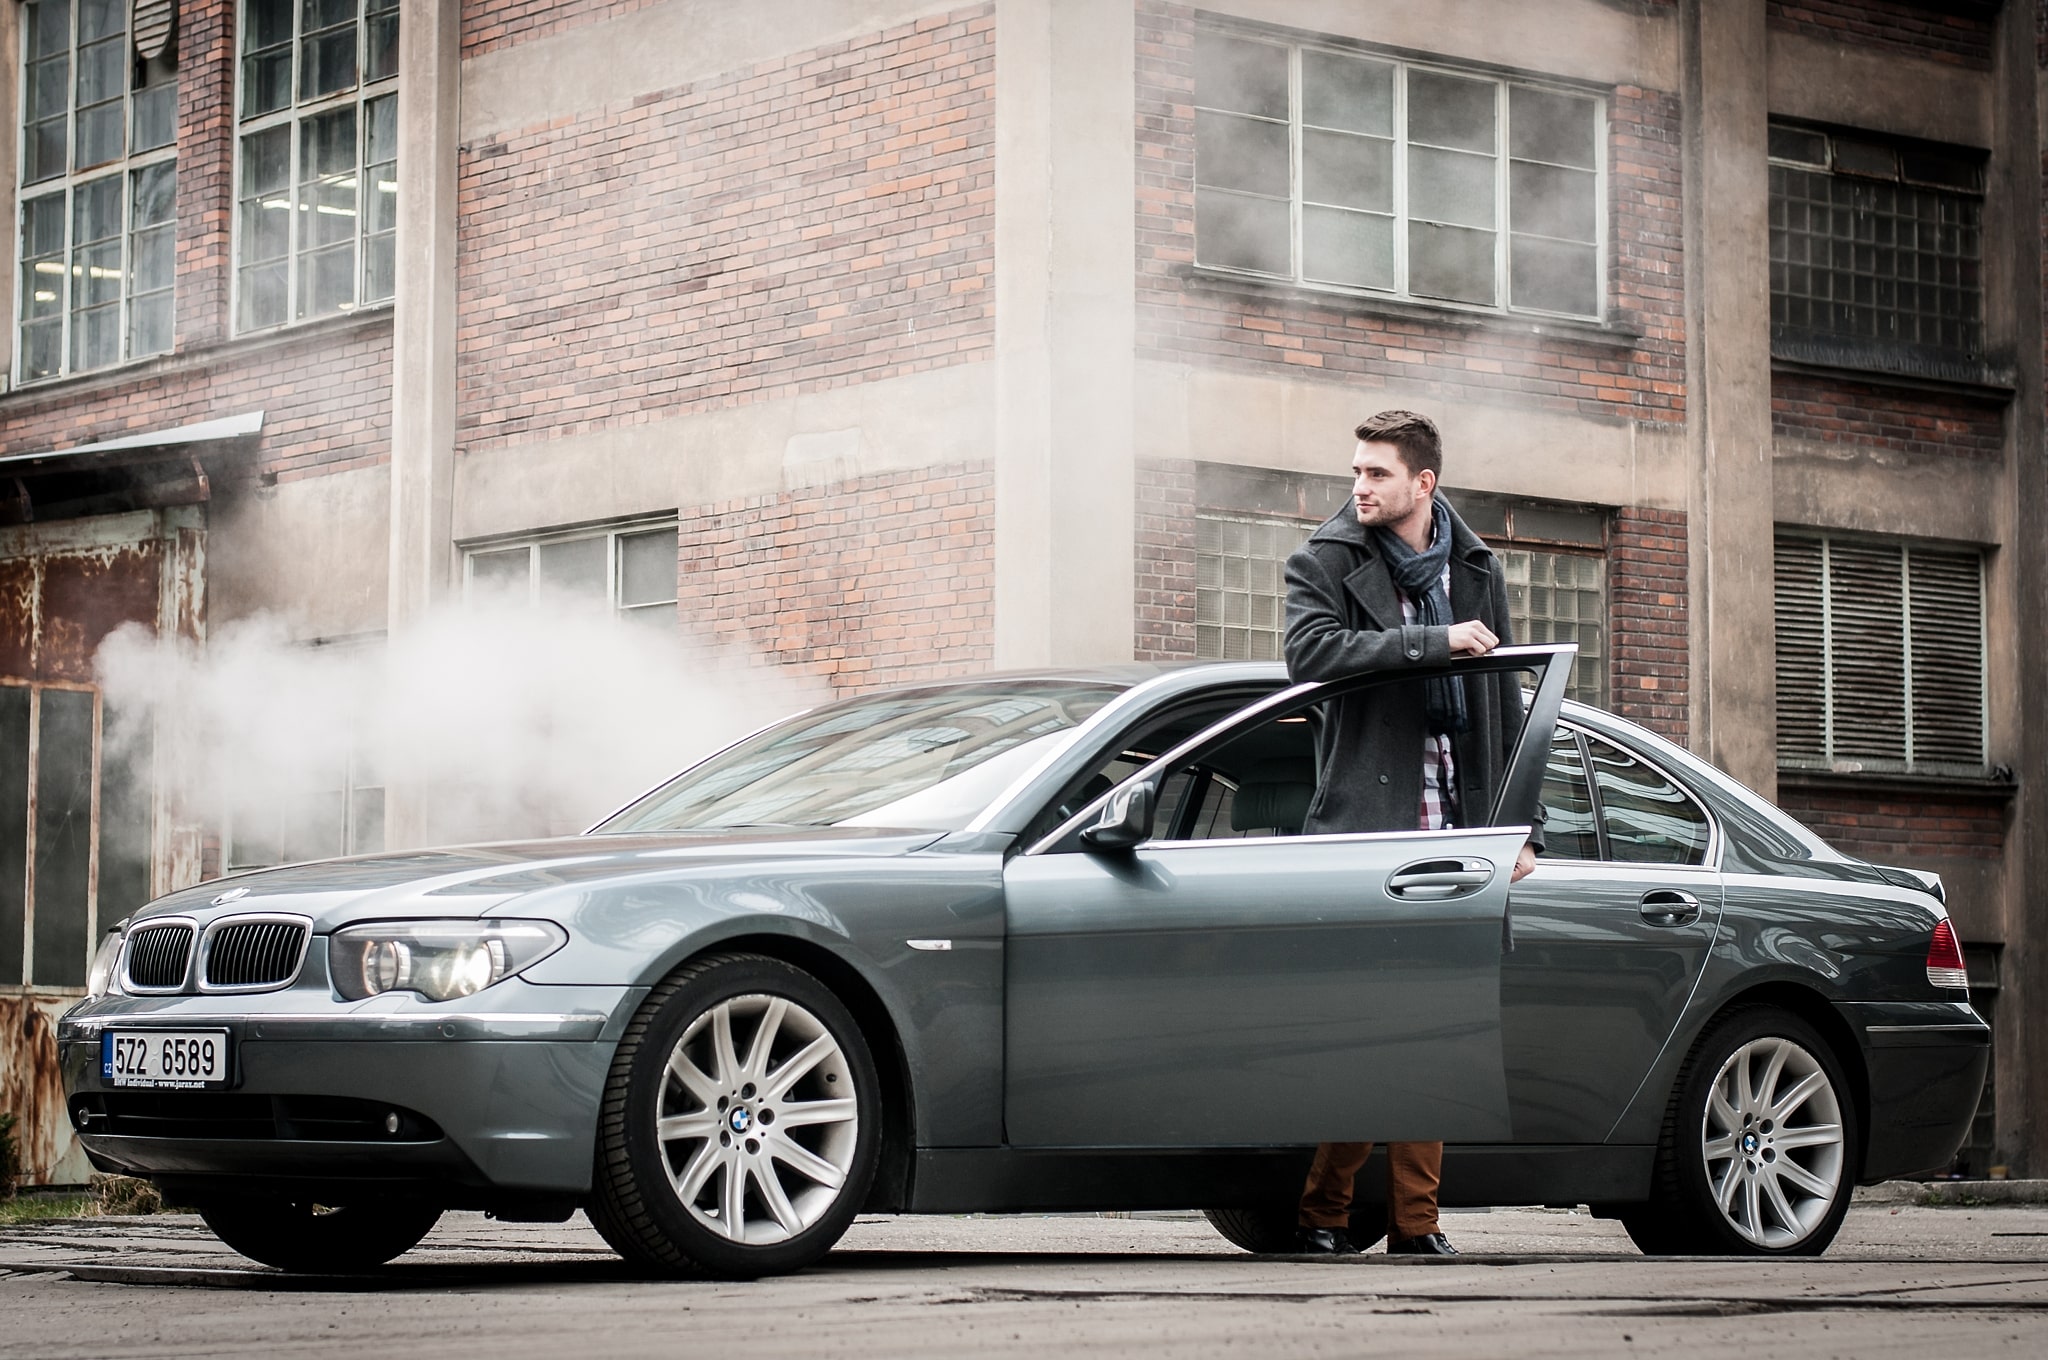
Including a motorcycle or car in the photo also works very well. Especially if the man you’re photographing has a connection to it, or even better, if it’s his own vehicle. This gives you the advantage of something for him to lean against and posing will be simpler and more relaxed. If your subject considers having his picture taken a necessary evil, believe me, incorporating his own car or motorcycle will make him more willing.
If you want more laid-back portraits, have your model lean against a wall. You can also have them stand on one leg, bend the other leg and lean it against the wall. This type of shot can be taken from any angle. Your subject can also lean against the wall with his shoulder.
Experiment with different facial expressions
As with any type of portrait photography, the same rule applies – the more natural the facial expression the better. The idea is to capture your male subjects in a way that best showcases their personality.
Let your model part his lips and let his teeth show. He doesn’t need to give a wide-toothed grin, but he doesn’t have to keep his lips sealed either.
Often a slightly softer gaze is flattering to men. This can be achieved by having your subject slightly squint his eyes. This will give the facial expression depth and balance.
Always try to minimize a double chin. You can do so by photographing from above eye-level, with your subject leaning forward slightly. Or, have your model stick out his chin out and tilt it down a bit.

Don’t forget about the right edits
The amount you choose to retouch skin imperfections depends on each person and their personal tastes. I definitely prefer retouching temporary blemishes, such as pimples. But before retouching scars, birthmarks, and even wrinkles, you should consider the purpose of your photograph. It may be a good idea to consult with the subject himself.
In general, with male portraits, I recommend more subtle edits than with female portraits. Your male subject’s skin should not appear more delicate in the final product than that of women or children. For skin retouching, I recommend Zoner Studio where you can find all the necessary tools.
There are no comments yet.