Manual Mode: Learn How to Set Up Your Camera

It’s happened to many of us: you want to capture the cozy mood of a candlelit apartment in the evening, but your camera’s automatic mode brightens the image and ruins the atmosphere. Or maybe you’re trying to photograph children playing, but a slow shutter speed leaves you with a blurry shot. This is where manual mode comes in.
Manual mode, or M, might seem like an advanced feature, but in tricky or unique lighting conditions, it gives you full control over the final photo. That doesn’t mean you need to use manual mode all the time. But knowing when and why to switch to manual mode can take your photography to the next level.
Don’t worry about all the numbers and settings just yet. We’ll walk you through manual mode step by step. All you need to understand is what each setting does and how they work together.

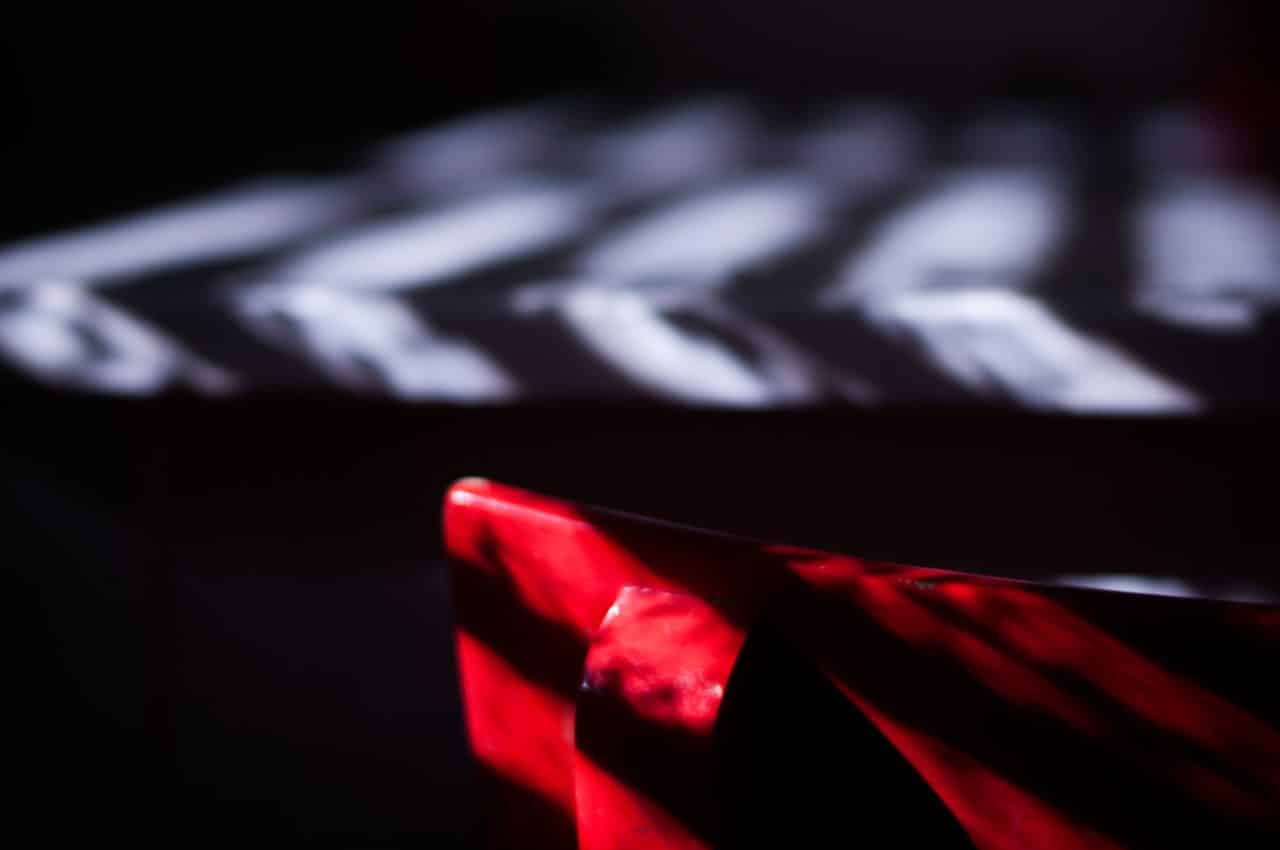
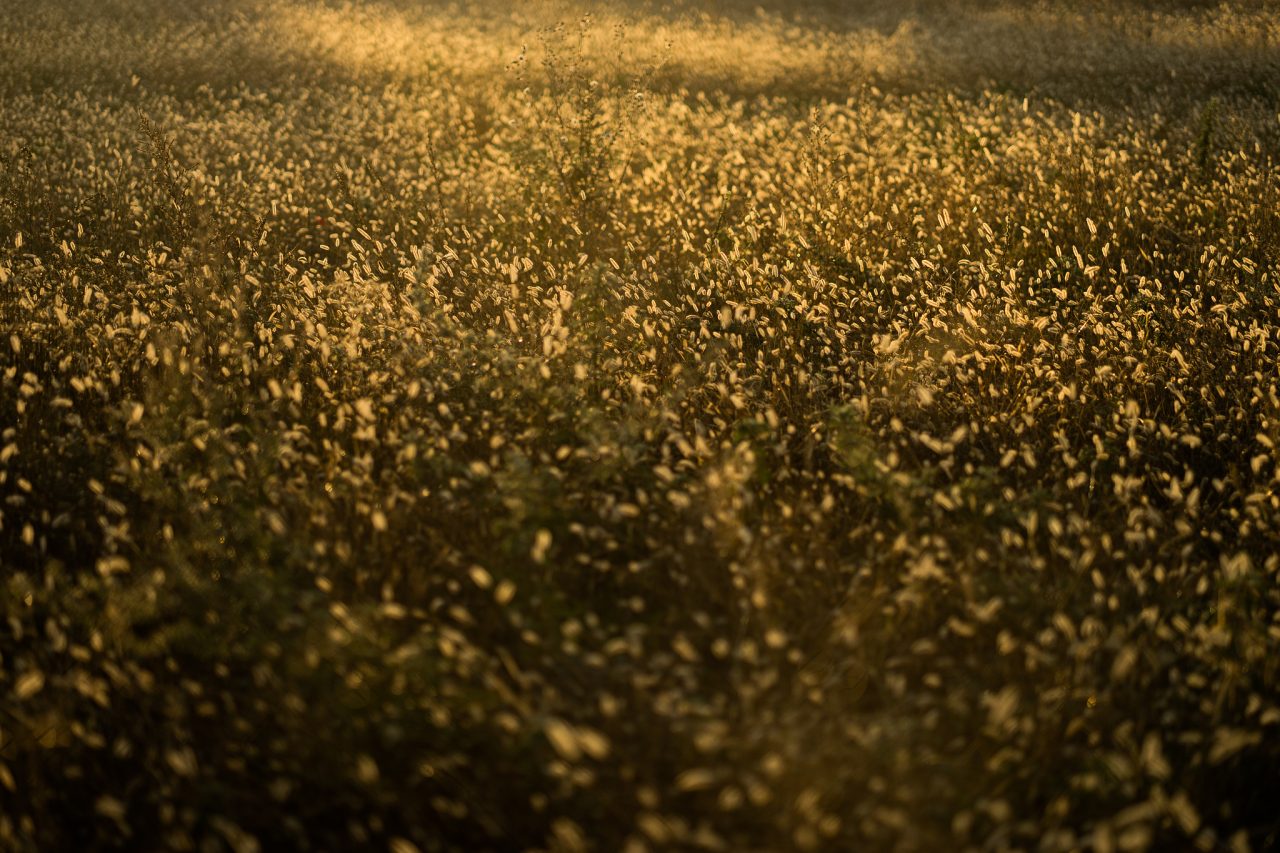
If I had left it up to the camera, it would have adjusted the exposure so every part of the image was evenly lit. But my goal was to emphasize the light, so I set the exposure manually. 1/80, f/1.8, ISO 200, 85 mm
What is manual mode
Switching to M mode gives you full control over exposure. That means you can adjust each setting based on what you want to express and how the scene actually looks—not how the automatic settings interpret it.
Manual mode is based on three key elements of exposure:
- Aperture
- Shutter Speed
- ISO
Each one affects not only how much light enters the camera, but also how the photo looks.
What is aperture
Aperture controls how wide the opening in the lens is that lets light onto the sensor. A smaller f-number, like f/1.8 means a wider opening, more light, and a shallow depth of field. That is, a nicely blurred background. A higher f-number, like f/8, lets in less light but results in a sharper image overall.
What is shutter speed
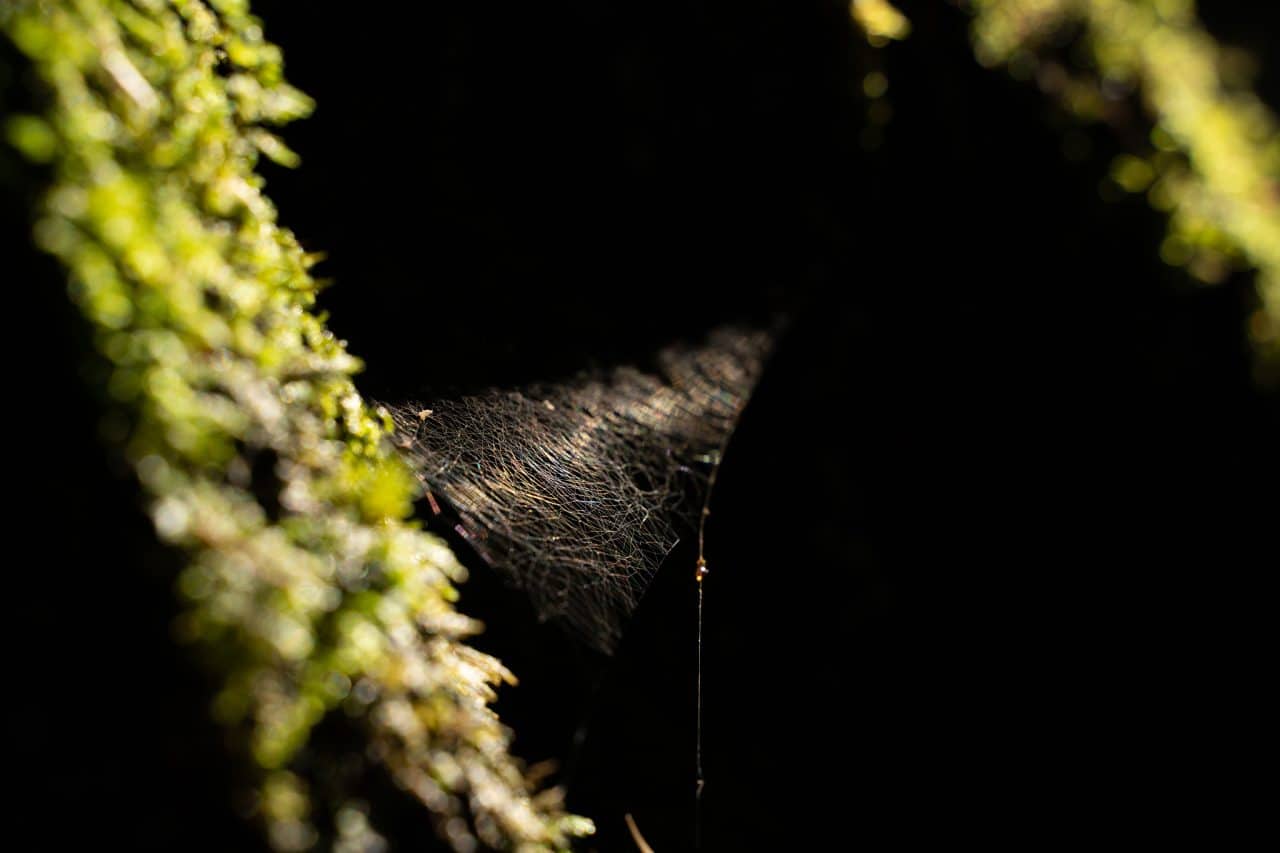
Shutter speed determines how long light hits the sensor. A slower shutter speed, like 1/10 second, lets in more light, but may also capture unwanted motion blur. A faster shutter speed, like 1/500 second, freezes motion, but allows in less light.
What is ISO
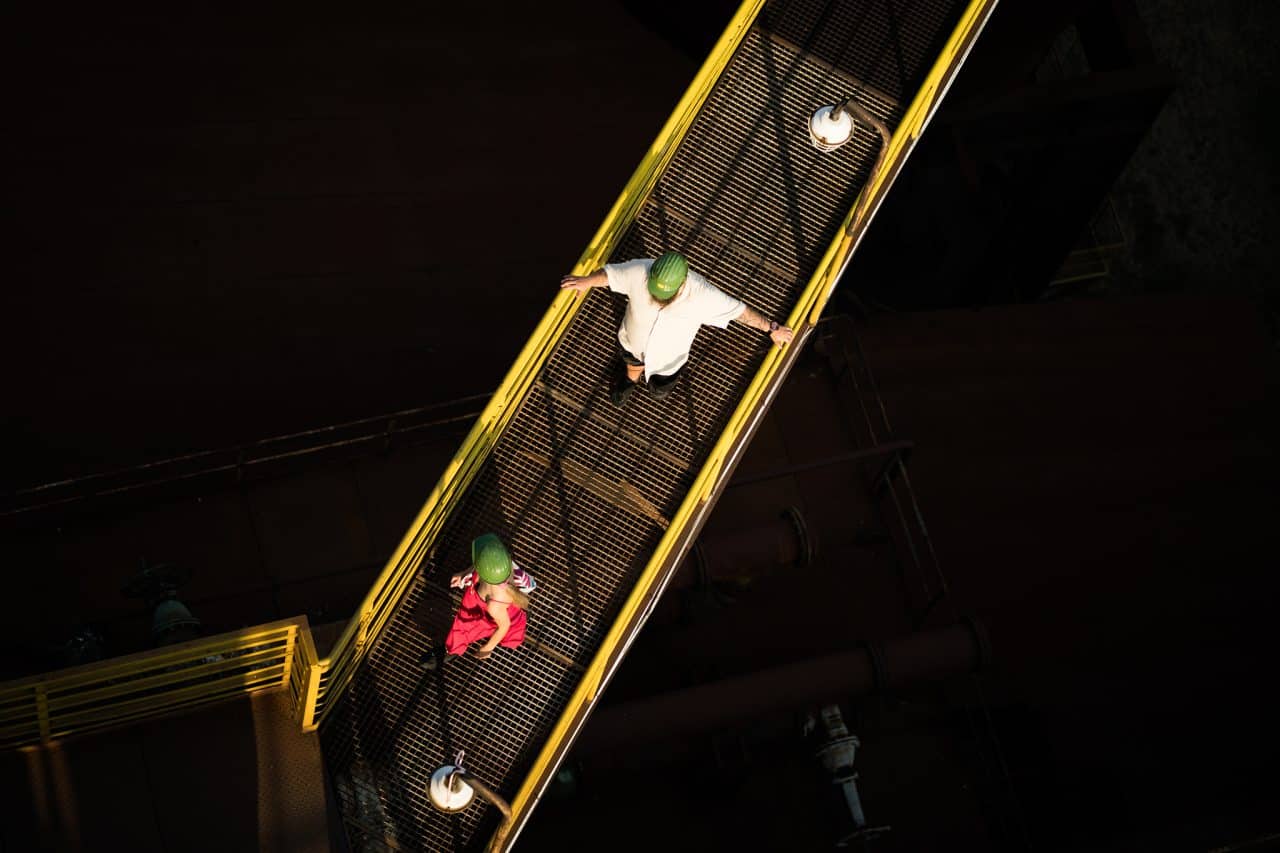
The third exposure setting is ISO, or light sensitivity. A low ISO of 100 or 200 gives you a clean, noise-free image, but you need more light. If it’s dark and you raise ISO to 1600 or more, the camera becomes more sensitive to light, but at the cost of grain and reduced image quality.

Why combine all three settings
Each setting on its own matters, but they need to work together. For example, when shooting by candlelight, you might use f/1.8, 1/100s, and ISO 640. The wide aperture lets in more light and creates a beautifully blurred background. A longer shutter speed helps capture the glow, but you need a steady hand or tripod. A higher ISO helps brighten the scene, although some noise is unavoidable.
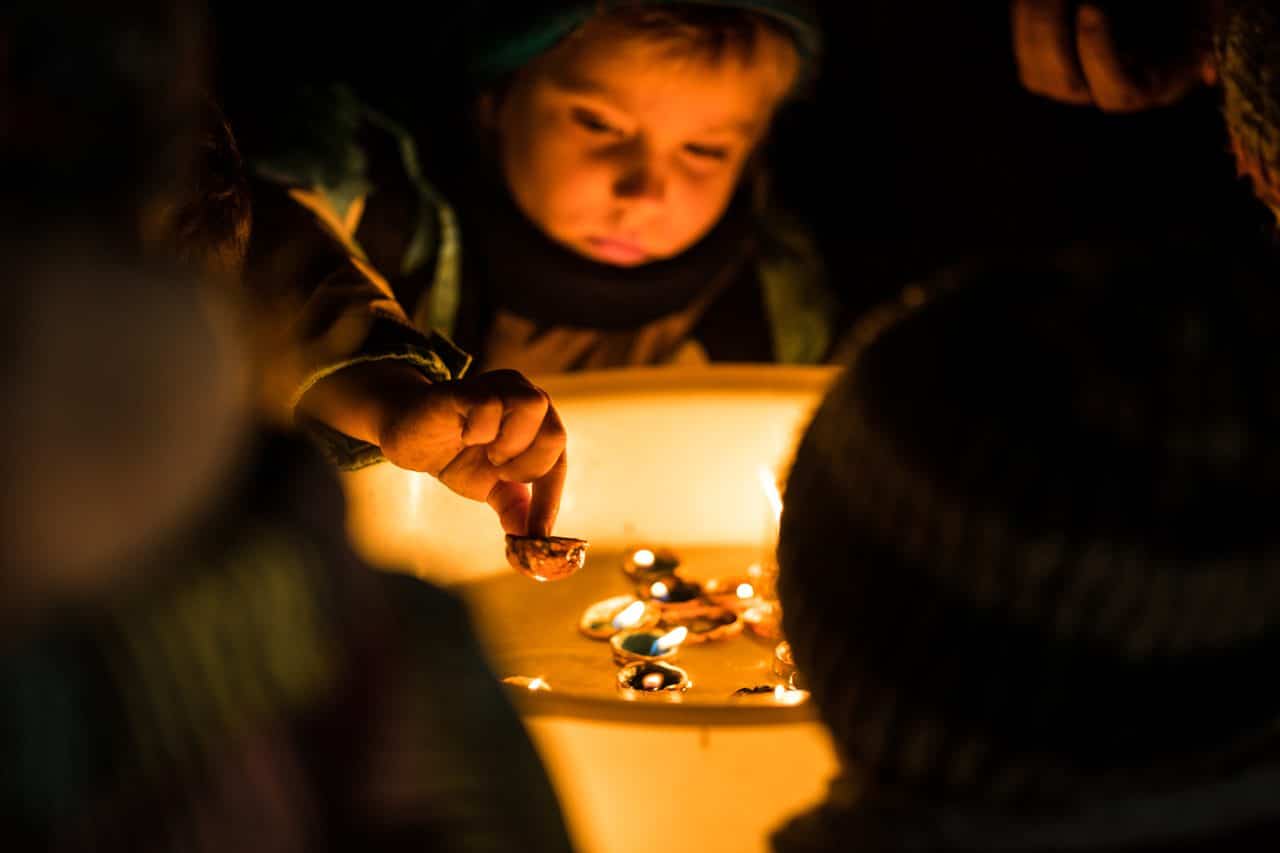
Once you start noticing how these settings interact and testing them out, you’ll quickly realize just how freeing manual mode can be. Most importantly, you’ll know the camera is doing exactly what you want it to.
When to use manual mode—Practical examples
Lack of light and special lighting
Summer evenings have magical light that’s soft and golden as it fades. But it’s lighting conditions like these that the camera uses to evaluate the scene to be too dark and tries to automatically brighten it. The result is a flat and dull image that lacks any charm.
A typical example is an evening campfire or lantern festival. The flame of the fire illuminates the face beautifully, the background is dark, and everything has a soft, warm light. But the automatic settings on your camera read the scene as underexposed and add brightness, ruining the scene’s contrast and mood.

Events in the early evening
Summer stage performances, concerts, children’s parties, and evening sports games. Wherever people are moving and light is scarce, automatic mode gets lost. It doesn’t want to let in enough light, often reduces shutter speed or ISO, and the result is often photos that are blurry or too dark.
Manual mode lets you balance everything according to the event. If you know people are moving around, set a faster shutter speed, like 1/200 second. Then, adjust the f-number and ISO as needed. The camera won’t try to “calculate” the right settings.
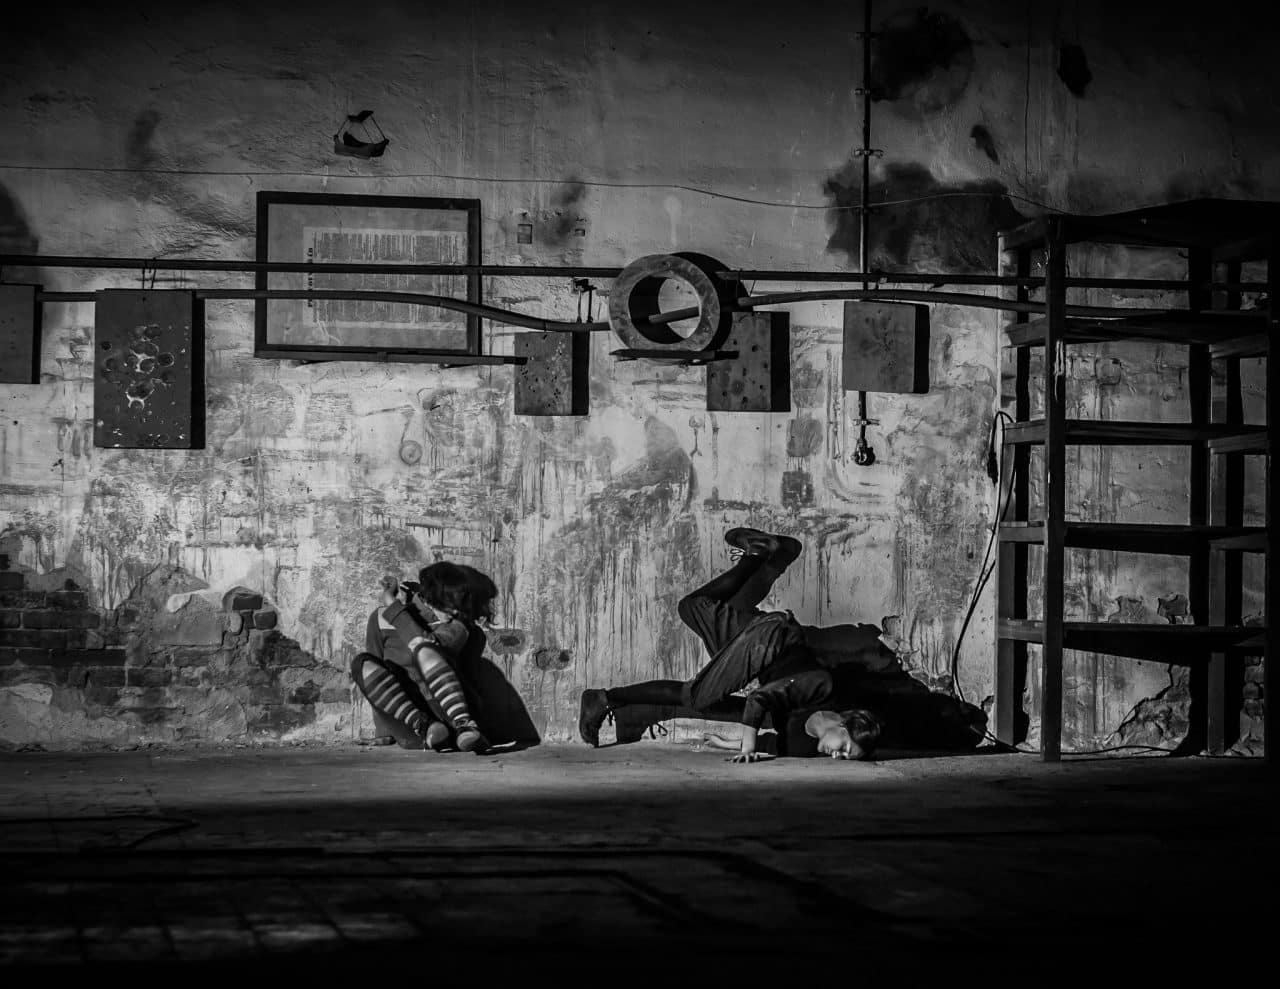
Intentionally overexposing or underexposing the scene
Sometimes you have the scene perfectly set up, dim light, the atmosphere, the mood, and then you just slightly move or change your angle. In auto mode, the camera instantly “recalculates” your settings based on the new composition, and all your hard work is gone. The light is different, the silhouette disappears, and the exposure shifts.
In manual mode, everything stays exactly how you set it. Exposure remains unchanged until you change it. You can then just focus on composition and expressions, instead of struggling with technique. For example, you’ll appreciate manual mode when shooting silhouettes against a sunset, or portraits in backlight, where control over highlights and shadows is key.
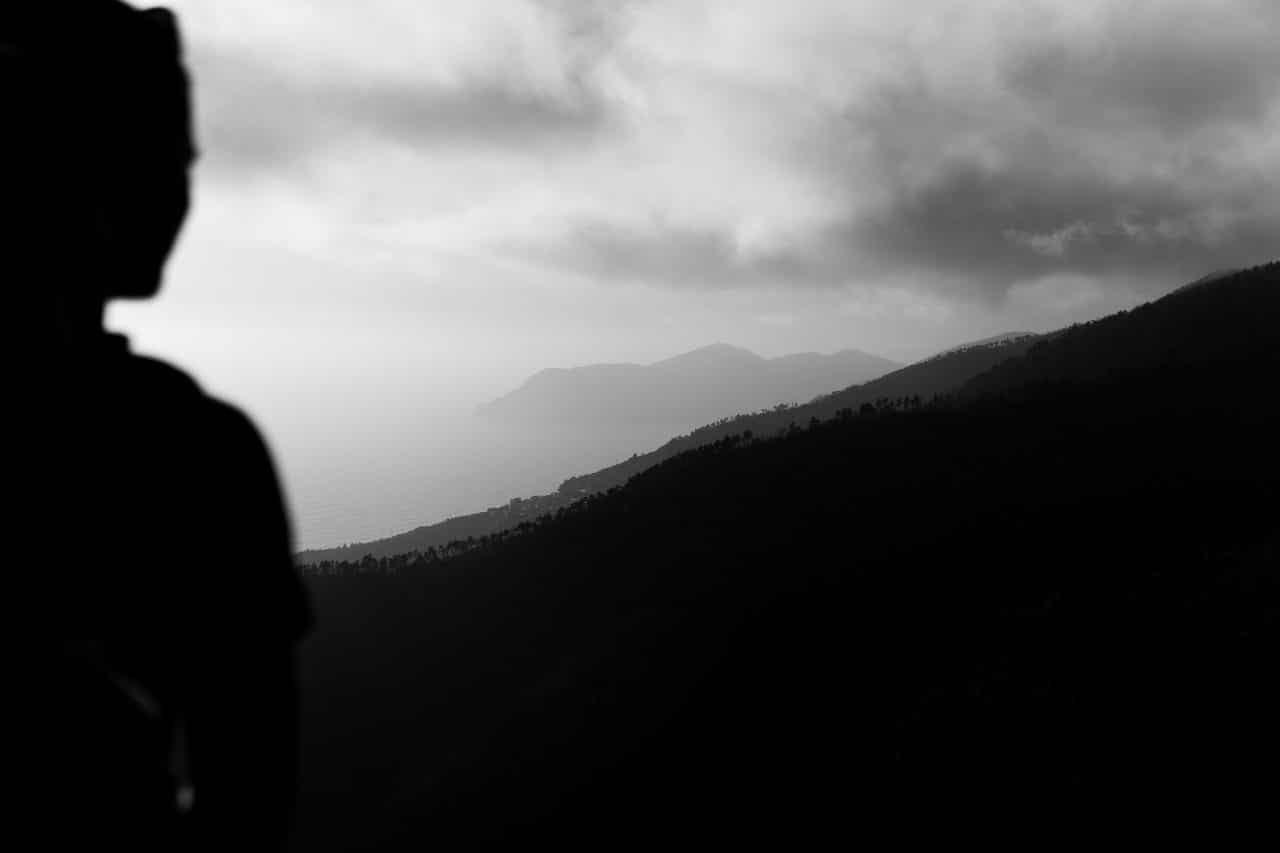
Light painting and nighttime experiments
Then, there are situations where you want to shoot using long exposures—for example, light painting, light trails from cars, or the movement of the stars. Automatic mode would immediately try shortening the shutter speed and “fix” the darkness.
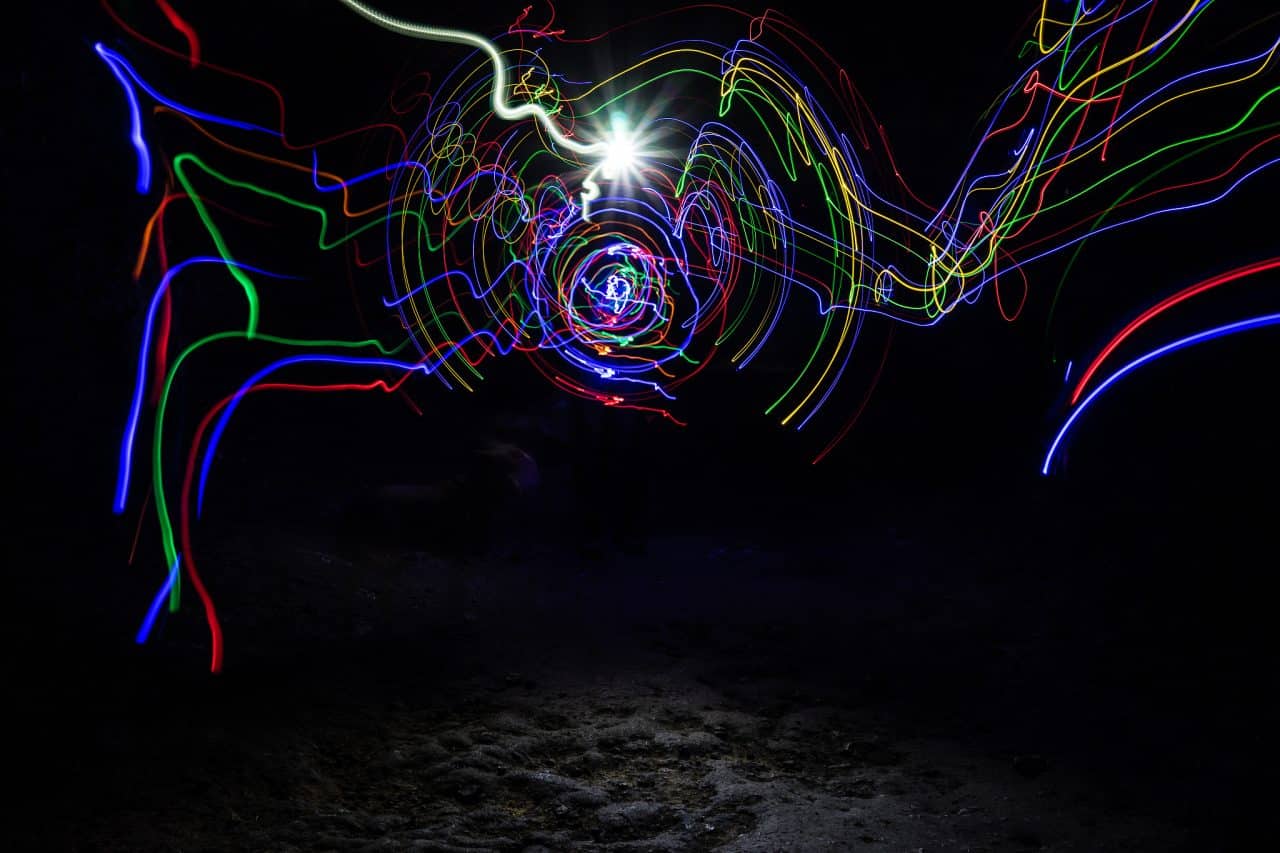
When manual mode isn’t enough—Creative solutions
Even if you quickly learn to use manual mode, there will be times when you just can’t find the right setting that fits each situation perfectly. There’s poor lighting, the subject is moving, and you need more than the camera can handle. But this is no reason to give up. This is where creativity comes in. What if you use the blur artistically? What if you make the motion blur part of the atmosphere?
For example, if a child is waving a charred stick by the fire, you can set a longer shutter speed, like ½ second, and capture the entire light trail in motion. At the same time, if the background remains static and sharp, it creates an effective contrast between stillness and movement. The photo isn’t “perfect” but it’s powerful, has atmosphere, and tells a story.
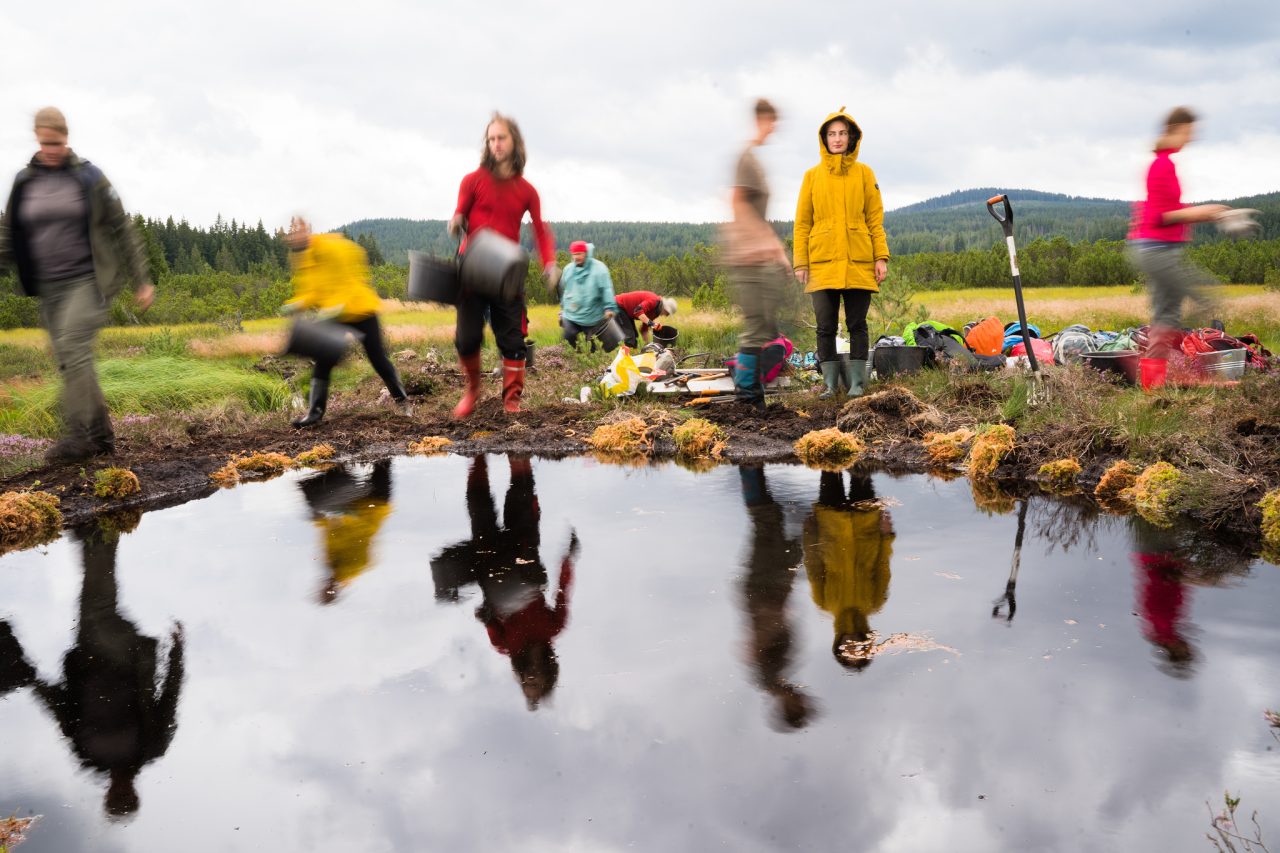
Manual focus and white balance
Manual mode isn’t just about exposure. You can control other settings too and often, it’s worth it.
Sometimes you simply don’t want the camera to decide where to focus. Autofocus doesn’t know what you want to emphasize. It looks for contrast and sometimes locks onto the wrong spot, especially in low light, macro shots, or scenes with foreground elements.

My lens couldn’t focus between the gaps in the fence so I switched to manual focus. Despite the high f-number, the background is blurry because it’s far from the fence. 1/200s, f/8, ISO 200, 85mm
Auto white balance tends to overcorrect the colors. For example, warm indoor lighting often gets cooled down to dull blue. By switching to manual white balance, you can set it to “bulb,” “shadow,” or a specific color temperature manually (e.g. 28000K for candlelight). You get more authentic colors, or deliberately stylized colors that match the scene’s mood.

What you gain from manual mode
Manual mode might seem intimidating at first, but it’s one of the fastest ways to become a more confident, independent, and creative photographer. It teaches you how to understand light—its intensity, direction, and color. You stop relying on your camera to “decide” and start making the choices yourself about what is bright, what is dark, and why.

Over time, you’ll gain increased speed and confidence. You’ll know what to do in challenging situations. You can explain why a photo is too dark, blurry, or noisy and can fix it immediately.
Last but not least, you’ll have the confidence and freedom to make these decisions. The camera is no longer the one who decides, but a tool that listens to you. With manual mode, you become a photographer who not only takes pictures but creates.
Learn to use manual mode on your camera
Ready to dive in? Great! Check out our guide where we show you how to set your camera for portraits, landscapes, or action shots: Manual Mode—Different Settings for Different Situations.
There are no comments yet.