Night-sky Photos: 7 Edits (+1 More) That Will Definitely Spice Them Up
The article is over 5 years old. The information in it may be outdated.
![]()
We are working on its update. In the meantime, you can read some more recent articles.
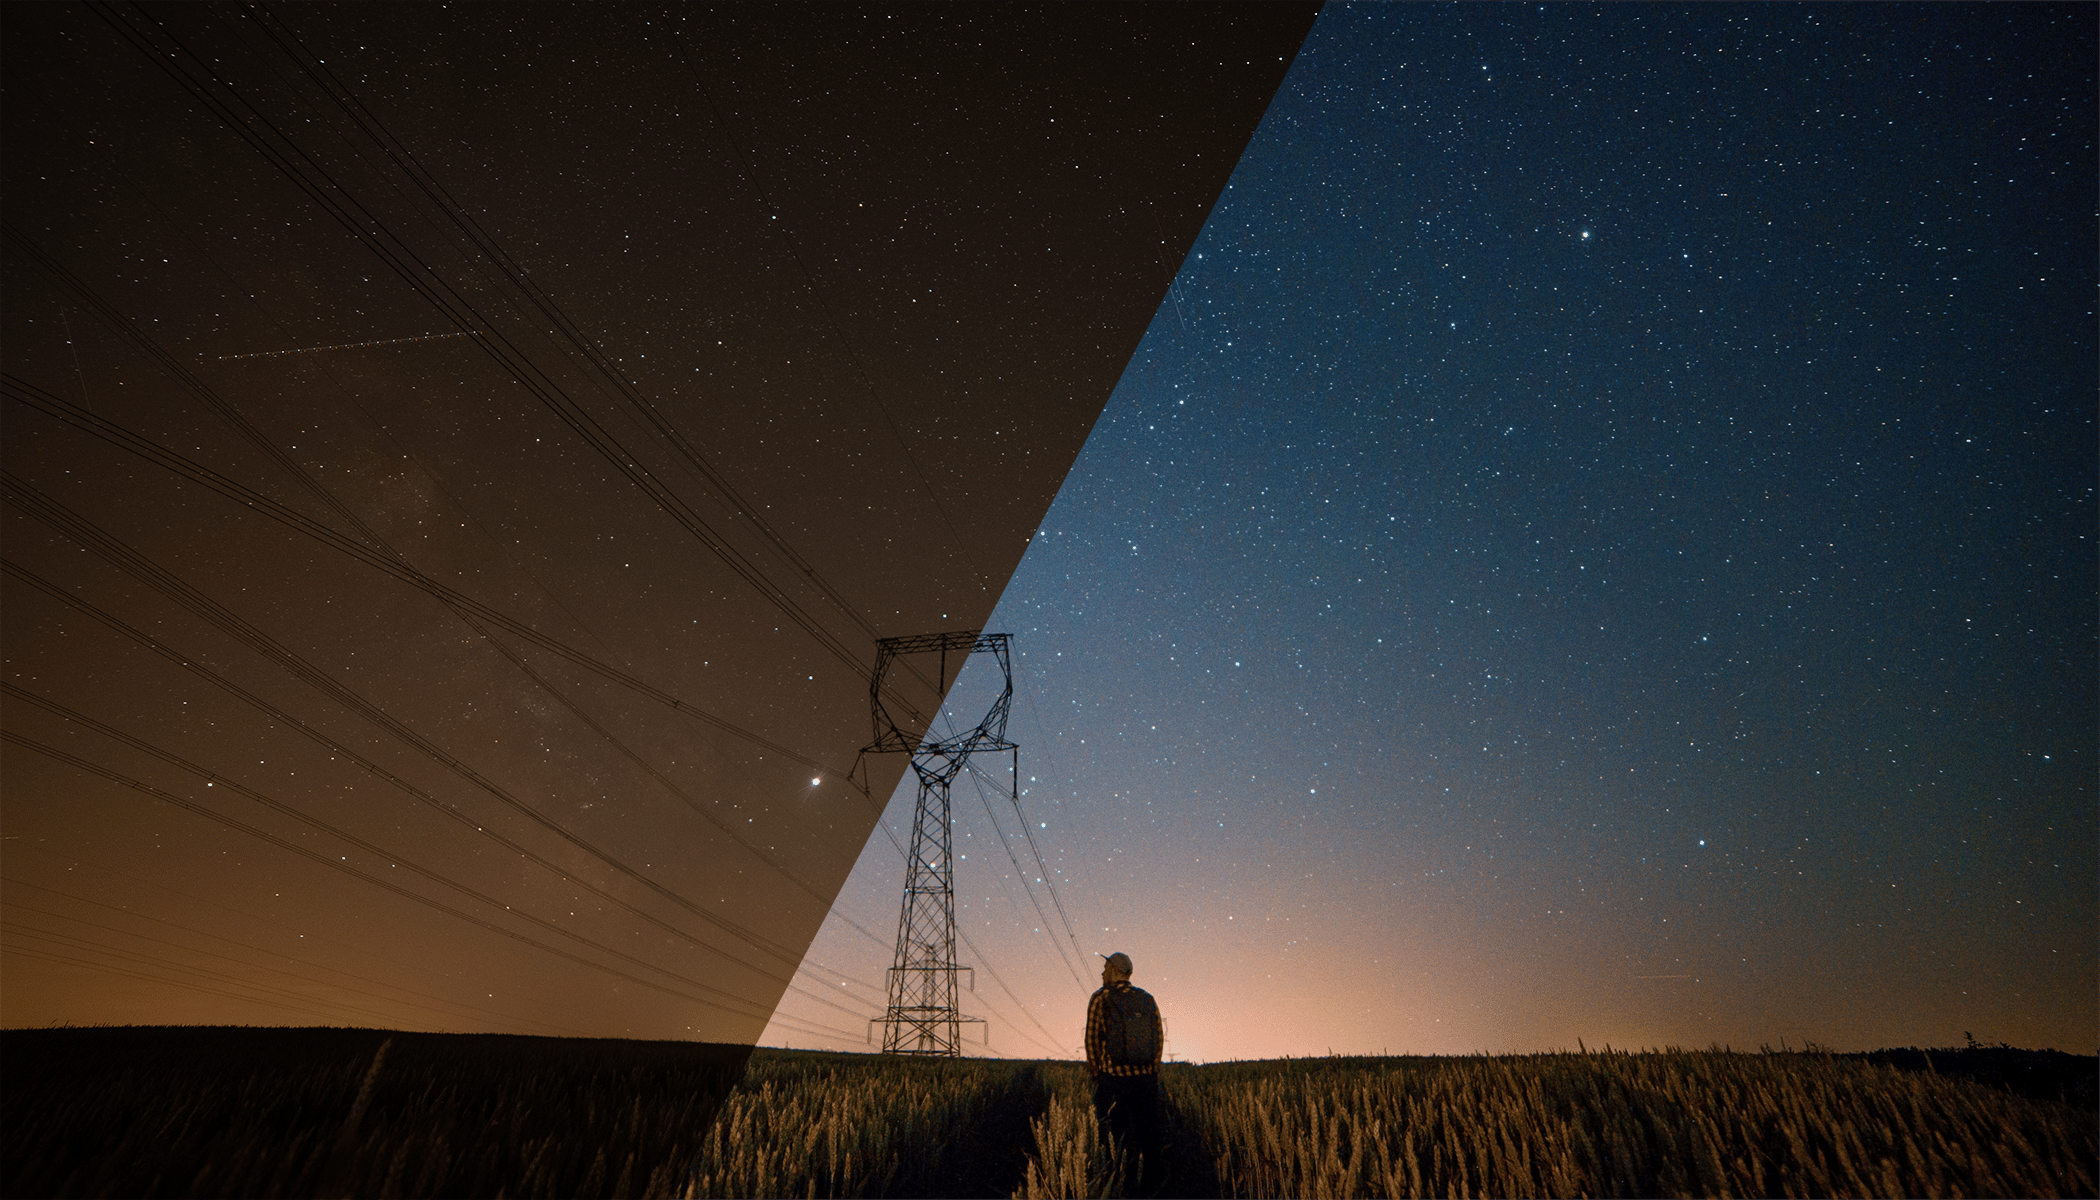
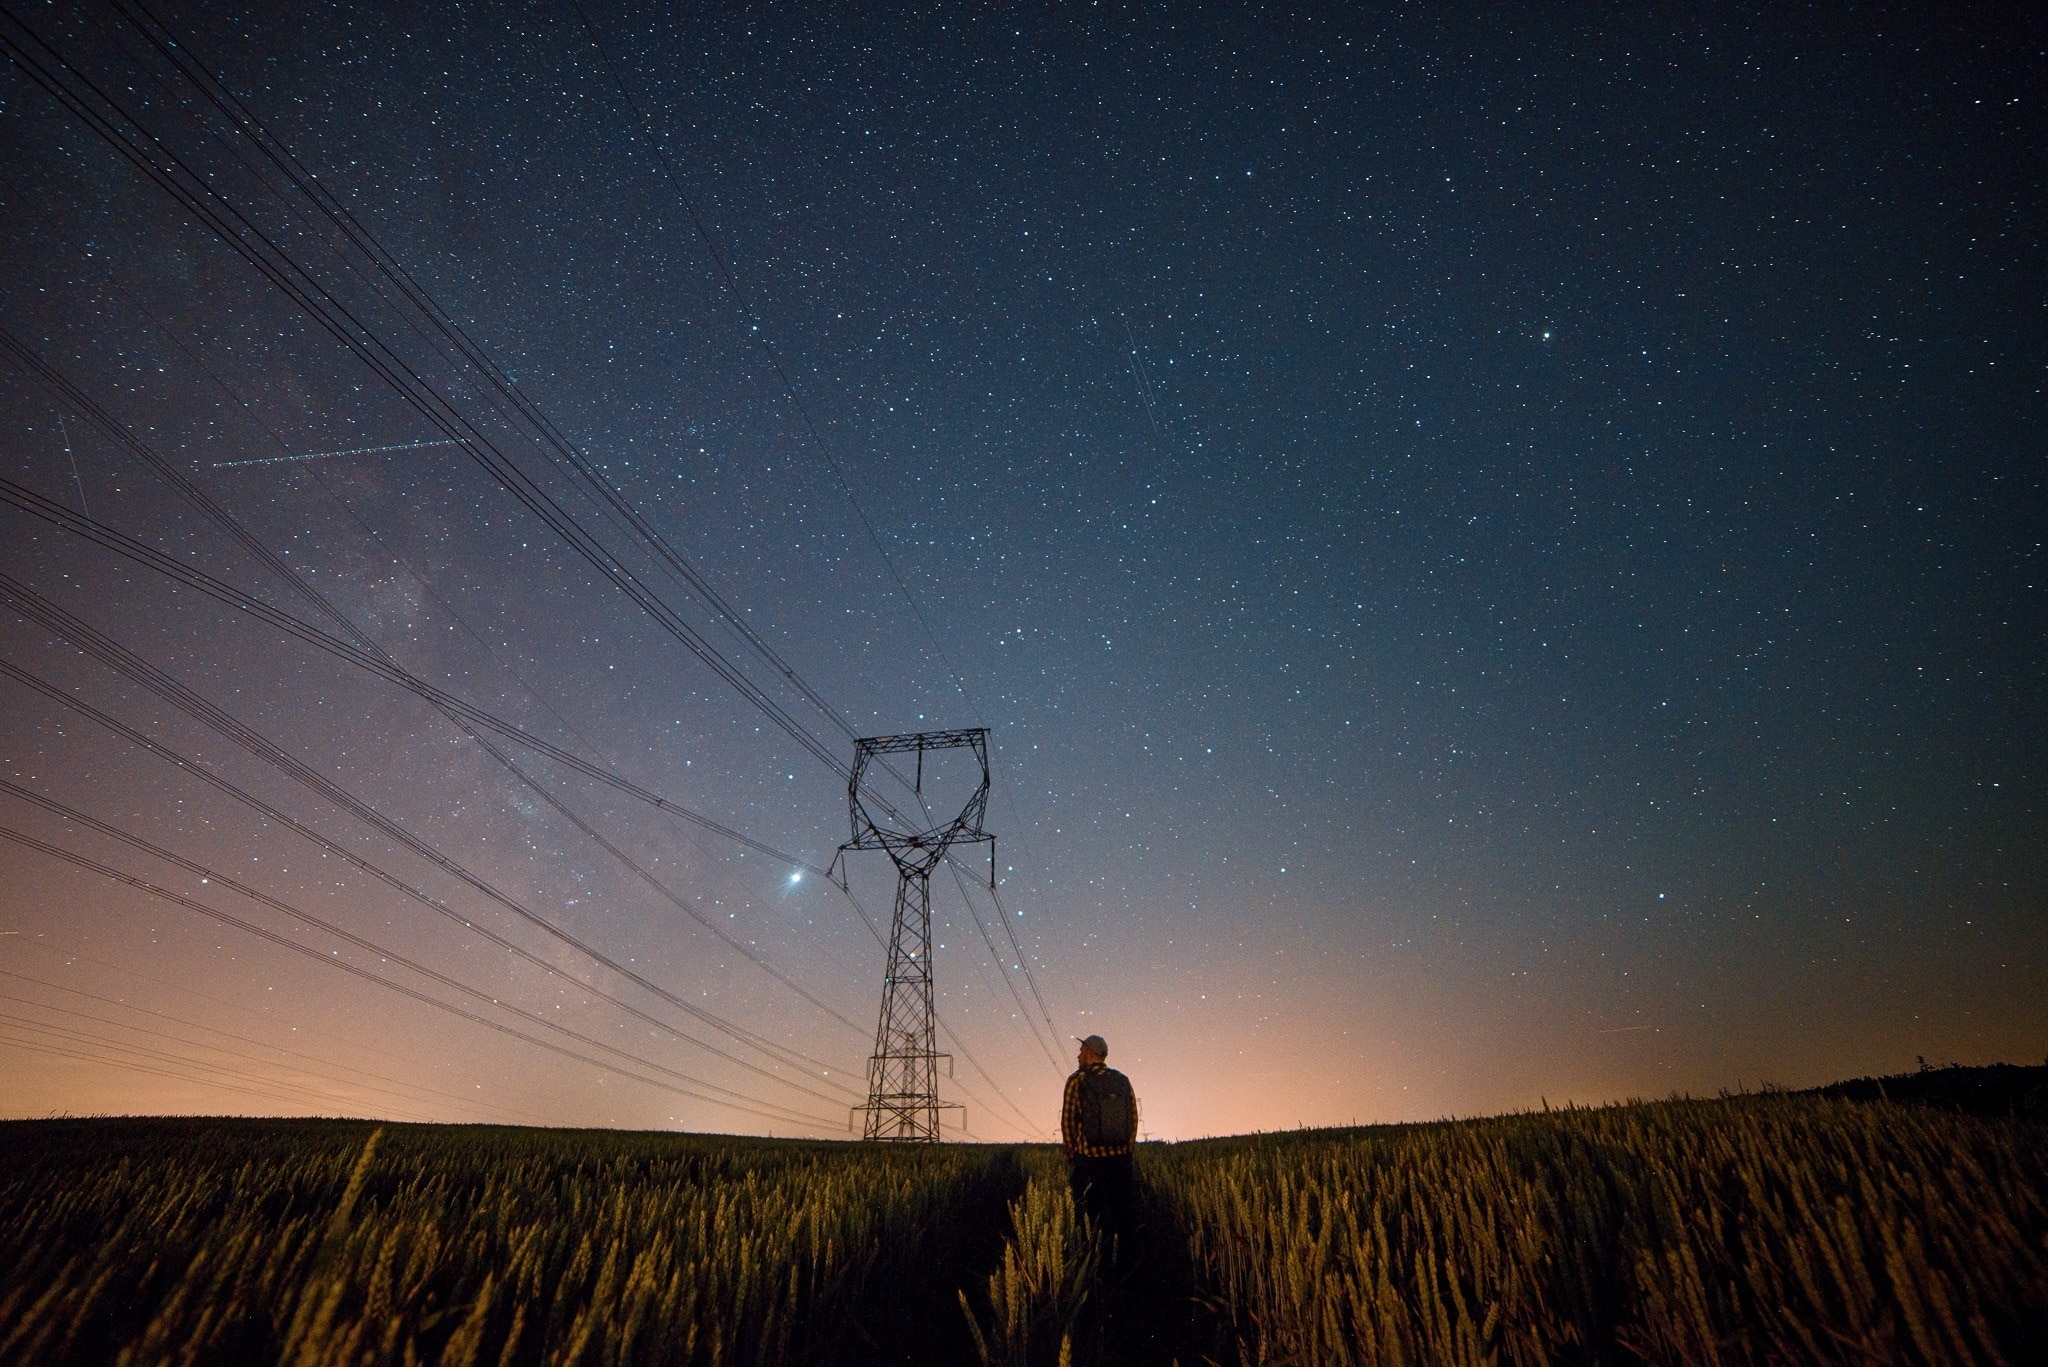
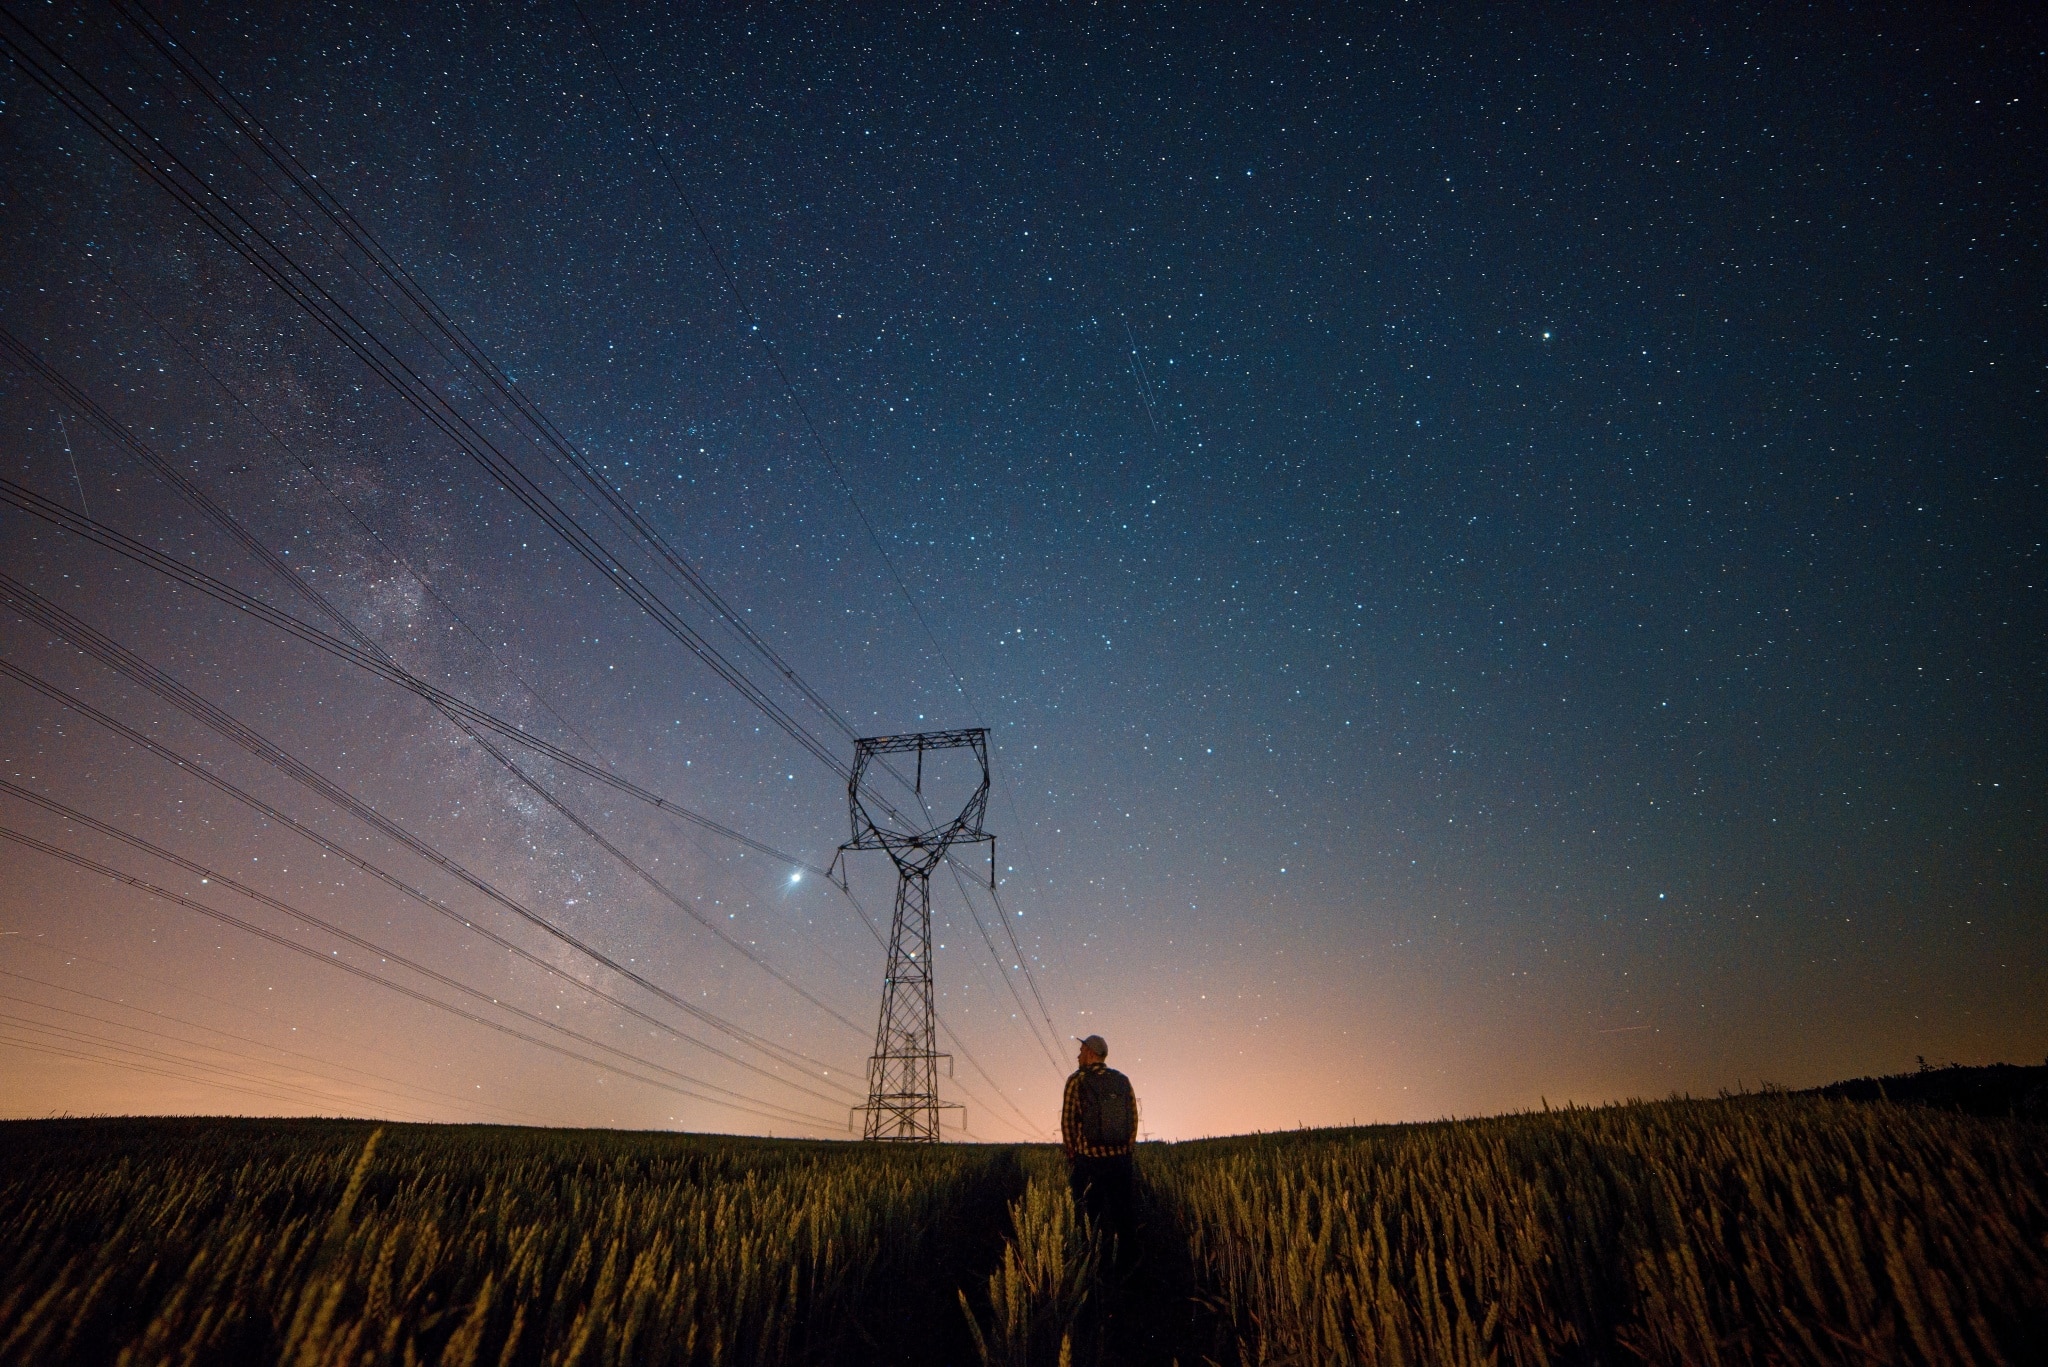
We’ve just enetered the ideal season for photographing the night sky. And astrophotography is a very popular genre—but also very editing-heavy. Fortunately, the basic edits here are simple, and they’re also easy to do in Zoner Studio. Join us for a look at some edits that are essential for every photo of the night sky!
We’ll go through them one by one. We’ll start with the very most basic ones, then work our way to a few that fine-tune details to perfection.
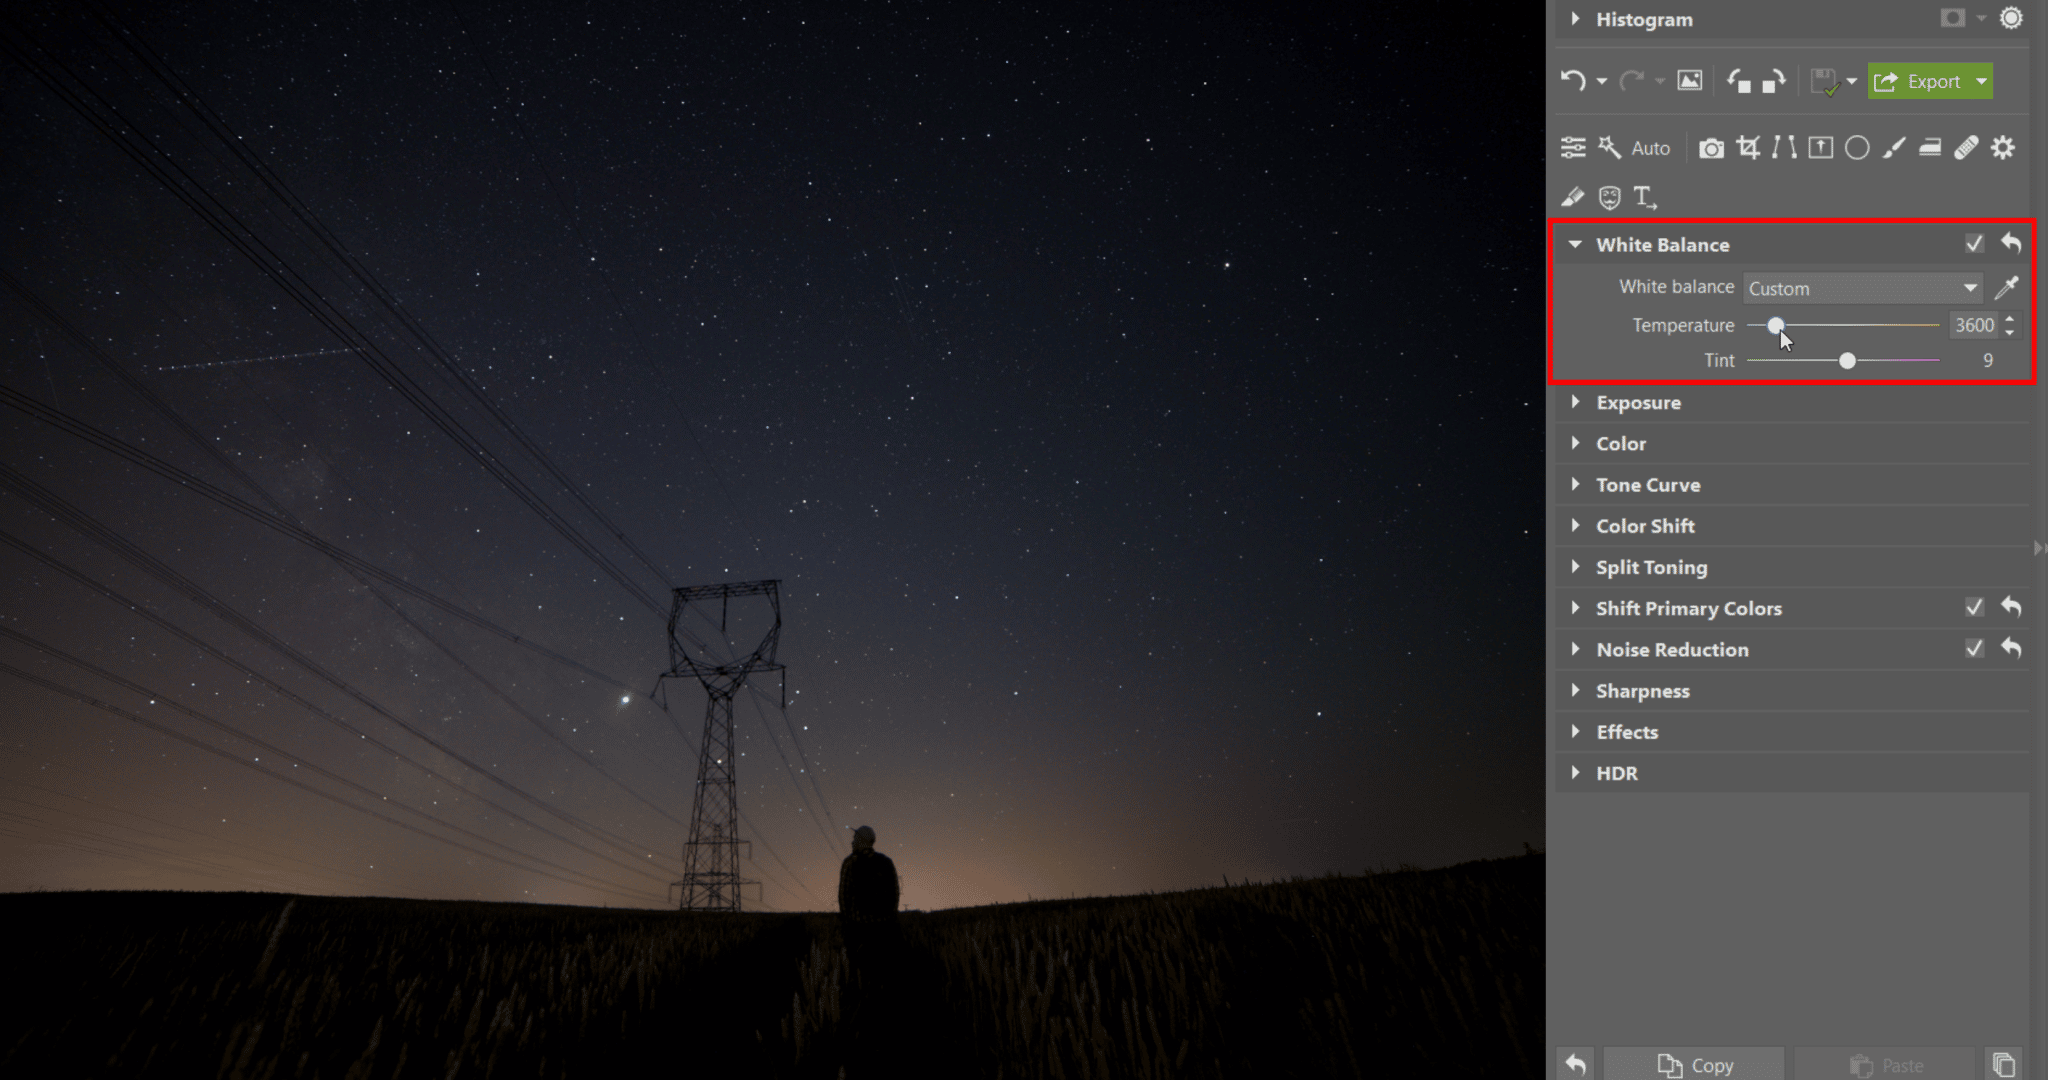
White Balance and Exposure
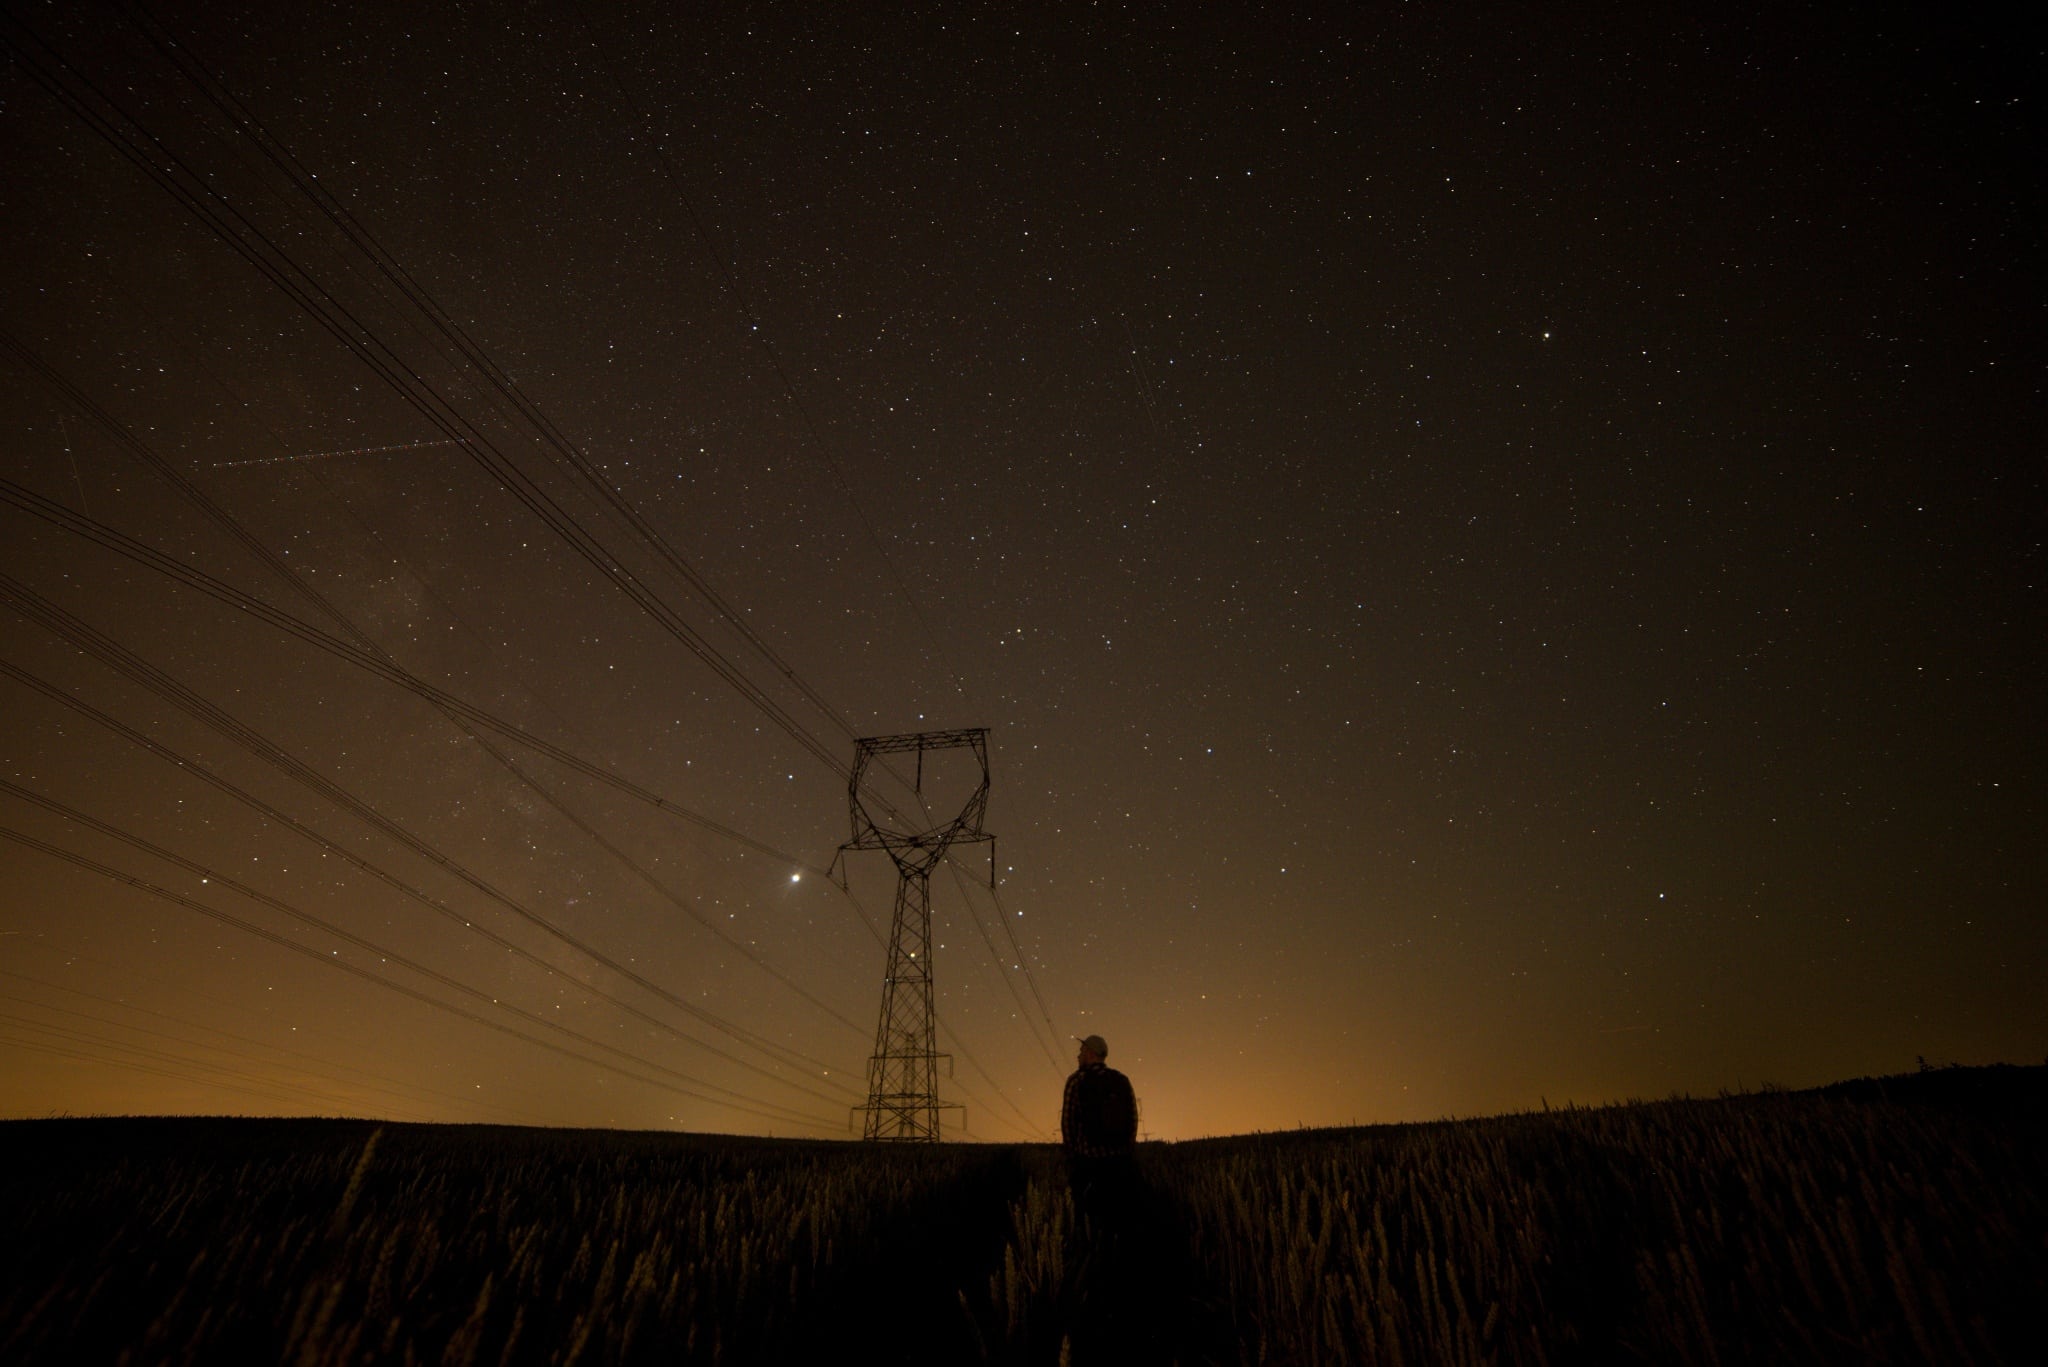
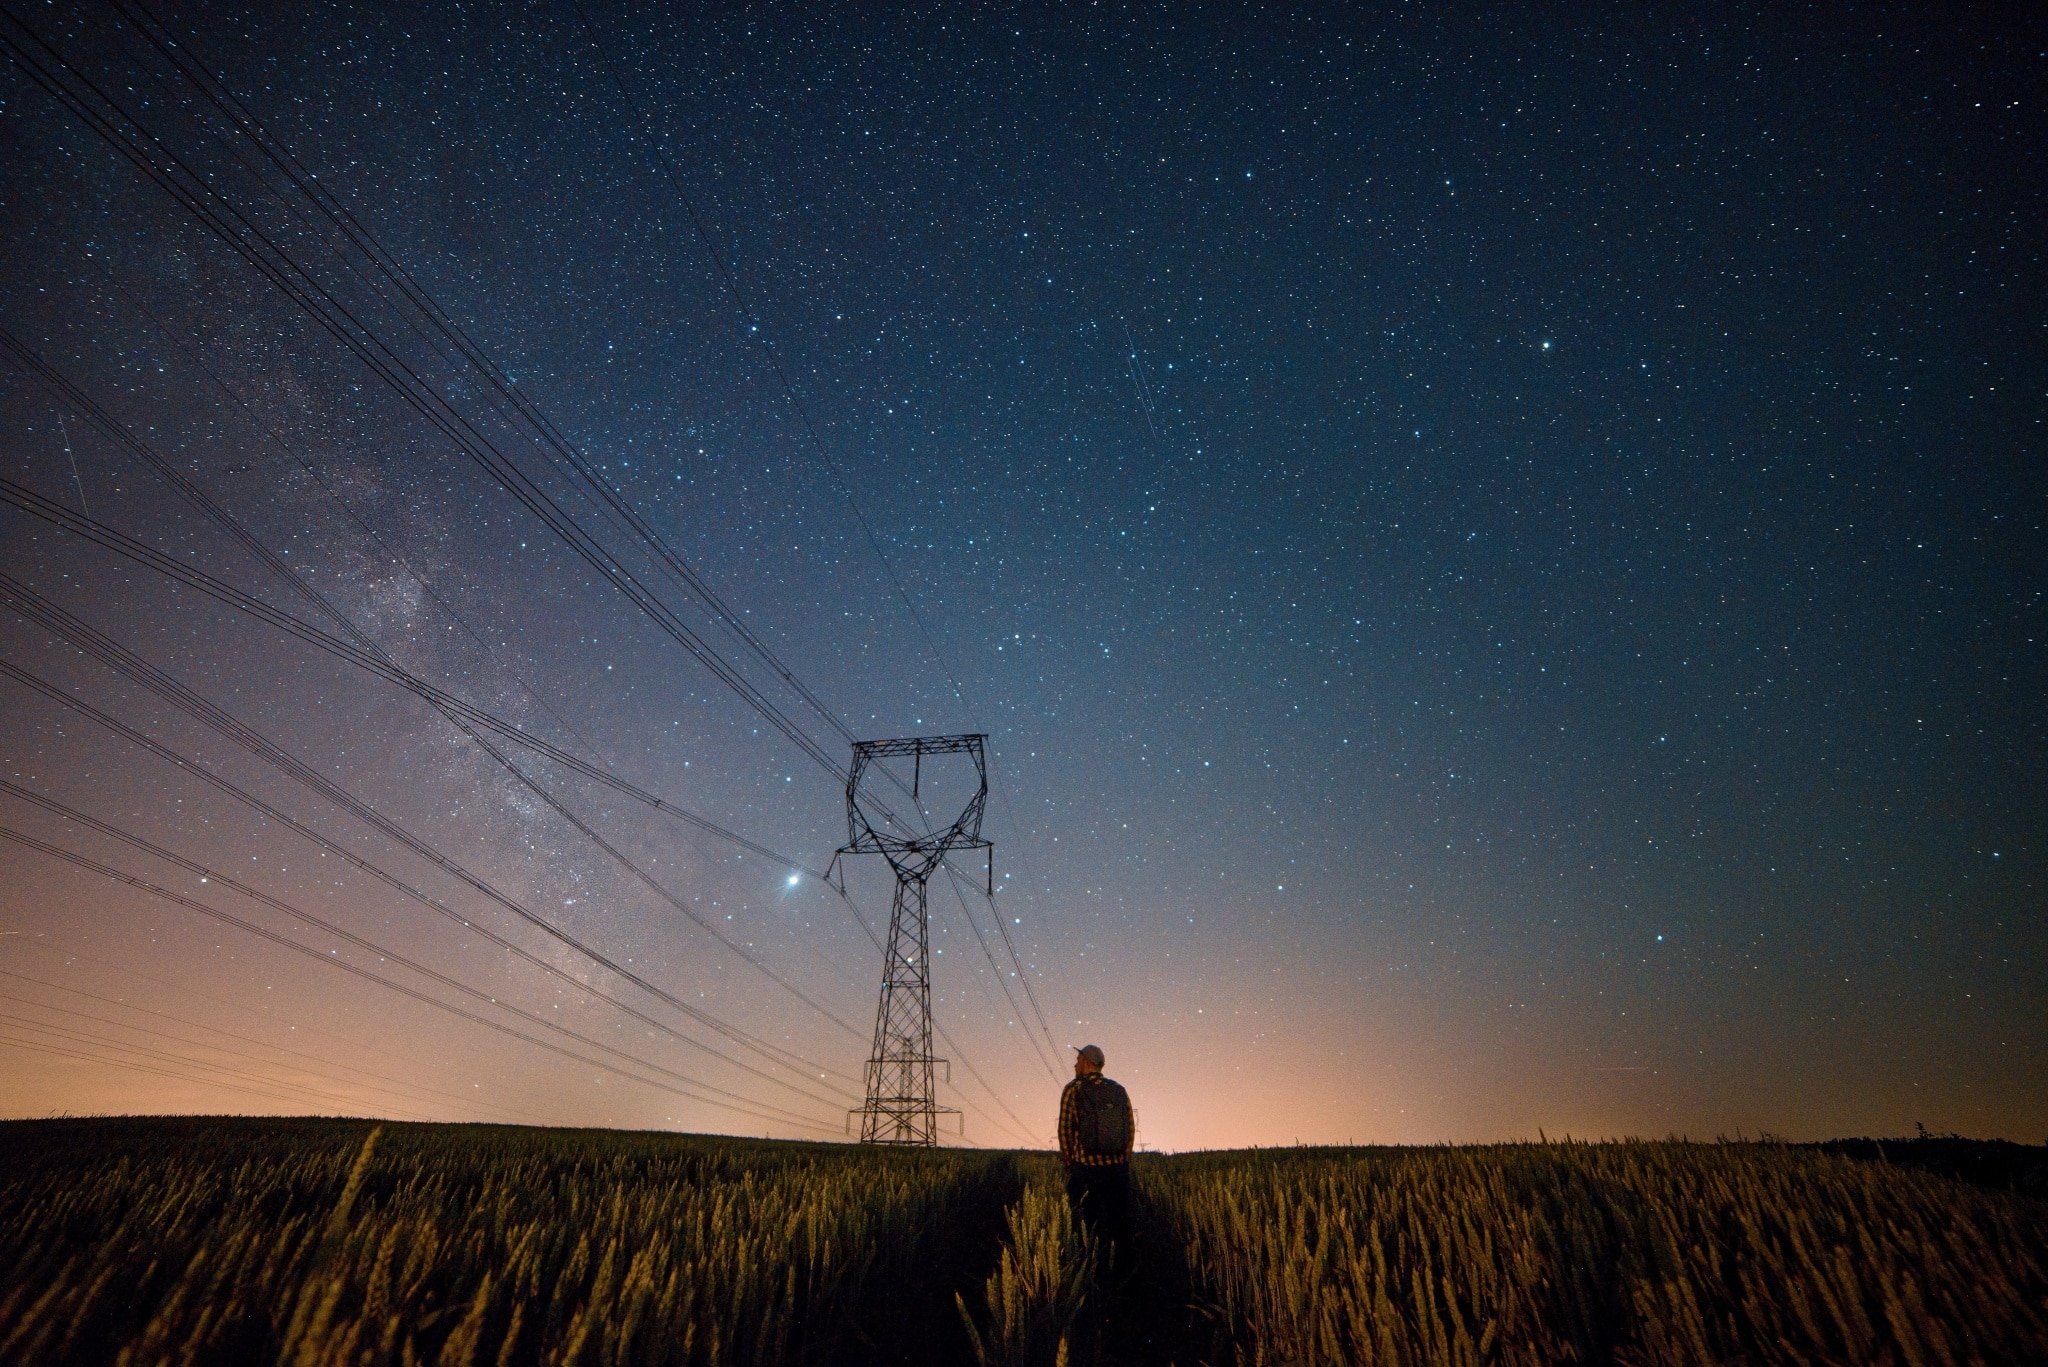
When you start up Zoner Studio and open a photo in its Develop module, edits to white balance and exposure are generally the first and most fundamental thing you do. And that remains true for photos of starry skies. Unless you tackled white balancing right during the shot, night photos often have excessively warm tones. So move the White Balance slider slightly to the left.
Our photo is underexposed and needs a bit of brightening. Adding Exposure and pulling up Shadows is what will help the most here. Last but not least, it’s also helpful to add some Clarity to highlight the stars. And to bump up the Vibrance, which will give them a bit more color.

Fine-tuning the Picture’s Colors
To fine-tune a picture’s colors, use Shift Primary Colors. The violet shades don’t fit this sky very well, and so I’m shifting blues slightly to the left.

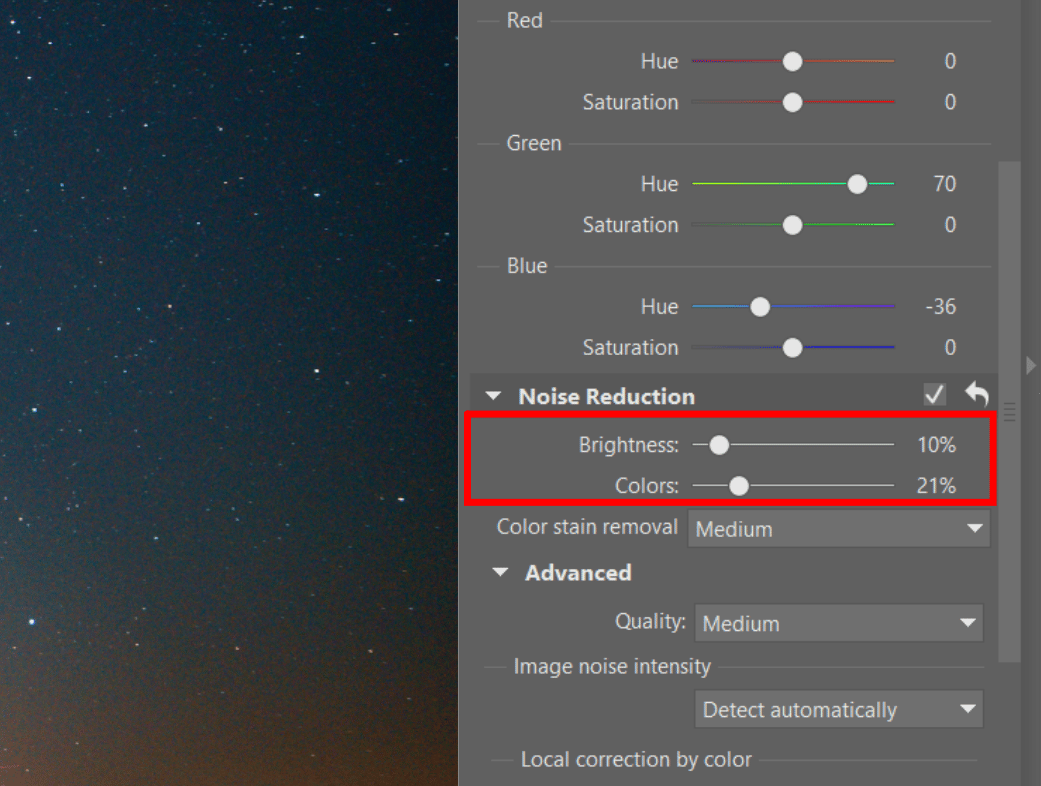
Noise Reduction
Star photography is a bit limiting when it comes to exposure. Why? Because you want high ISOs for exposure, but they lead to noise. So you’ll want to remove that noise. However, be careful with noise reduction edits. Use too much reduction, and it will mistake stars for noise and make many of them disappear. You’ll have better luck here with the Colors slider and Color stain removal. These features reduce colored noise, which is always something unwanted.


Retouching Away Airplanes and Satellites
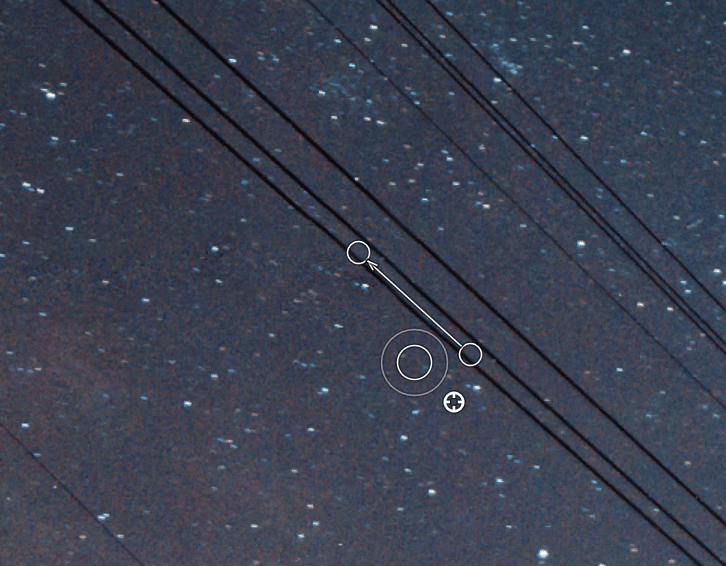
When it comes to retouching away lines in the sky, things are more complicated. Sometimes they’re comets, which look fine. Sometimes they’re satellites. And sometimes they’re ugly, blinking airplanes. It depends on the situation; not every line demands retouching. But this one here, it bugs me.
Retouching away this plane’s whole trajectory is easy using the Healing Brush (J). I just activate the Brush and run over the plane’s trail with it. The brush automatically finds a suitable source region to replace the trail with.
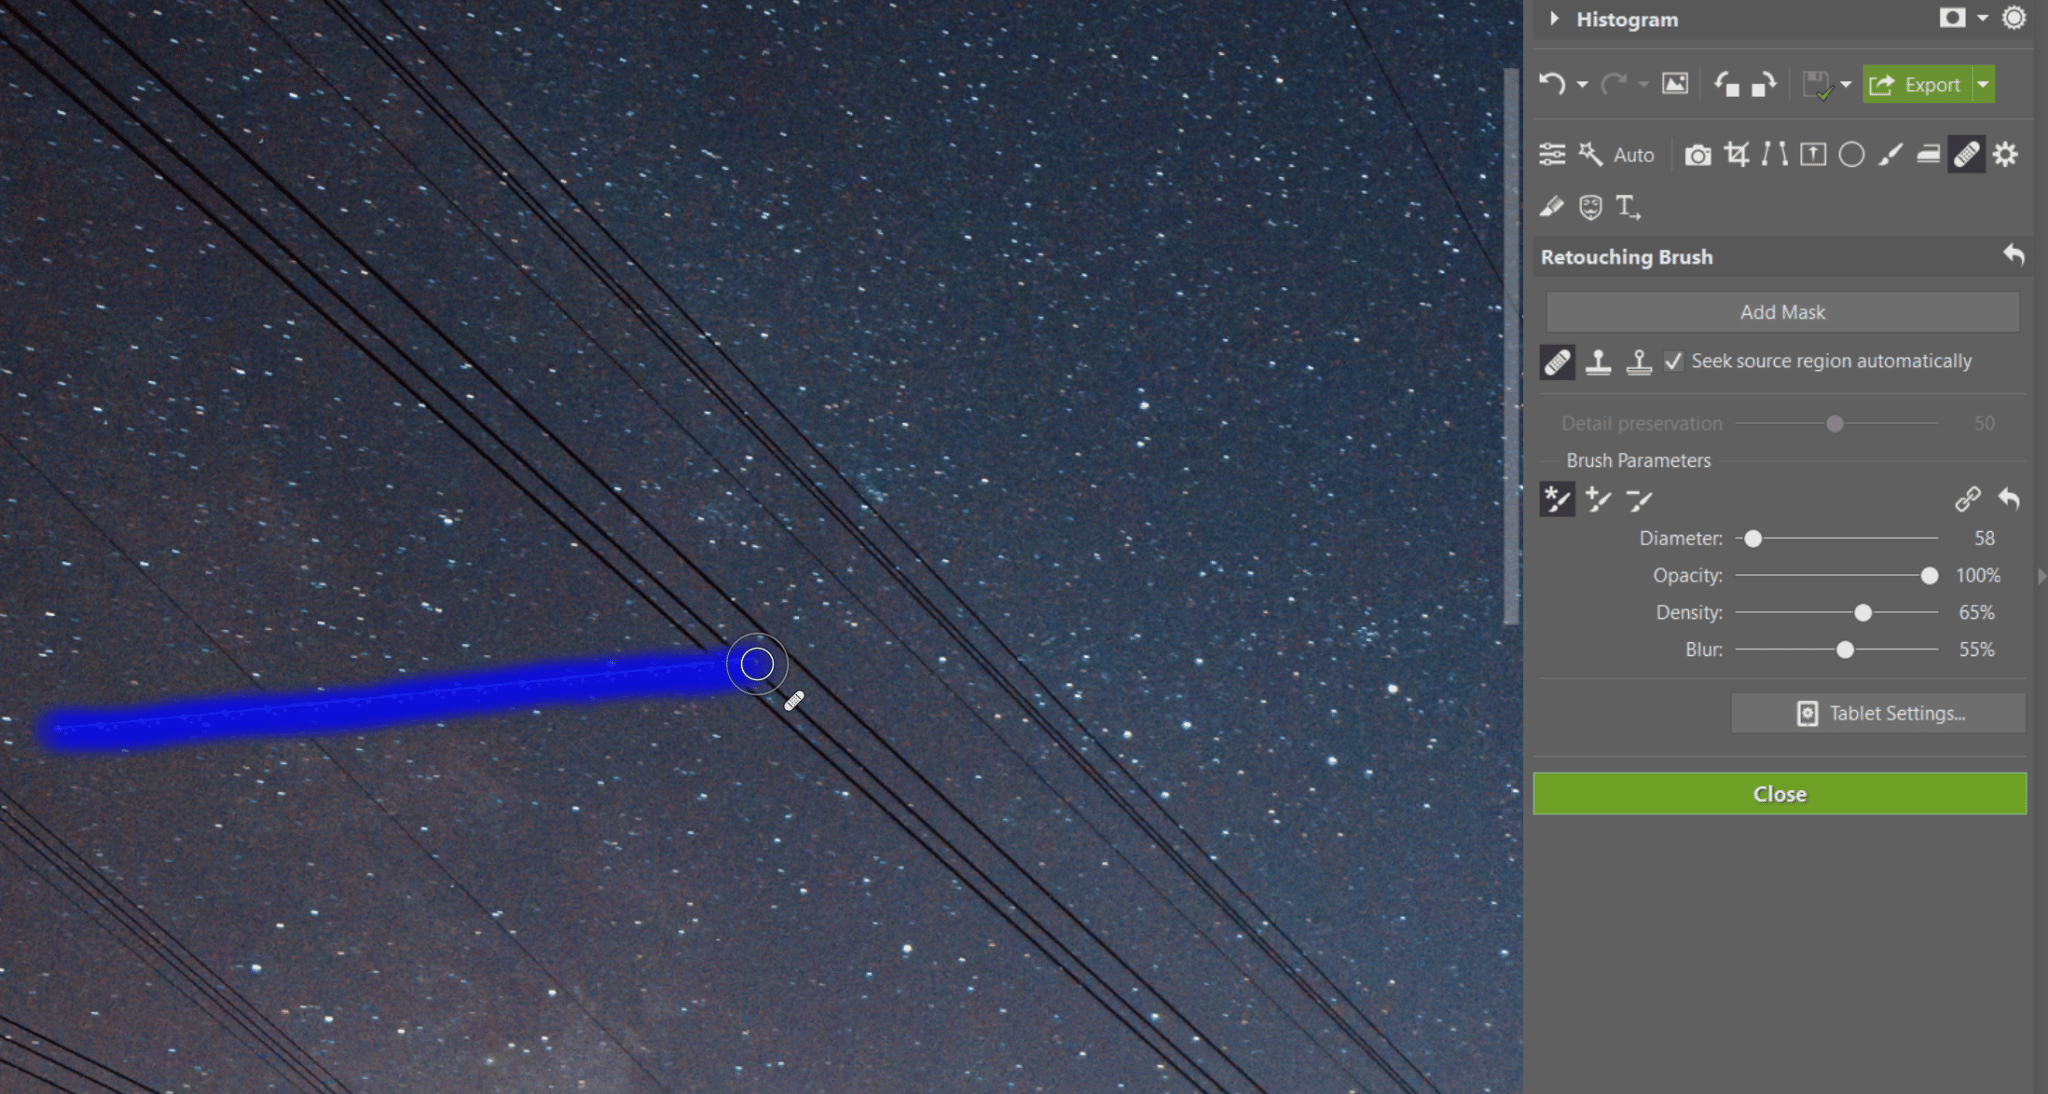
I’ve moved the automatically chosen source region to replace it with one that exactly fits the wires. However, that only worked for one wire, and the rest remained outside.
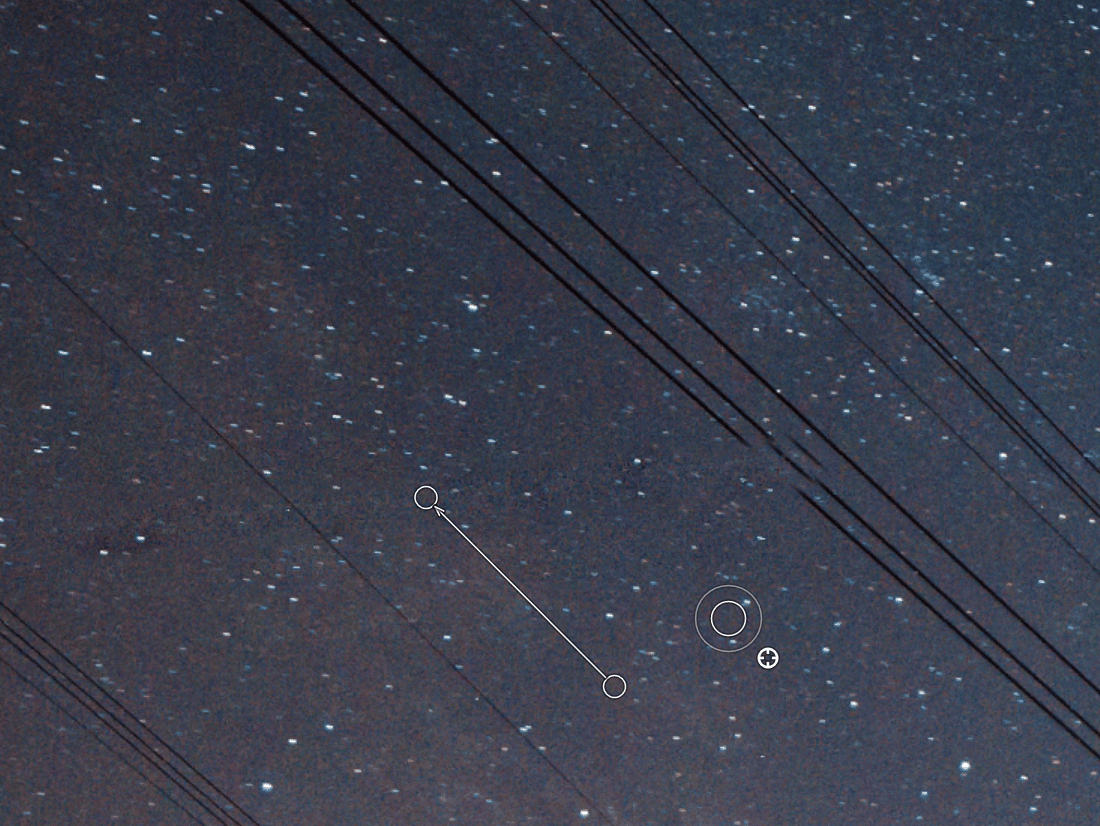
So I’ve repeated the procedure, adding a mask, and covered the places that didn’t work out with a new stroke. As long as the arrow leads along the wire, it should fit.
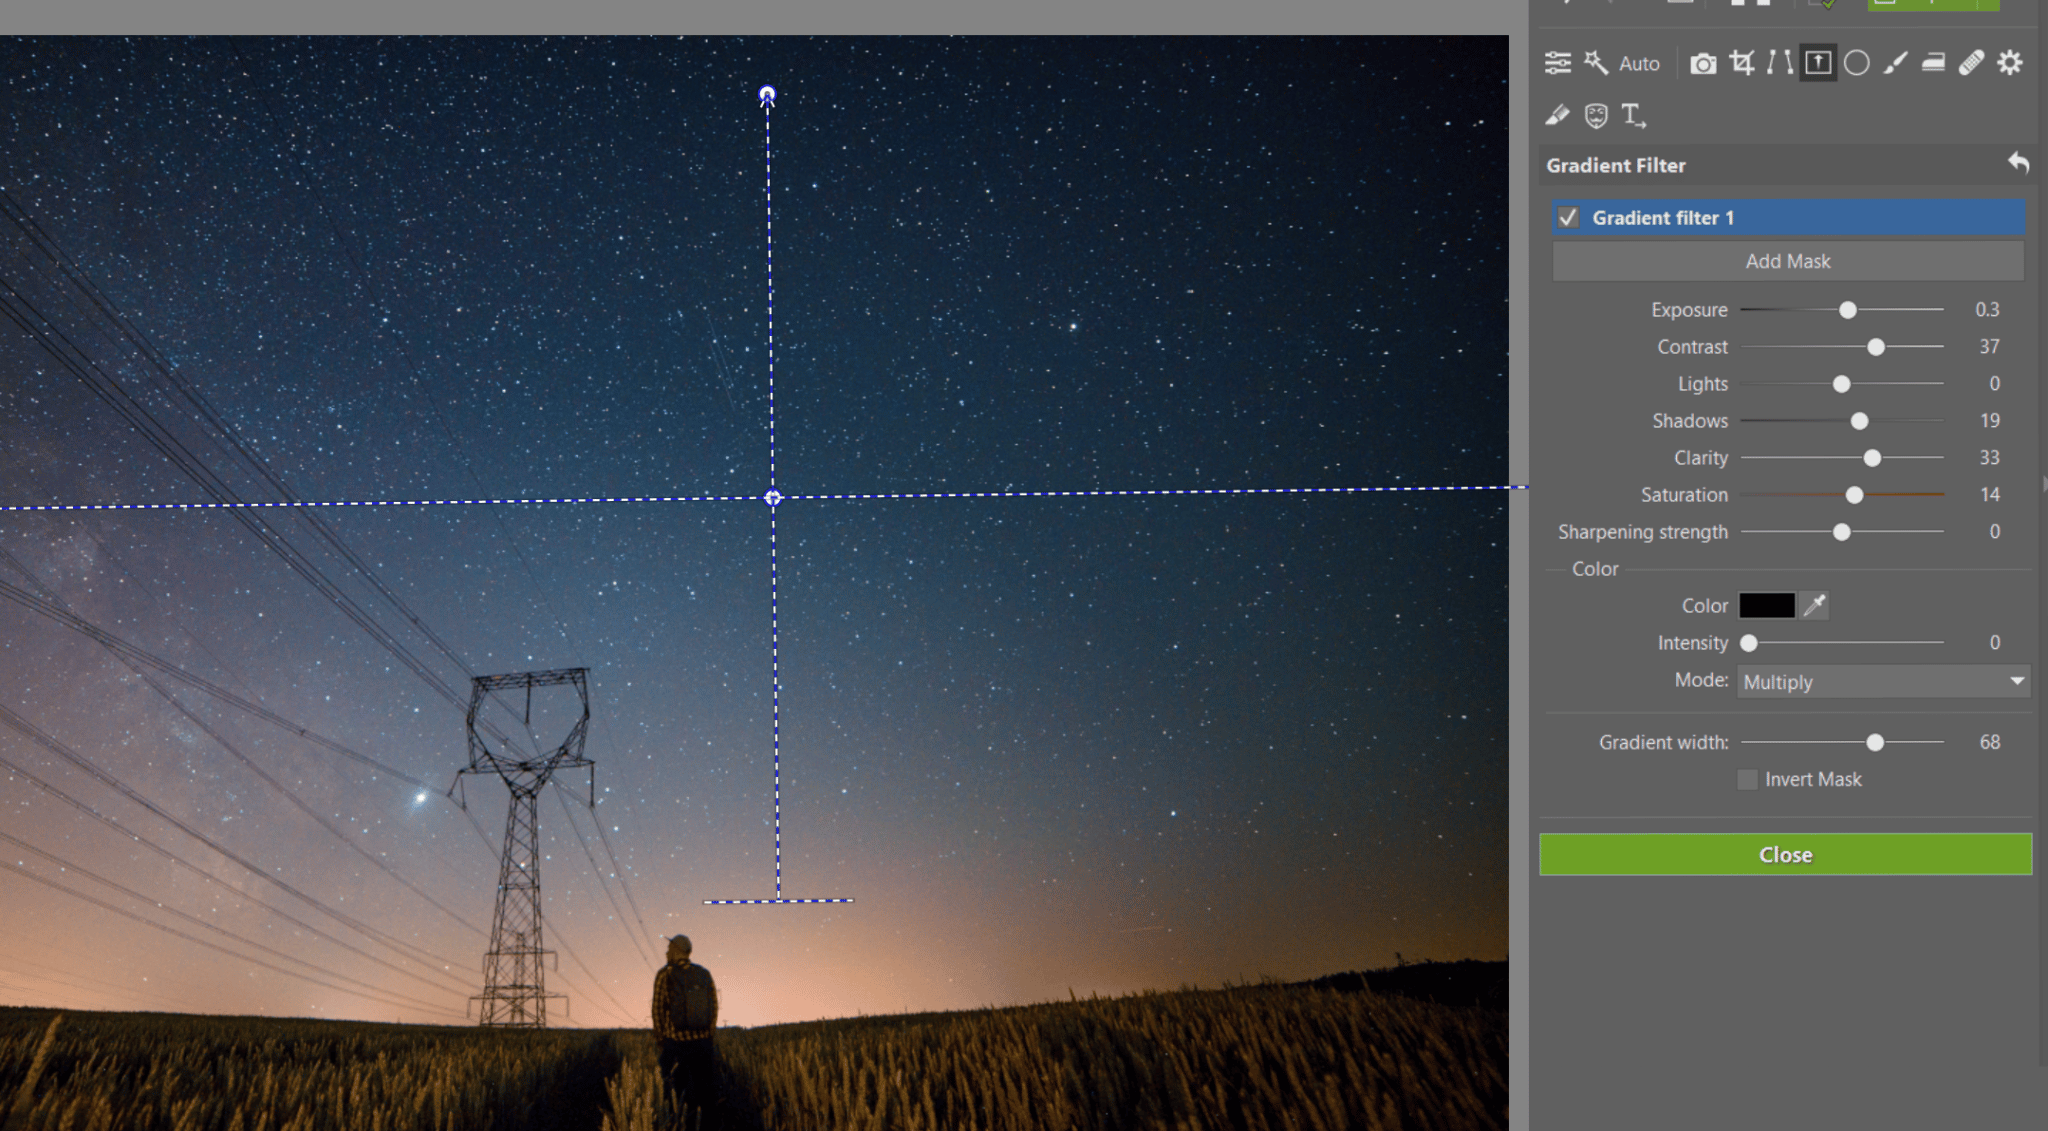
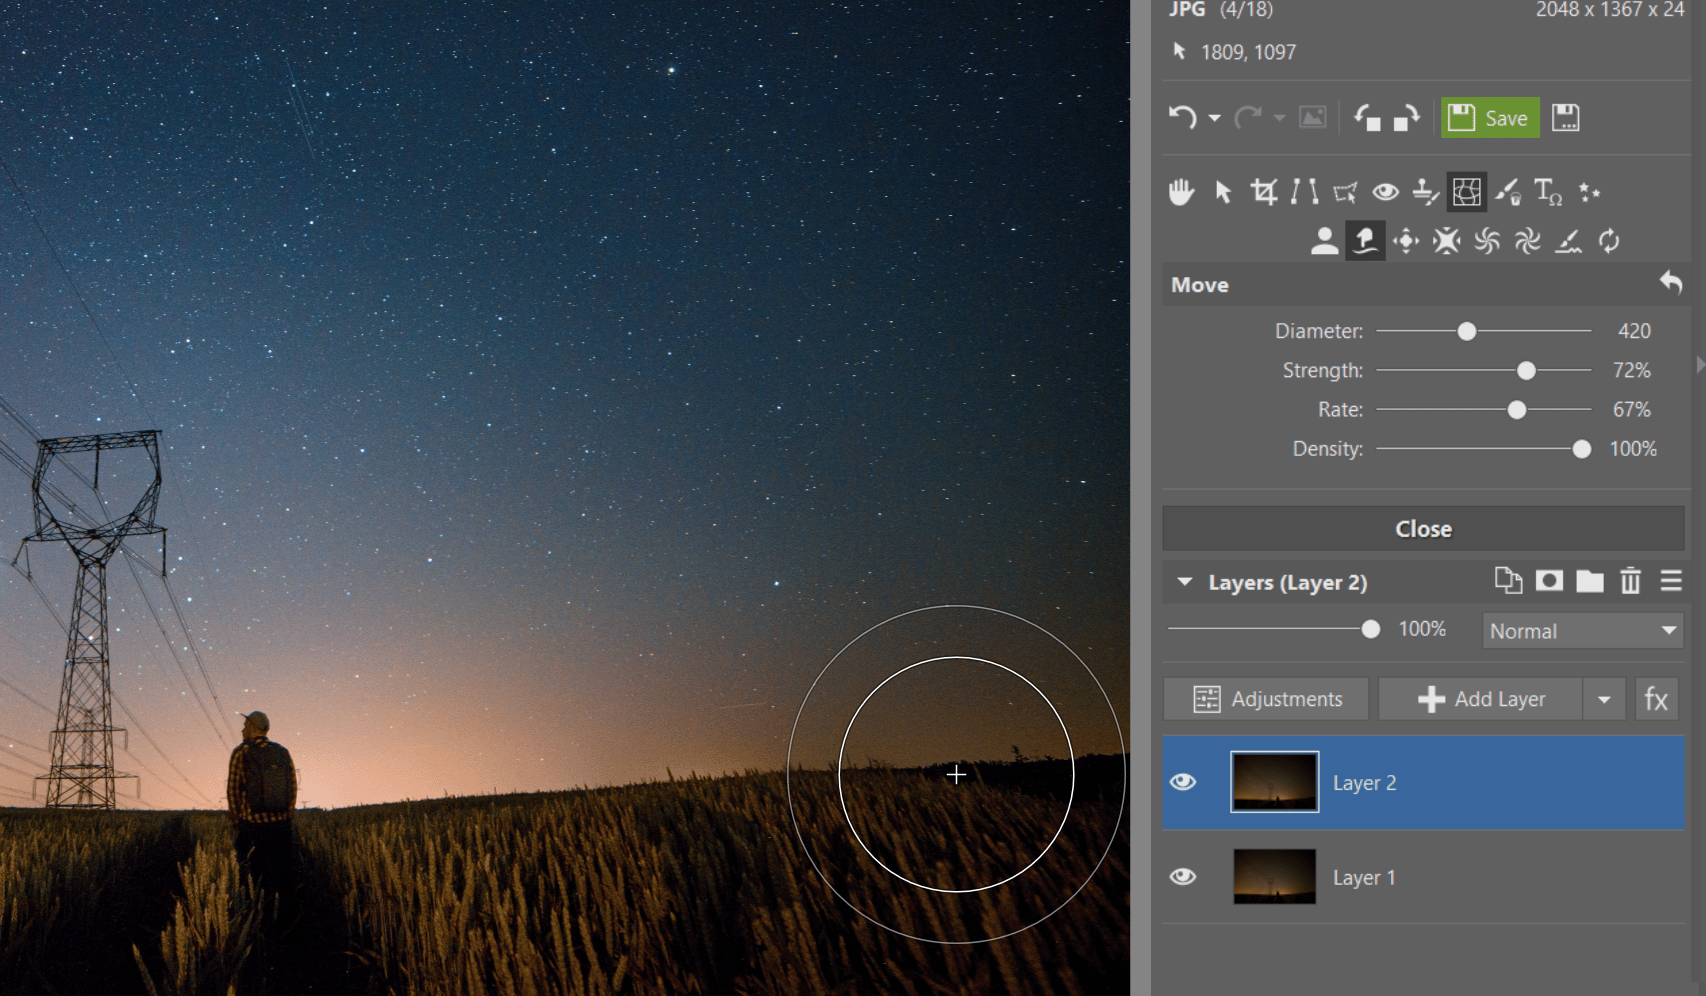
The Gradient Filter
The Gradient Filter (G) is definitely one of the most useful tools for enhancing night skies. You can use it to emphasize a gradually darkening sky by raising Contrast. You can also feel free to add a little Clarity here once more, to highlight the stars.
Highlighting the Milky Way
If you’ve caught a part of the Milky Way in your picture, there’s no harm in highlighting it. Just take the Filter Brush (B), run it over the Milky Way and add Clarity once again.
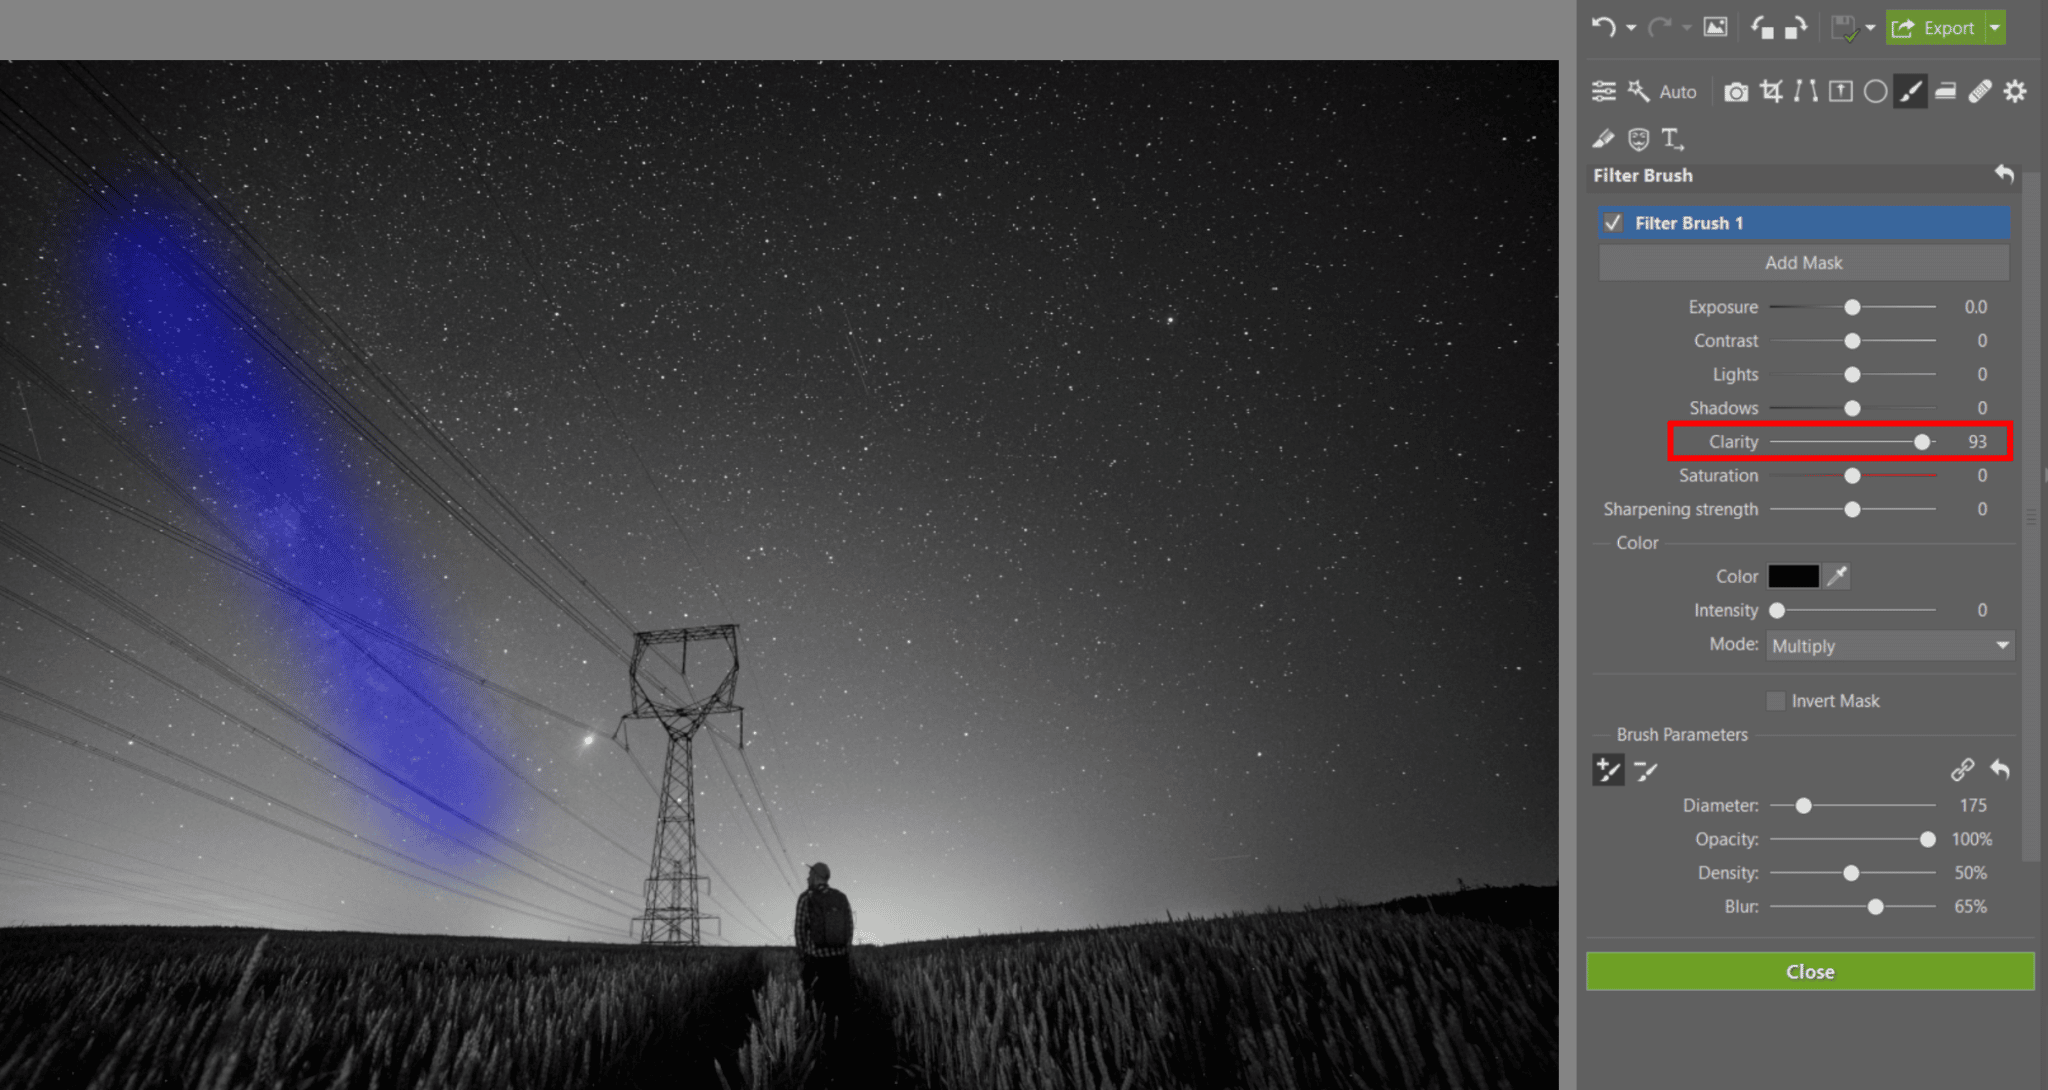
This makes the contours of nebulae stand out more, which in turn makes the Milky Way more dominant in the photo.
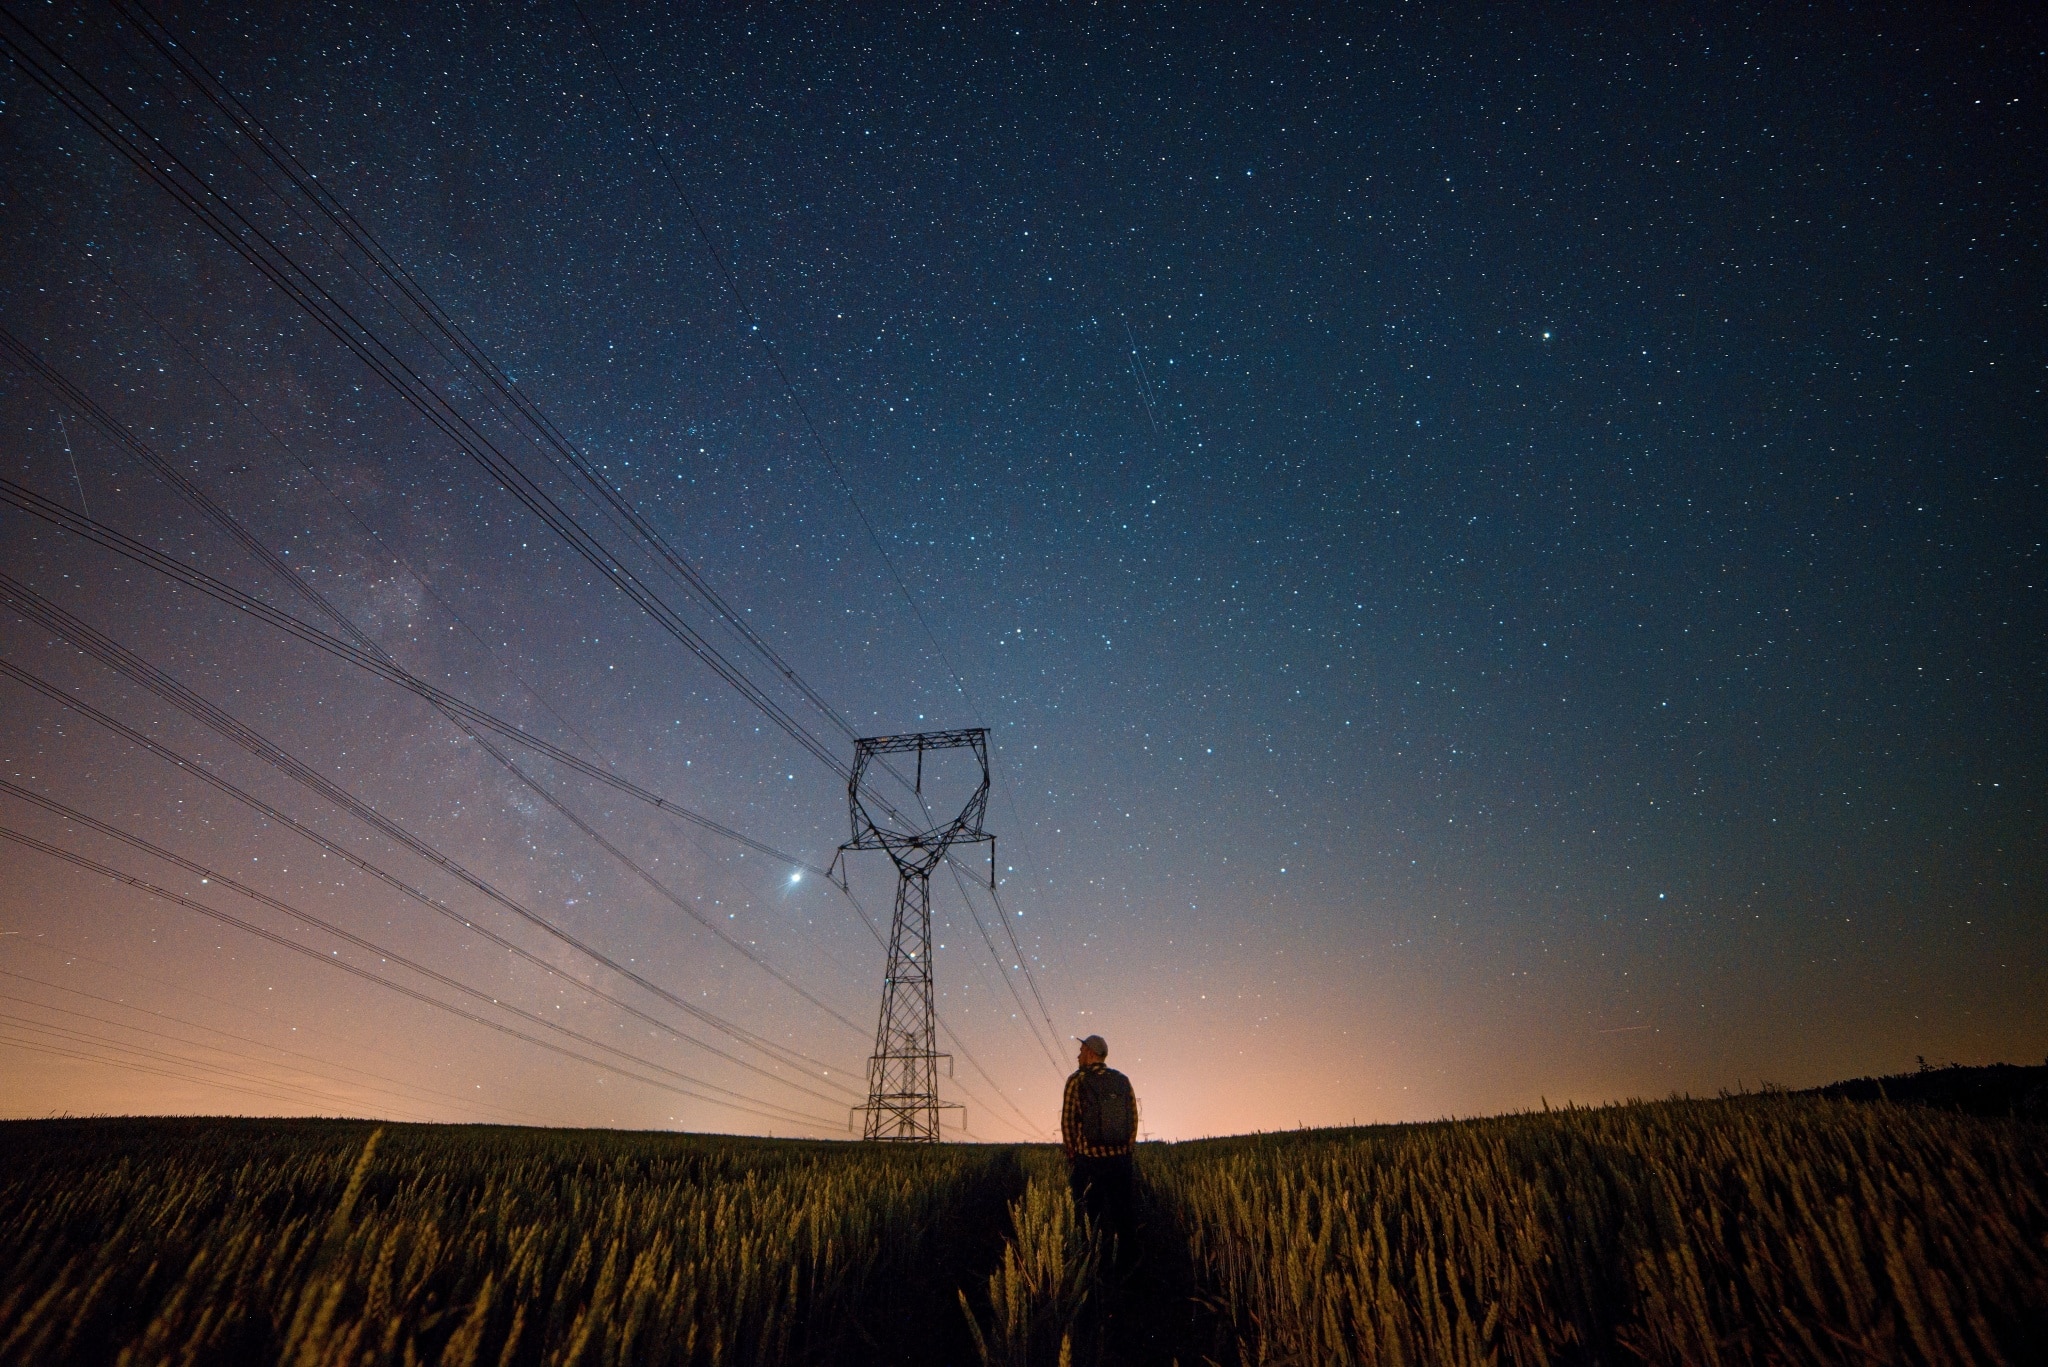
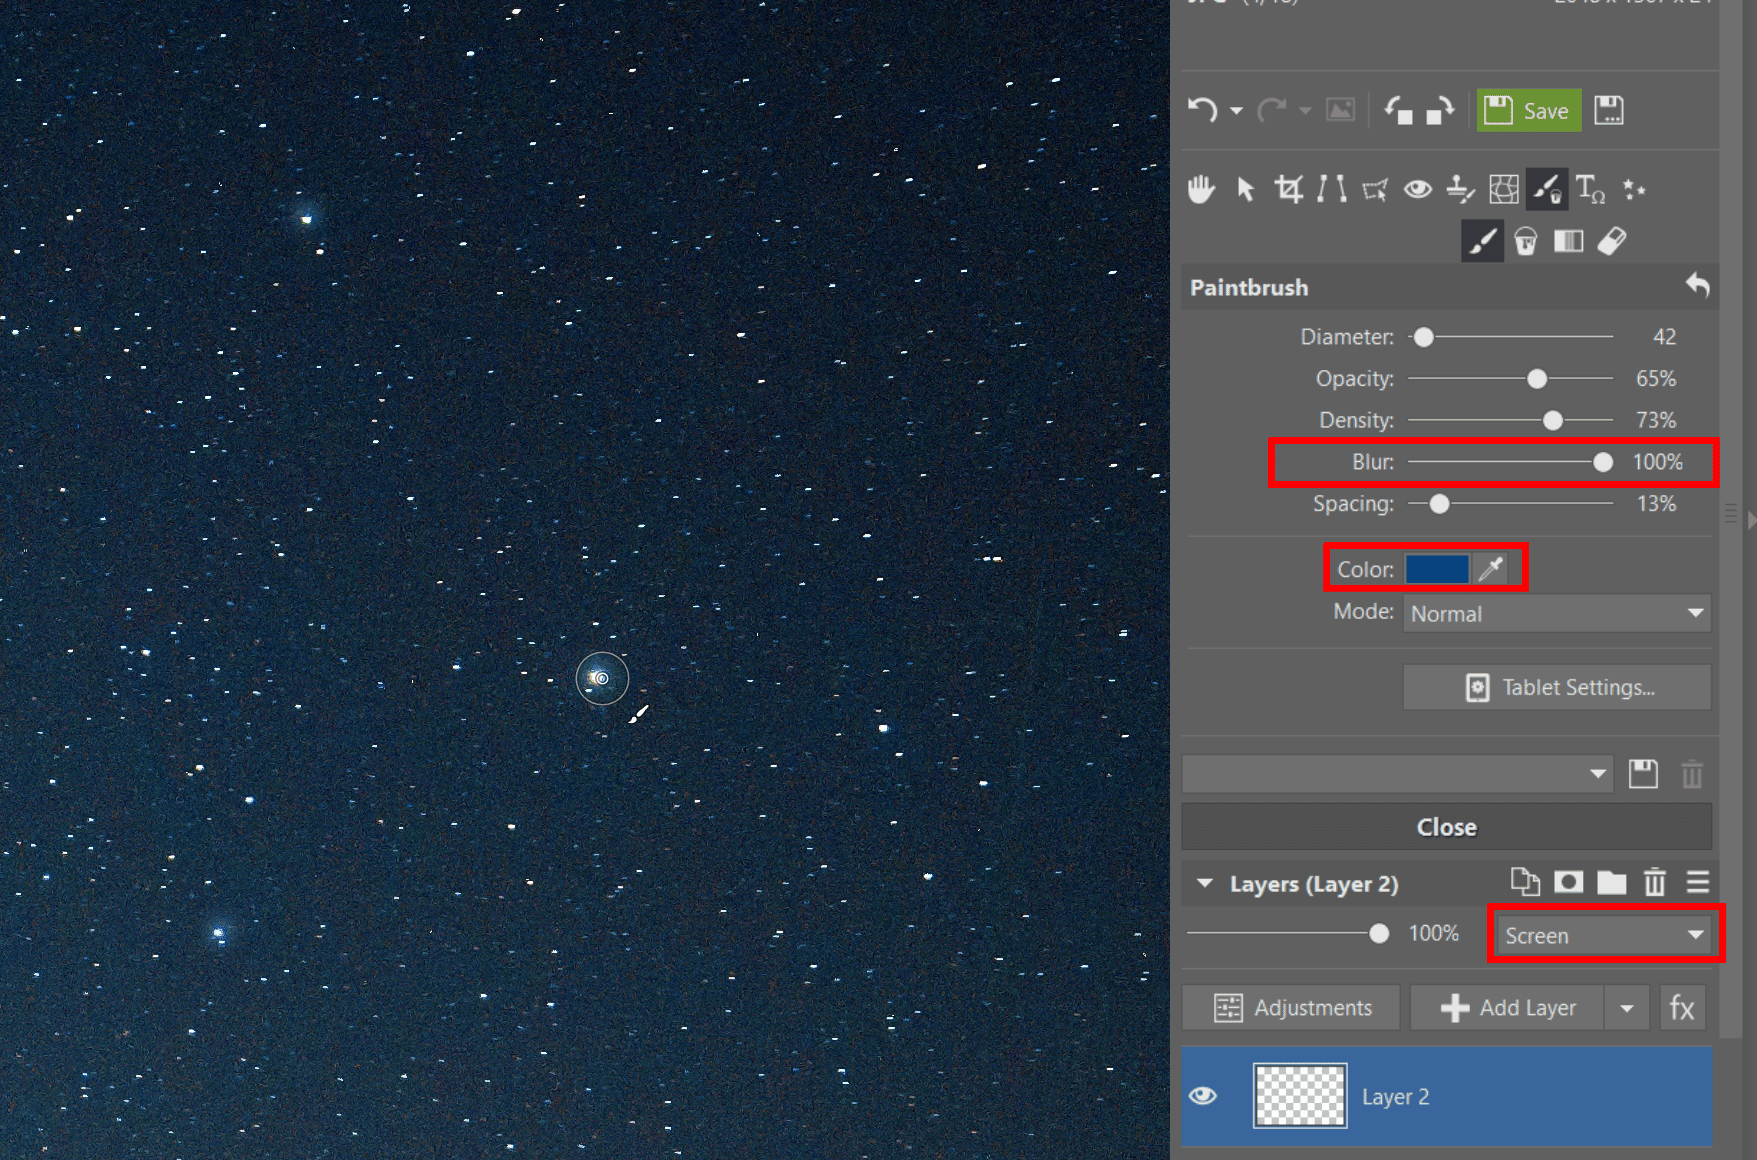
Setting a Star Afire
The step above is one good place to stop. However, if you want to accentuate a few particular stars, switch into the Editor module. Add a new layer with the Screen blending mode, activate the Paintbrush tool (B) and set the Blur to the maximum. Sample a star’s color with the eyedropper, then click on it with the Paintbrush. Repeat this technique on every bright, dominant star.
But take care not to turn your photo into a coloring book. Drop the opacity to a low value such as 10%. This edit should not be immediately apparent.
Liquify
In our example, I’ve wrapped up my edits by straighting the horizon on the right. To do that, I used the Liquify tool in the Editor. This edit isn’t typical for astrophotography, but in this case it made sense.

We’ll Make Your Photos Shine!
Download Zoner Studio, try it 7 days for free, and experiment with your very own edits to night skies today!
There are no comments yet.