Photo Story The Formentor Lighthouse
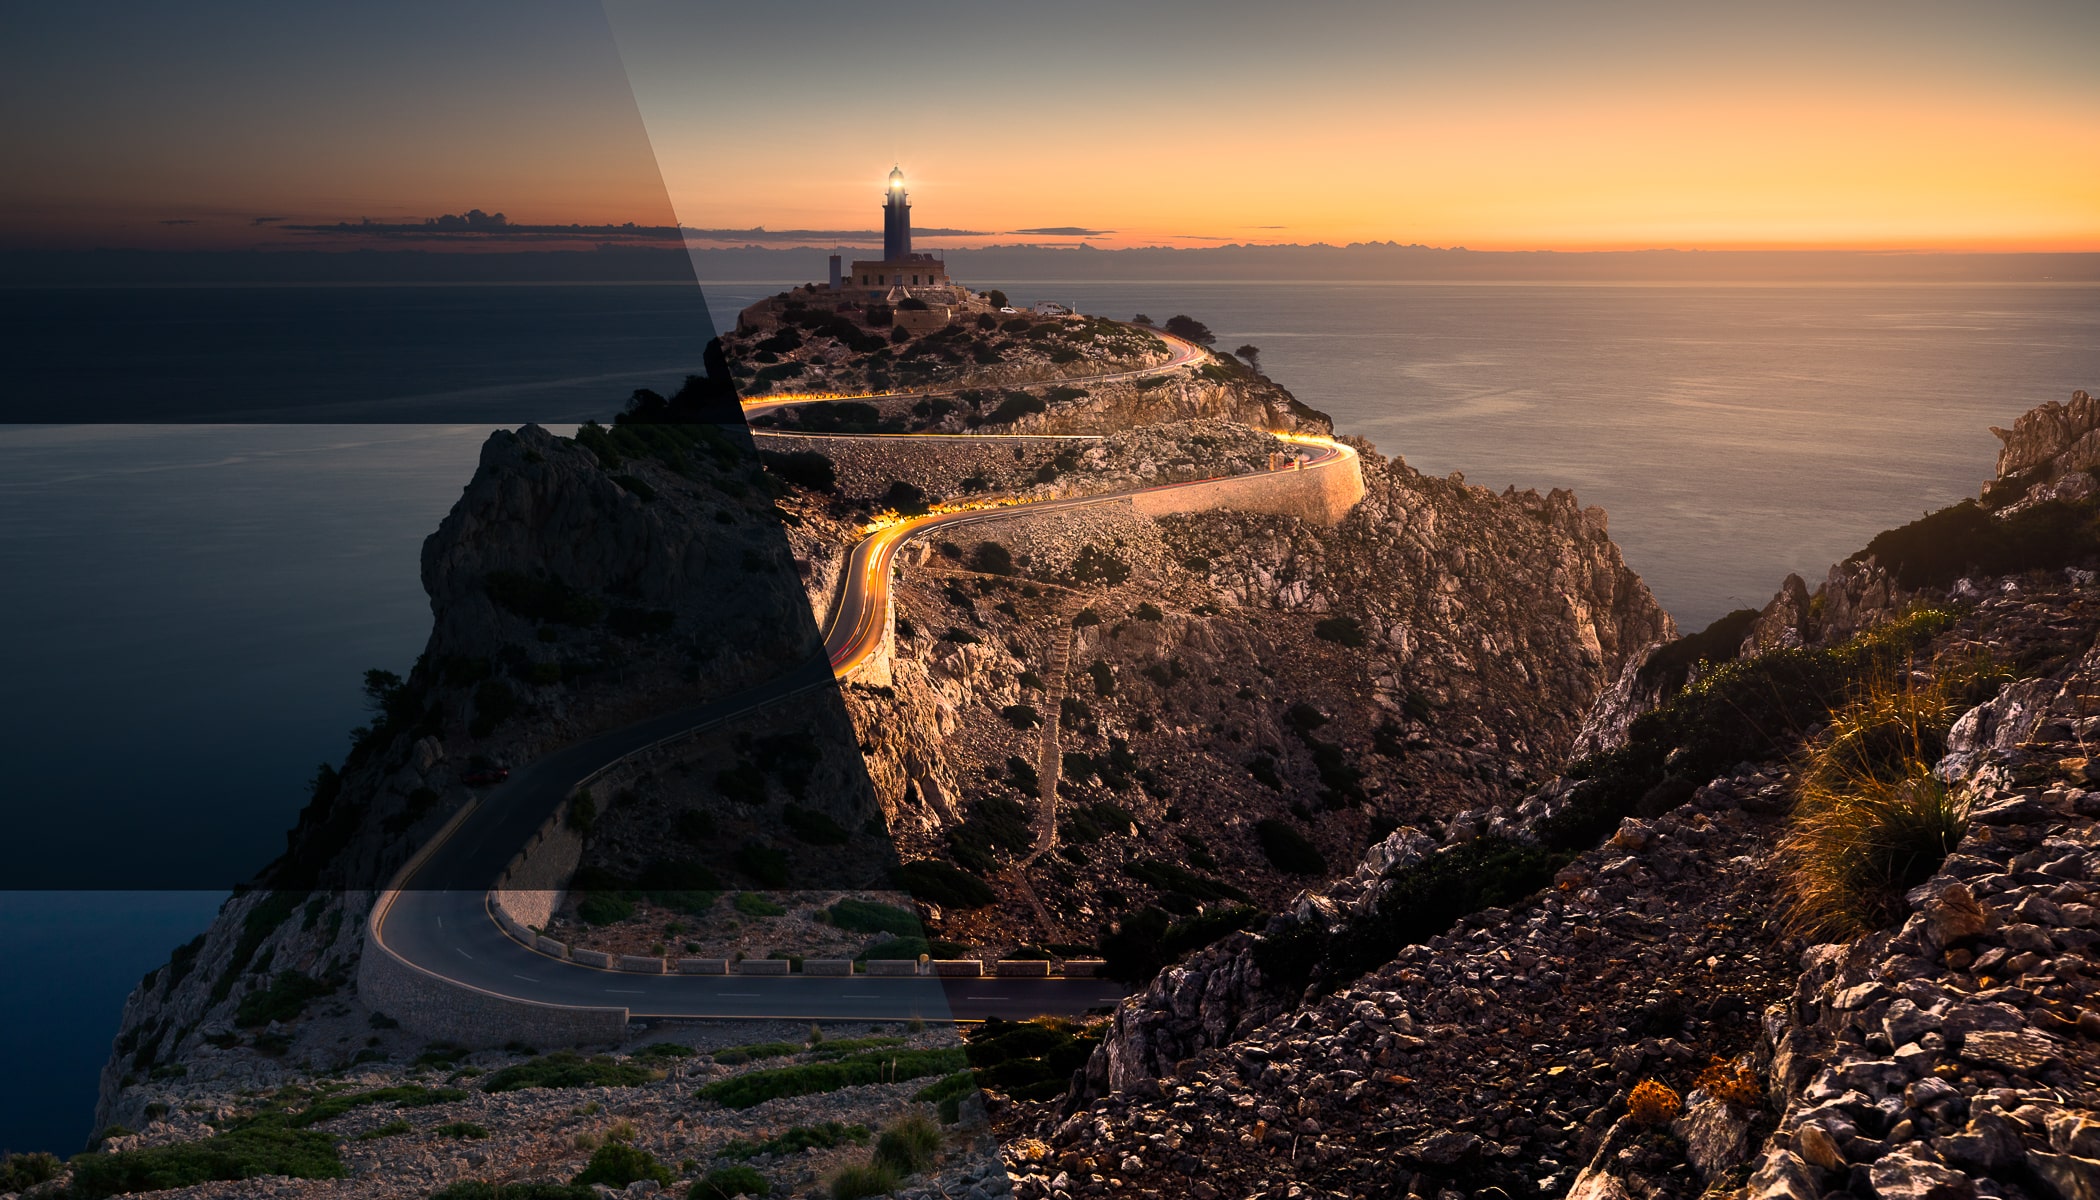
The lighthouse on Formentor Cape is one of the most photo-worthy subjects on the island of Mallorca. It is located on the cape’s rocky cliffs and is surrounded by only cliffs and sea. The perfect place for spectacular shots. This type of shoot takes planning, a bit of luck, and some time for post-production on the computer. Read about how the title photo for this article came to be.
While on vacation on the island of Mallorca, I had several photography destinations in mind and the Formentor Lighthouse on the island‘s northernmost point was at the top of my list. I didn’t want to leave my shooting of this photographic gem to chance so my planning included a map and field research starting the day before.
Field research
I wanted a picture at sunrise, so I knew my time was limited. The 15 minutes it takes to change positions can make the difference between ideal cloud positioning and bringing home a photo that is great, but could have been better. With these types of projects, it pays to be prepared. I don’t do field research for every sunrise shoot, but there were two important factors at play here.
The first factor was the remote location of the lighthouse. I had rented a car, but even from the nearest town, it was still a 25-minute drive along windy roads. It was also unclear how far away from my destination I’d find parking. Roads in Mallorca are usually walled off and you can’t pull your car over for several kilometers. Then from the parking lot, it can still be a good ten minutes to get to your destination.
The second factor to consider when doing my research was figuring out where to shoot from. Is it better to shoot from the road? From the hill opposite the lighthouse? Or another nearby outcropping? The lighthouse is visible from a large section of coastline. You can easily move hundreds of meters along the coastline or climb up a hundred meters (or up to 250 if you’re brave and go to the water’s edge.).
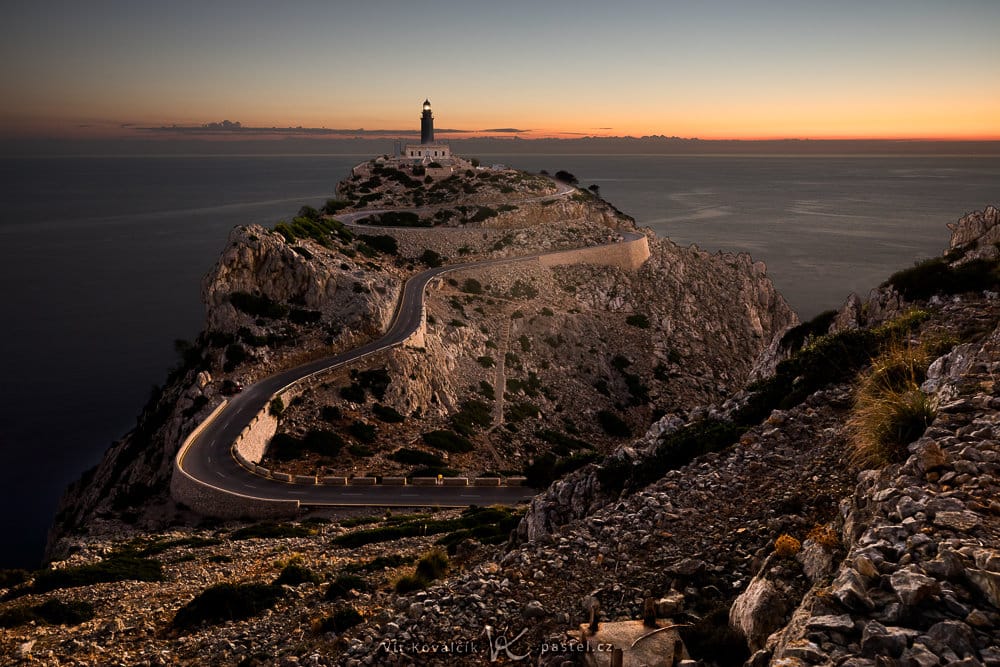
I got the following shot from my research trip which served as my jumping-off point:
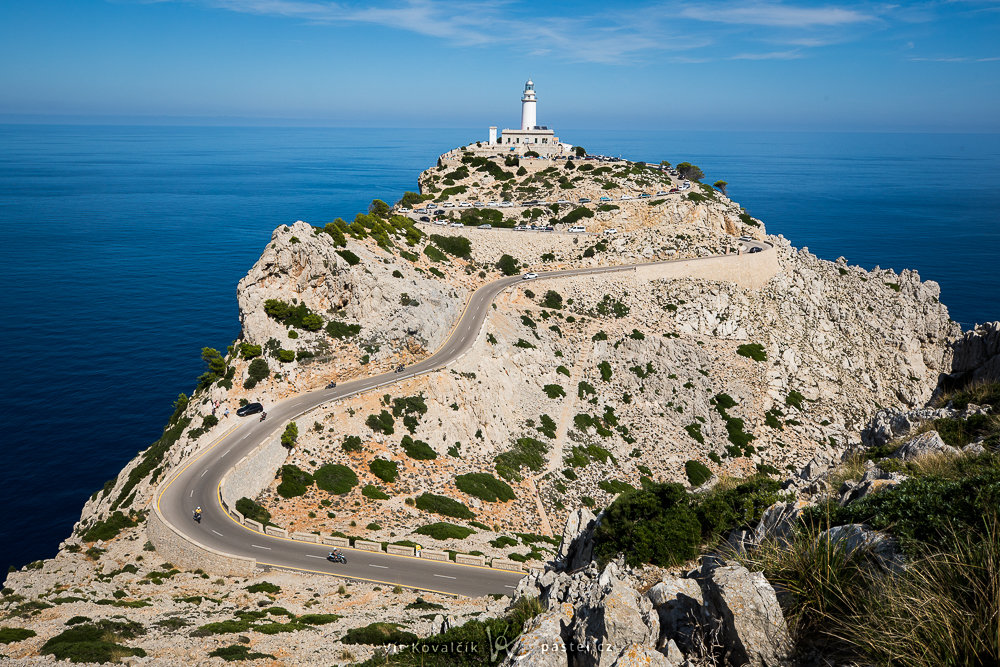
You can see that during the day you can park right by the lighthouse, but it’s still another 400 meters from this spot, and not over flat ground. These are all good things to know beforehand. Luckily, thanks to my research, I found a better parking spot.
In any case, the picture’s lighting is dull, which is why I decided to wait for the next day to get a different direction of the sun.
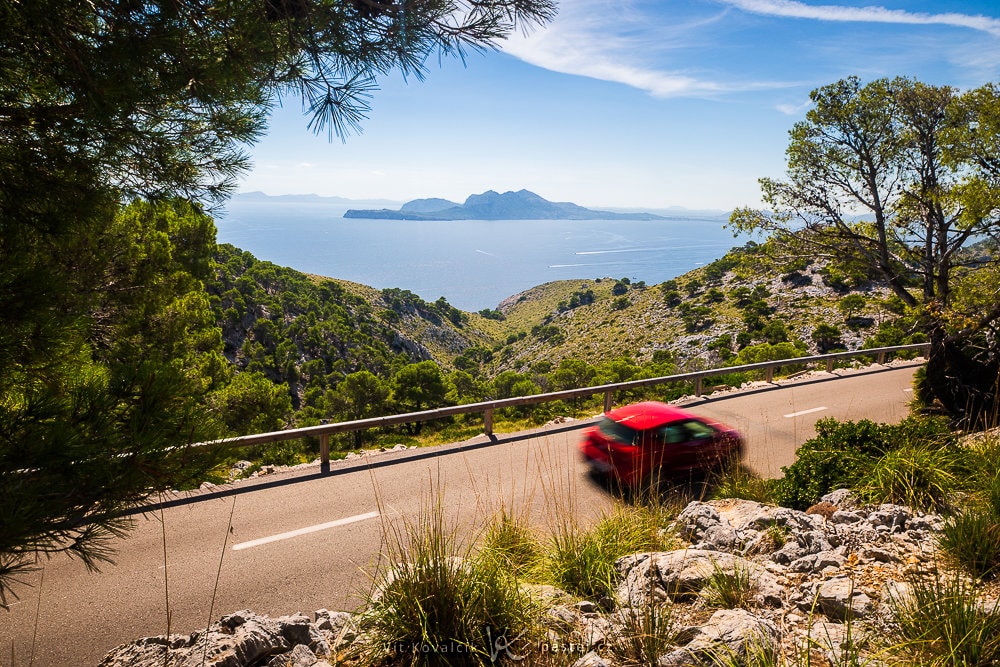
Additional benefits of field research
I didn’t come all this way just to get a throwaway photo. There were plenty of places to stop to admire the island’s beauty, and of course, take pictures along the way. I got many more shots and experiences before even making it to the lighthouse.

Returning the next day before sunrise
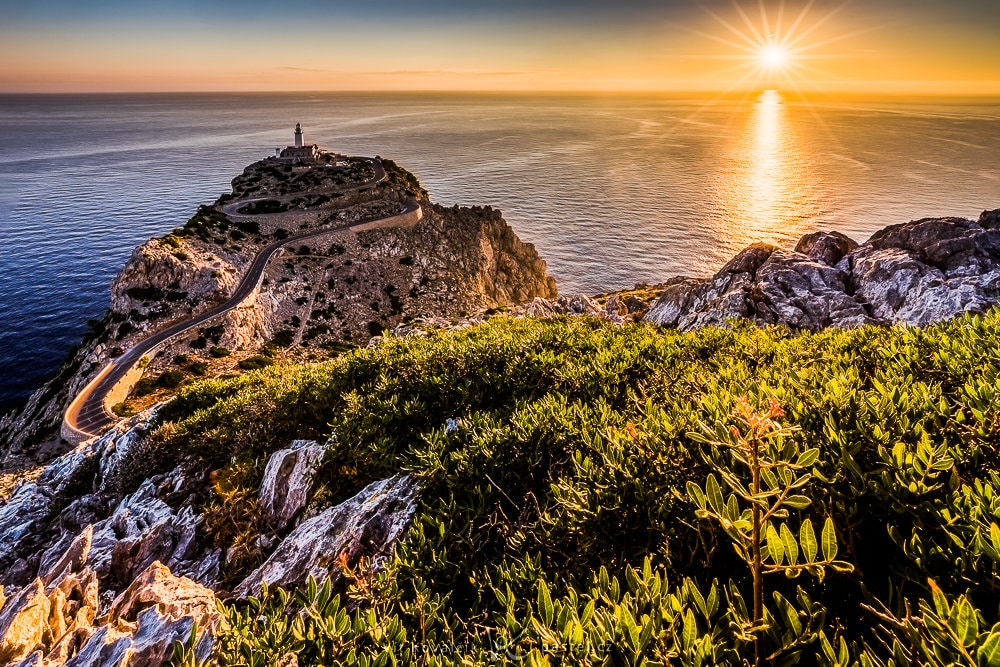
As soon as my research was complete, all that was left to do was wait for nice weather at dawn, which was luckily the next day. Several applications can calculate the exact sunrise time (for instance, I have the Sun Surveyor app), so you don’t have any problems getting there on time. On time doesn’t mean at the time of sunrise, but with extra time before the sunrise.
You’ll need the extra time in case of any unforeseen complications, but mainly because you can get beautiful shots before sunrise.
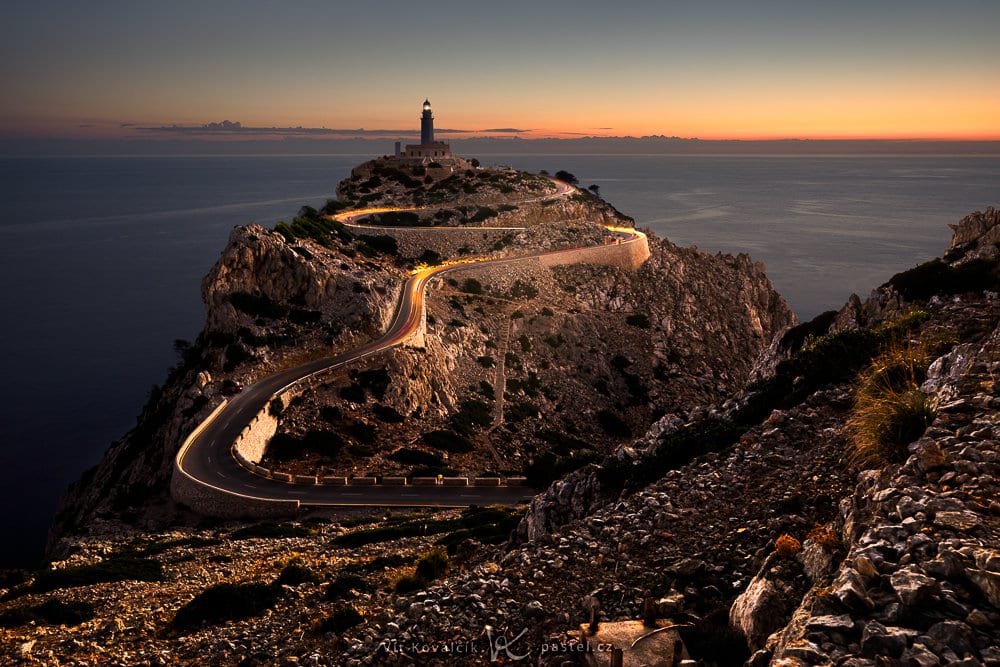
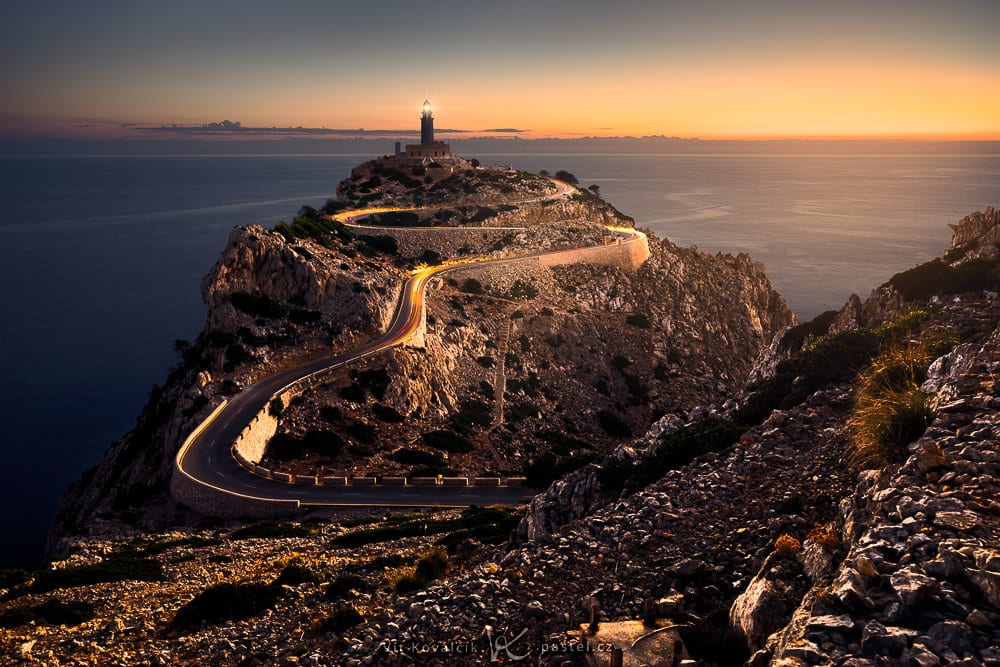
The final photo, this article’s cover photo, was taken 40 minutes before the actual sunrise! You can get nice, and even spectacular shots after sunrise, but this more “nighttime” shot won out. Depending on the cloud conditions and other factors, it’s hard to guess which time will win in the end, so it’s a good idea to take photos of everything and make the decision later.
HDR method
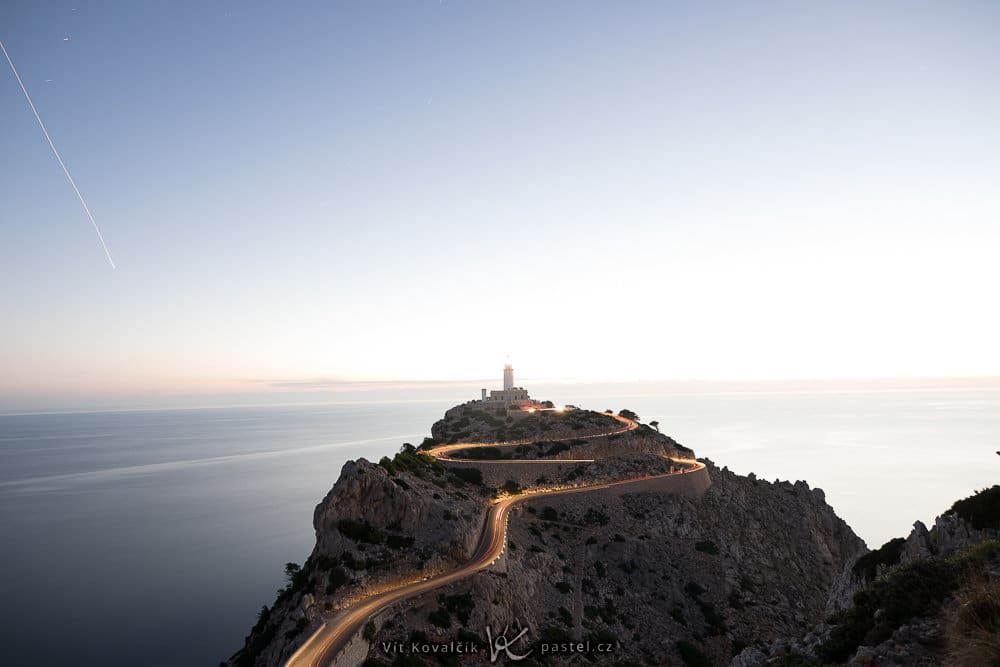
The range of highlights and shadows in a shot like this is so huge that you are left with no other option than to take multiple shots from the same location at different exposures. Then, merge the images using either automatic or manual HDR. In addition, it’s still relatively dark, so a tripod is a must. Your camera must remain stationary for a short period of time. This is what a 30-second exposure looks like:
A bit of luck
There were two surprises during the shoot: One was that while running around that morning, I met three other photographers, one from the Czech Republic. This was more of a coincidence that was not related to the shoot. The second surprise was an entirely different case.
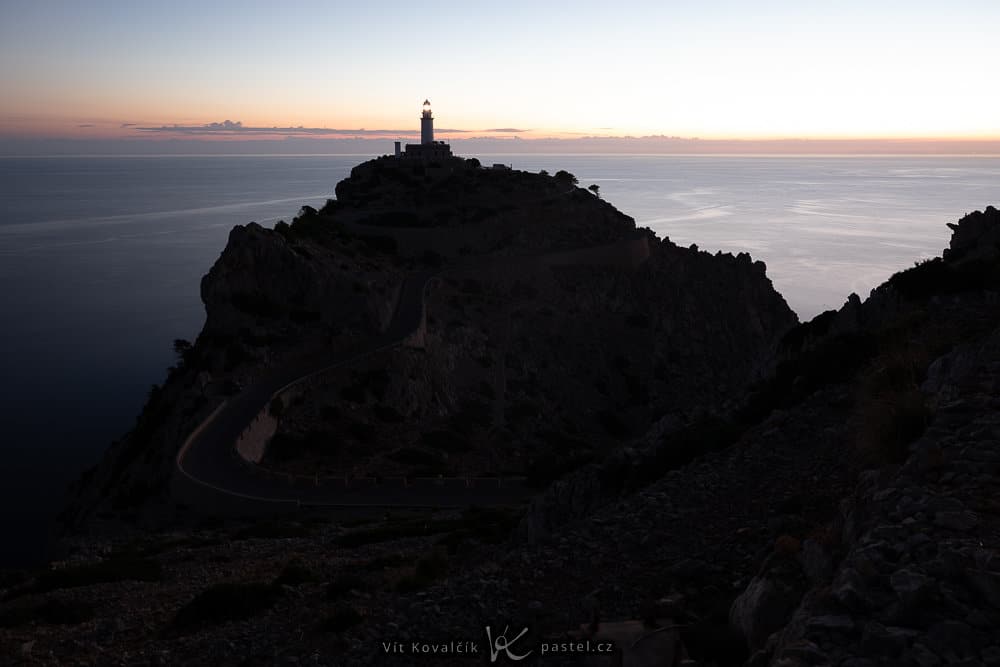
While I was shooting and trying to get the stars over the lighthouse, a car approached. I saw it and set a very long exposure just as it drove into the frame. Then, I spent the whole time hoping it would drive all the way up to the lighthouse within my exposure time. Both occurred and I got the following, unplanned picture:
The photo doesn’t exactly fit in with the others, but I didn’t get a second chance – it was the only car that drove through during the two hours I was there. If I were to use its light trails, it would’ve had to have been from this shot.
Using HDR to merge images
Initial adjustments and manual HDR to merge two images with different brightness levels gave me my foundation image.
The difference between the brightness of the cliffs and the water behind it was so big that I spent a lot more time than I had hoped cleaning up the edges, but with a few other adjustments, I got close to my final product.

Adding car light trails
Adding light trails behind the moving car had its challenges. Since the image with backlights couldn’t easily be overlayed over the base image from another photo, I chose a more complicated method: I split up the light trails in the darker areas into five parts. The resulting smaller images were relatively easy to fit onto the dark path using small transformations.
I didn’t have the whole path covered, so the lights smoothly descended into nothing. Another option was to finish the light trails artificially, which I am considering doing in the future.
Final adjustments
Minor adjustments remain, such as increasing contrast and color saturation. I used this step to emphasize the sunlight and add in the light of the lighthouse. I was careful during the shoot to make sure I got the lighthouse when it was shining towards me, but the effect was lost in editing, so it was easier to recreate the light effect at the end.
New experiences
I learned a lot when shooting and editing these photographs. I hope I was able to share at least some of that knowledge with you.
Today, I’d probably do things differently. It’s a bit late to find someone willing to drive on the road leading to the lighthouse, but editing gives us more options for moving forward. This learning path is never-ending and the best thing we can do is move along it with patience.
There are no comments yet.