Portrait Photography: Finishing Touches
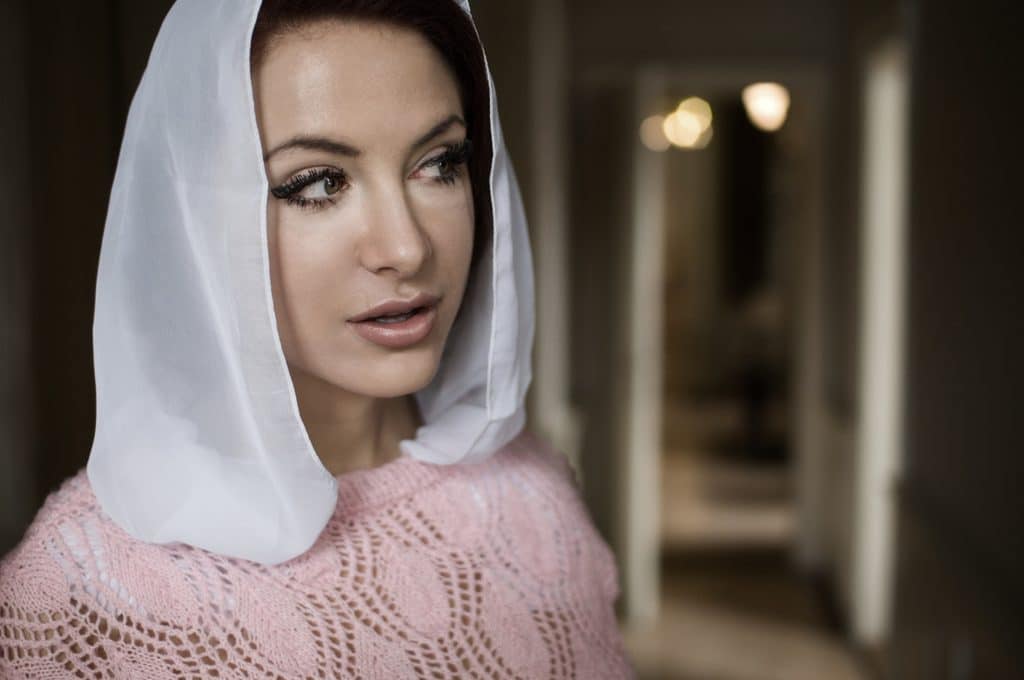
In this photograph—which was taken and then retouched over the course of my last few articles—there are only a few editing steps left to take. In today’s article, I’ll show you how to emphasize airbrushing you’ve performed, add contrast to a photo, and make a face stand out better from its surroundings.
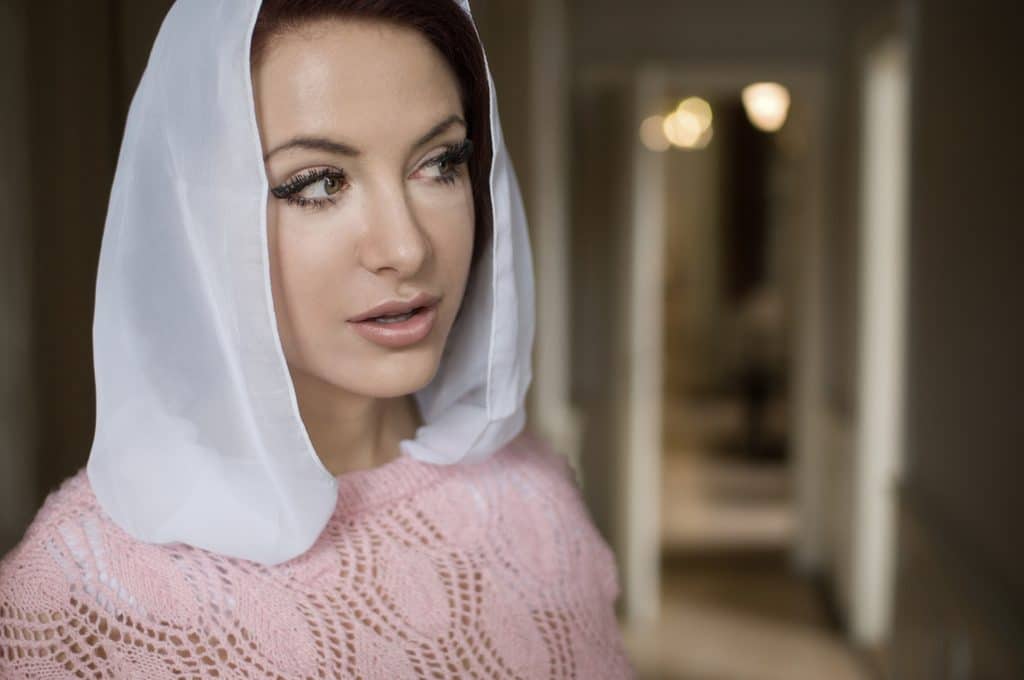
In my last few articles, you’ve learned how to do lighting for a portrait photo, how to retouch it, and how to airbrush it. Now there is only one stage left. That is to apply the finishing touches. Here as in my previous guides, I have to stress that you need to have a vision in mind in advance for how you want the picture to look.
Channel Mixing
I want my photo to have an ever-so-slightly “drawn” look, like in a modern movie poster. I’ll use Channel Mixing to achieve this look. I can reach Channel Mixing via either the Toolbox—Filters | Effects | Mix Channels—or the Effects menu.
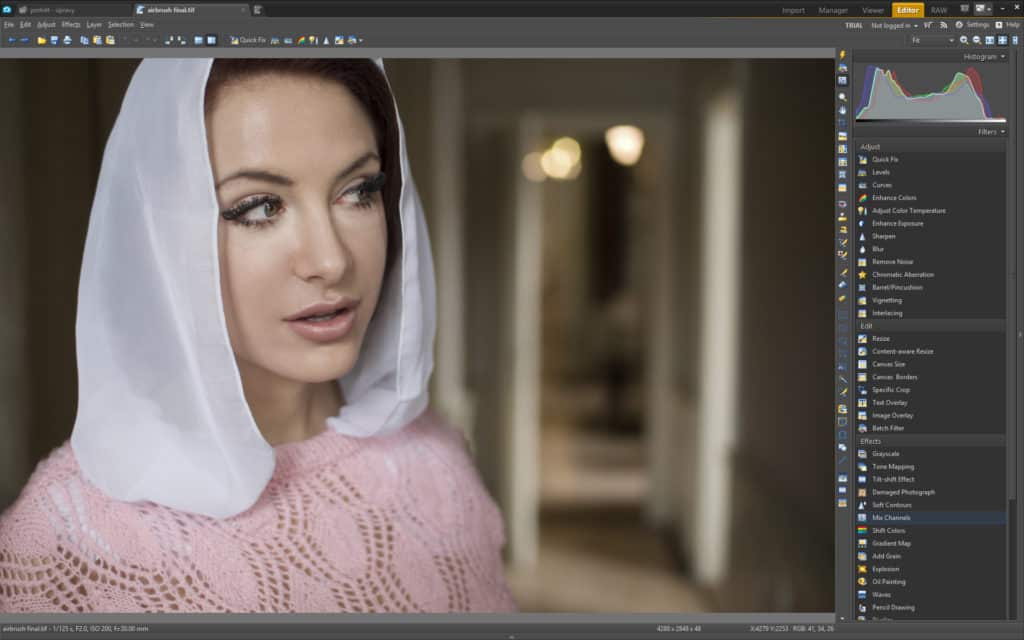
In the Channel dropdown, select Grayscale. In the source channels, work with only one channel at once. For example: set the Red channel to 100% and leave the other channels at 0. By mixing channels, using various blending modes for them, and varying the effect strength, you have a wide range of possibilities for changing the feel of different photos. But it’s important to know what works, and how it works. That’s what I’ll be explaining below.
Red, Green, Blue? Multiply, Soft Light, Overlay?
The Red channel affects the brightness of people’s skin. It’s ideal for portrait editing. Try blending in your Red channel adjustment via the Multiply mode. Multiply darkens dark tones while leaving the light ones untouched. Multiply is a relatively strong effect, so use a low effect strength—25% at the most.
The Blue channel is a relatively contrast-heavy and interesting one. It’s useful for emphasizing contrast, making it a good choice after airbrushing. This picture lacks contrast because I didn’t increase contrast while adjusting its RAW settings. But I can fix that now. I add contrast by modifying the Blue channel and choosing a suitable blending Mode, such as Overlay or Soft Light.
These two are very similar, but Soft Light is subtler. They both work to darken dark tones and brighten bright ones, increasing the photo’s contrast. Here again, choose the Effect Strength with care. I recommend using a value of 30% at the most.
In portraits the Green channel is relatively neutral. That makes it also a useful way to add some contrast. Like with the Blue channel, apply your Green channel edit over either Overlay or Soft Light mode. Green is best edited last, for a true finishing touch to contrast. But often it isn’t even needed.
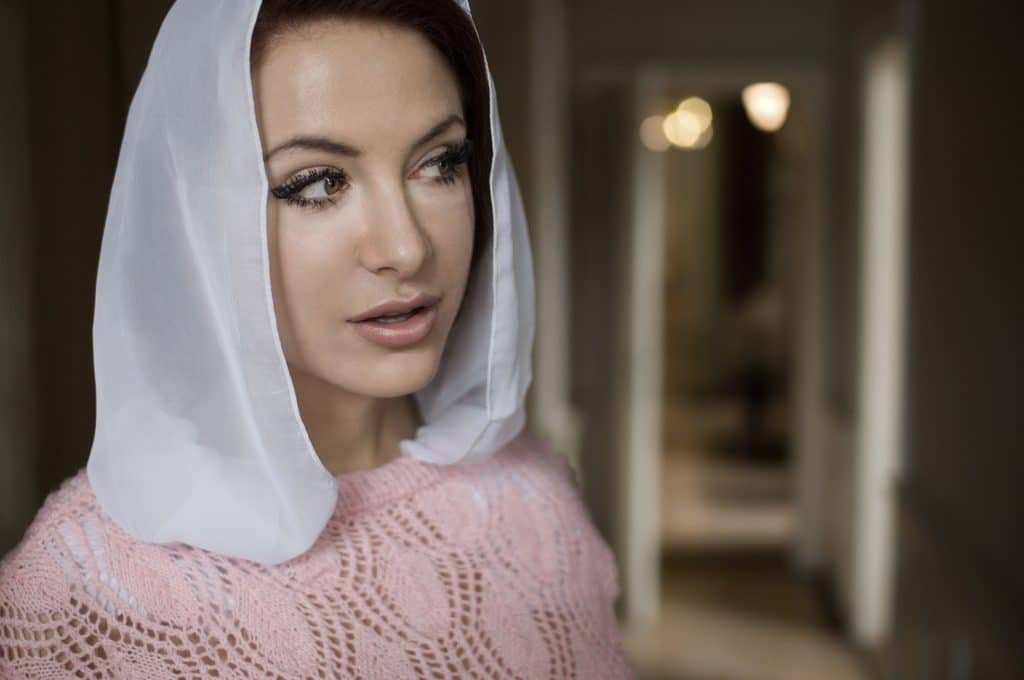
This, the final version of my retouched photo, has seen quite a few edits. That’s why I worked the whole time in the lossless TIFF format and used the highest possible quality level.
A Few Tips in Closing
Only rarely do you have just one picture that you want to produce from a portrait session. Generally you are editing a series of pictures, and want to get the same styling for all of them.
Because of this, I recommend that you divide your work into individual steps and do each step for every photo before moving on to the next step. That way you avoid the situation where each photo has a different tone curve or contrast. So, first develop all the pictures from RAW, then retouch them all, then do airbrushing, and then do the finalizing on them all. This will make your work easier, faster, and more consistent.
Don’t take any of my above advice for finalizing photos as dogma, but more as interesting tips and a space for experimentation. But do always take the subtler road in your edits. And again, before you take the first picture in any session, always have a final look in mind for your pictures.
TerryB
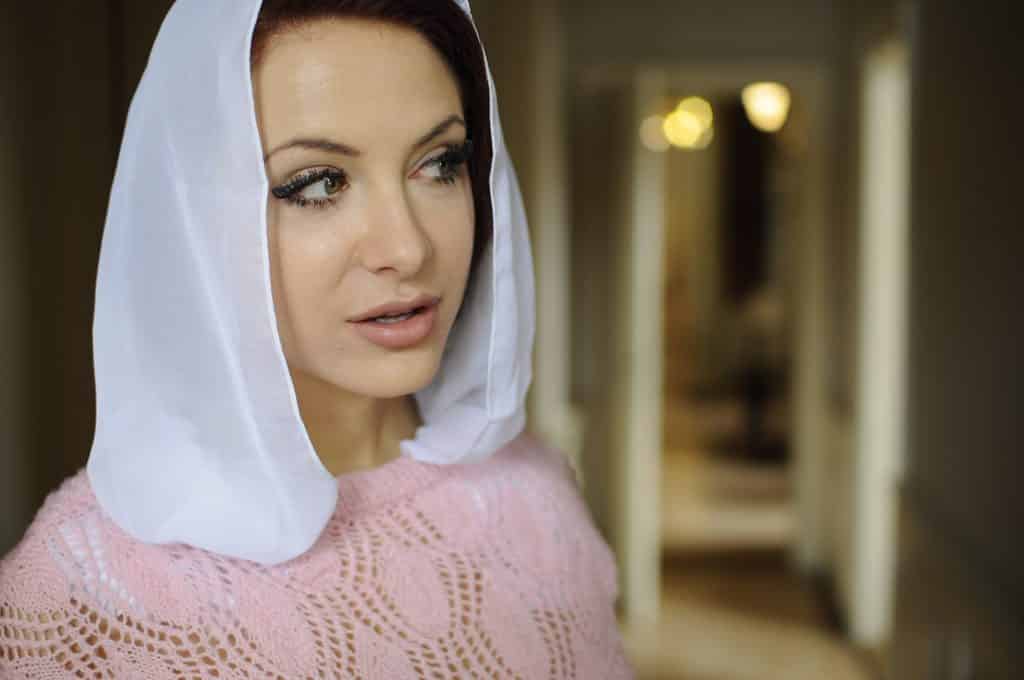
Unfortunately, in this instance I find the finished image too artificial in the skin tone. The red enhancement reveals more of the makeup layer the model has used and a blemish just below the right side of her lips, and which is barely noticeable in the unretouched image, is now noticeable.
True, this can be processed out, and in my opinion, should have been. But this blemish aside, it doesn’t impact on the overall false nature of the final image.