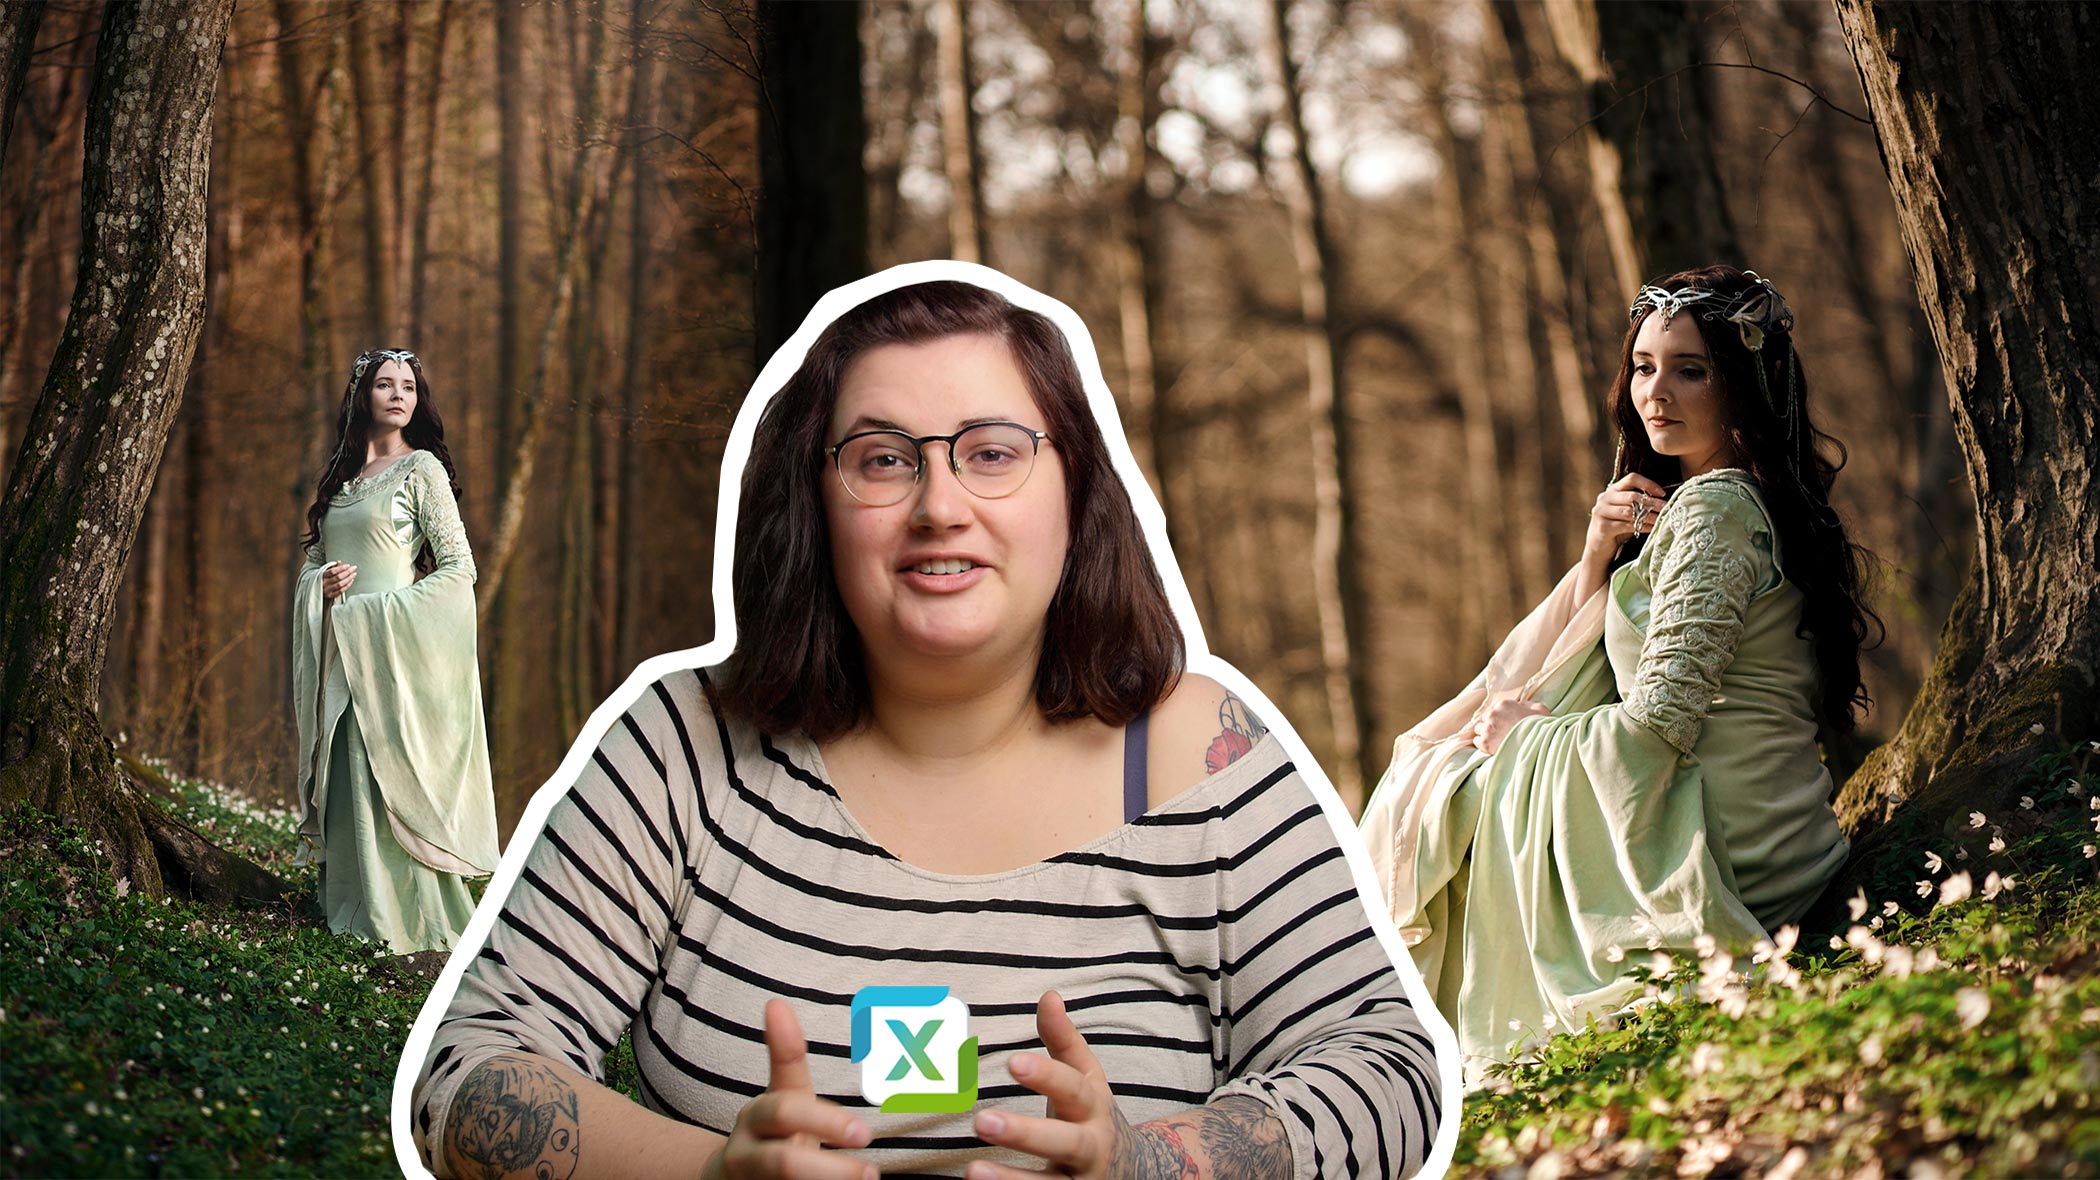
[VIDEO] Editing portraits with Zdenka Povolen

In this video, Zdenka will demonstrate the entire editing process in Zoner Studio using one of her photos from a spring photoshoot. If you’re a beginner, this video is a great introduction to Zoner Studio and will show you everything the program can do. And if you’ve been around the block once or twice, you may see some tricks that you didn’t know about. Let‘s get right to it!
We will be primarily working in the Develop module of Zoner Studio. For more advanced adjustments, we will move to the Editor module. If you’d like to learn more about the functions covered in the video, we recommend reading additional articles from our magazine. In addition to basic information about Zoner Studio, you’ll also get valuable tips from the field:
- Interested in learning about the most basic photo adjustments? Try 5 basic edits to improve your photography.
- Tools for local edits are also sure to come in handy. Read our articles about the Filter Brush (B), Radial (R), or Gradient (G) filter.
- For simple adjustments or to completely change the colors in your photo, use Color Shift. These adjustments can also be done locally. For instance, when you only want to change the color of one object.
- Unsharp or grainy photos? Fix them using sharpening or noise reduction tools.
- When you’re all done editing in the Develop module, conveniently export your photo, or multiple sizes of your photo at once.
If you enjoyed our video and are interested in seeing what the actual photoshoot looked like, take a look at the video on our YouTube channel. Subscribe and be sure to never miss another video!


There are no comments yet.