5+1 Ridiculously Easy Edits for Better Photos
The article is over 5 years old. The information in it may be outdated.
![]()
We are working on its update. In the meantime, you can read some more recent articles.
Practically every digital photographer has to do edits sometimes. And meanwhile, you only need a few simple edits to take your pictures to the next level. Below we’ll be showing you several of them.
We’ll be putting these Zoner Studio features into action:
- Perspective
- Crop and Rotate
- White Balance
- Exposure
- Contrast
- Resize
Every one of these edits goes very fast, and the results are worth it.
Discover Your High-tech Post-processing Studio
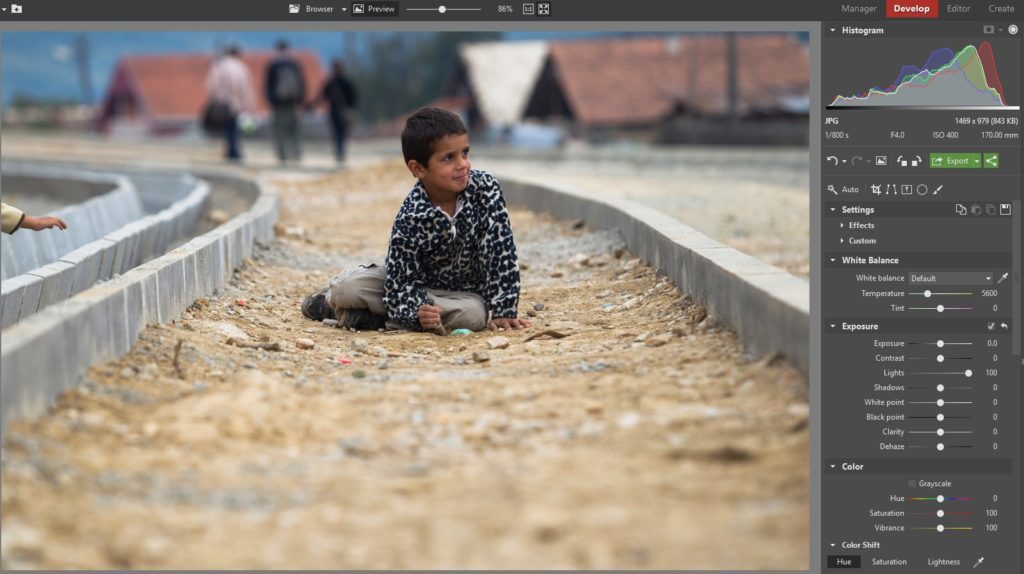
Most basic edits are available in the Develop module, which supports what’s called non-destructive editing. That means you can go back to your original picture at any time without having to make and keep copies. In Develop, you’ll be using these features: Crop and Rotate (C), Perspective (K), White Balance, Exposure, and Contrast. You’ll also find these functions in the Editor, which is a great place for your final touch-ups. The Editor also lets you do things like resize an image (Ctrl+E).
We recommend that you learn the shortcut keys listed in parentheses above, to make your work with photos as fast as possible. They’ll save you lots of time.
1. Perspective
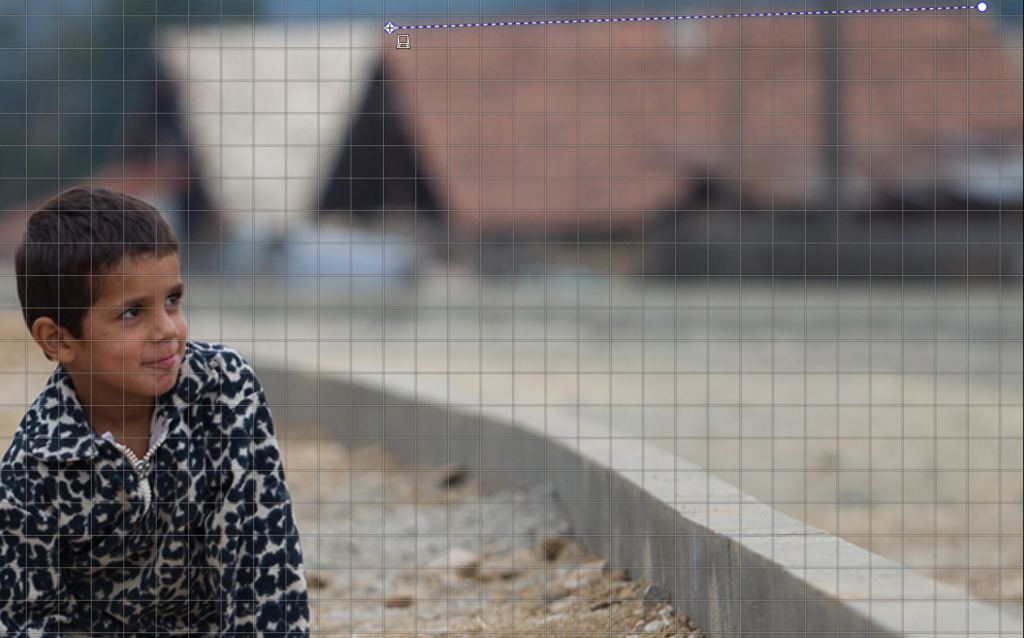
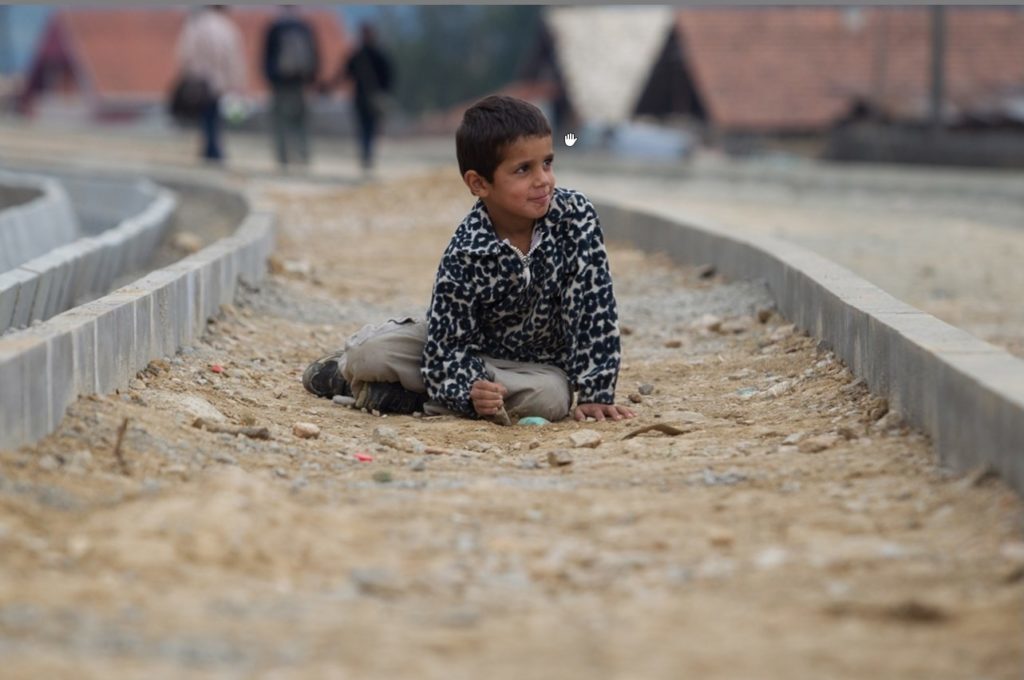
As your first step, use Perspective (K). When a picture is “falling” left, right, backwards, etc., it’s distracting, and Perspective is the place for fixing that.
When you bring up this tool, a grid of horizontal and vertical lines appears. That grid makes it easier to see which parts of the picture aren’t straight. For simple straightening, just click on a line that you need to straighten and drag out a guideline. When you let go of the mouse, the picture is straightened along that line, and you can check it.
If you’re satisfied, finalize your work by clicking Apply. If you still have some lines running off the wrong way, finish straightening them as needed.
2. Crop and Rotate
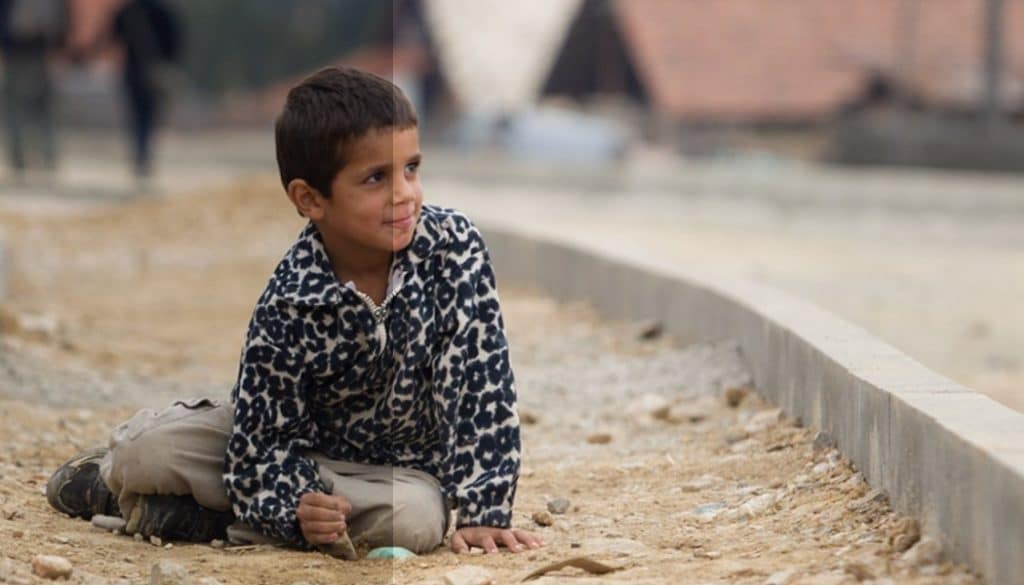
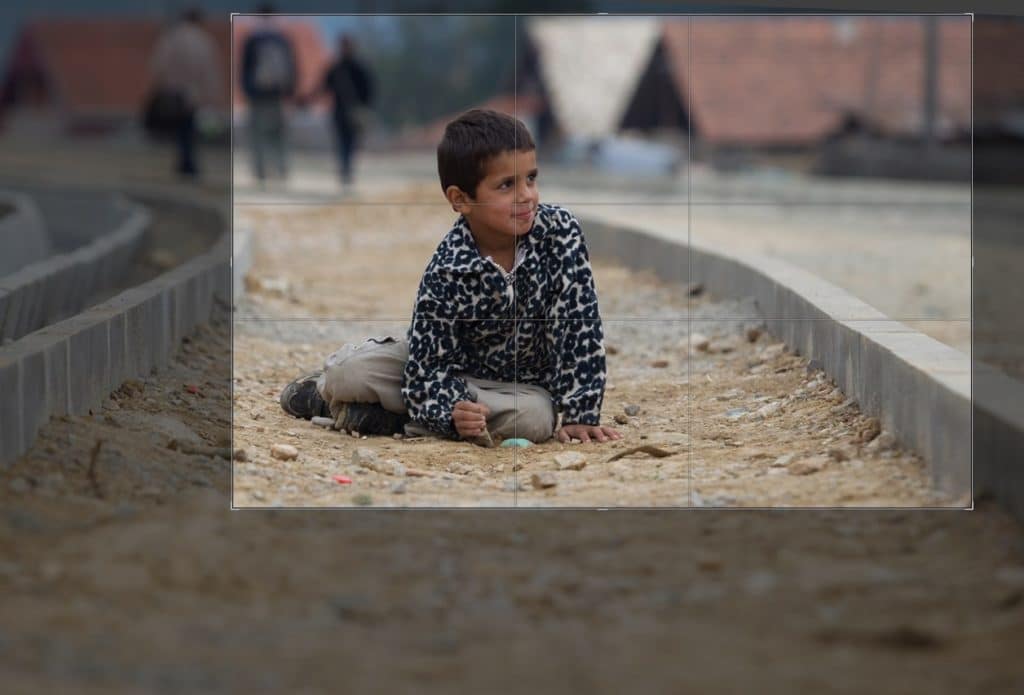
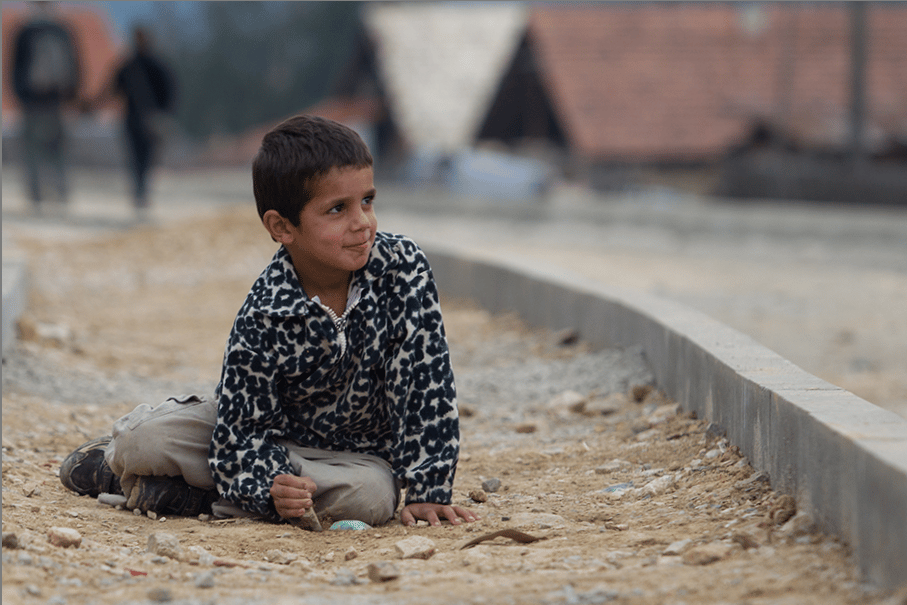
Use Crop and Rotate (C) to fine-tune composition, remove distracting elements, and if needed emphasize your subject. But watch out for over-cropping. If only a small part of your original photo remains, then you’ll have a hard time printing it out in good quality at any significant size. So use this tool with care.
Also, don’t miss the options for work with the cropping frame’s ratio of sides that appear in the right panel when you activate the Crop and Rotate tool. We recommend that you stick to the standard photographic ratios of sides—4:3, 3:2, and 1:1. In other words, the formats that you already know from your camera.
3. White Balance
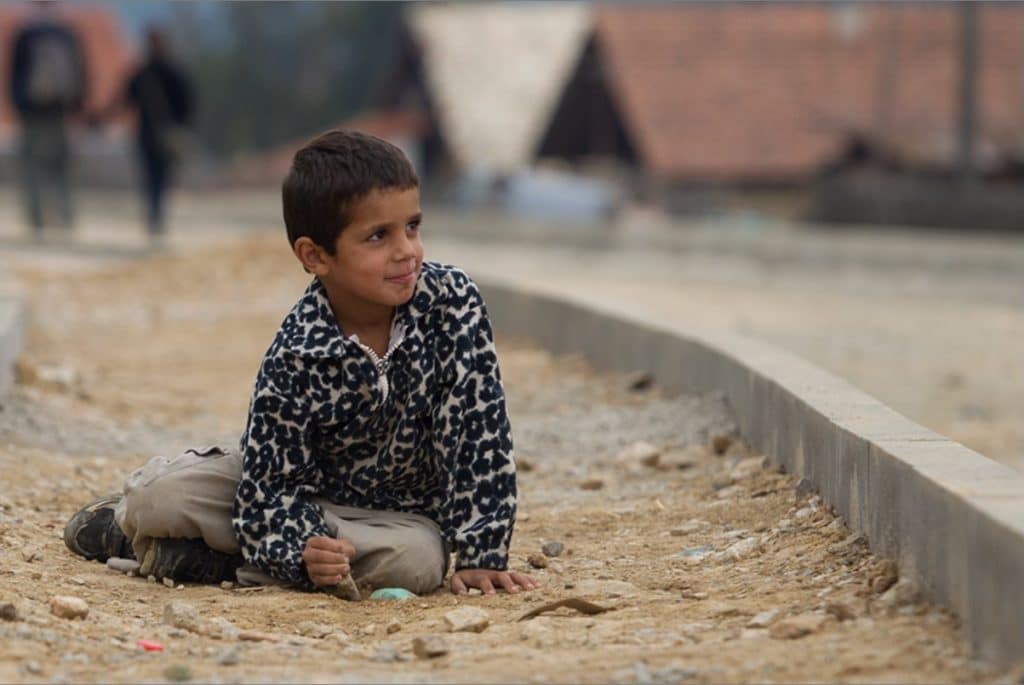
White Balance is among the controls in the main section of Develop’s right panel. Use them to fine-tune color temperature. If your picture contains a neutrally colored area (white or gray), such as the white of an eye, a white t-shirt, or snow, then we recommend clicking with the eyedropper in that area. If it does not, then use the two sliders here for your white balancing.
4. Exposure
Put a bit simply, exposure editing brightens or darkens a photo. Start by using the Exposure slider. Plus values here brighten the picture, while minus values darken it.
Use the Lights slider to darken light areas in a picture when overexposure has left it with “blowout”—very light patches. Pulling Lights to the left can reduce this unwanted effect, although it can’t eliminate it. Pulling it right, on the other hand, makes light areas even lighter. The Shadows slider does the same, but for a picture’s darkest areas.
Black Point tells the program to take everything that’s darker than a certain shade and make it pure black. Use it when a picture lacks true blacks. White Point does the same, but for light areas.
Use Lights, Shadows, Black Point, and White Point only when you can’t get the photo looking good just by moving the Exposure slider.
Make sure that your photo still has detail in both the lights and the shadows even after your exposure edits. One great way to check exposure is the histogram, which depicts the distribution of brightness levels (from dark to light) in a photo.
5. Contrast
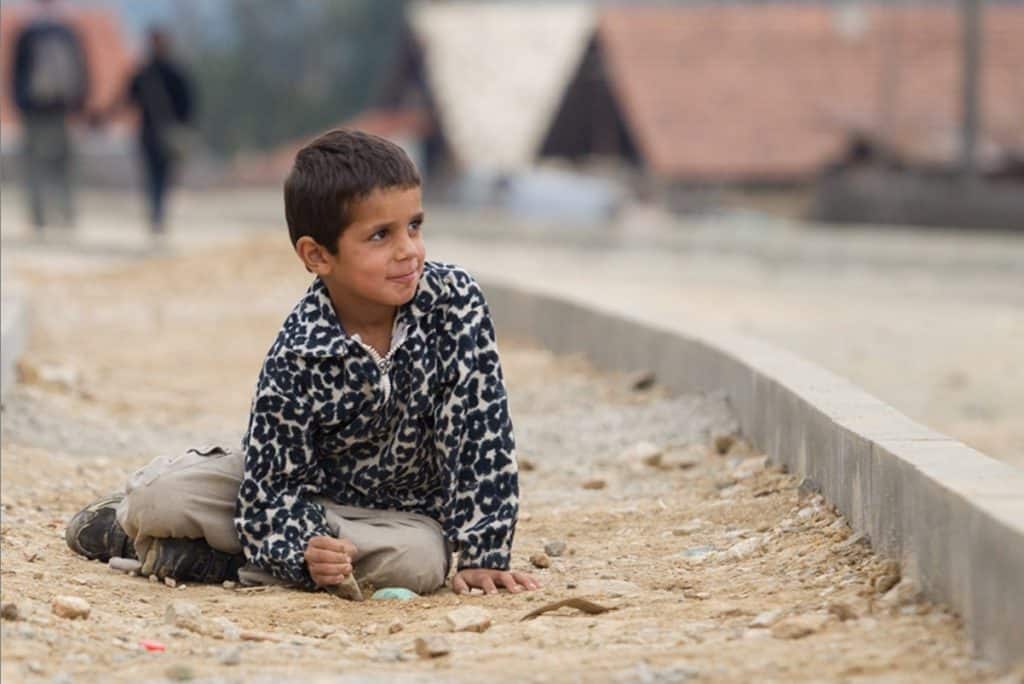
When adjusting Contrast, you’ll only rarely want to move the slider into the negative numbers. That’s because it’s only rarely useful to reduce contrast. Just as with exposure, check the histogram while you work.
Once you have everything in Develop all set up and the picture looks the way you want, save a new picture file containing your changes by clicking Export. You can choose from output to TIFF, PNG, and several variants of JPG.
Then switch to the Editor. Besides advanced ways to fine-tune colors, sharpen a picture, work with layers, etc., it also lets you resize a picture.
(Bonus) Resizing a Photo
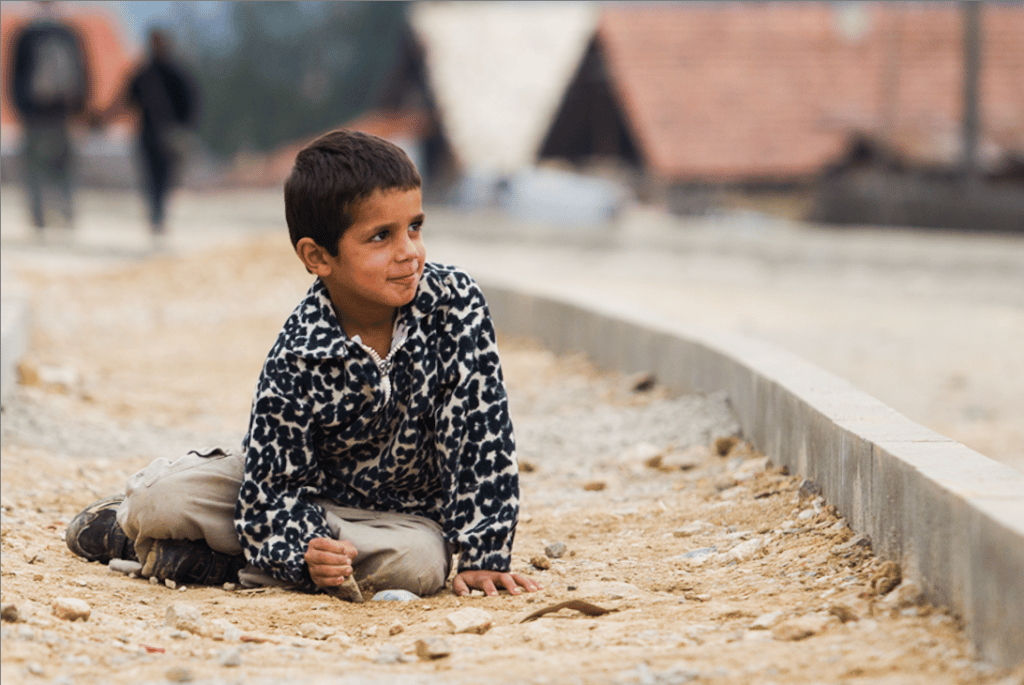
One thing that’s not too essential, but that’s often done, is to resize a photo. You can stretch or shrink a photo by using Menu > Edit > Resize (Ctrl+E). There are no strict guidelines here on what values to use. But you’ll generally want the longer dimension in your photo to be from 800 to 1300 pixels if you’re publishing it to the Web.
There’s a control here for automatic sharpening during resizing. If you’re shrinking the photo, then definitely do sharpen it. First set the sharpening slider to the maximum, and then gradually lower it until your resized picture is no longer oversharpened. To judge this, look for jagged outlines around objects. These mostly show up in hair and around bodies. Definitely keep reducing the sharpening if you see any halo-like outlines.

Tip: If you’re editing multiple photos that you want to present on the Web, then just do the first five steps above at first. Then copy all of your exported photos to one folder, and shrink them all at the same time by using Menu > Edit > Resize… in the Manager. Select them all before you shrink them.

There are no comments yet.