A Cheerful Spring Photo Montage – Practice Working with Layers

The article is over 5 years old. The information in it may be outdated.
![]()
We are working on its update. In the meantime, you can read some more recent articles.
You can do any number of things with your photos in Zoner Studio, but photo montages are one of the most creative and fun. That’s exactly what we’re focusing on in this article. We’ll go over adding objects to your photos, as well as working with layers. All of this will be done on a photograph that emanates the joy of a spring day.
Spring is in full swing, so we’ll craft a photo with a cheerful spring atmosphere full of smiles, flowers, and plenty of movement after a sleepy winter. So how about a photo montage where the model is carried away by the wind while holding a large dandelion? Can you think of anything more perfect?
Getting started
We need a photograph where an object will be added in post-production. Always think about what you want the final photo to look like beforehand so that you can make adjustments throughout the shooting process. This will help you avoid any issues. It would be unfortunate to do an entire series of photographs only to discover later that the object you added blends in with the background and can’t be seen.
Our goal was to create a photo of a model that looks as though she is flying through the air. We’ll photograph our model jumping in the air, one hand raised above her as if she is holding something. We’ll later add the dandelion that “carries” her away. It is always better to take several shots. In the end, we chose this one:

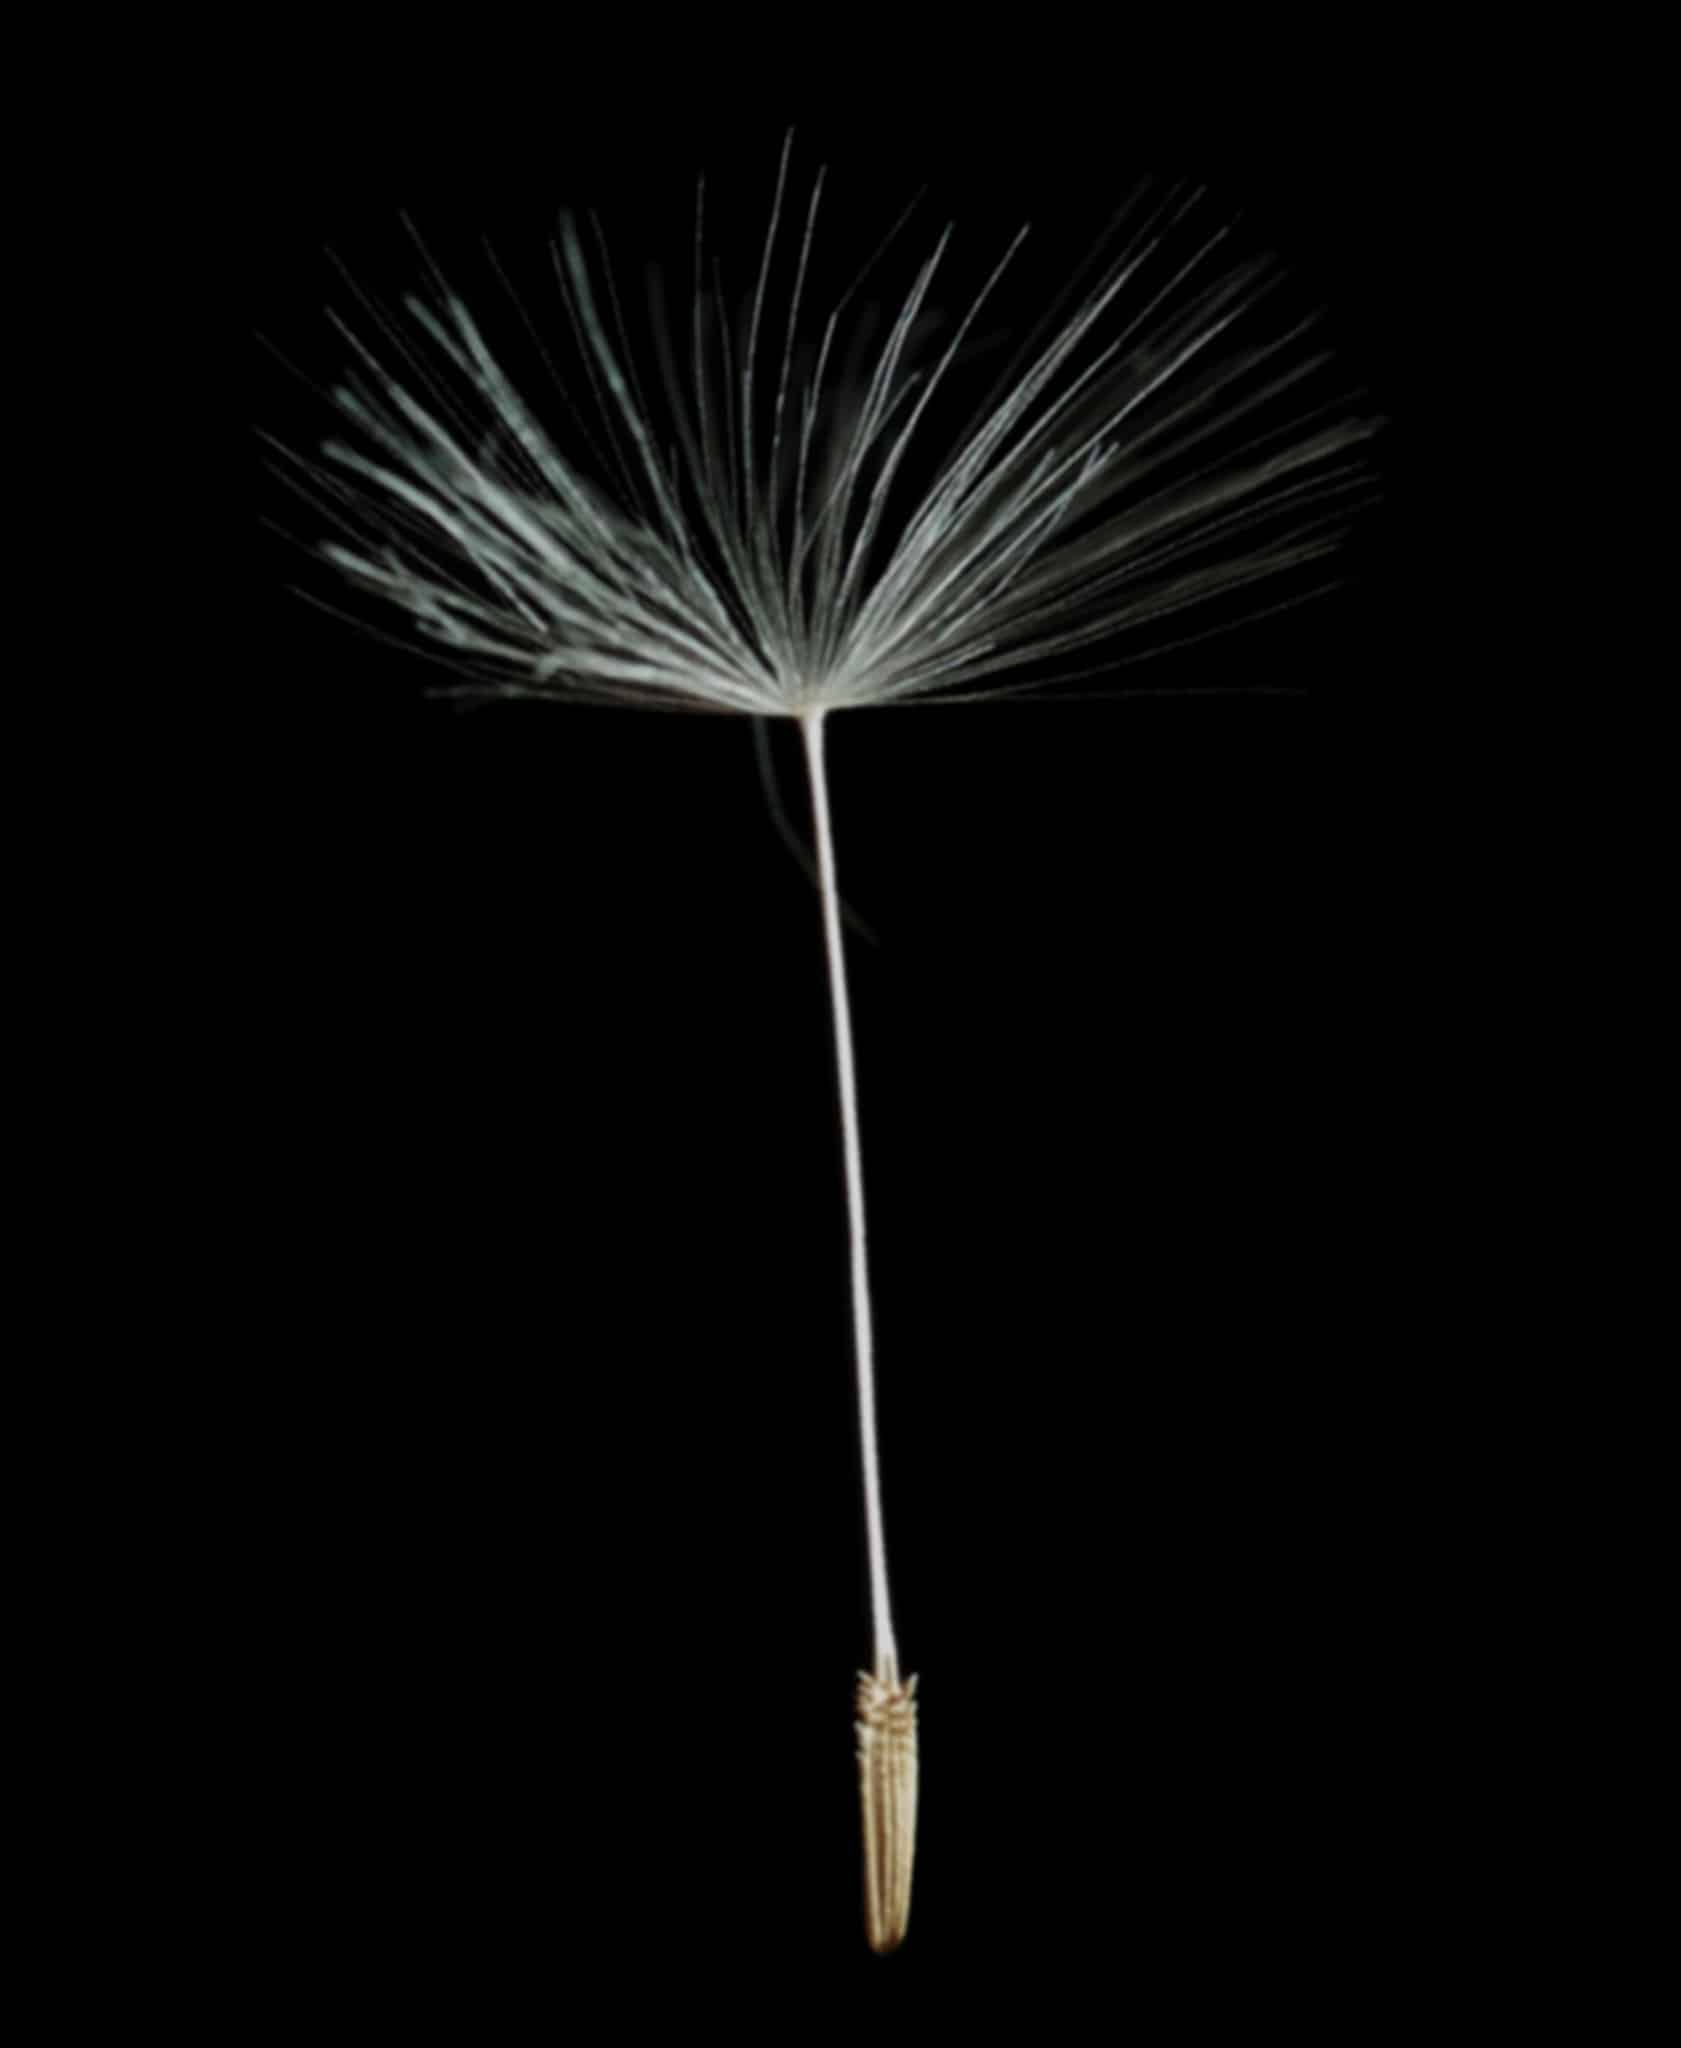
The next step is to get our hands on an image of the object that we want to add to the photo. In our case, it’s a dandelion that will look as though it’s carrying the model away. Where can we get one? You have two basic options available: use your own image, or use stock photography. We decided to use stock photography and were able to find the perfect dandelion ready to be used.
The stock photo saves us the need to crawl around a field in search of the perfect dandelion. However, you may find that none of the stock images match exactly what you’re looking for. In this case, don’t be afraid to grab your camera and seek out the perfect image yourself. With a bit of simple editing, you can easily add your own photo to the original photo.
You have your photos. Now what?
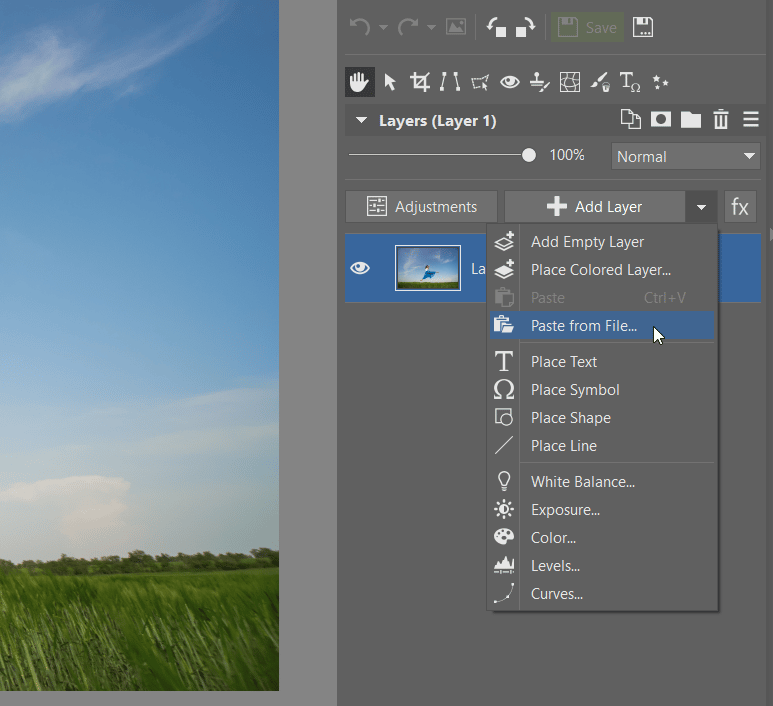
All of the adjustments we need to make will be done in the Editor module of Zoner Studio. The Editor module is perfect for edits that in some way manipulate reality and it offers all the functions we need. We will open the original photo of the model in midair and add the image of the dandelion as a separate layer. We click the Add Layer drop-down menu and then choose Paste from File.
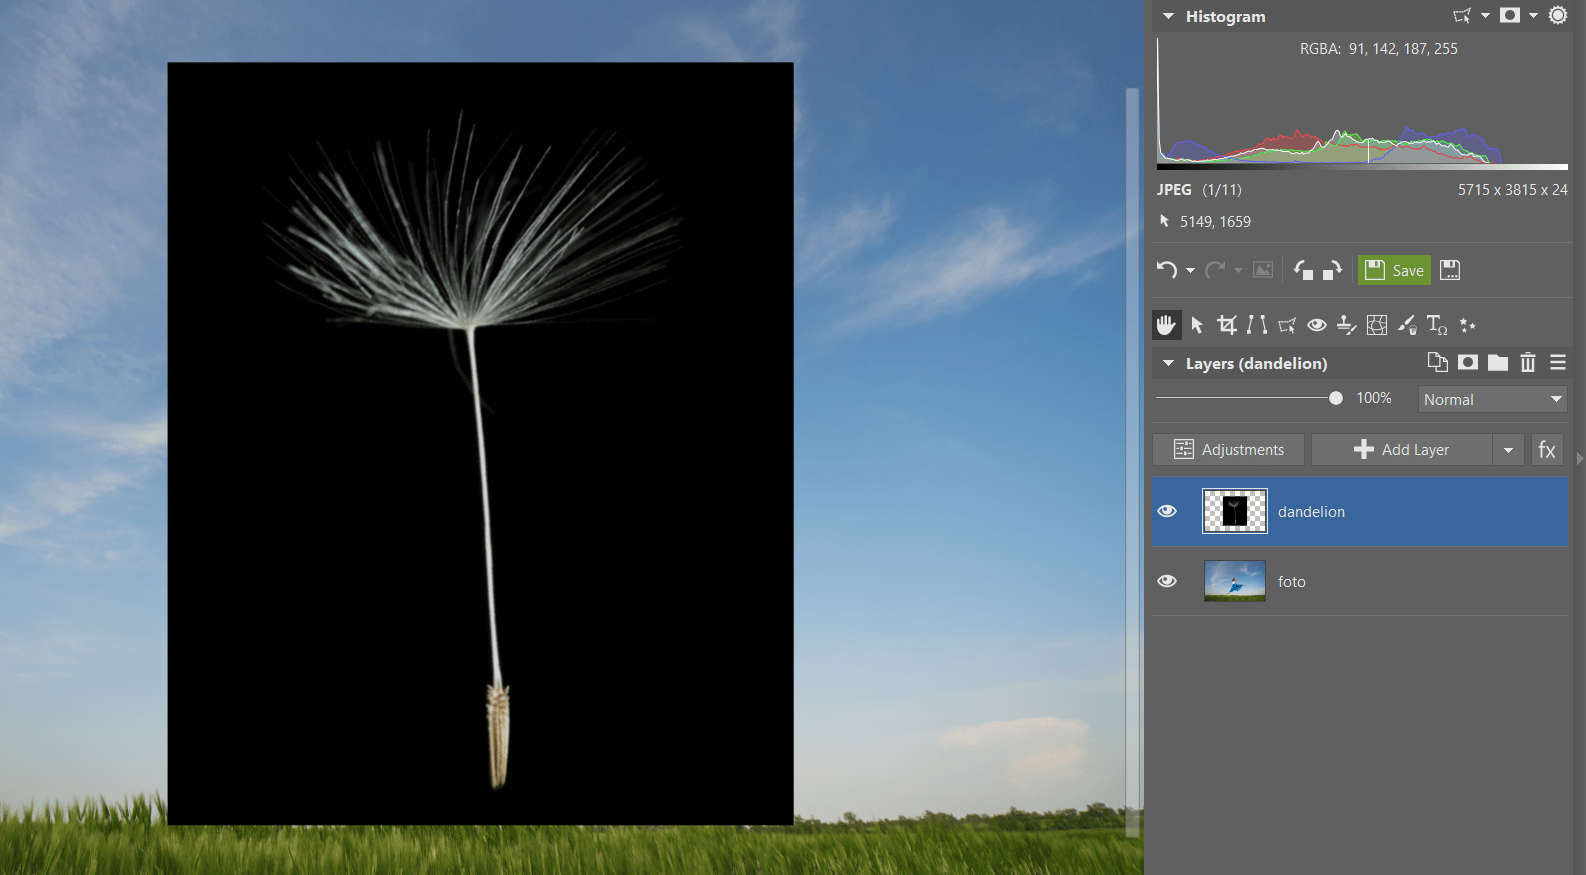
Now we can see that even though the dandelion is in the photo, it still has its own black background that doesn’t fit our final look.
How do we remove the background? In other circumstances, we would remove it using one of the many selection tools available. However, we can simplify the entire process by changing the blending mode. In this particular case, where we have a black background, the process is relatively simple.
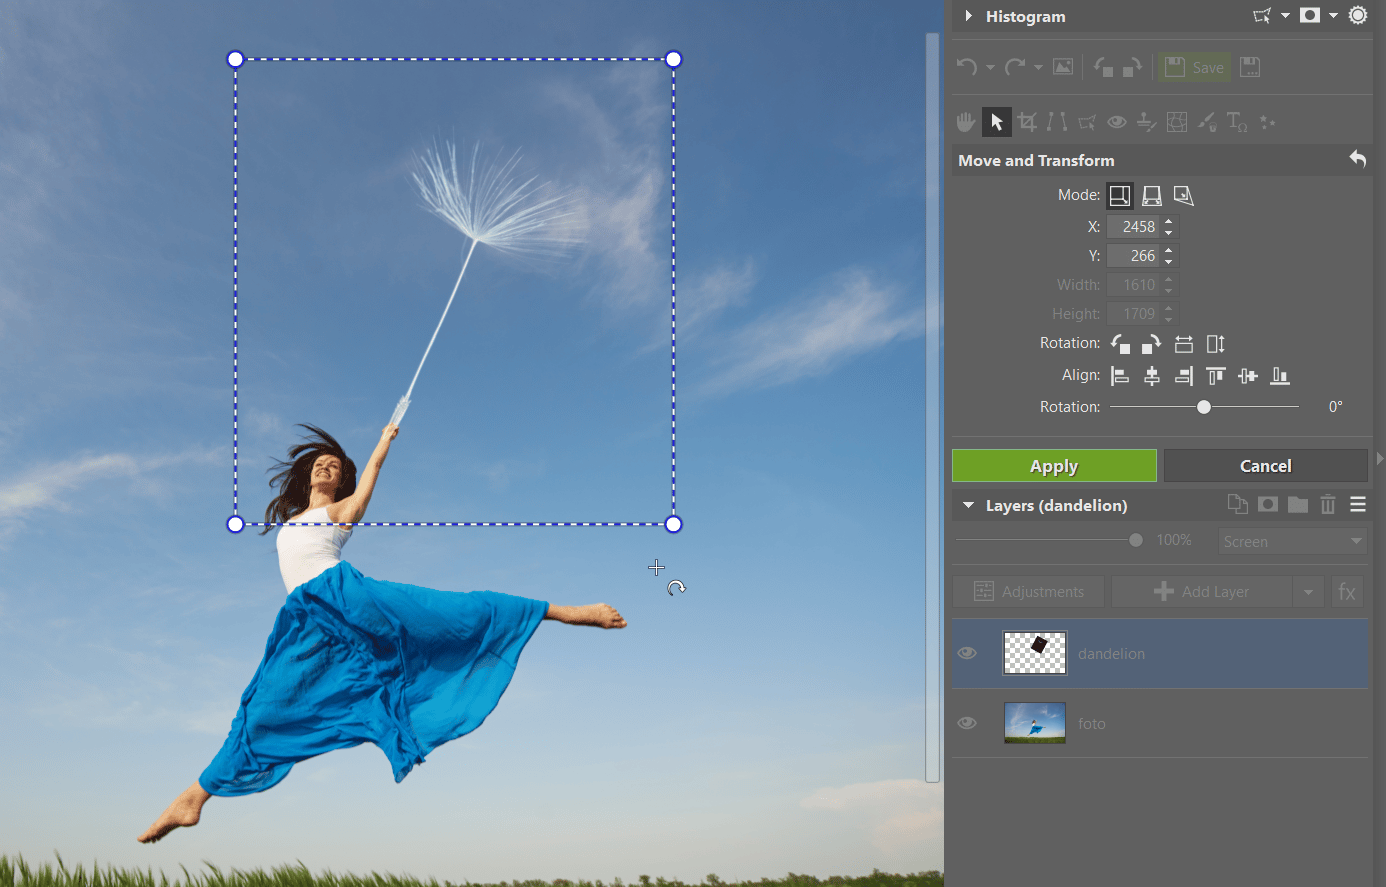
A simple way to remove all of the black background color is to choose Screen mode. Screen mode removes dark areas, allowing light ones to remain. We are done and the dandelion is ready to be moved and placed in the model’s hand. We have also avoided any complicated tracing of the object using the Magnetic Lasso or selection with the Selection Brush.

We now need to somehow place the dandelion in the model’s hand so that it looks like she is holding it. Use Move and Transform (V) to easily work with the image. You can move it around and change its dimensions. We reposition it by dragging, and then slightly shrink its size so that it isn’t too big and doesn’t disappear behind the edge of the photo.
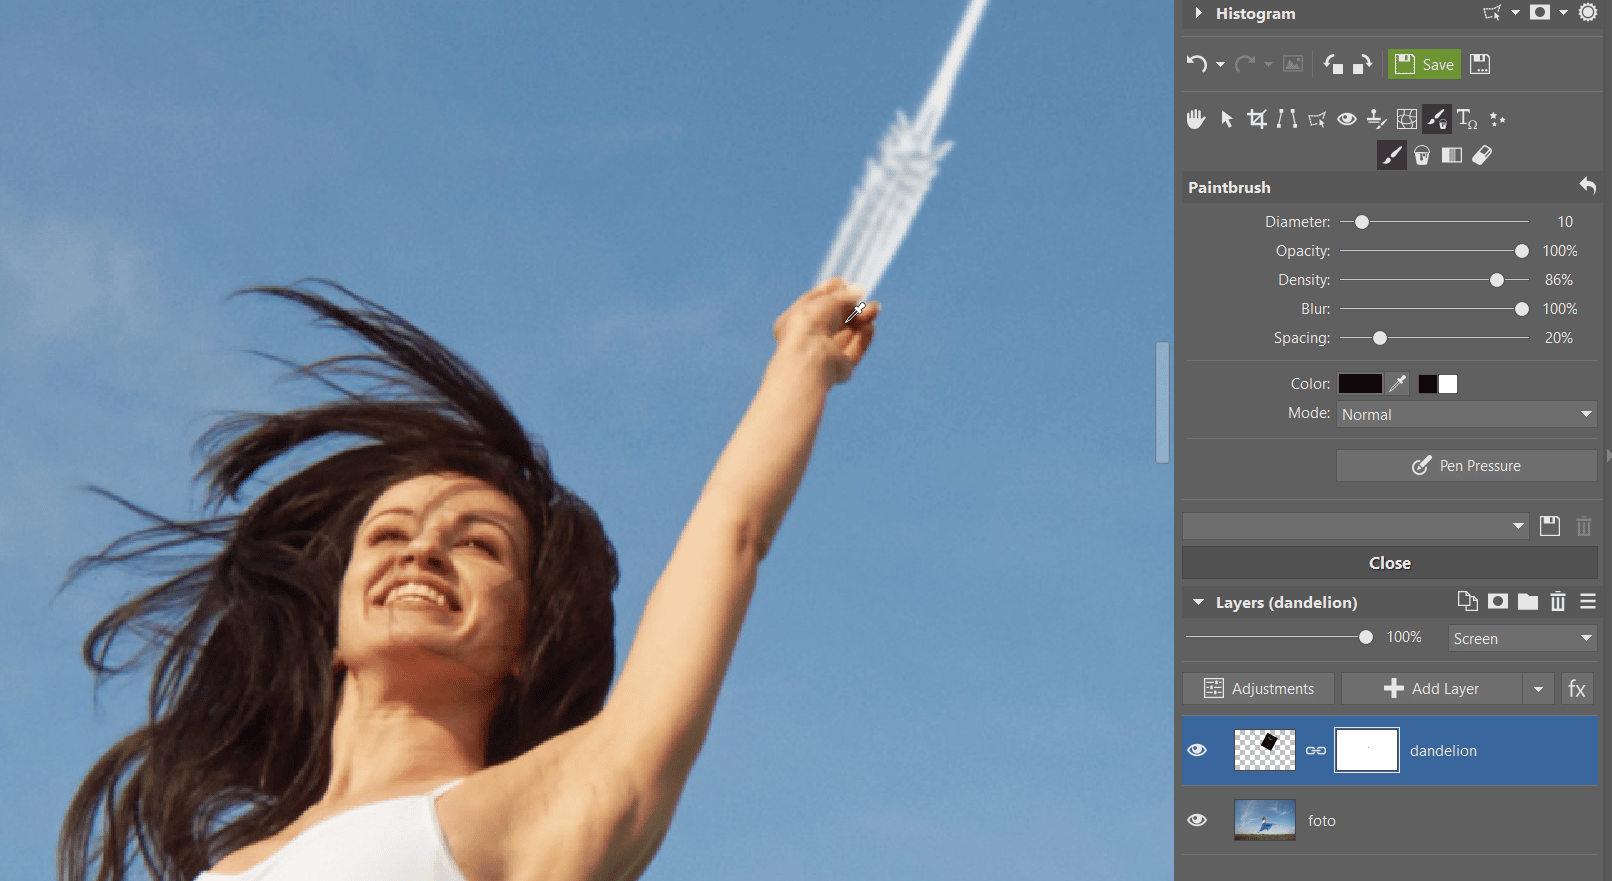
We are almost done. The last minor adjustment involves removing the part of the dandelion that is covering the model’s hand in order to make the entire scene look a bit more realistic. We will do so using Masks.
Right click the layer with the dandelion, go to Mask, and select Reveal All. Next, we open Drawing Tools, choose a brush, and set the color to black. With it, we draw over the bottom part of the dandelion so that the model’s hand is visible. The selected dandelion layer’s mask ensures everything that is painted black disappears.
Final Adjustments
Finally, we may decide to crop the photo. And we’re all done! After saving all of our adjustments, our final product turned out like this:

Download Zoner Studio free for 7 days and try your hand at making a photo montage. Don’t forget to share and show off your photos to us!
There are no comments yet.