Amazing Sky Photos in 3 Short Steps

The article is over 5 years old. The information in it may be outdated.
![]()
We are working on its update. In the meantime, you can read some more recent articles.
The sky is among the most interesting and rewarding photographic subjects. There’s something new to discover every time—a unique sunset, fluffy clouds, or stormy thunderheads and thunderbolts. There’s always something to see and something to snap. And editing sky photos on a computer can be fun as well. Be creative and try for example editing a red summer sky in Zoner Studio.
Prepare Your “Workspace”
When you’re looking for an interesting photo-worthy object in the sky, don’t forget the basic rules of composition. Don’t just photograph the sky—having a bit of the ground showing in a photo can really help it out. Observe the rule of thirds and the golden crop when you’re positioning your photo’s subject. And also avoid letting objects stick into the edges of the photo—for example parts of roofs or wires. That way you won’t have to spend time removing them in an editor.
If you also manage to capture the sky during the Golden Hour, all the better for you—the soft light that comes around sunrise and sunset will make your photographs even better.
In short, take pictures of things that are interesting for you. If you happen to make a mistake, you can easily fix it afterwards in Zoner Studio.
We’ll use these two summer photos to demonstrate some simple edits to the sky:

We’ll be needing these functions in the Editor for this edit:
Enhance Colors (shortcut key: Ctrl+1) and Curves (Ctrl+C)
Adjust Brightness and Contrast
Even though your photos will definitely look great even before you start working with color adjustments, you’ll want to start by increasing contrast.
There are two ways that you can reach the contrast editing controls: you can either use Filters (F) in the Editor’s right-hand side panel, or click Menu at the top left, visit the Adjust menu, and then use Enhance Colors (Ctrl+1). (The letters in parentheses above are shortcut keys.)
Follow up by adjusting the saturation of the picture’s colors. The controls for this are also in Enhance Colors.
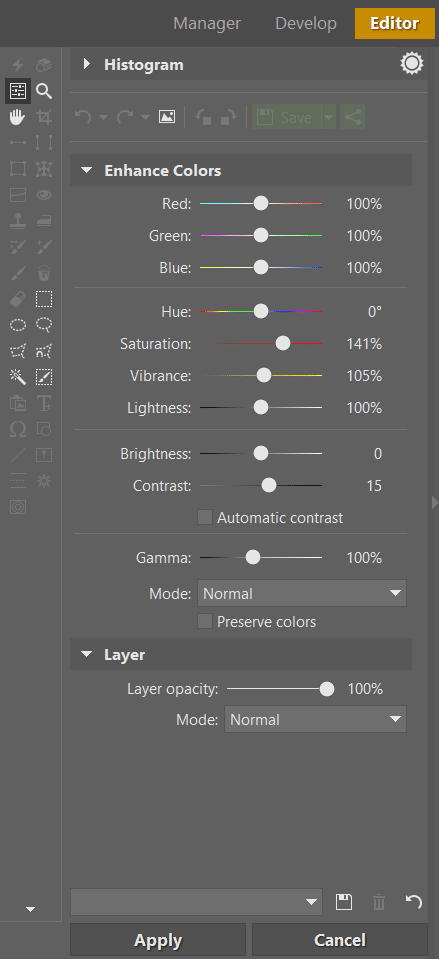
The photograph before and after edits:


Photograph before and after increasing brightness and contrast. To see the changes, move the slider between the two images.

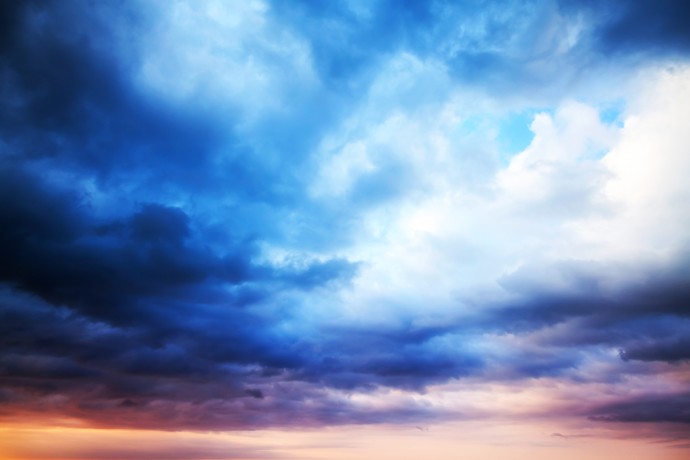
Photograph before and after increasing brightness and contrast. To see the changes, move the slider between the two images.
But if you get the feeling that the colors in the photograph need a little more editing, then change the other values in Enhance Colors as well. It’s up to you what look you like the most. Don’t be afraid to try strong adjustments on for size; nothing will happen until you click Apply, and even then, it won’t be the photo’s final look. There’s still one more step that awaits it.
Editing Histogram Curves
You may have an unrealistic-looking picture after using Enhance Colors, but don’t worry—this is just an interim step, and the next one will fix any problems you’ve introduced.
Go to Menu, then Adjust, and then Curves (Shift+C). The trick here is to adjust the histogram curve for each color channel separately. By mixing colors creatively, you can give the photo a completely different atmosphere. For a detailed explanation of how Curves works, read How To Use Curves to Adjust Image Exposure.
Roll down the Channel list in the Curves controls, and then switch to the Red, Green, or Blue channel. Edit the curve for each channel separately.
As you shape a curve, your changes will be previewed in the photo. Once you find just the right changes, the ones whose effect you like the most, click Apply, then save the photo.
We played a bit with Curves on our sample photos as well. Different curve shapes give you differently colored photos, and so there’s any number of variants.
In the first photograph, we adjusted the curve for the red channel only. The shape of the curve has changed the red shade to blue, giving the photo a new look:
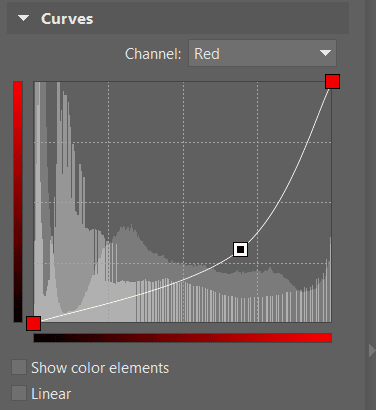


This photo started out reddish, but now it’s tinted blue because of the edits to the red channel.
In the second image, we’ve edited the curve for the blue channel only. This shape for the curve has changed blues to yellow:
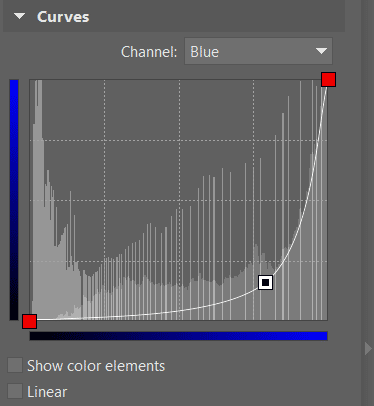

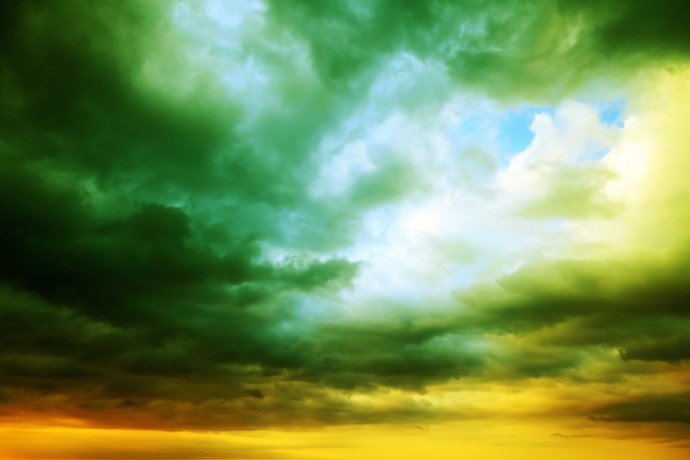
Our edit has shifted the originally blue shades into the yellows. To see the changes, move the slider between the two images.
Play with Clouds
Shaping histogram curves influences a photo’s look, and so anyone can create a different version of a photo. Try playing with Curves yourself and adjusting a photo’s colors.
You can even try downloading and playing with our sample photo. Can you use the edits we’ve described to get the same results as we did? Or even better results? Send us your own pictures in the comments!
Download Zoner Studio and use it for 7 days for free, then improve a summer photo using the three steps in today’s article. Just play with the contrast and saturation, and with the color channels in Curves.

There are no comments yet.