What Is The Best Format For Your Pictures?
Today we’ll be telling you about how digital photography works with “bitmap graphics” and that these have some minuses compared to “vector graphics.” But—what do these phrases even mean? And what bitmap formats are there within digital photography? And out of those, why shoot to RAW instead of JPEG? Read on to find out!
Vectors vs. Bitmaps
When working with digital graphics, you’ll run into two basic kinds: vector and bitmap graphics. Vector graphics are built up from lines and shapes defined by mathematical expressions, while bitmap graphics are a matrix of differently-colored dots (“pixels”). Vector graphics are useful for illustrations and drawings. They have one huge advantage: they still look good no matter how large you make them.
Meanwhile bitmap graphics are the only usable kind for digital photographs, but bitmaps can’t be stretched out without losing quality.
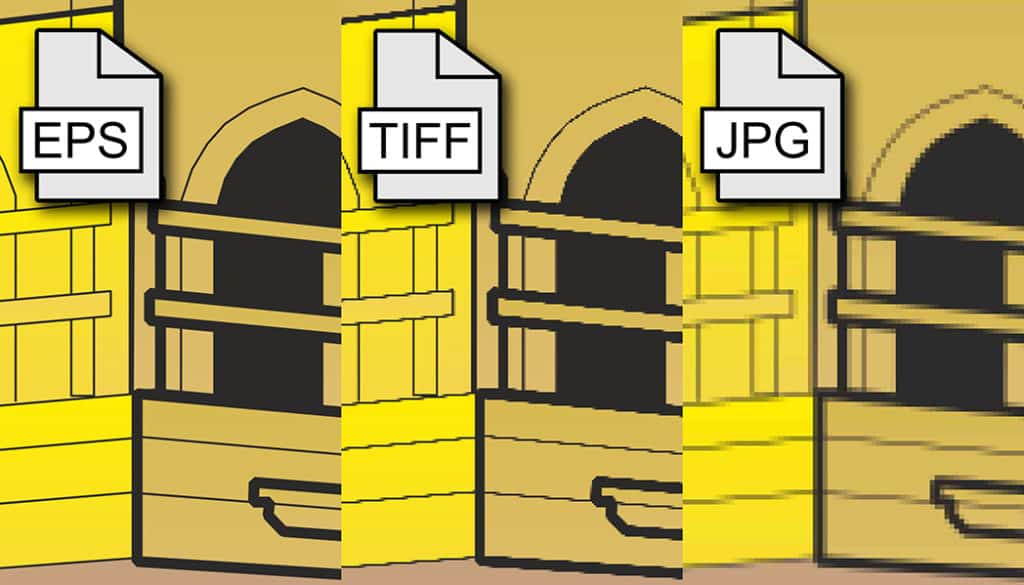
Compare the differences between bitmap and vector images yourself:


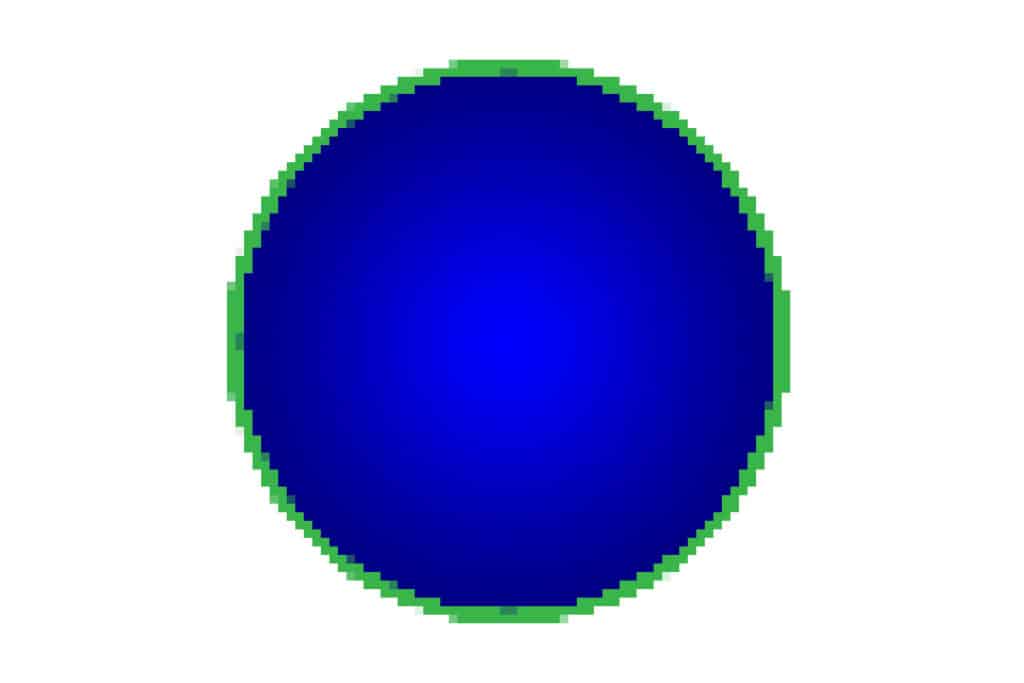
But in the real world, people simply are going to resize bitmap pictures, either because they have to, or think they have to. And so the makers of photo editors include advanced algorithms in their software designed to produce smoother transitions in bitmaps when they are shrunk or stretched. For premium-quality resizing, you can purchase any of a number of specialized programs that use complicated fractal algorithms to resize bitmap graphics.


In digital photography you will be working almost exclusively with bitmap graphics.
But when you’re creating things like greeting cards, you can also encounter vector graphics. You’ll usually find them in the form of text and other graphic elements added to a card (frames, text bubbles, etc.).
Bitmap Formats (Lossless and Lossy Compression)
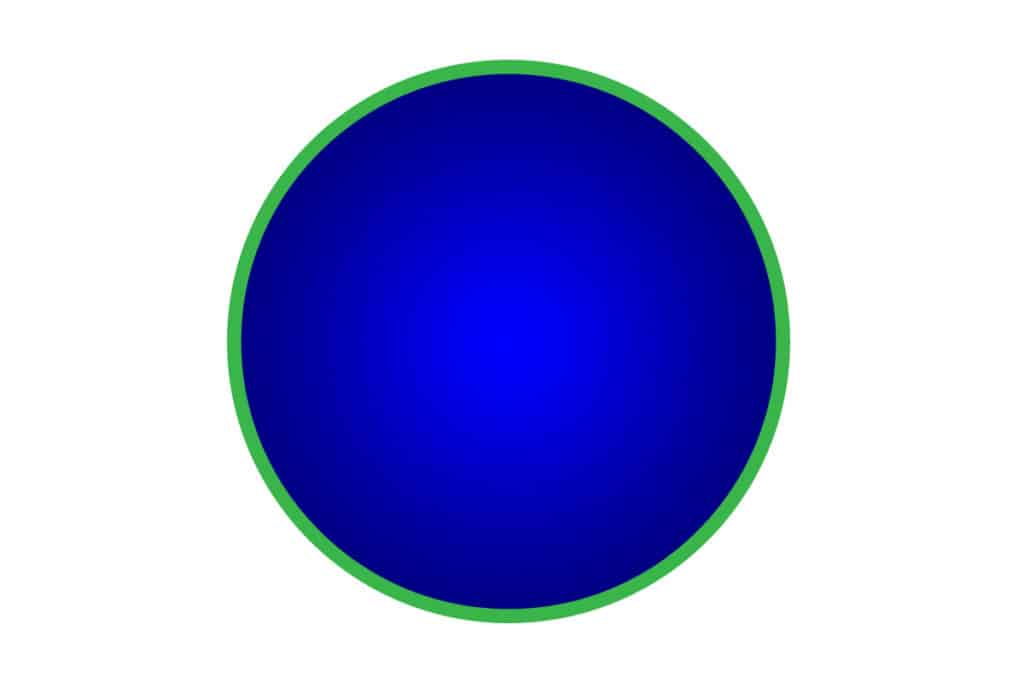
One other disadvantage of bitmap graphics in comparison to vector graphics is that they take up more disk space. In classical bitmap digital images with an 8-bit color depth, each pixel is defined by its position and by information on its amount of red, green, and blue color. The most primitive common format for storing bitmap graphics is BMP, an uncompressed format. In this format our sample shape occupies 2.75 MB.
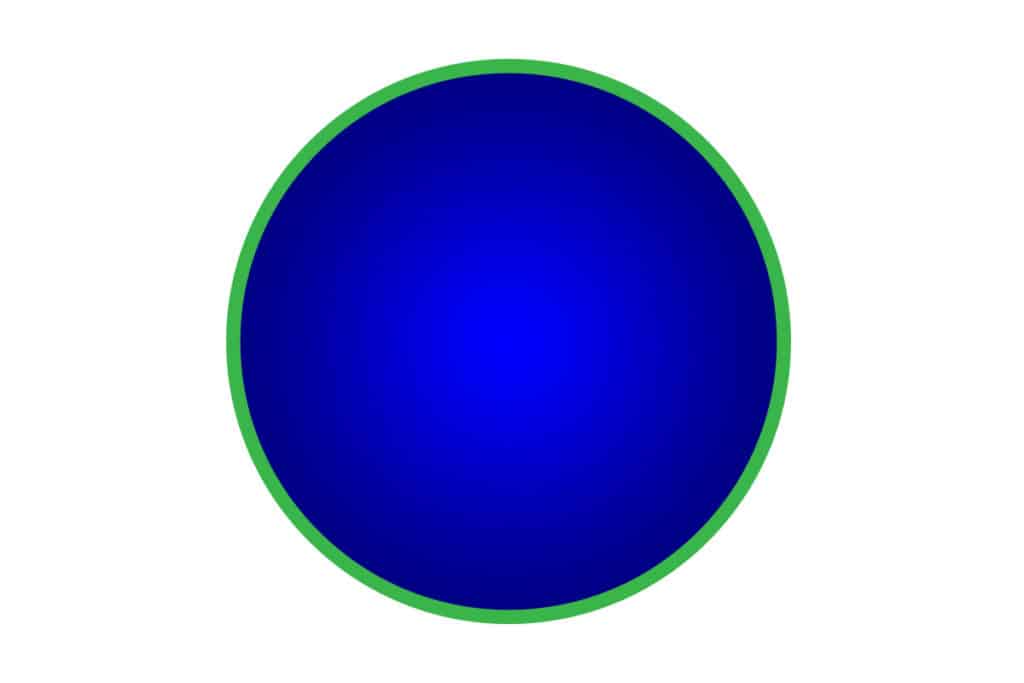
So in practice today practically every picture uses compression. This can be lossless or lossy. Lossless compression makes a picture smaller with no effect on its image quality. This is actually just a smarter (more efficient) method of storing the same image data than uncompressed formats. The sample image contains large single-color surfaces, and so when it’s saved to TIFF (which uses lossless compression), its size falls to just 155 kB.

For classical photos, which have very little “empty” space, lossless compression doesn’t compress enough. That’s why lossy compression was born. It’s founded on the imperfections of human vision. In lossy compression, certain information—things that the human eye isn’t capable of registering—is dropped from a picture to reduce its file size. Our sample shape can be saved this way at sizes as small as 72 kB while retaining a high display quality.
The Major Formats
JPEG (8-bit color depth, lossy compression)
The most important format for presenting digital photos is JPEG. This is a format that uses lossy compression. This format is entirely appropriate for storing final, “positive” pictures as a way to show off and digitally distribute your “negatives.” This format isn’t as appropriate for making edits—its lossy compression makes a picture’s quality go down every time you save it. Because it contains less data than lossless formats, edits themselves can bring its quality down.
You can encounter this format on even the lowliest of cameras. JPEG is really aimed at those users who take their pictures straight from the memory card and don’t process them further (or don’t process them much). Most modern amateur cameras contain a number of “image styles” used to set how photos will look.
For more significant edits you’ll want to shoot to the RAW format, which you can find in most advanced cameras.
RAW (raw sensor data)
RAW format files are often referred to as “digital negatives.” RAW doesn’t contain a final picture. Instead, it contains all the data recorded by a camera’s digital sensor. To develop it, that is, to turn it into an actual picture, you will need specialized software (e.g. Zoner Studio, which you can hook into Adobe DNG Converter if needed in order to support your camera).
The way that you’ll represent that data is entirely in your hands. So you can make major changes to colors without any quality losses, because you are always generating the picture from the original sensor data.

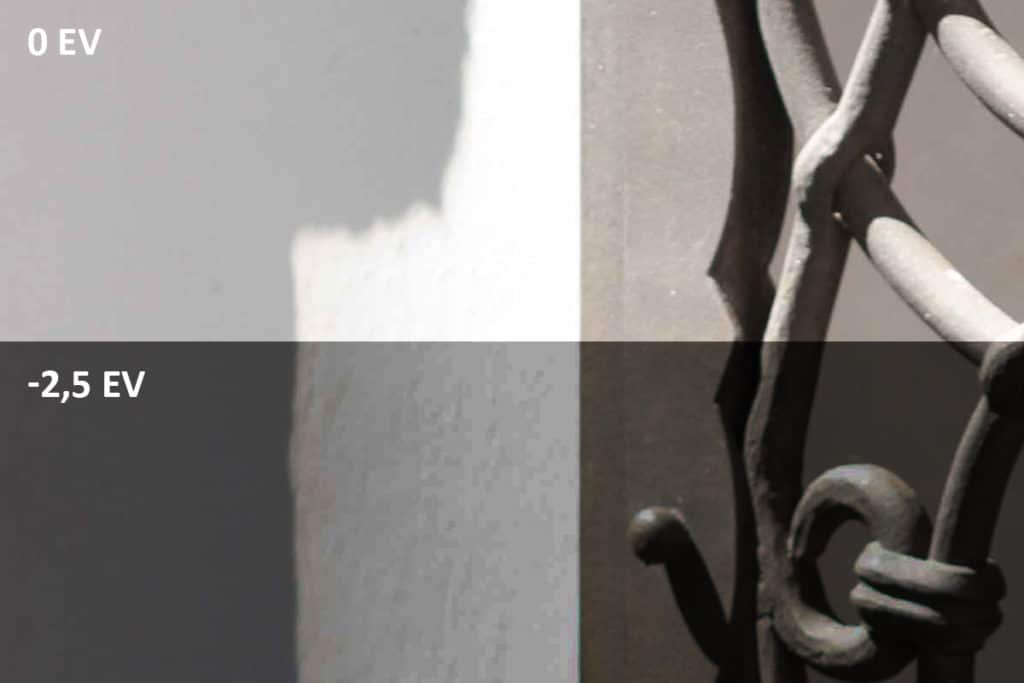
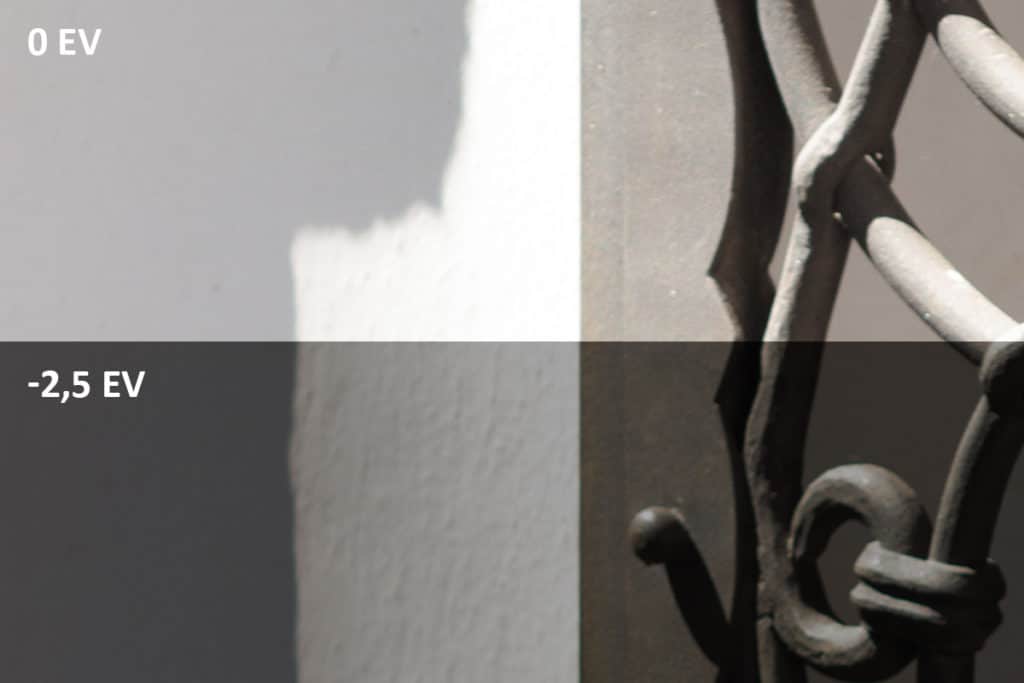
In the RAW format, you can also make major changes to exposure relatively easily. While the JPEG format expresses at most 7 or 8 EV, a high-end digital camera’s sensor can register up to 14 EV. Thanks to this, by working with RAW, you can rescue even seriously underexposed or overexposed images.
After editing a photo in the Develop section of Zoner Studio, export it to a file in the JPEG format. Even if you don’t move any sliders in Develop, the colors in the JPEG file may still slightly differ from those you saw in the viewfinder. We have an article on why this happens.
TIFF (32bit color depth, lossless compression, layers)
You can encounter the TIFF format in certain older cameras that were advanced for their time. And it’s still the ideal format for saving working versions of a picture—if you have the space. Typically in your daily work you’ll be taking pictures in the RAW format, developing them in a digital darkroom, and then saving your final pictures as JPEG. For certain complex edits you’ll have to turn to an advanced image editor—for example for complex compositions or portrait retouching. In these cases, just store your converted RAW as a 16-bit TIFF and work from there.
With TIFF, you’ll have a foundation for your further photo processing that is not degraded by lossy compression and meanwhile can contain vastly more color information than a JPEG does. In this kind of file, you can make edits while never causing a noticeable loss of image quality.
Shoot to RAW for Maximum Qualitys
When taking pictures for your portfolio, learn to shoot to RAW in order to obtain maximum image quality. That way you’ll be able to go on and make major color and tone adjustments without degrading your photos’ quality.
Save your direct-to-JPEG shoots for things like documentary photography, where the pictures’ final quality isn’t so important.
Hrubfr13
Wow, I’m just an amateur and tis article brung me really neccessary info what I’ve never known :-) Than you very much!
Zoner
That’s great, we hope you’ll find more interesting and useful articles here!