5 Tips for Getting Creative with the Radial Gradient
Bringing out the main subject is the most common use of the Radial Gradient. But it can do much more—from editing a specific part of your photo to adding creative color effects. Let’s take a look at 5 ways the Radial Gradient can help you.
In this article, we cover:
- how to use the Radial Gradient to adjust colors locally without affecting the rest of the photo.
- how to simulate soft, diffused light and a mist filter effect.
- how to create vignetting that matches your photo’s composition.
- how to reduce blurring in the corners using local adjustments.
- how to creatively bring out the sun and light reflections using color.
The Radial Gradient (R) is found in the Develop module of Zoner Studio. It is used to edit a selected part of a photo. With it, you can fine-tune exposure and sharpness, or adjust colors. There are many ways to use its tools. Here are a few examples.
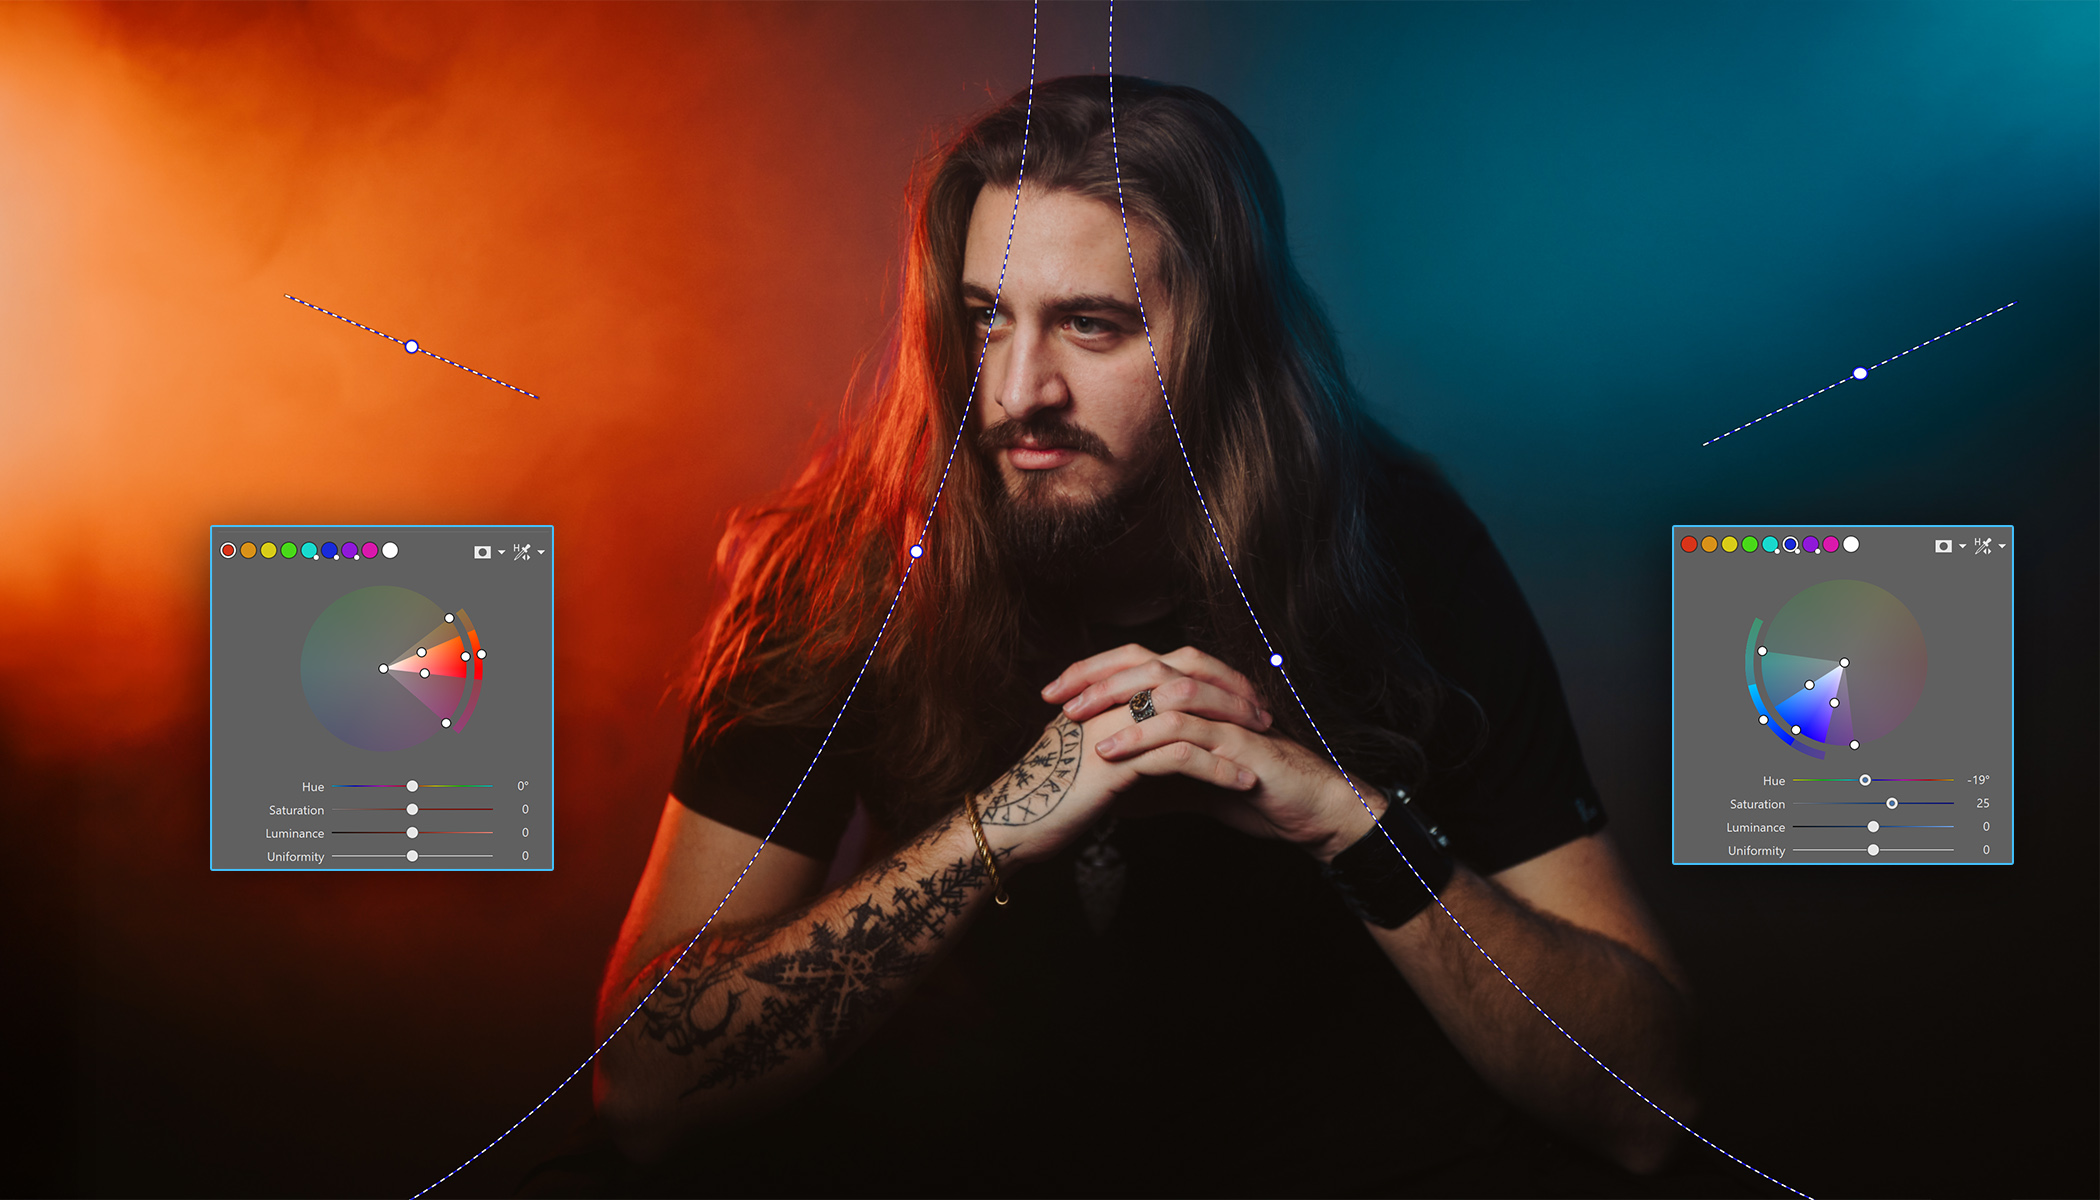
Color Shift
You can shift colors in the Develop module using Color Shift. You can apply these adjustments locally as well. First, use the Radial Gradient (R) and specify its size using Gradient width.

Just like in the main editing panel, the Radial Gradient menu includes Color Shift. For more major shifts, (as in this example), use the Advanced settings. These allow more precise control over how much of the color spectrum is affected. The advantage of using Color Shift locally is that similar colors elsewhere in the photo remain unchanged.

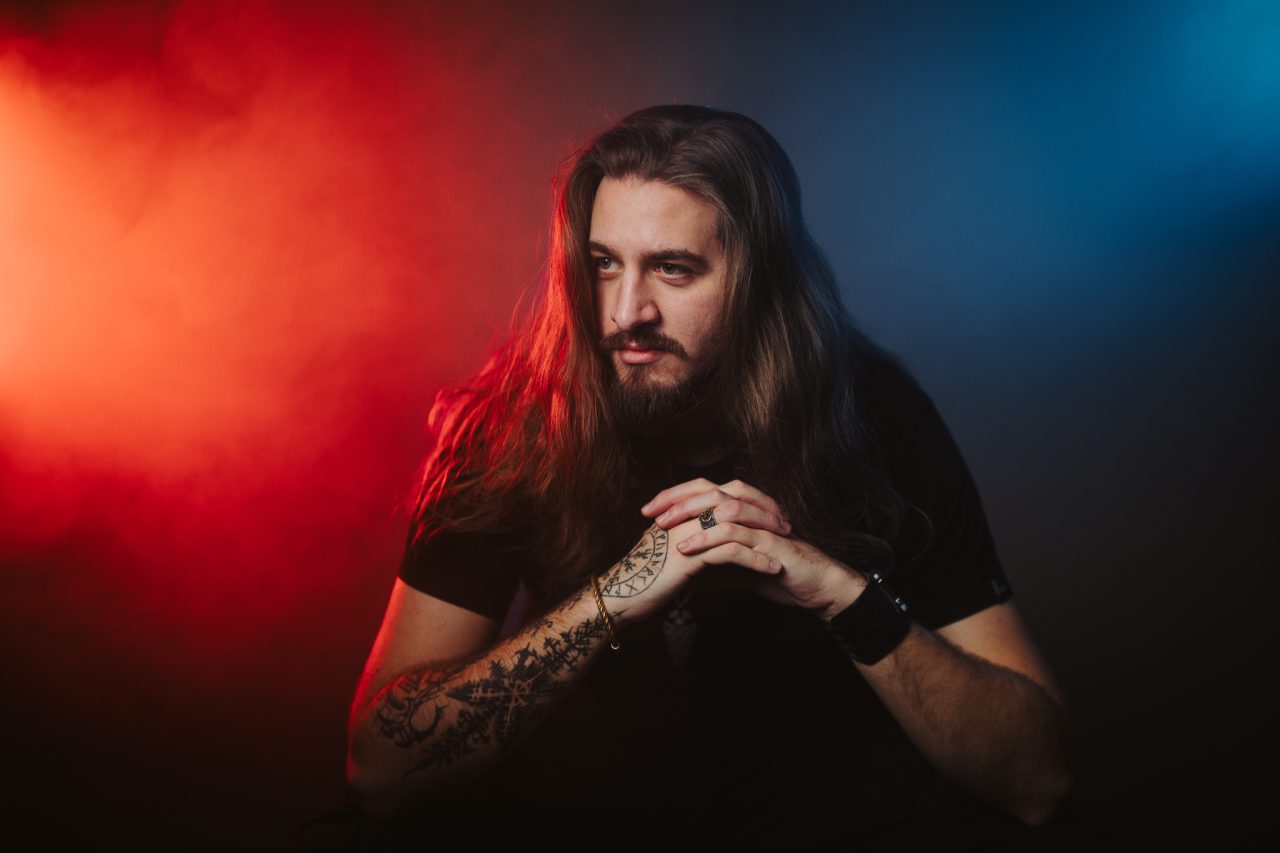
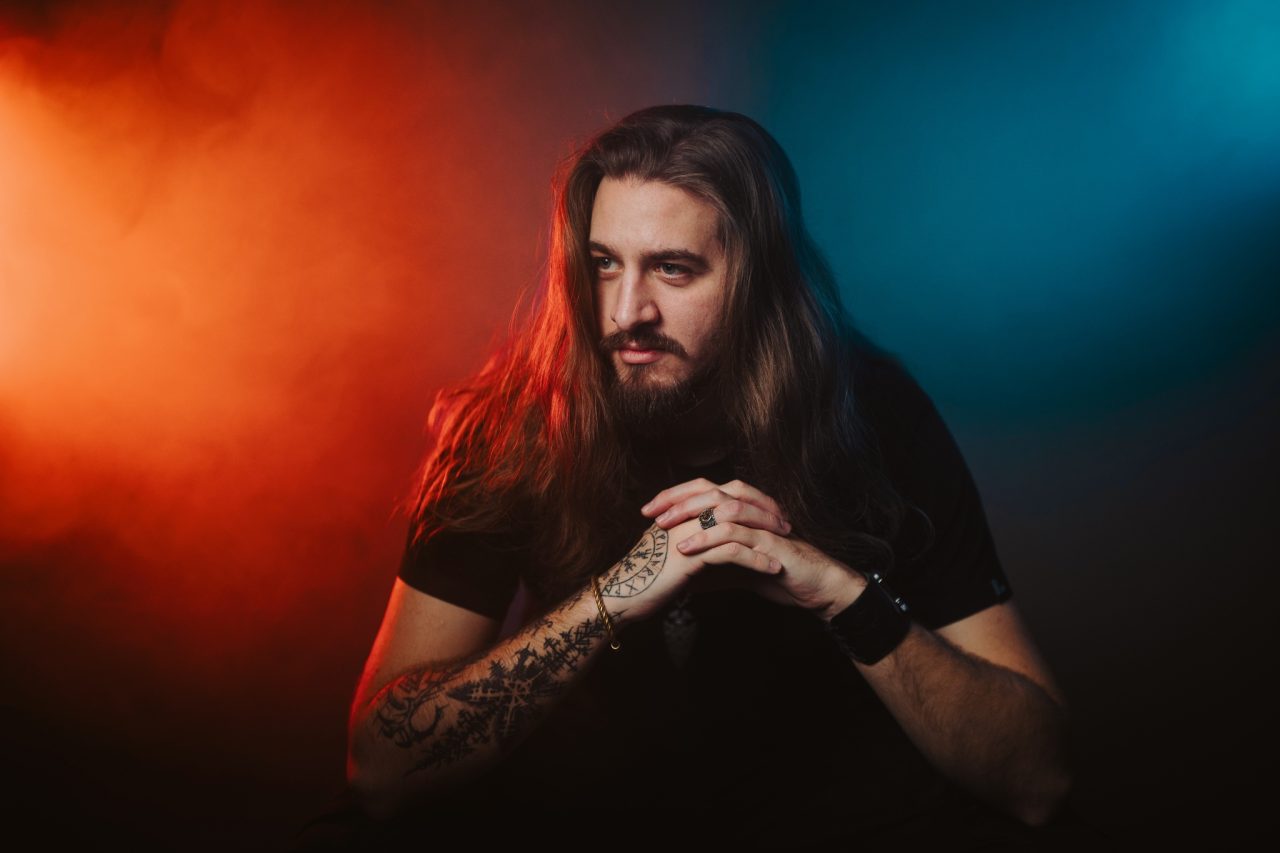
Before and after.
Brighten lights (mist filter simulation)
Another creative use of the Radial Gradients is adding light to areas that need more presence. The result should look natural, so place the gradient where the light would realistically occur. It’s important to set Gradient width as wide as possible to keep the transition smooth.

There are several ways to brighten the image. Sometimes increasing Exposure and Lights is enough. In other cases, lowering Dehaze to negative values helps. Because of the sharp edge of the wall in this picture, it was necessary to brighten both the darker and brighter areas. Increasing Black Point under Tone Curve also worked well.

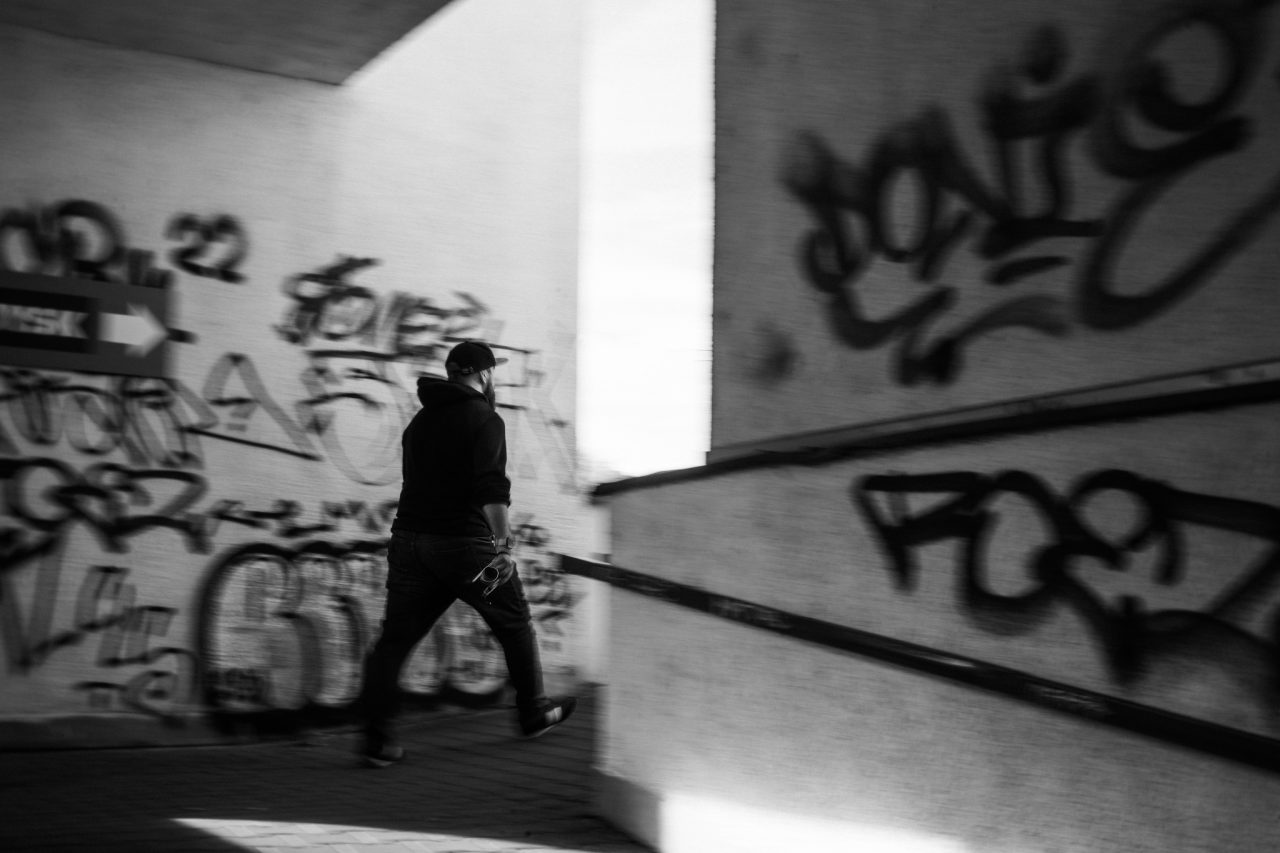
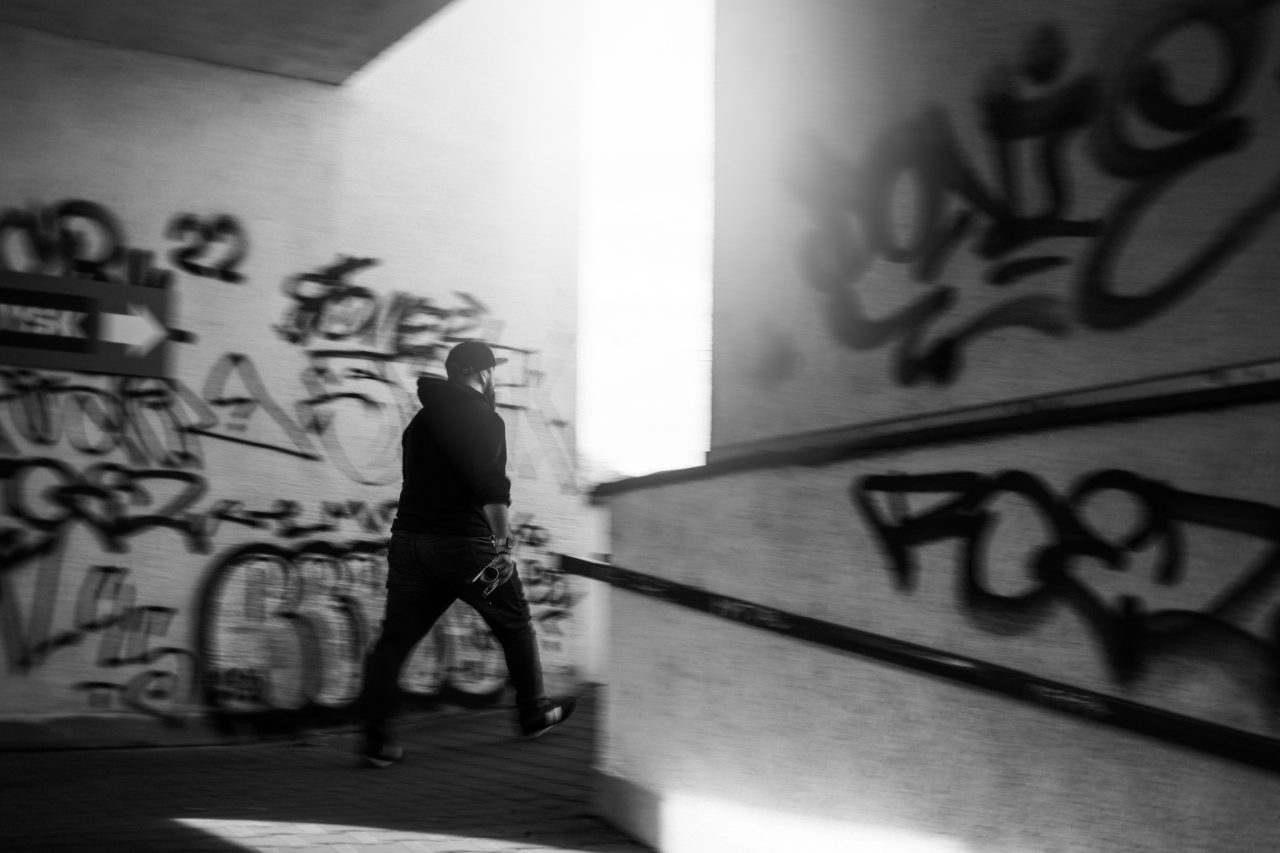
Before and after adjusting light brightness. If you’d like to explore this effect in more detail, we published an article and video on how to simulate a mist filter.
Add Vignetting
The standard way to add vignetting in the Develop module is by using Vignetting under Effects. But the Radial Gradient lets you create your own vignetting.
Start by drawing an ellipse using the Radial Gradient. Then, use the control points to resize and move it so it almost touches the edges of the photo.
The exact placement depends on your photo. If it doesn’t fit, the center of the gradient doesn’t have to be the exact center of the photo.
When you’re happy with the placement, click the Invert icon. The adjustments are now applied outside the ellipse.

Lower Exposure to darken the corners. You can also fine-tune the effect further. For example, slightly increasing Lights and lowering Shadows often helps.

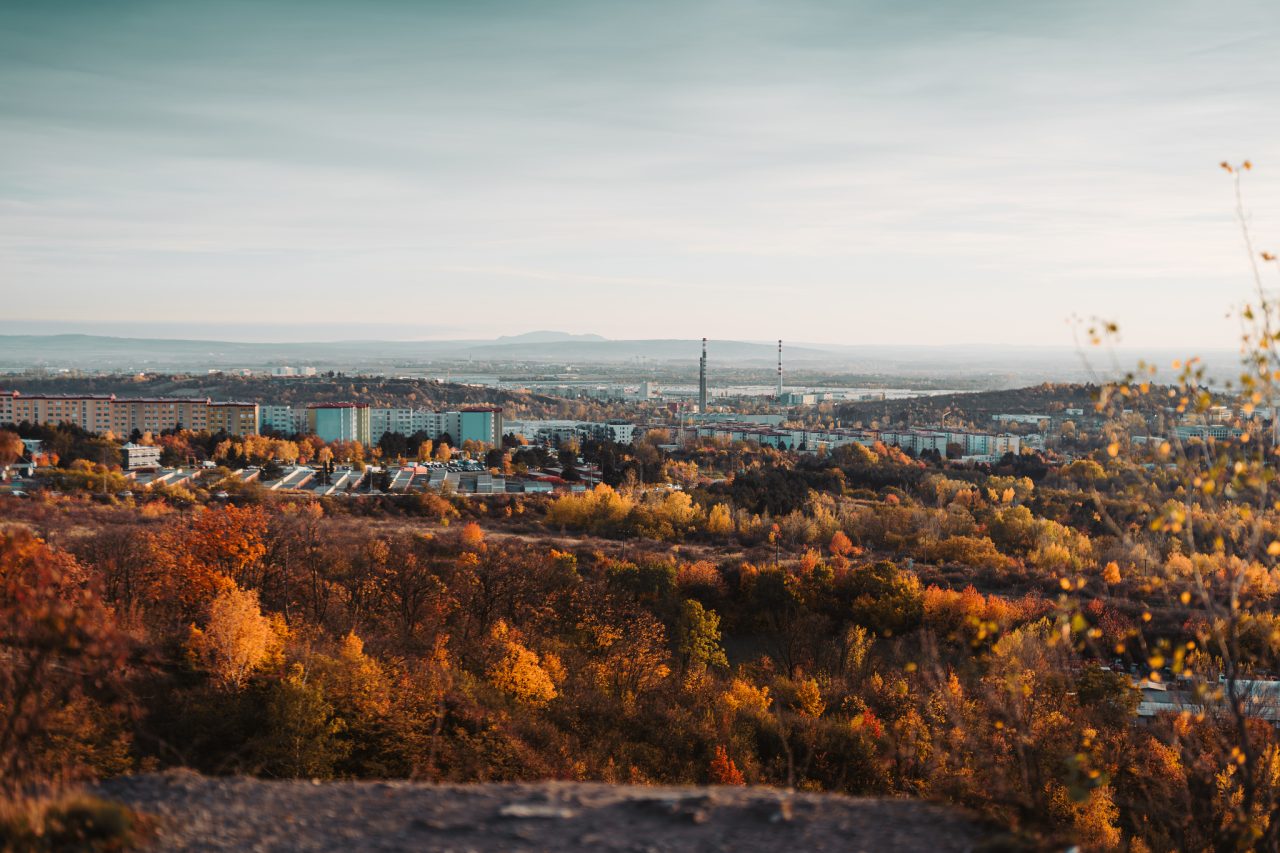
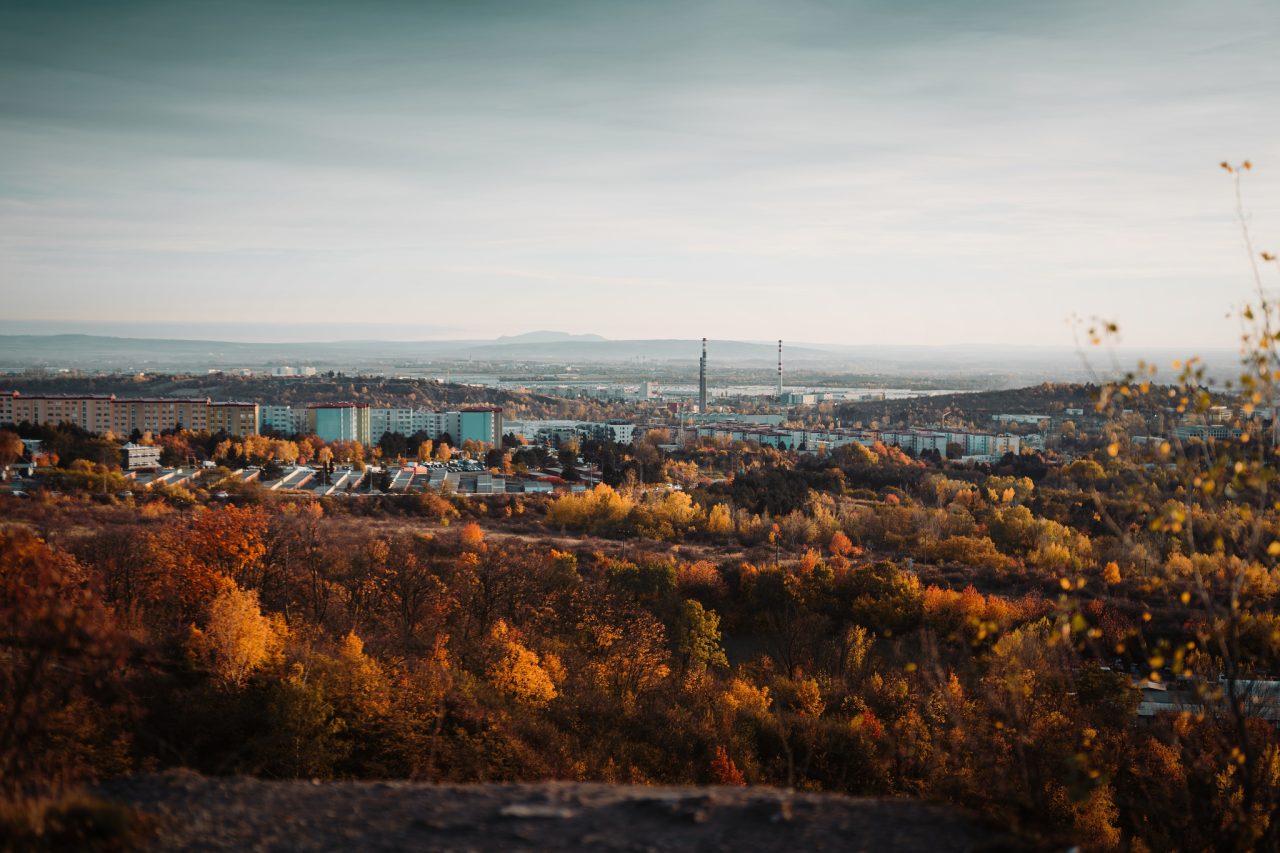
Vignetting added using the Radial Gradient.
Sharpen the corners
Many lenses, especially older ones, have softer corners. While you can’t fully fix this in editing, you can reduce it using the Radial Gradient.

Just like with vignetting, draw an ellipse across most of the photo and click Invert. Then, zoom to 100% so you can clearly see the effect. Finally, increase Sharpness and Texture to make the corners sharper.
The exact values depend on how much you want to sharpen the edges of the photo. But remember, like with other adjustments, don’t overdo it. Otherwise, your image could look unnatural.
Most viewers probably won’t notice softer corners when viewing photos online, but it becomes visible in large prints or at 1:1 zoom. That’s why it’s worth correcting.

Bring out the sun
The Radial Gradient also works when the sun is visible in your photo. You can enhance the sun’s rays by adding color.
How’s it done?
Use the Radial Gradient to select the sun and its surroundings. Under Color, choose a warm orange tone similar to the sun. Set Intensity to around 40. Change Mode to Screen and Gradient width to maximum for the smoothest transition.

Find your own uses
The best way to understand the Radial Gradient is to experiment with your own photos. Download Zoner Studio free for 7 days. Try using the Radial Gradient to adjust brightness, color, and sharpness exactly where you need it.
FAQs
What are the most common uses of the Radial Gradient in Zoner Studio? The Radial Gradient is most commonly used to bring out the main subject and to make local adjustments to exposure, colors, sharpness, and brightness.
Can the Radial Gradient replace standard vignetting? Yes. It offers greater control over shape, placement, and intensity than the standard Vignetting tool.
Is the Radial Gradient suitable for portraits? Yes, especially for subtle color and light adjustments or gently highlighting the face. The advantage is that it doesn’t affect skin tones outside the selected area.
Can the Radial Gradient completely remove blurring in the corners? No. Optical lens defects can’t be fully corrected, but their impact can be significantly reduced using local sharpening.Can the Radial Gradient be combined with other local tools? Yes. It works well alongside other local adjustments and global adjustments in the Develop module.
There are no comments yet.