How to Create Your Own “Camera Obscura” Pinhole Camera and Take Crazy Color Portraits
A pinhole. A camera obscura. These are really just two ways of saying one thing. And we’ve got a guide to help you quickly and easily make your own digital camera obscura that will take you back to the very roots of photography. We’ll also take a look at editing a color portrait taken with this kind of camera. Like to experiment? Not scared of scissors and Scotch tape? Want to get some fascinating photos without spending big bucks on expensive gear? Read on.
A pinhole camera is a simple optical and photographic device. It’s basically a box with a hole on one side to let light in. The picture projected inside it can be captured using light-sensitive material (e.g. film) placed inside the box opposite the hole.
You may also know this principle under the name camera obscura. And you can even check out an experiment where we turned a whole room into a camera obscura.
In this article, we’ll show you how to create a digital camera obscura. All you’ll need for constructing it is a few ordinary items and a camera with an exchangeable lens. We’ll also show one approach to editing the photos you get from your pinhole camera.
Getting Started: Construct Your Pinhole Camera
Naturally you’ll never achieve the same kind of results with a pinhole camera that you would with a traditional lens. You’ll mainly see a difference in the pictures’ sharpness. But as we’ll show you at the end of this article, blurriness can in fact be a nice bit of spice and can help you get some interesting photos.
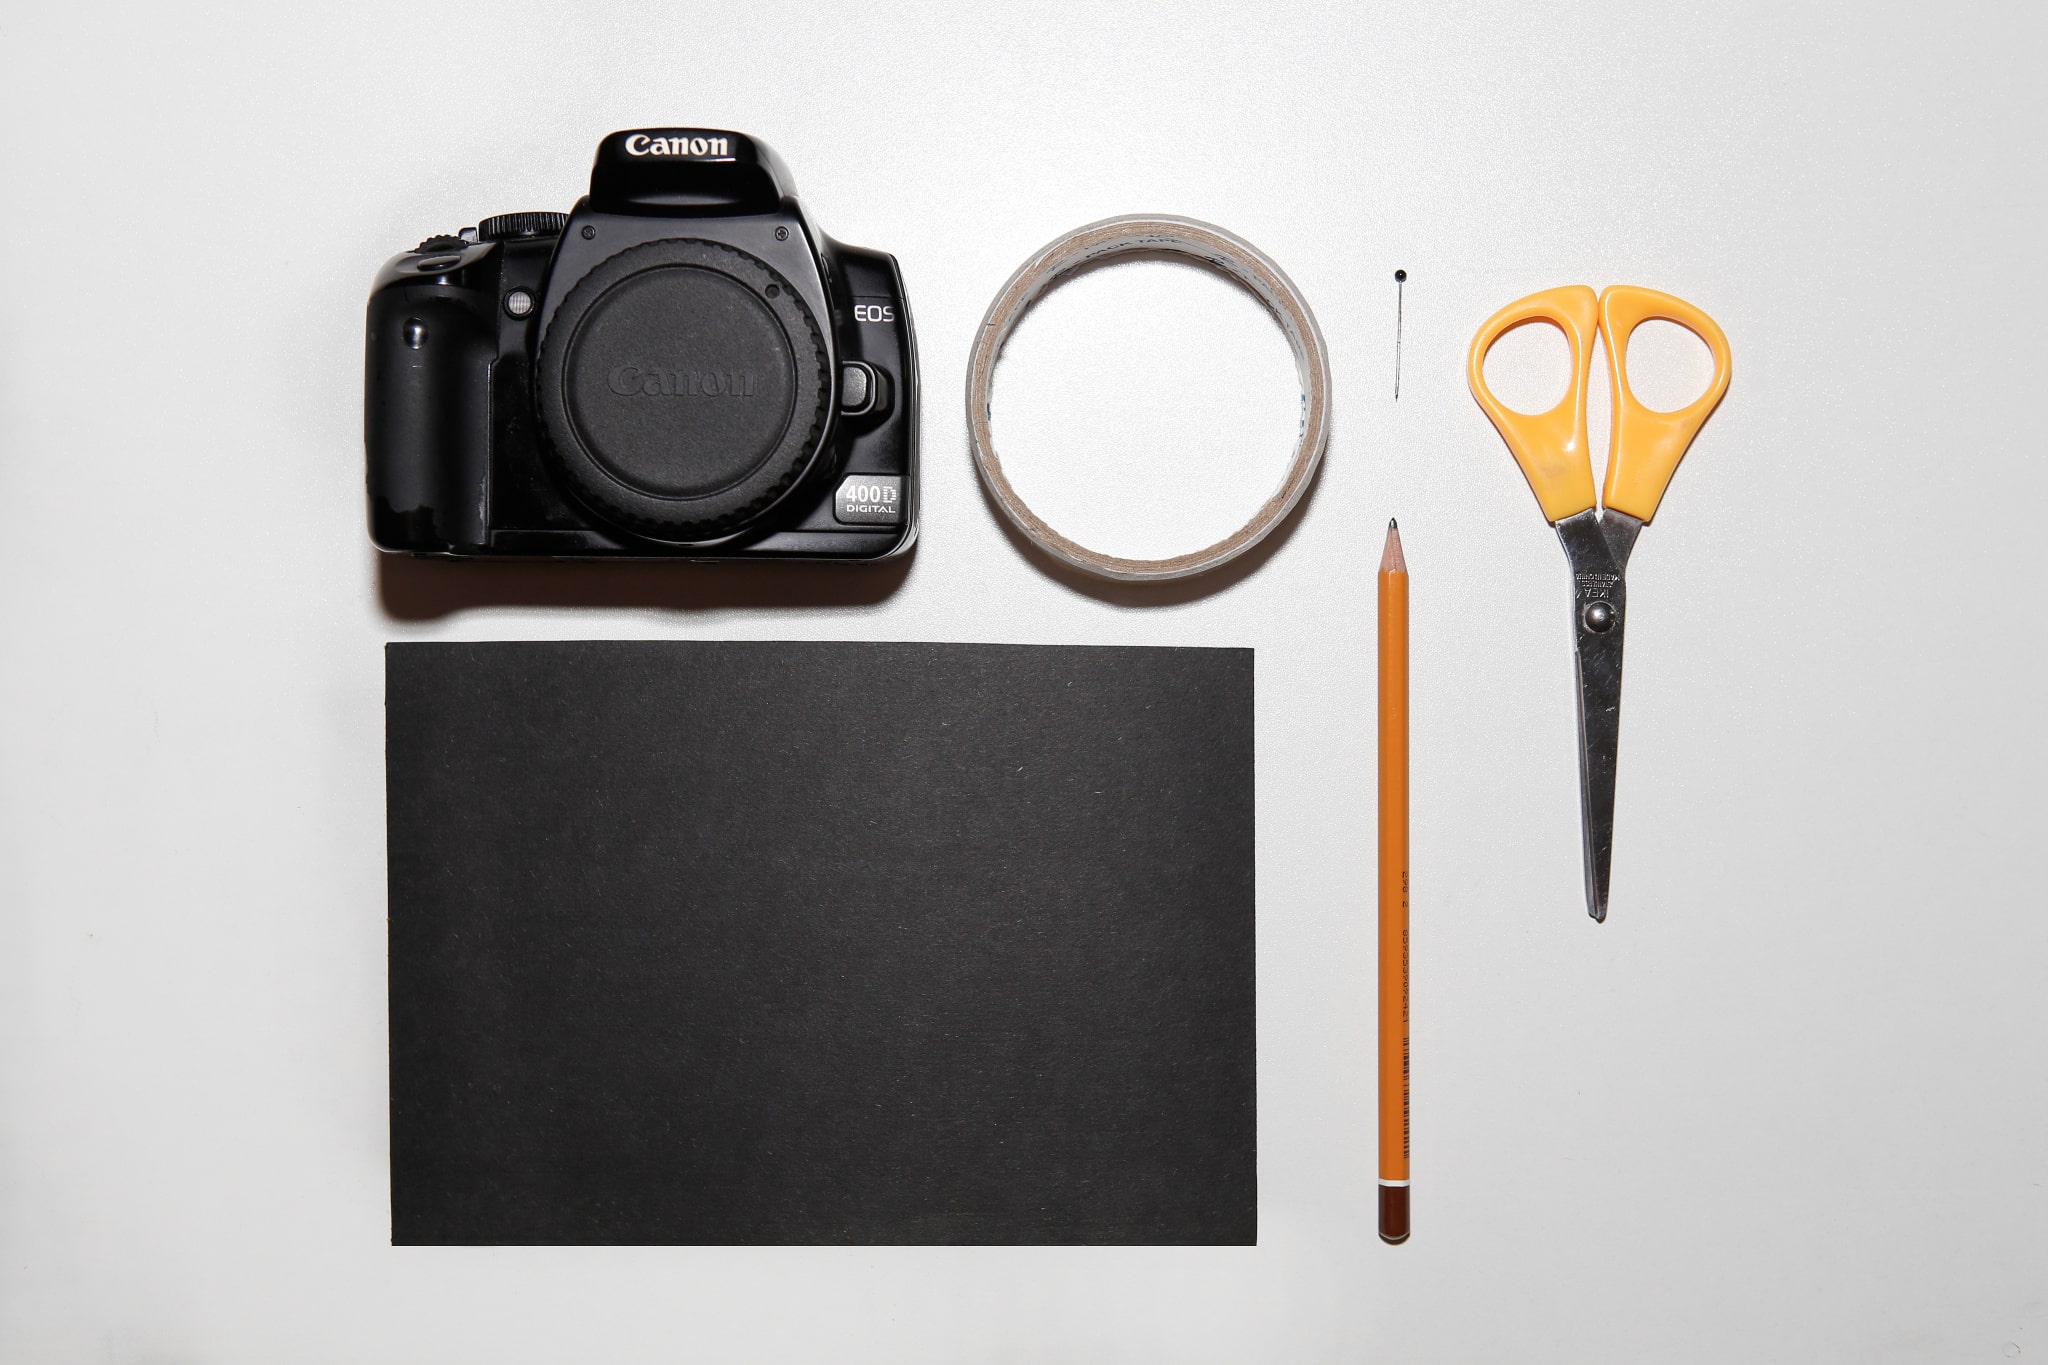
What will you need when making your pinhole camera?
- a piece of black paper
- scissors
- Scotch tape
- a pin
- an exchangeable-lens camera
- the camera’s lens cap
- a pencil
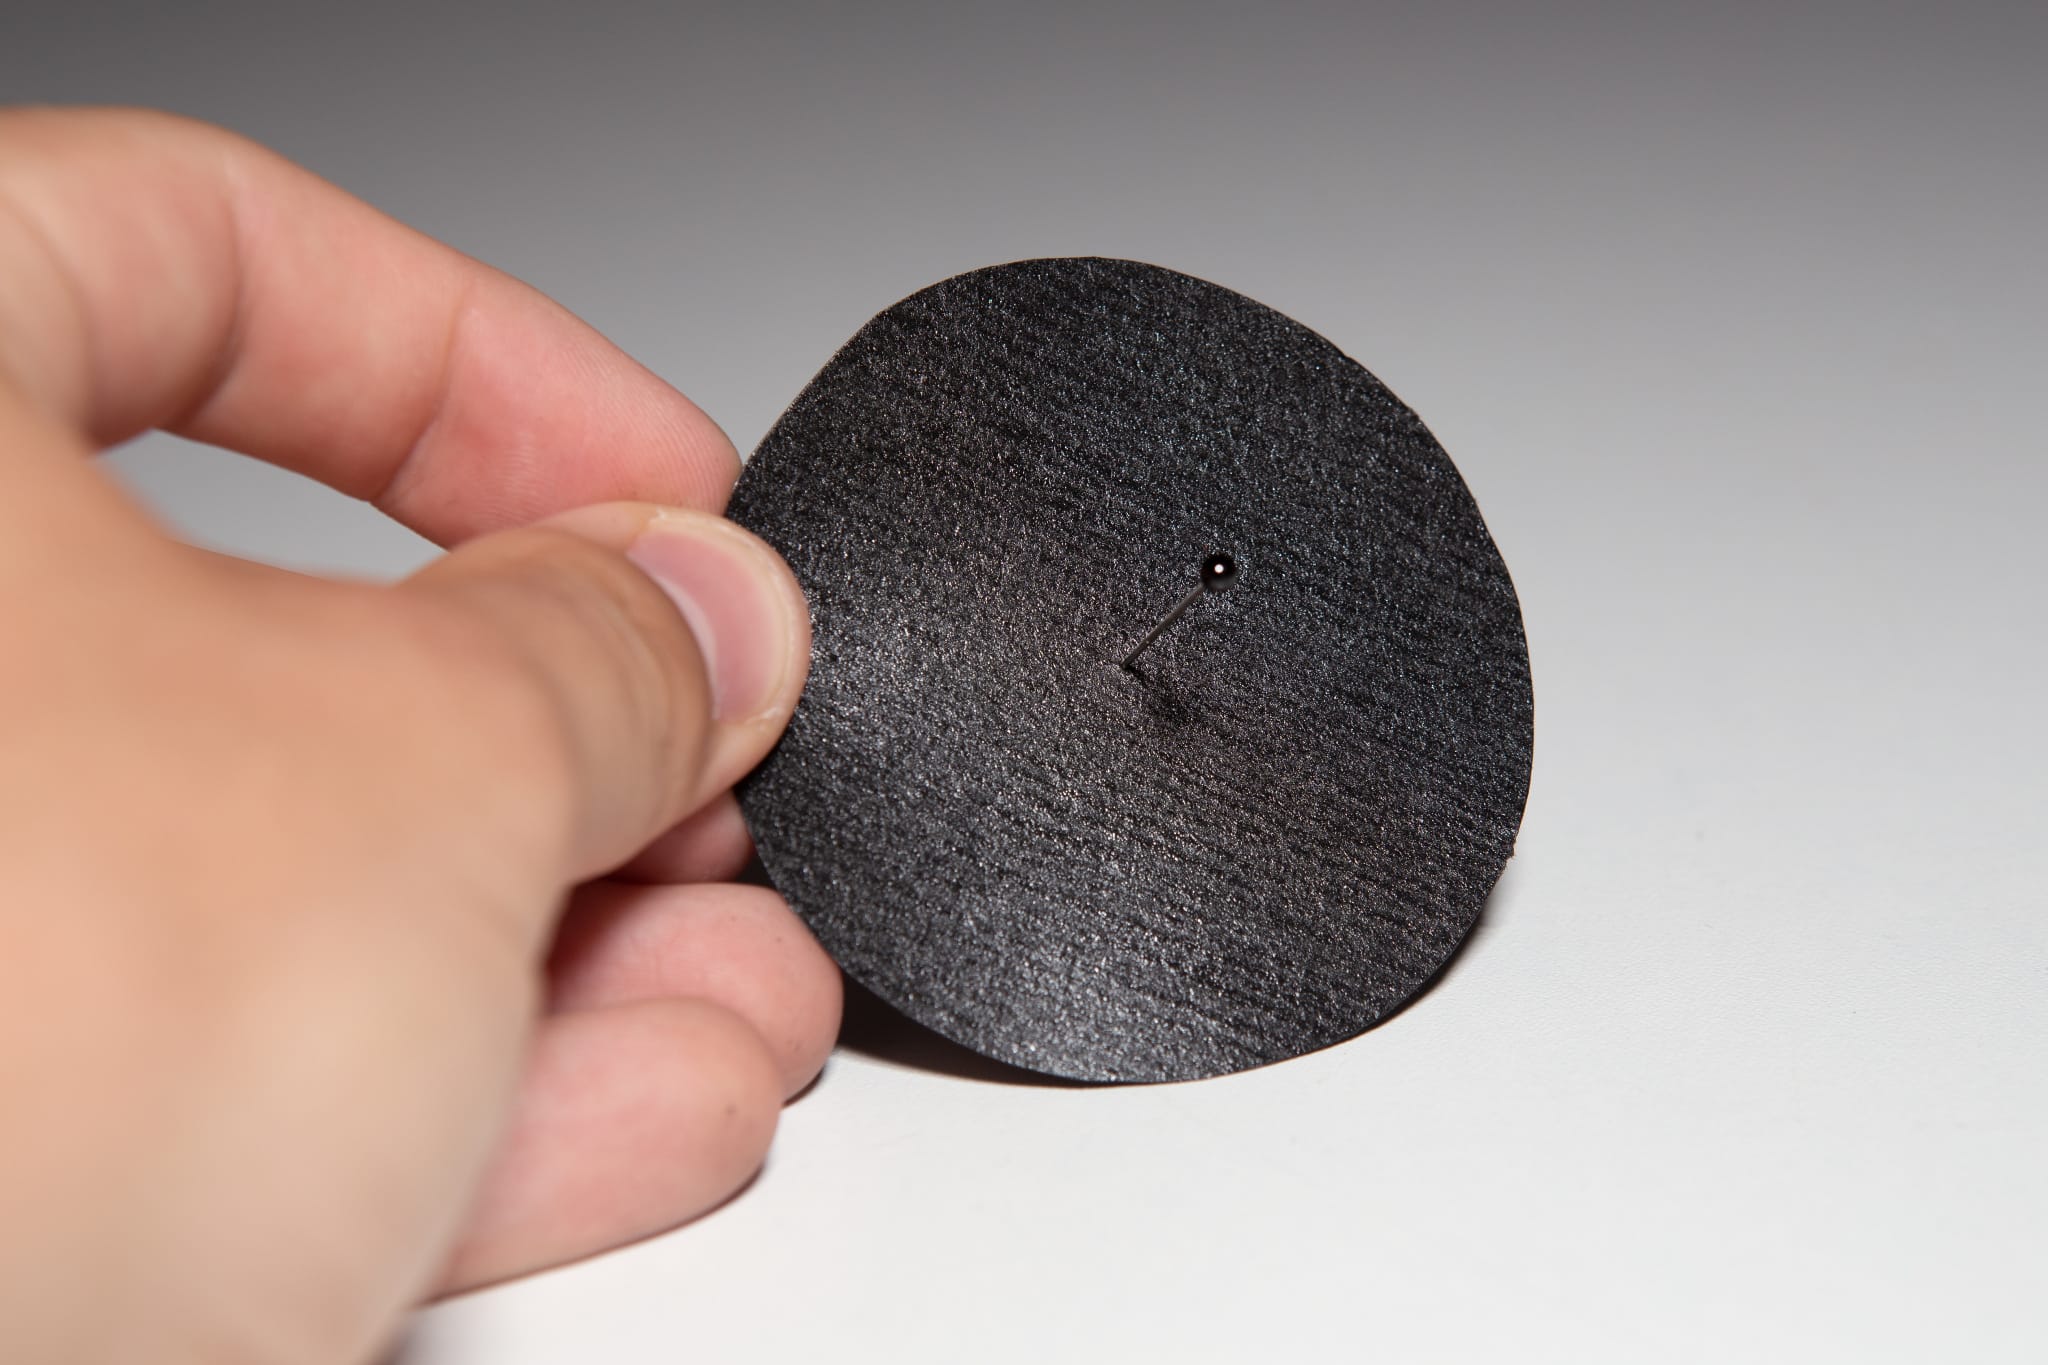
Start by placing the lens cap on the paper and tracing around it. Then cut out a circle. Use the pin to make a small hole in the circle’s center (the smaller the hole, the sharper your pictures will be). Cut out the circle and put strips of Scotch tape around it, then tape it to the camera body.
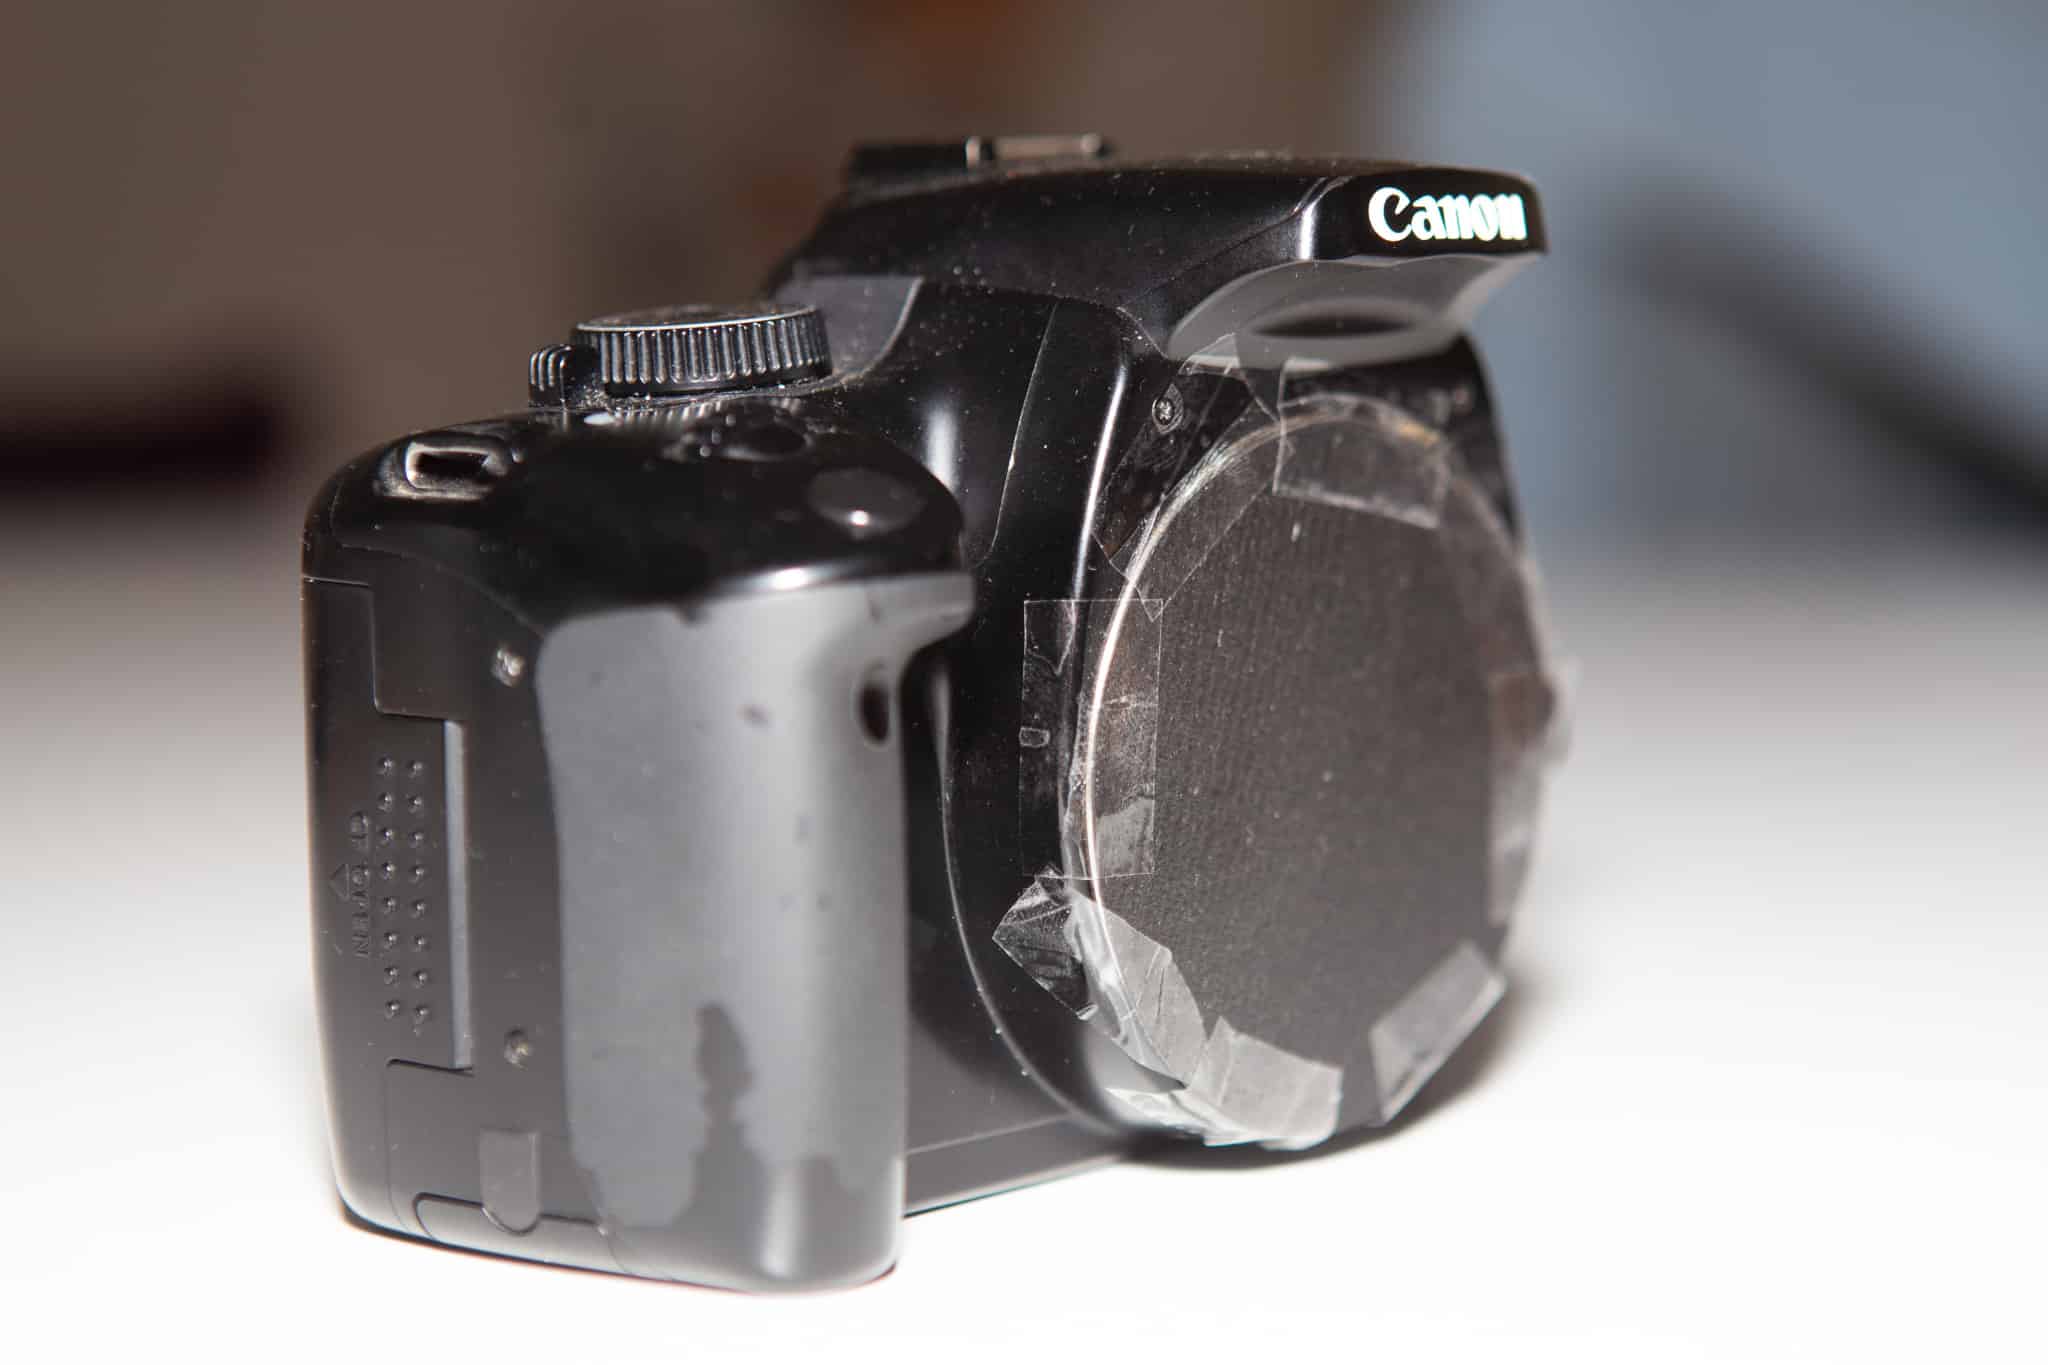
What Should You Watch Out For? Above all dust and the like, which can get into the camera body while you have it open. Now you’re done making your pinhole camera and can get started taking pictures!
Wanted: Enough Light or Enough Time
Keep in mind that the pinhole truly is small, and it won’t let as much light onto the sensor as your lens would. So it’s important to shoot in places with enough light. Or use a tripod and longer exposures.
Taking pictures with this homemade “lens” offers several advantages: it’s discreet due to its small size, every pinhole gives different visual character to pictures, and it’s simple to work with.
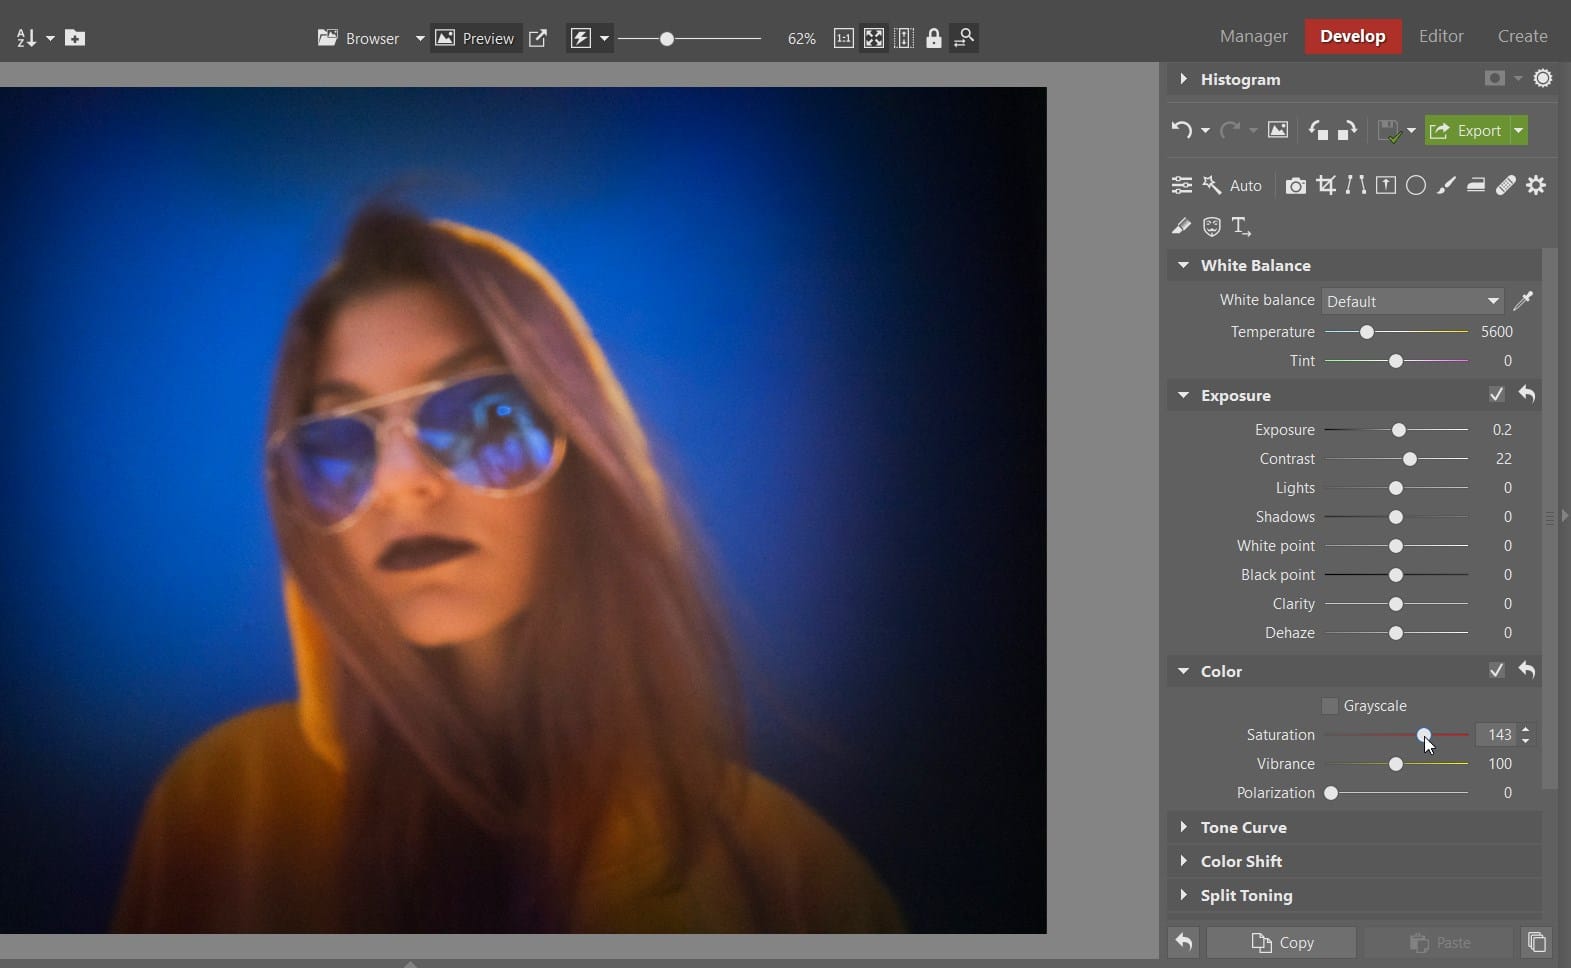
I used my pinhole camera to shoot a color portrait. Because I wanted to highlight its colors even further, I went on to edit it on my PC.

A Few Final Edits
I used Zoner Studio for all my final edits. My goal was a high-contrast portrait with striking colors, and so I opened the photo in the Develop module and made the following changes in the Exposure and Colors sections:
- I slightly raised the Exposure,
- I also increased the Contrast,
- and I wrapped up by raising Saturation.
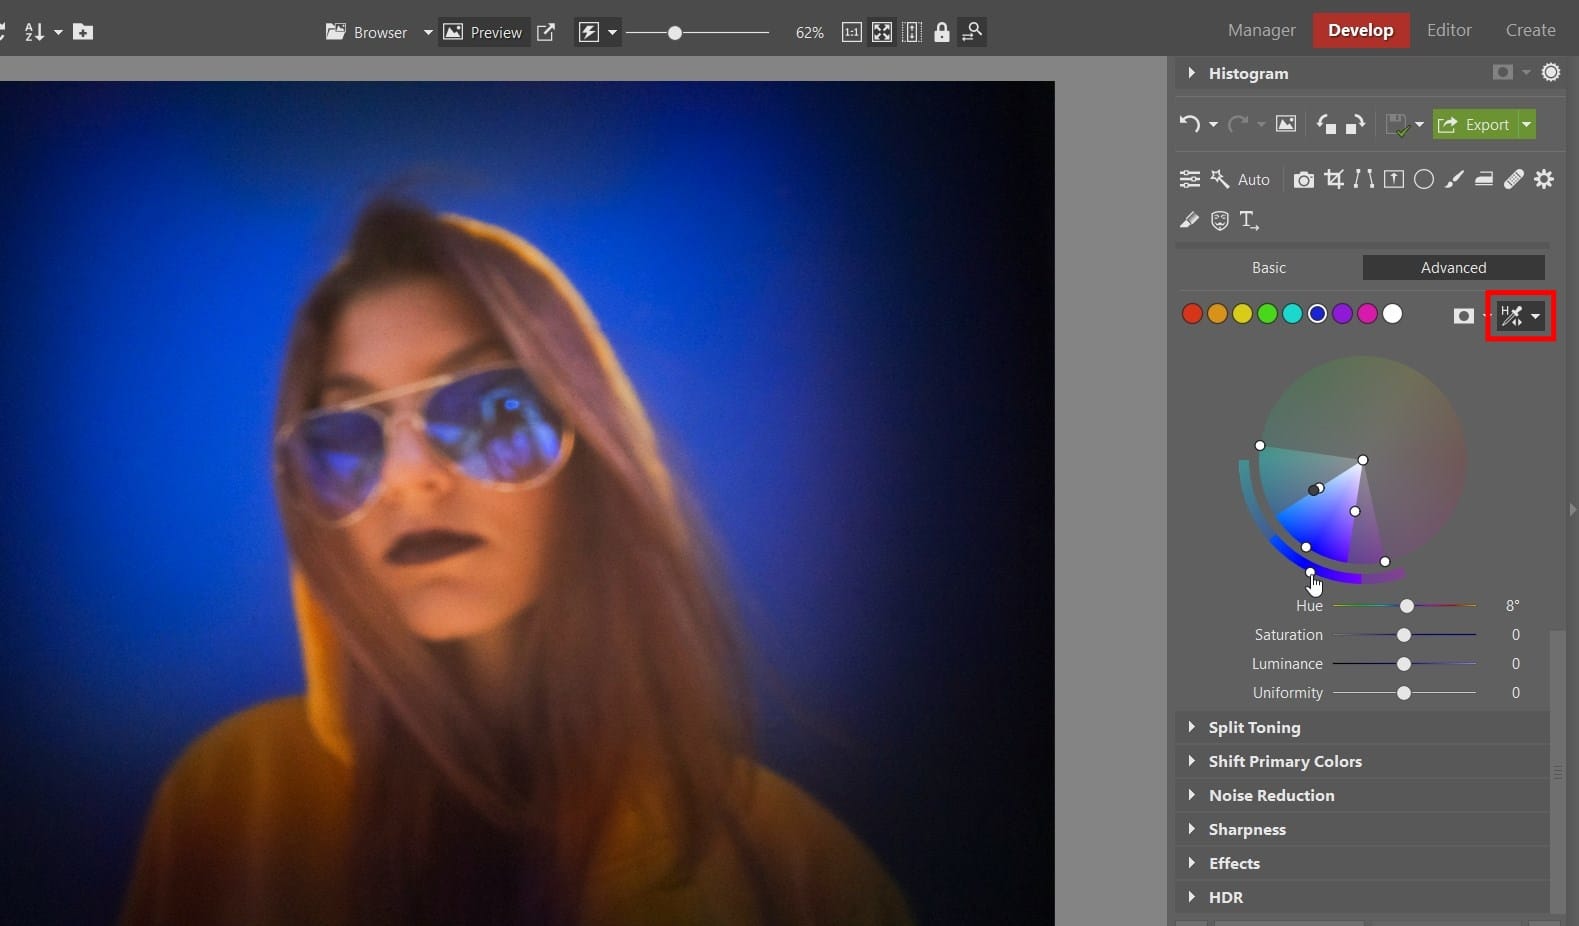
Because I wanted to get a slightly different shade of blue in the background and in the reflection of the sunglasses, I also used the Color Shift controls. Using the eyedropper (after switching it into Hue mode), I selected the blue and slightly shifted it on the color wheel to a shade that I liked more.
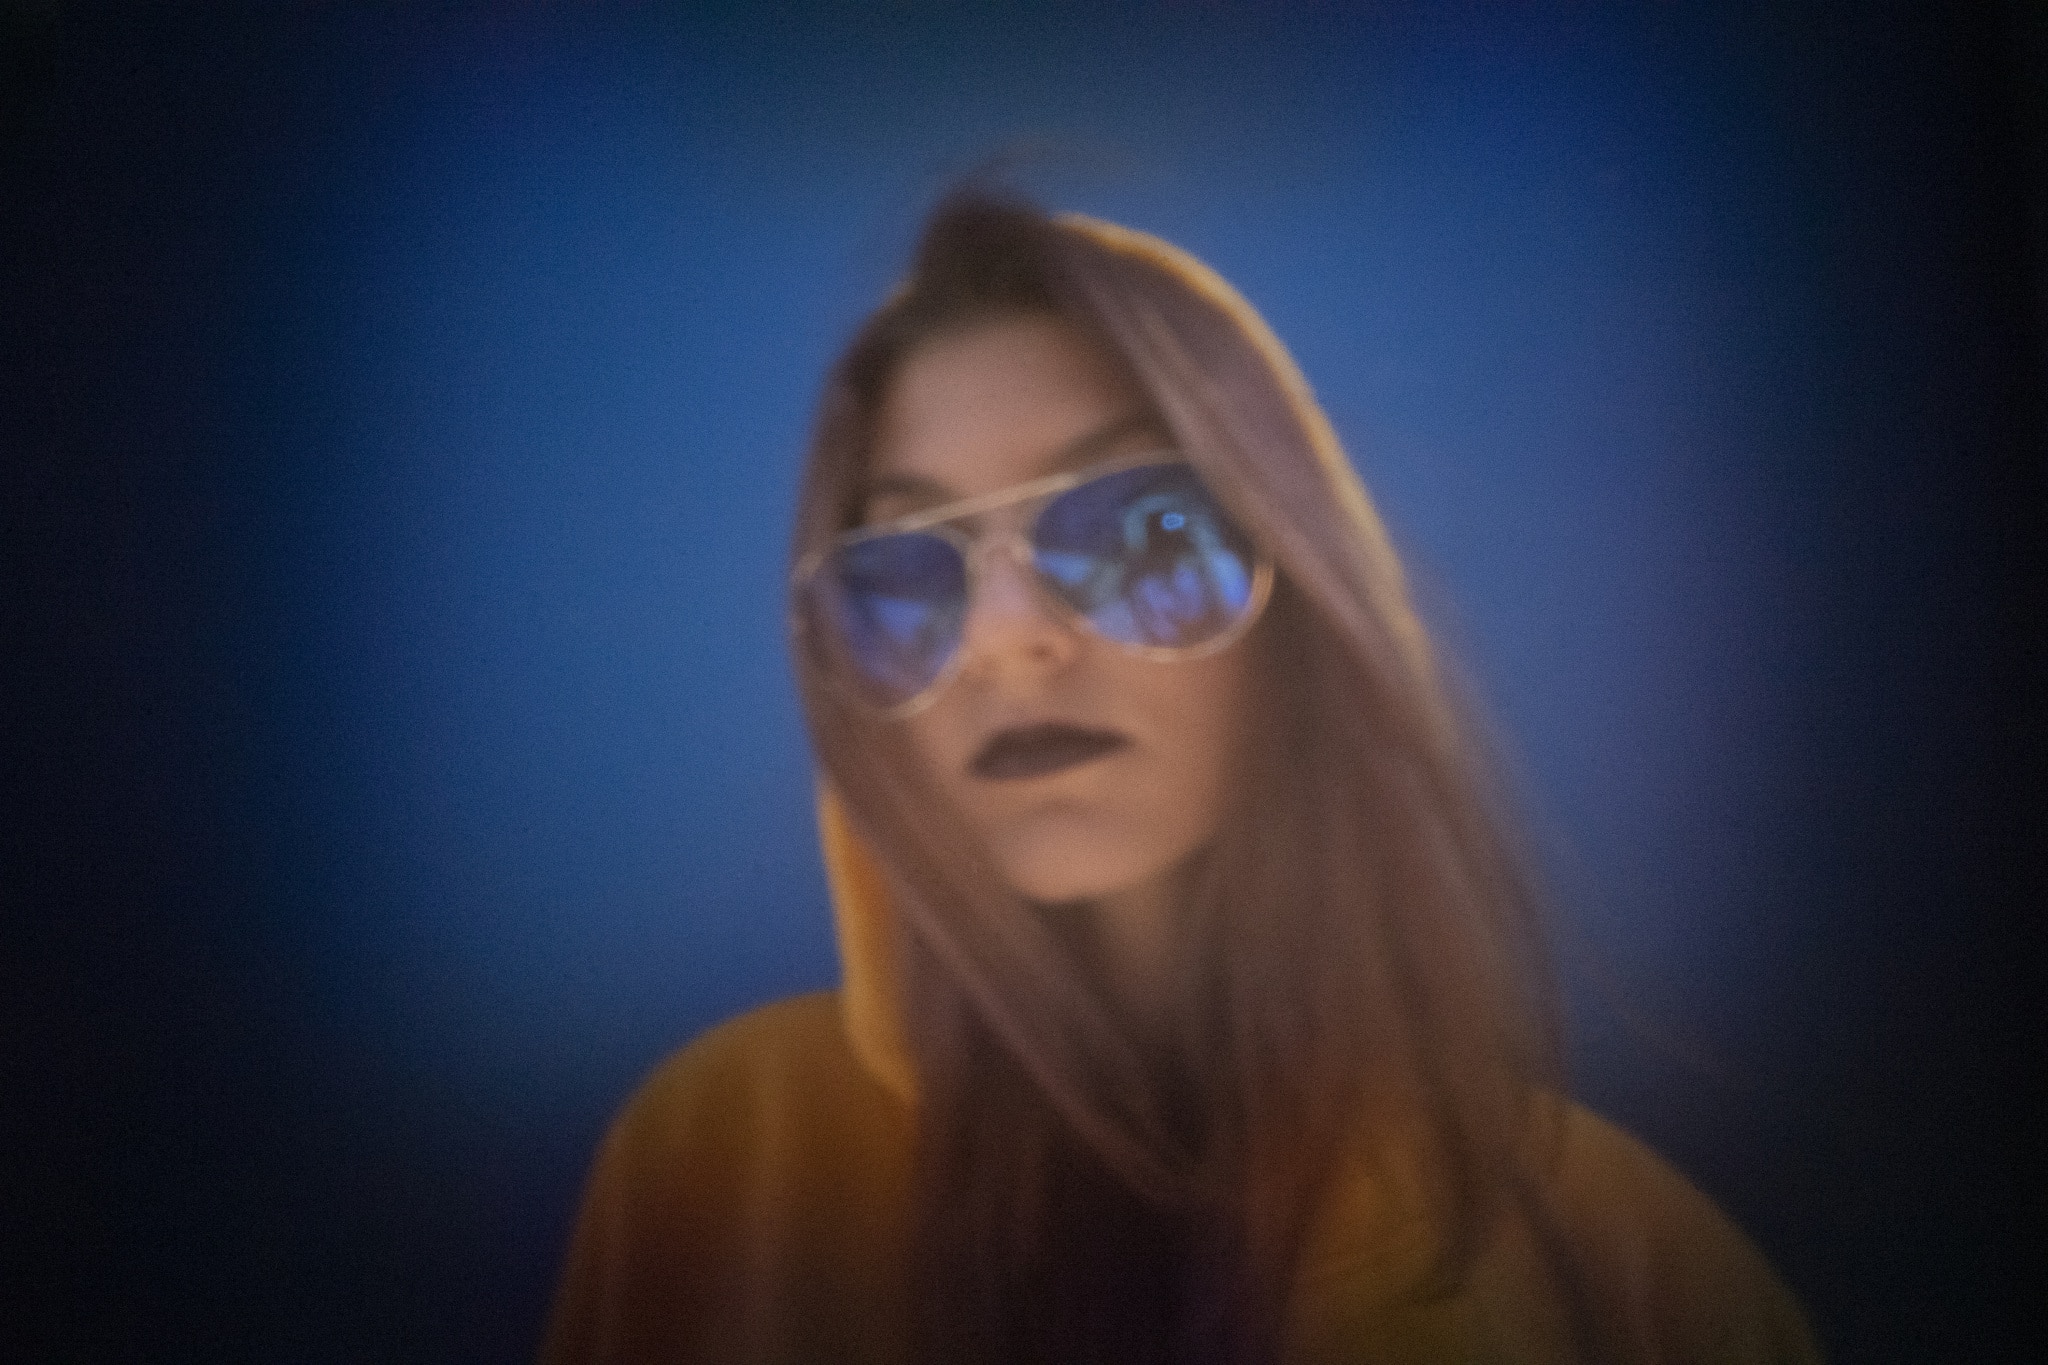
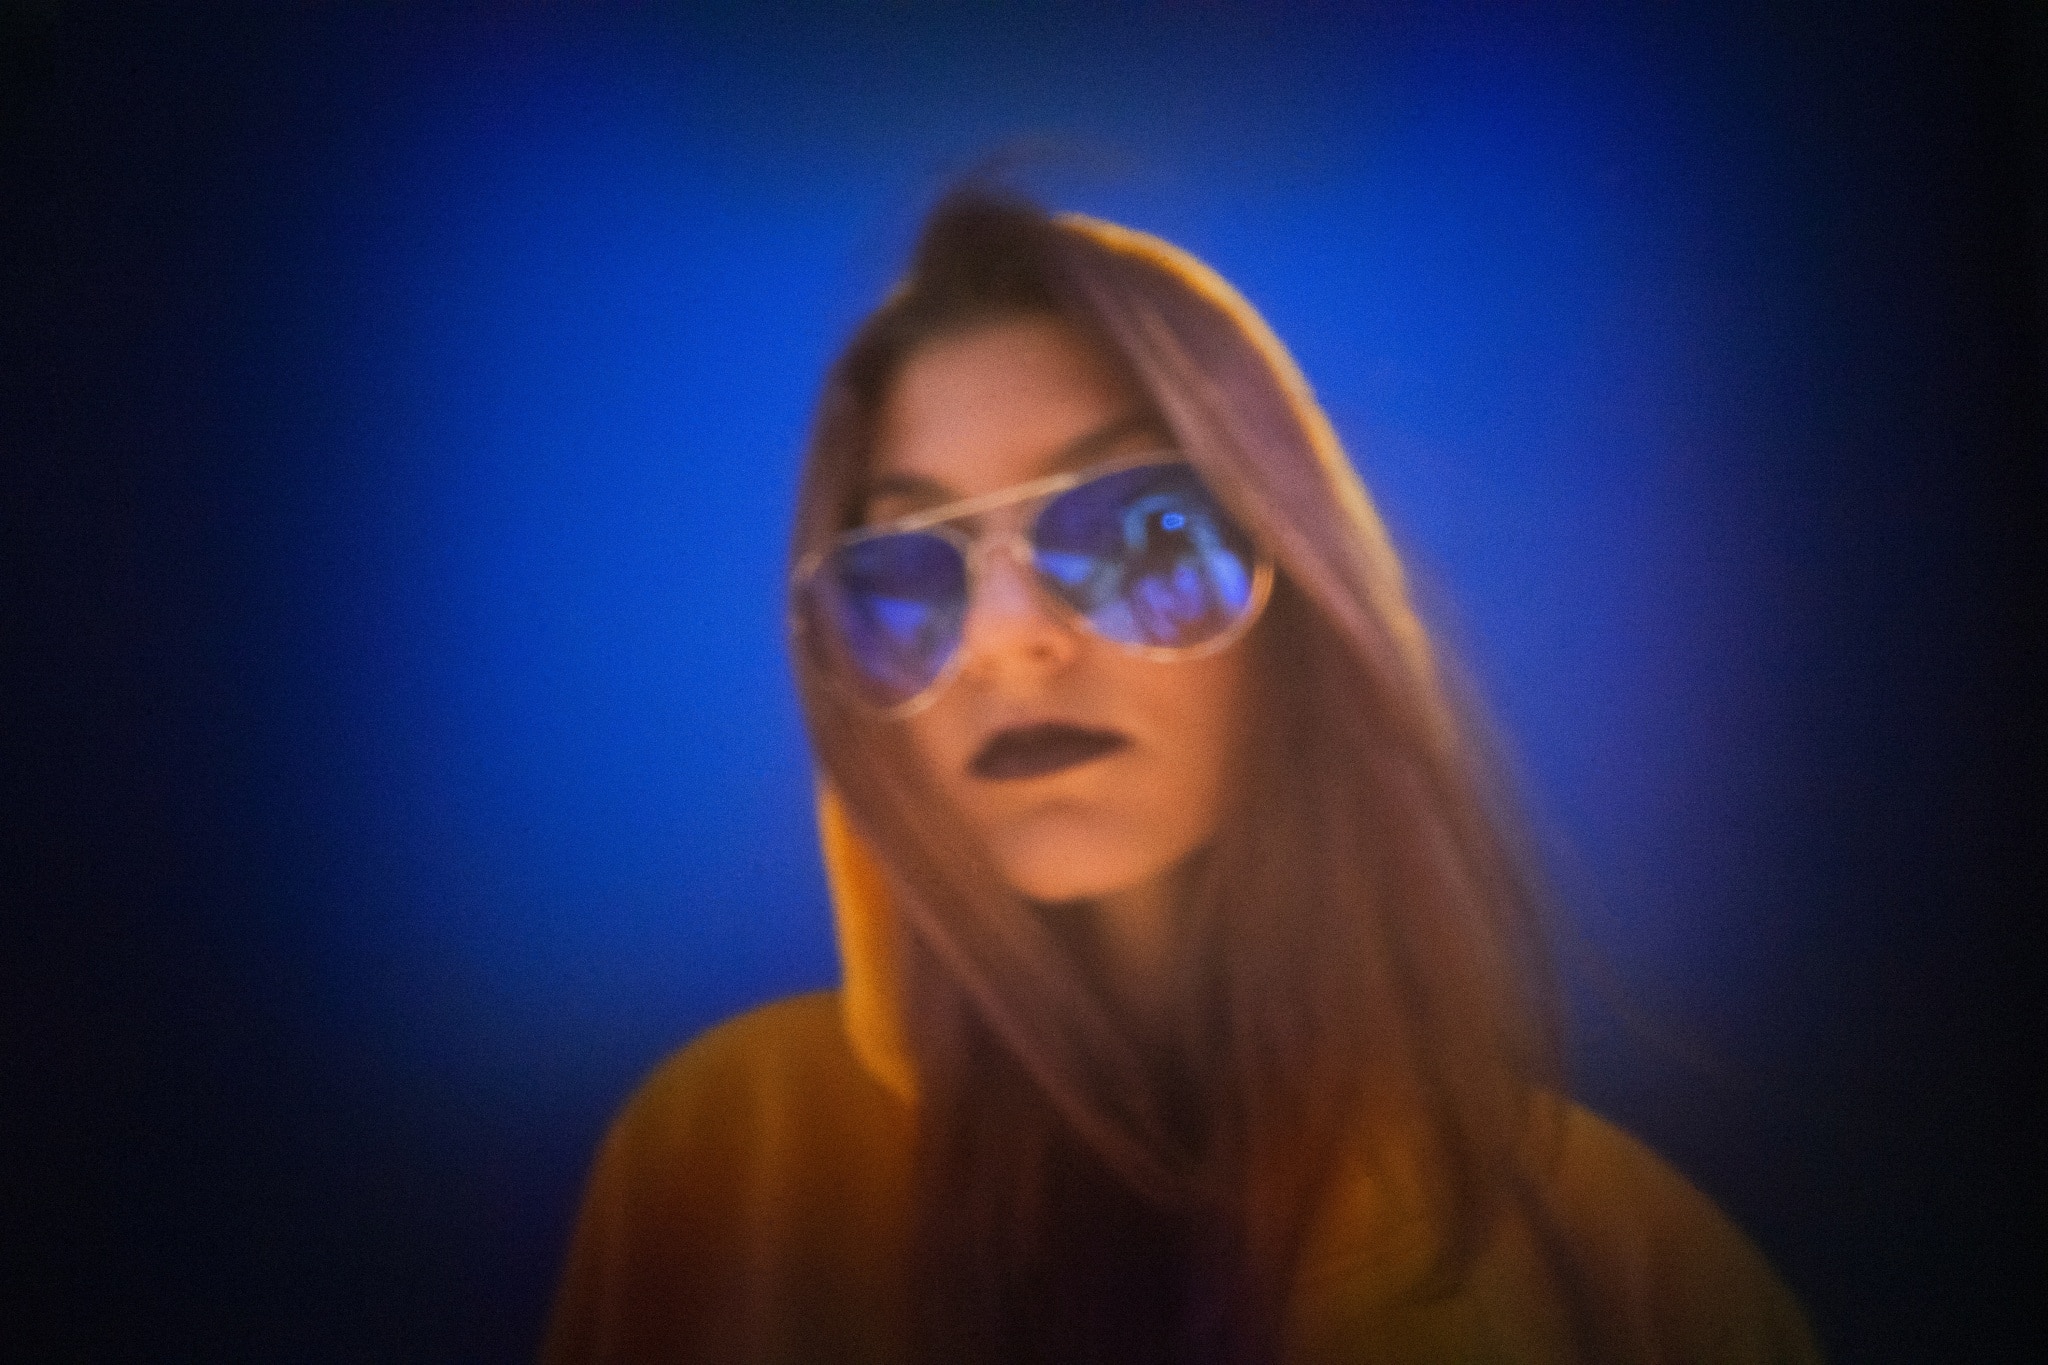
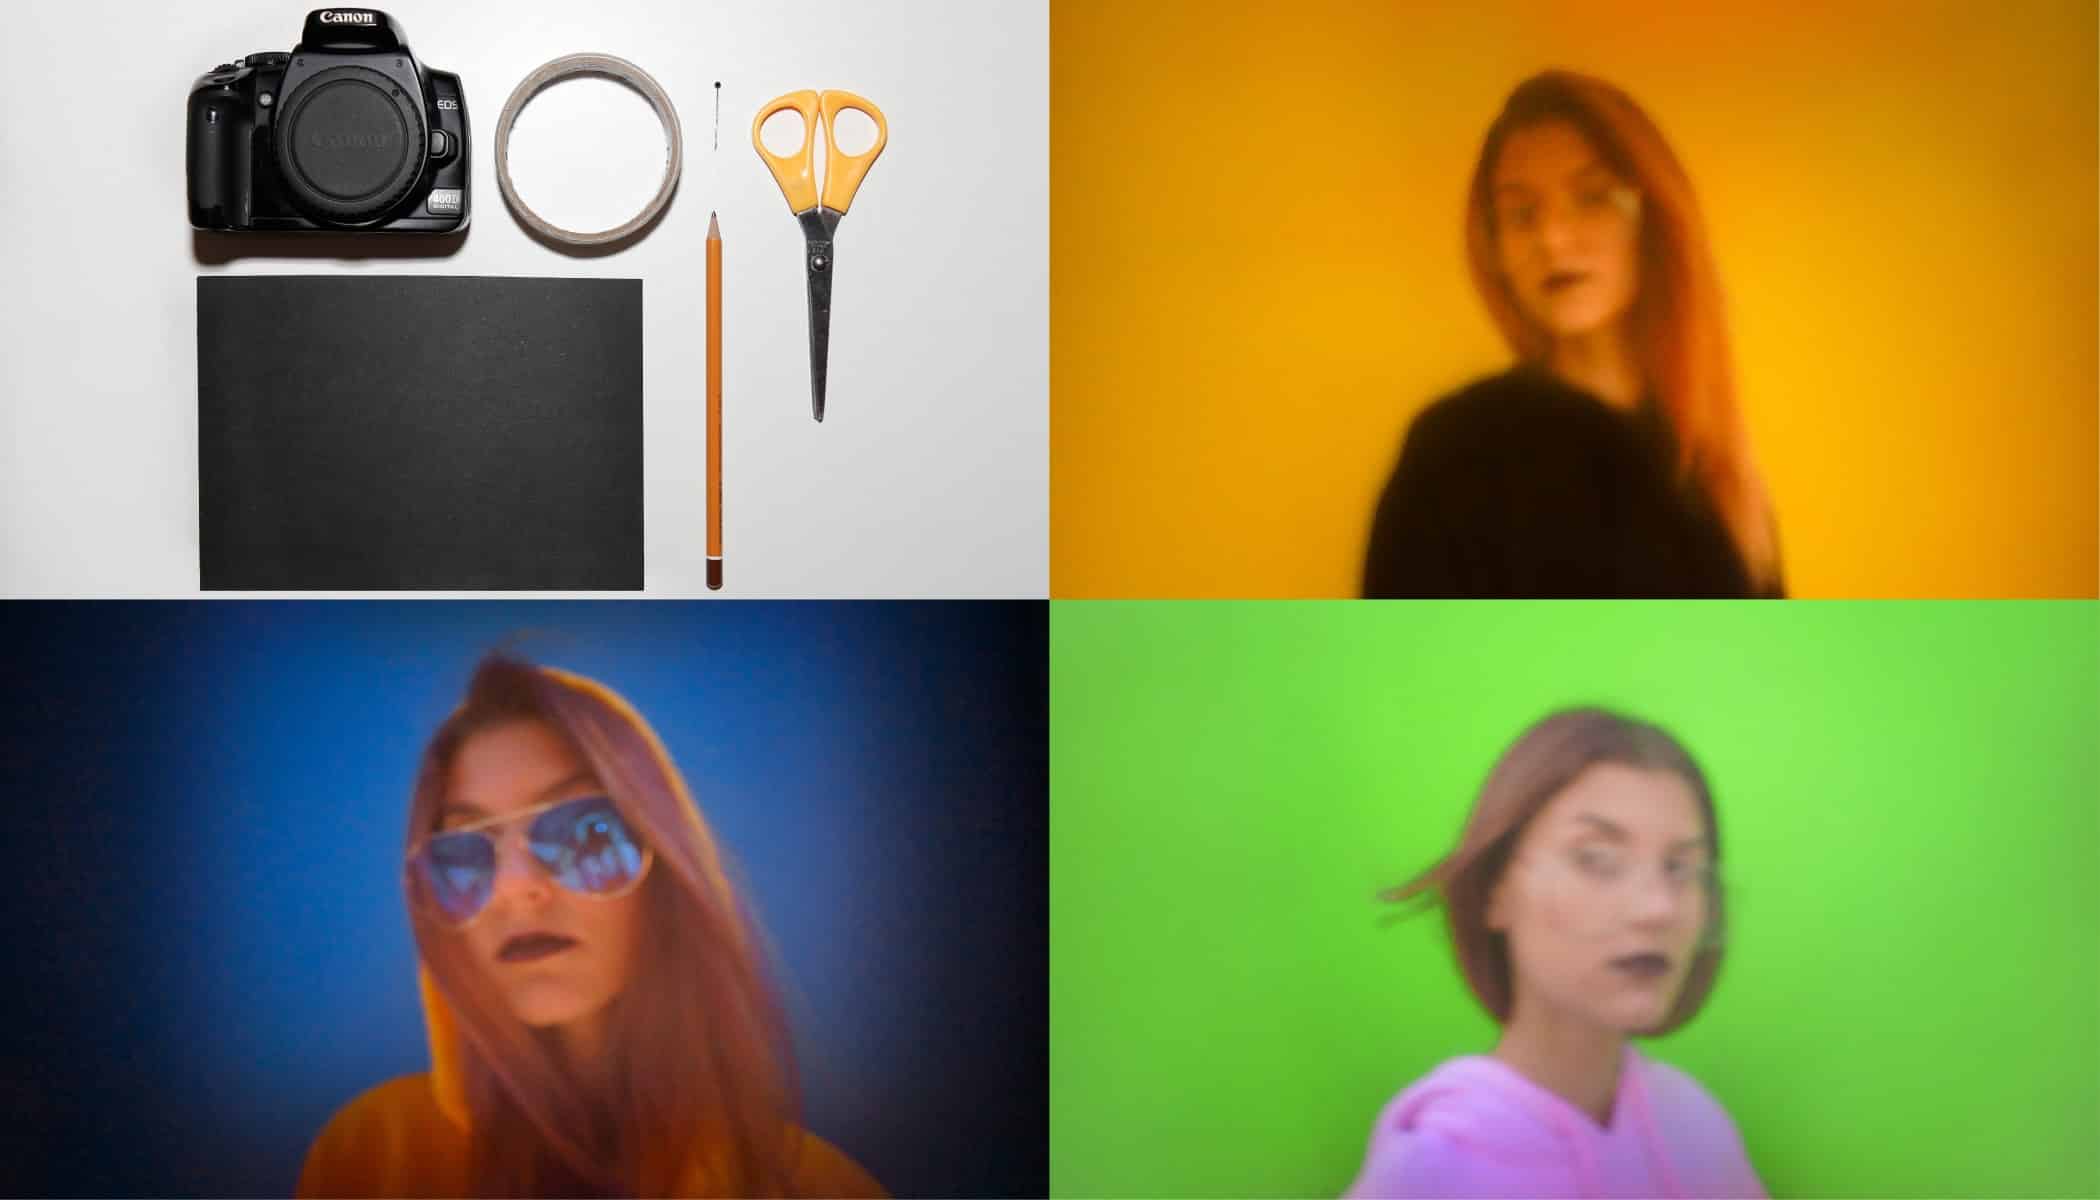
Like what you see? Check out these similarly styled portraits that I also took with my pinhole camera:
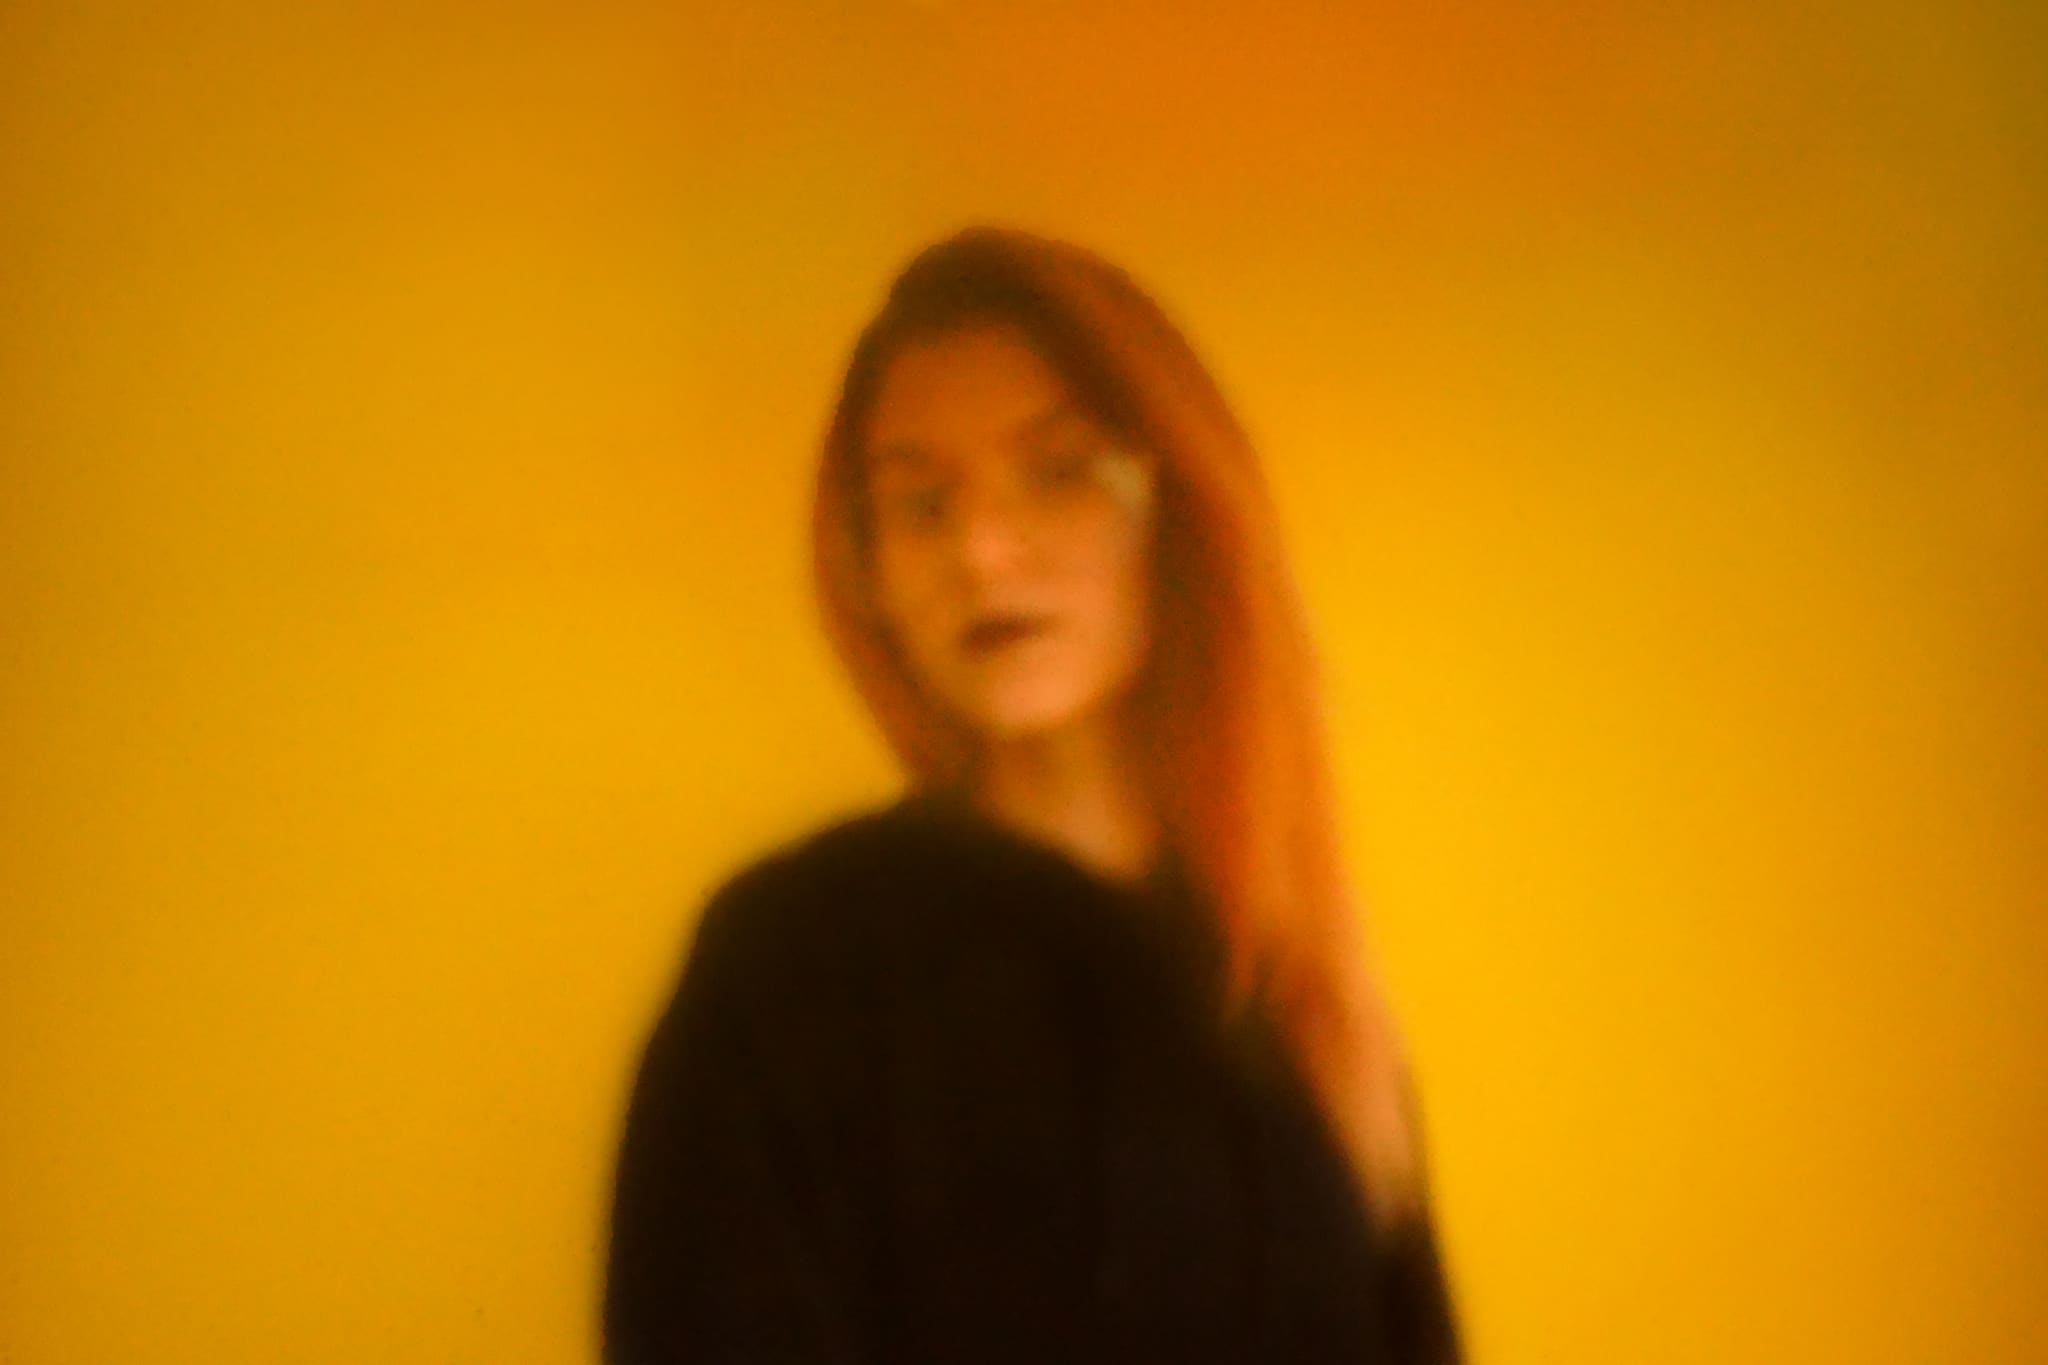
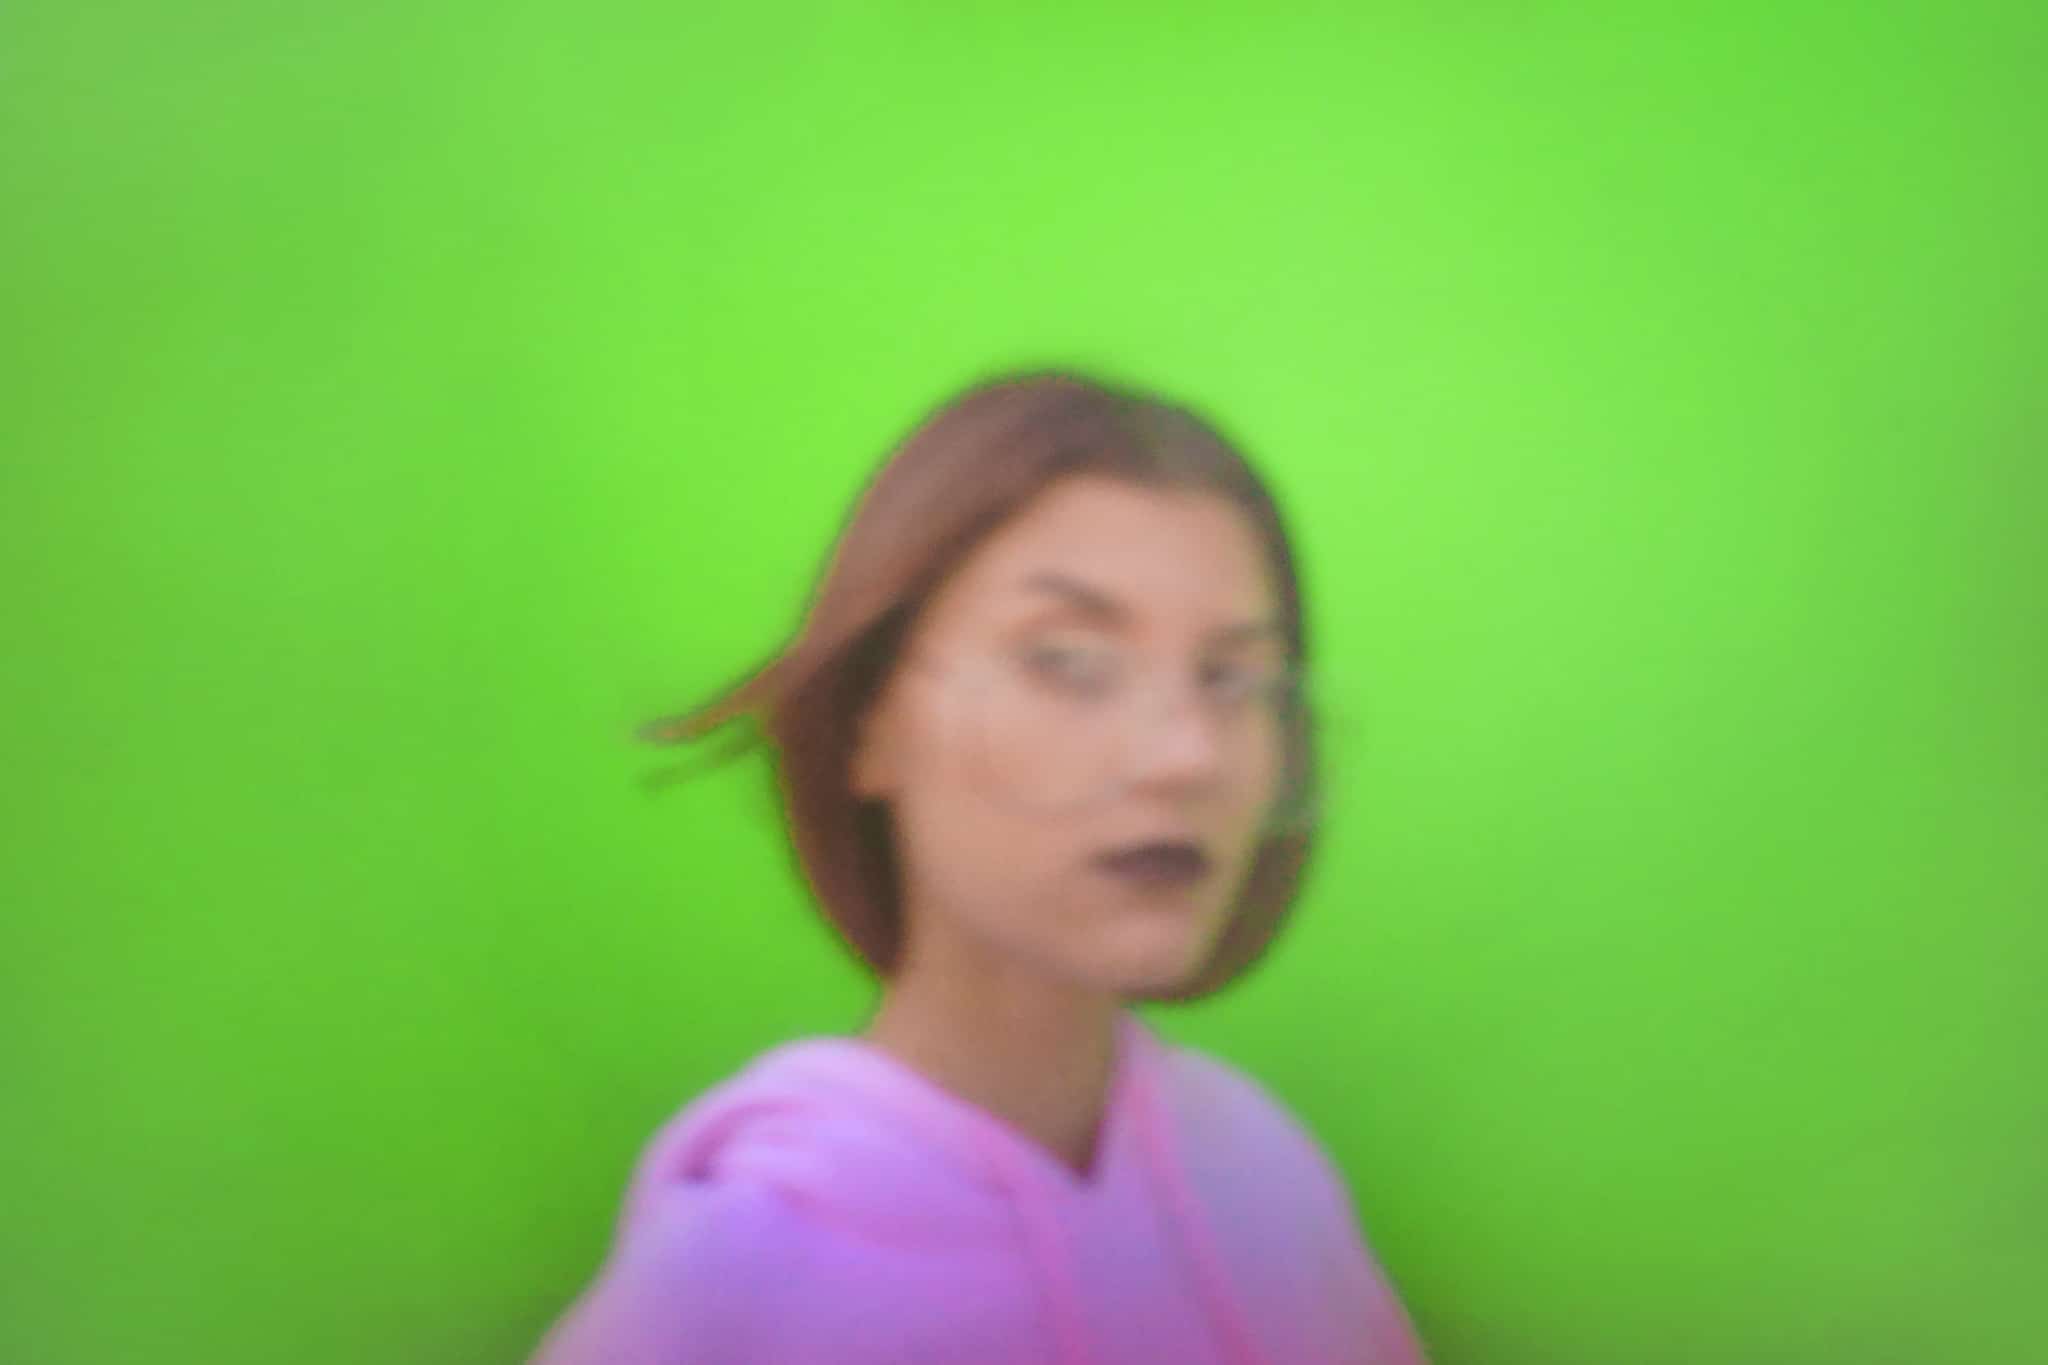
Naturally you can take your own pinhole camera experiments in a completely different direction; the sky’s the limit. Check out everything a pinhole camera can do, and show off your results for us in the comments or on Zonerama!
And if your pinhole photos need any extra edits, then download Zoner Studio, try it free for 7 days, and tweak them to perfection.
Check these out too:
Photo Hacks: Create Impressive Backgrounds or Your Own Photo Tent

There are no comments yet.