Cropping tools are among the simplest and most widely-used photo editing tools. You can use them to improve composition, adjust the ratios of sides for printing, or get rid of unwanted objects around the edges of a picture.
The article is over 5 years old. The information in it may be outdated.

We are working on its update. In the meantime, you can read some more recent articles.
I want to continue reading the article.
Cropping tools are among the simplest and most widely-used photo editing tools. You can use them to improve composition, adjust the ratios of sides for printing, or get rid of unwanted objects around the edges of a picture.
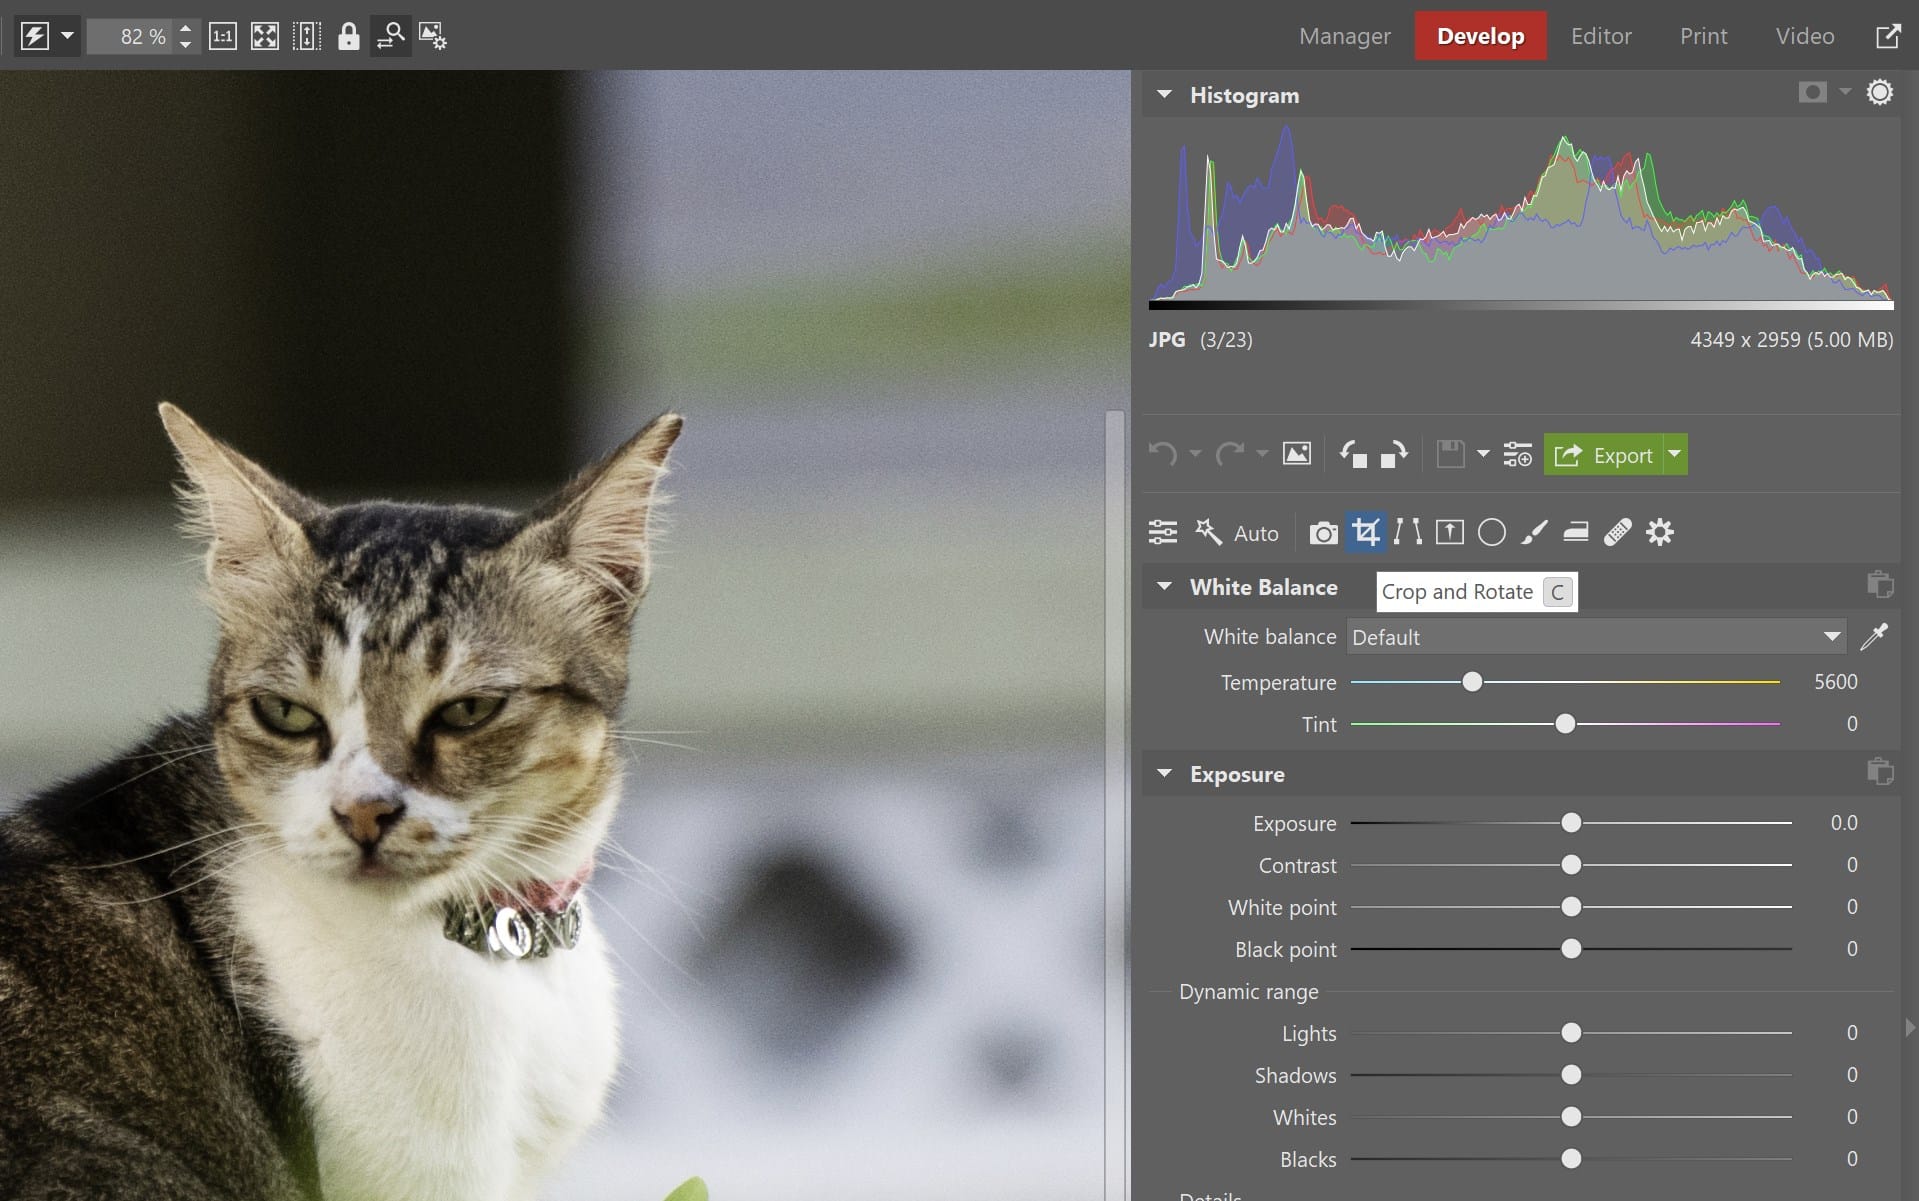
1) Activate the Crop and Rotate toolkit in the Develop module.
Open the photo you’ve selected in the Develop module (to switch to this module, click the Develop button towards the top right). Then select the Crop and Rotate tools by clicking their button in the toolkit bar, about halfway down the right column. You can also save time by just pressing C.

2) Do the crop
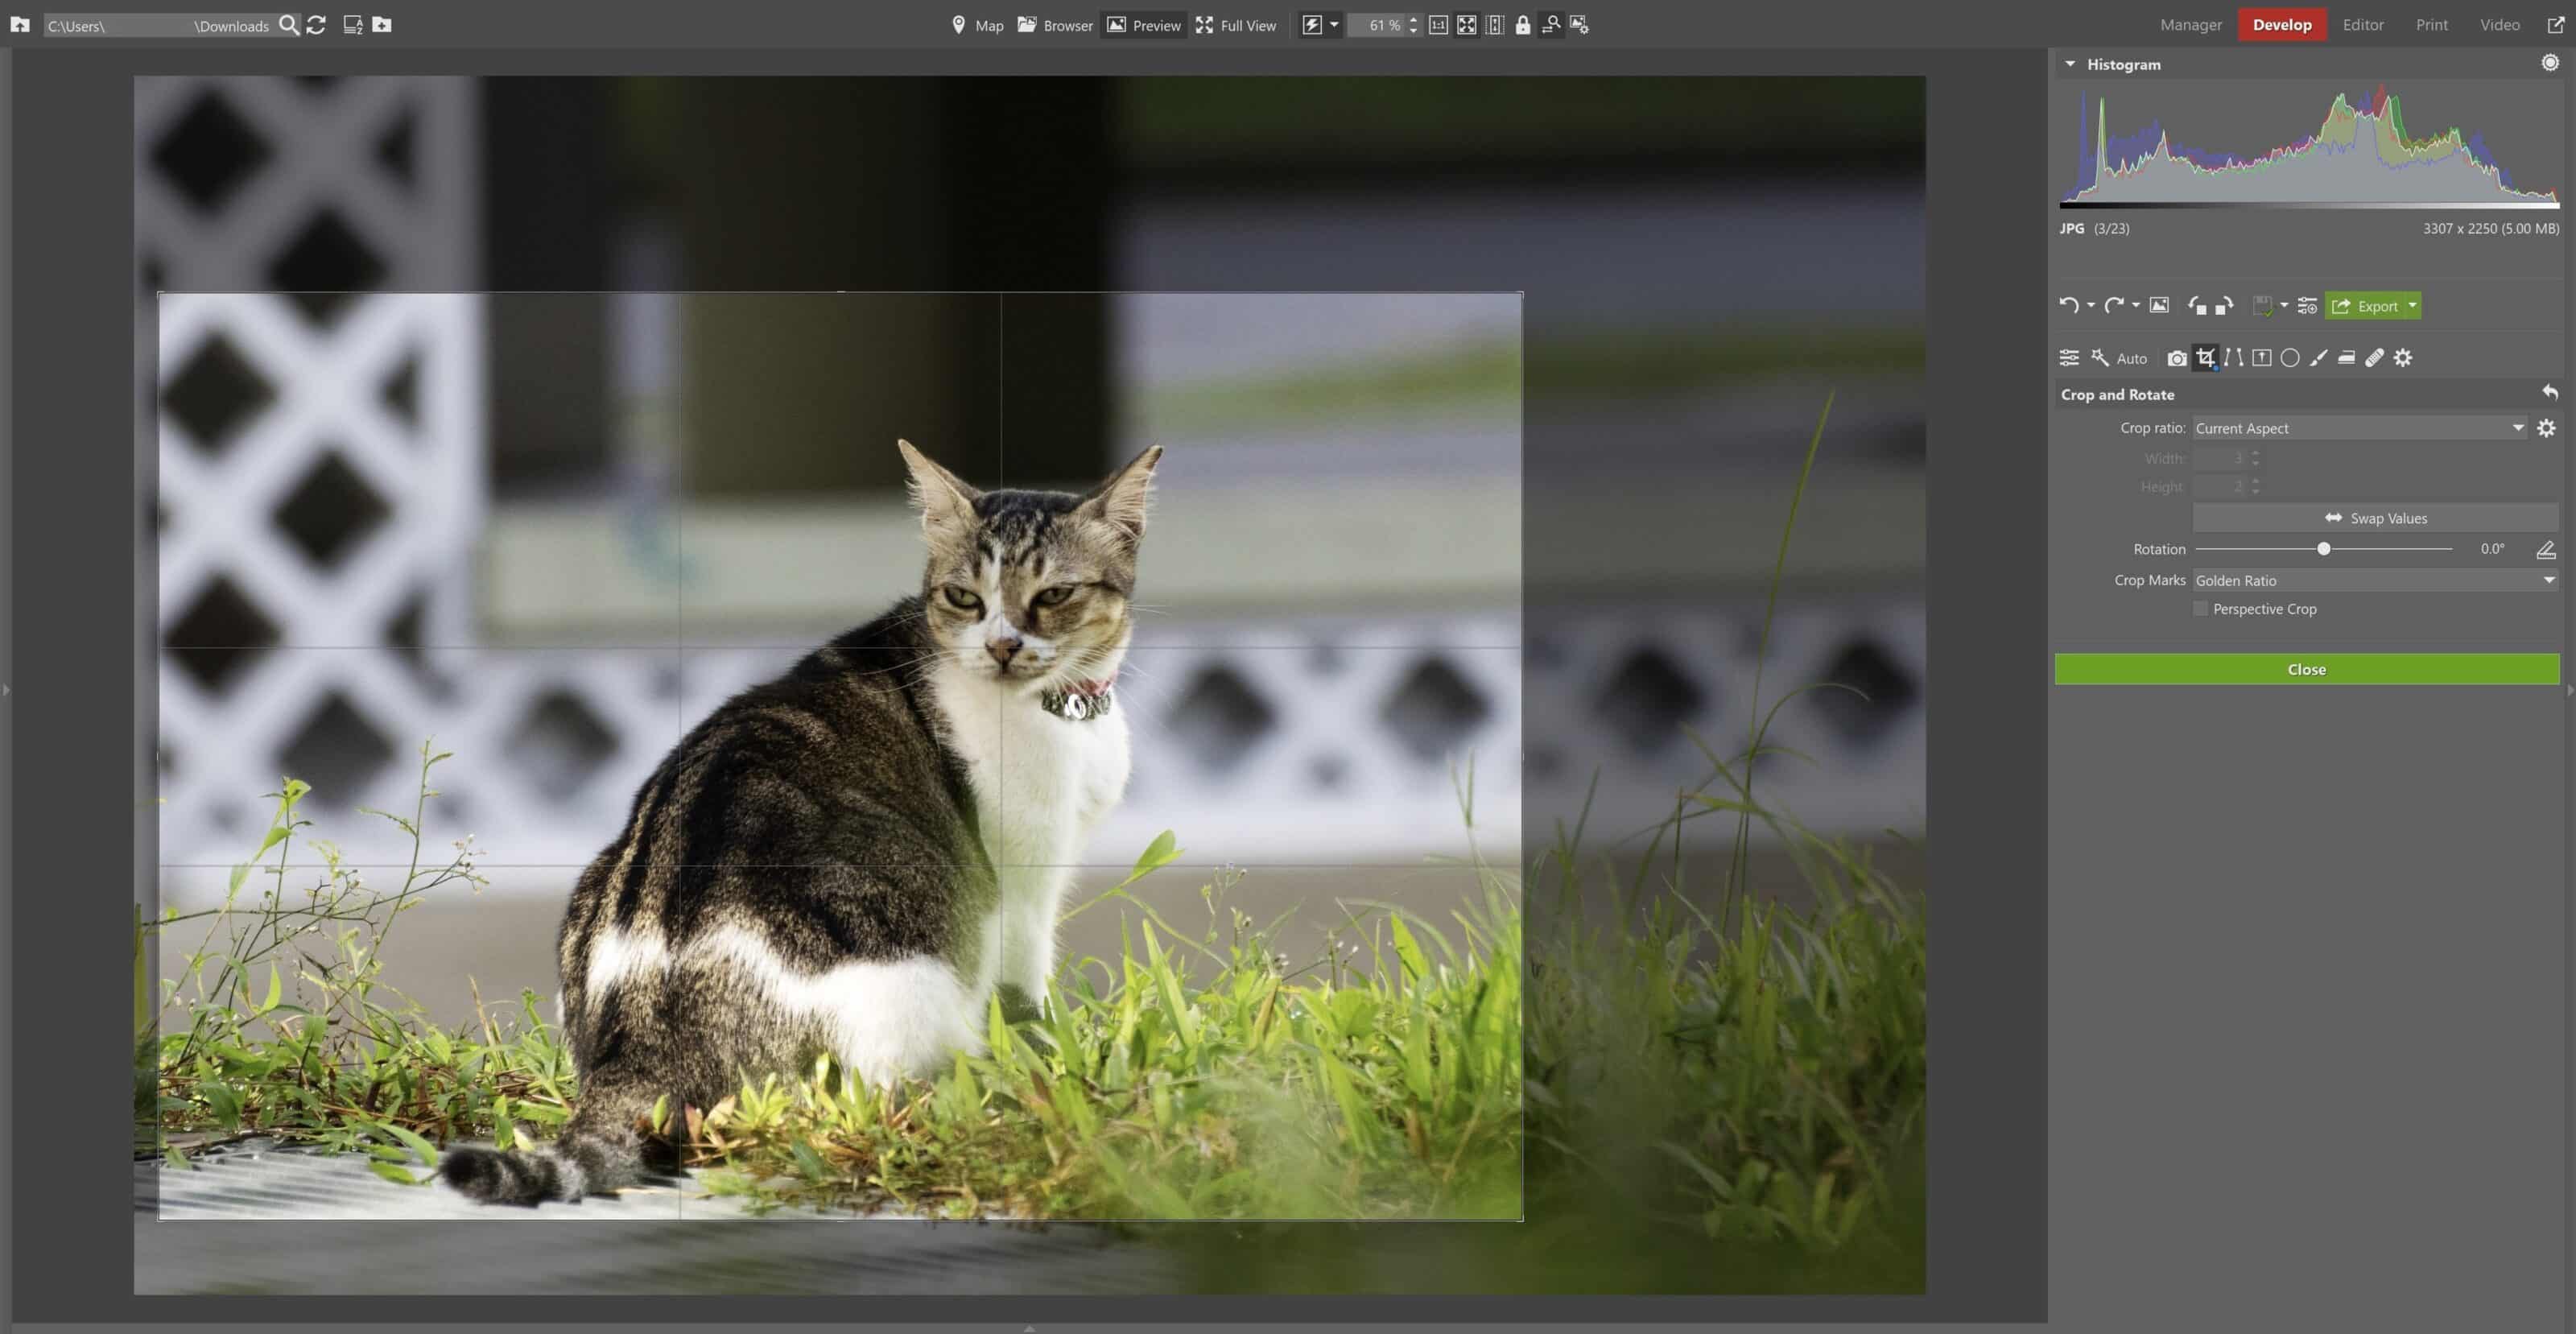
A cropping frame will appear around the picture. Adjust this frame with the mouse. Use the Crop Ratio option to force this cropping frame to maintain a certain ratio of sides. For example, for a square crop, set a 1:1 ratio of sides. For a free ratio of sides, pick “Free Ratio.”

3) Finish the crop
Once you’re satisfied with the crop, click Close to apply your crop to the picture. Don’t forget that changes in the module are non-destructive and thus are not written to photos directly. To present your final picture outside of Zoner Studio, you must export it, by clicking the Export button.
Cropping pictures is a quick way to turn an average photo into a great one. Get the maximum from your photos—download Zoner Studio right away and try it for free!

![]()


There are no comments yet.