Stretch Your Photos to a Wide-angle Format. You Can Do It in the Editor With No Cropping or Losses
The article is over 5 years old. The information in it may be outdated.
![]()
We are working on its update. In the meantime, you can read some more recent articles.
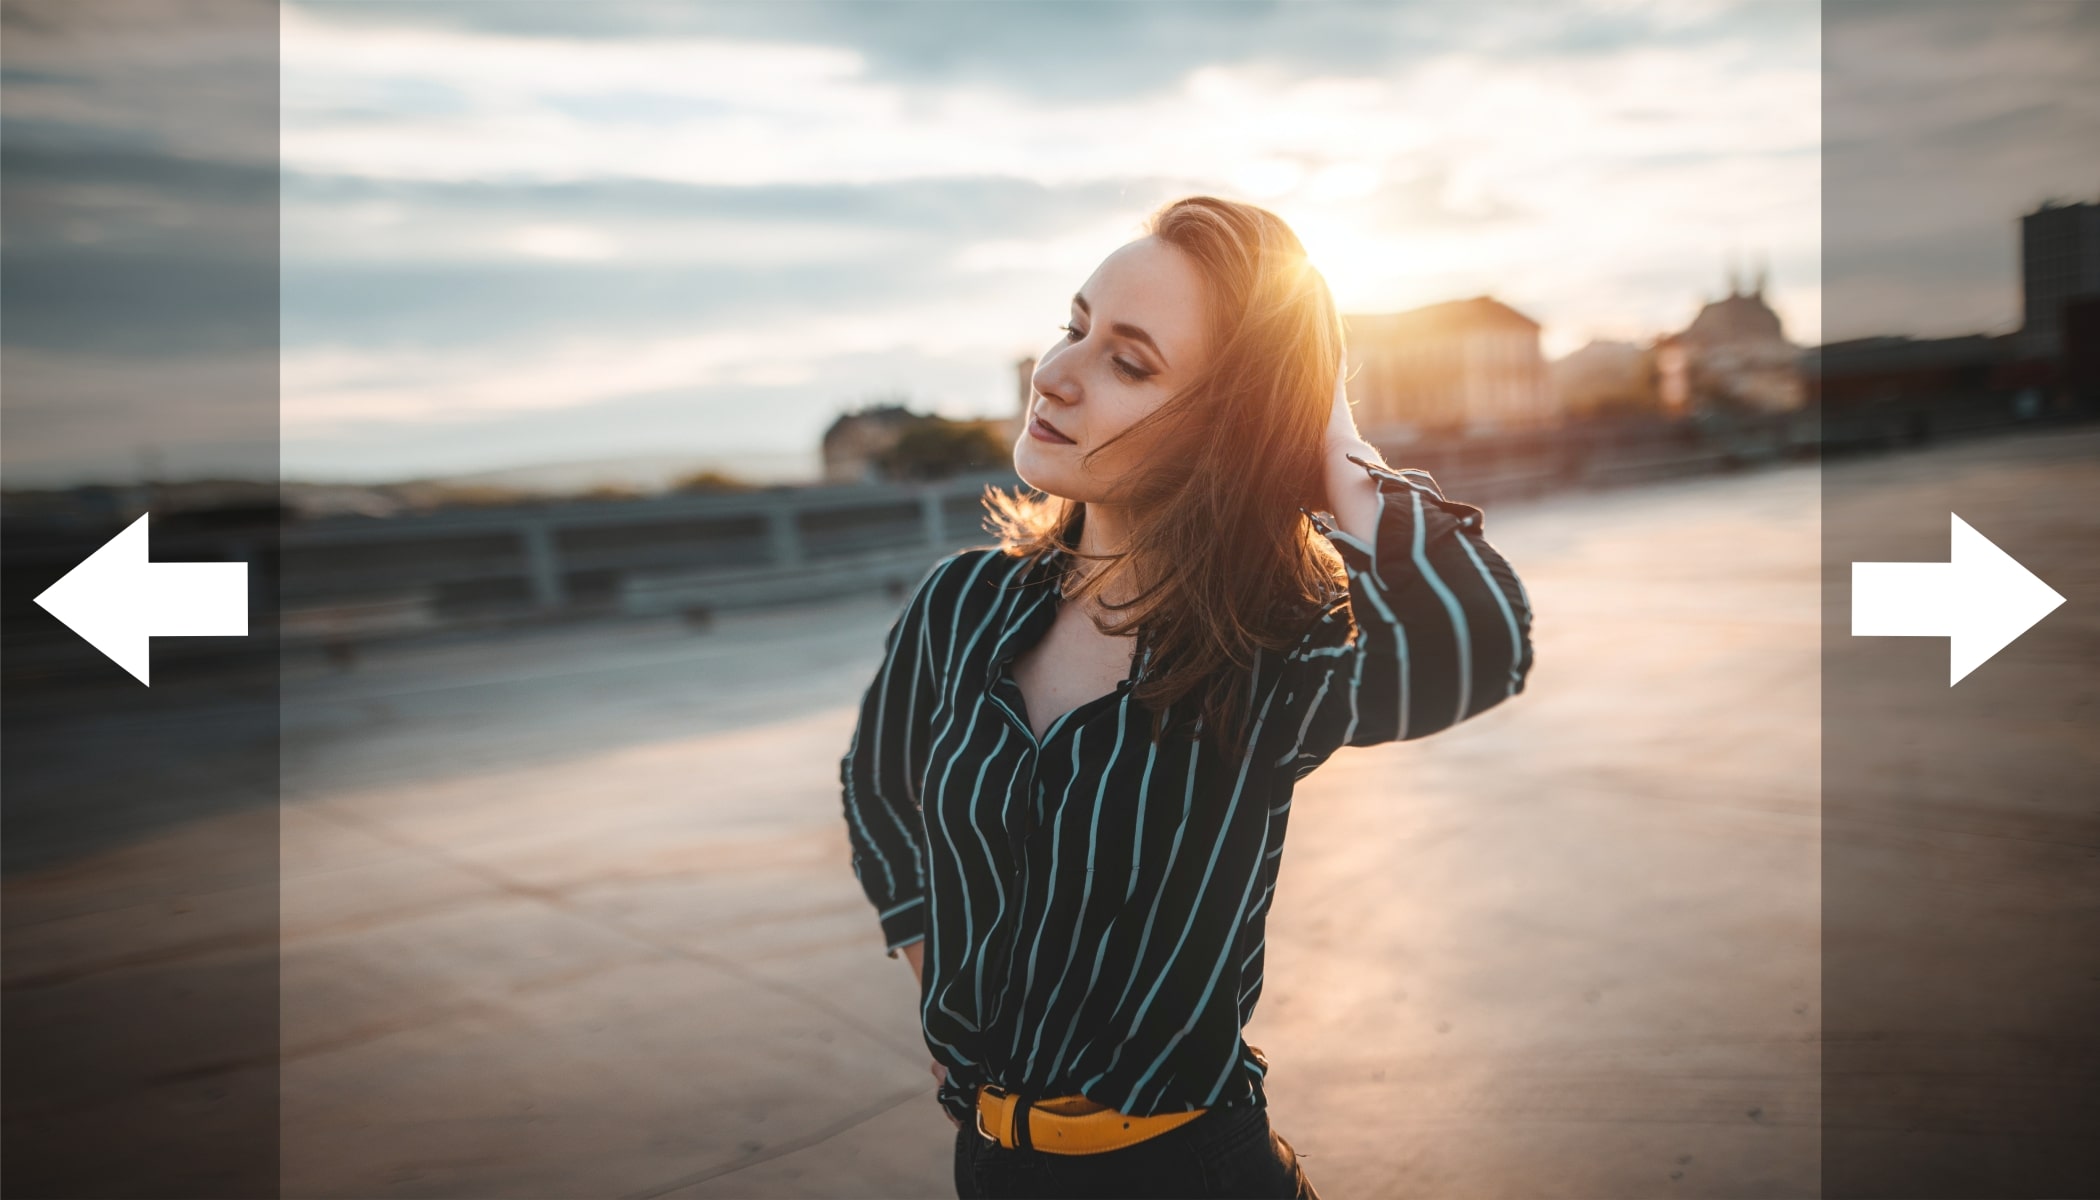
It’s often handy to have your photo cropped to a wide format. 16:9 photos, for example, are very striking and very popular. But ordinary cropping has its downsides too. You simply will lose some of the photo; that’s a fact. But if you’re not ready for that, there’s fortunately one more option—you can simply stretch the photo in Zoner Studio. Working this way, you can create a wide-angle picture using some simple steps. With no cropping or losses. Take a look at how to do it.
If you need a different ratio of sides than your camera produces, you have several options. The simplest and fastest is a crop. But this logically loses you part of the picture.
Cropping the Picture Isn’t the Only Solution
The other methods for achieving a wider or taller photo are time-consuming, but all the more creative. For example, there’s the Brenizer method, based on assembling a picture out of panoramas, as we’ve described in a different article.
If you want to stretch the photo with a simpler edit, try stretching its edges. Unlike stretching the entire photo, with this approach, you don’t deform the objects within the picture. You’re only altering its edges, and so the result will still look natural. We’ll go through the method step by step in this article.
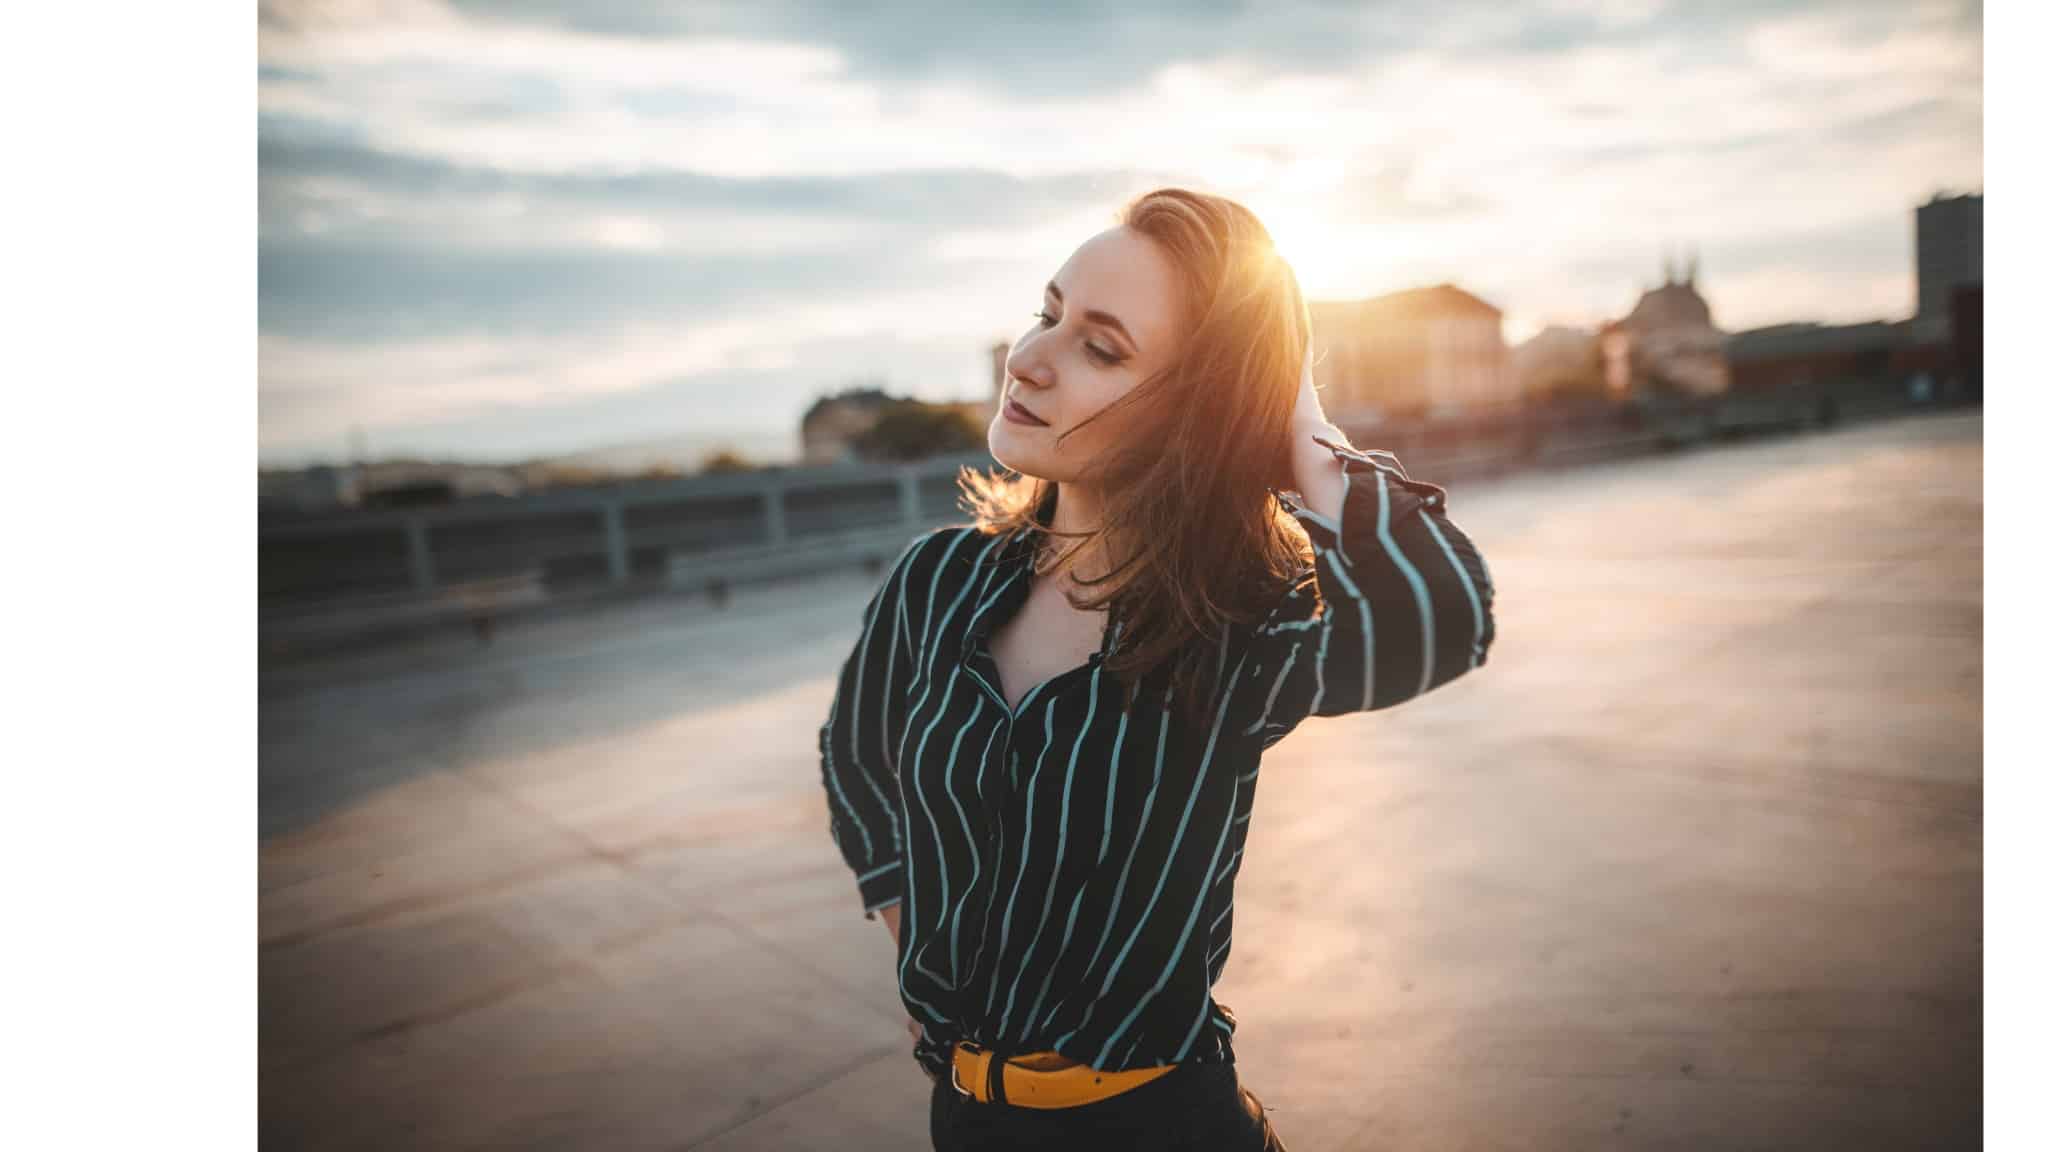
Nikon D750 + Sigma Art 24mm. 1/3200 s, f/1.8, ISO 100.
Stretch the Photo to a Wide Ratio of Sides
Edge-stretching isn’t a universal method that works on every photo. It’s good to use on portraits that have plenty of space on the sides. In this case, we’ll be altering a 3:2 ratio of sides into 16:9, but you can also choose a different ratio of sides that you want to have in your final photo.

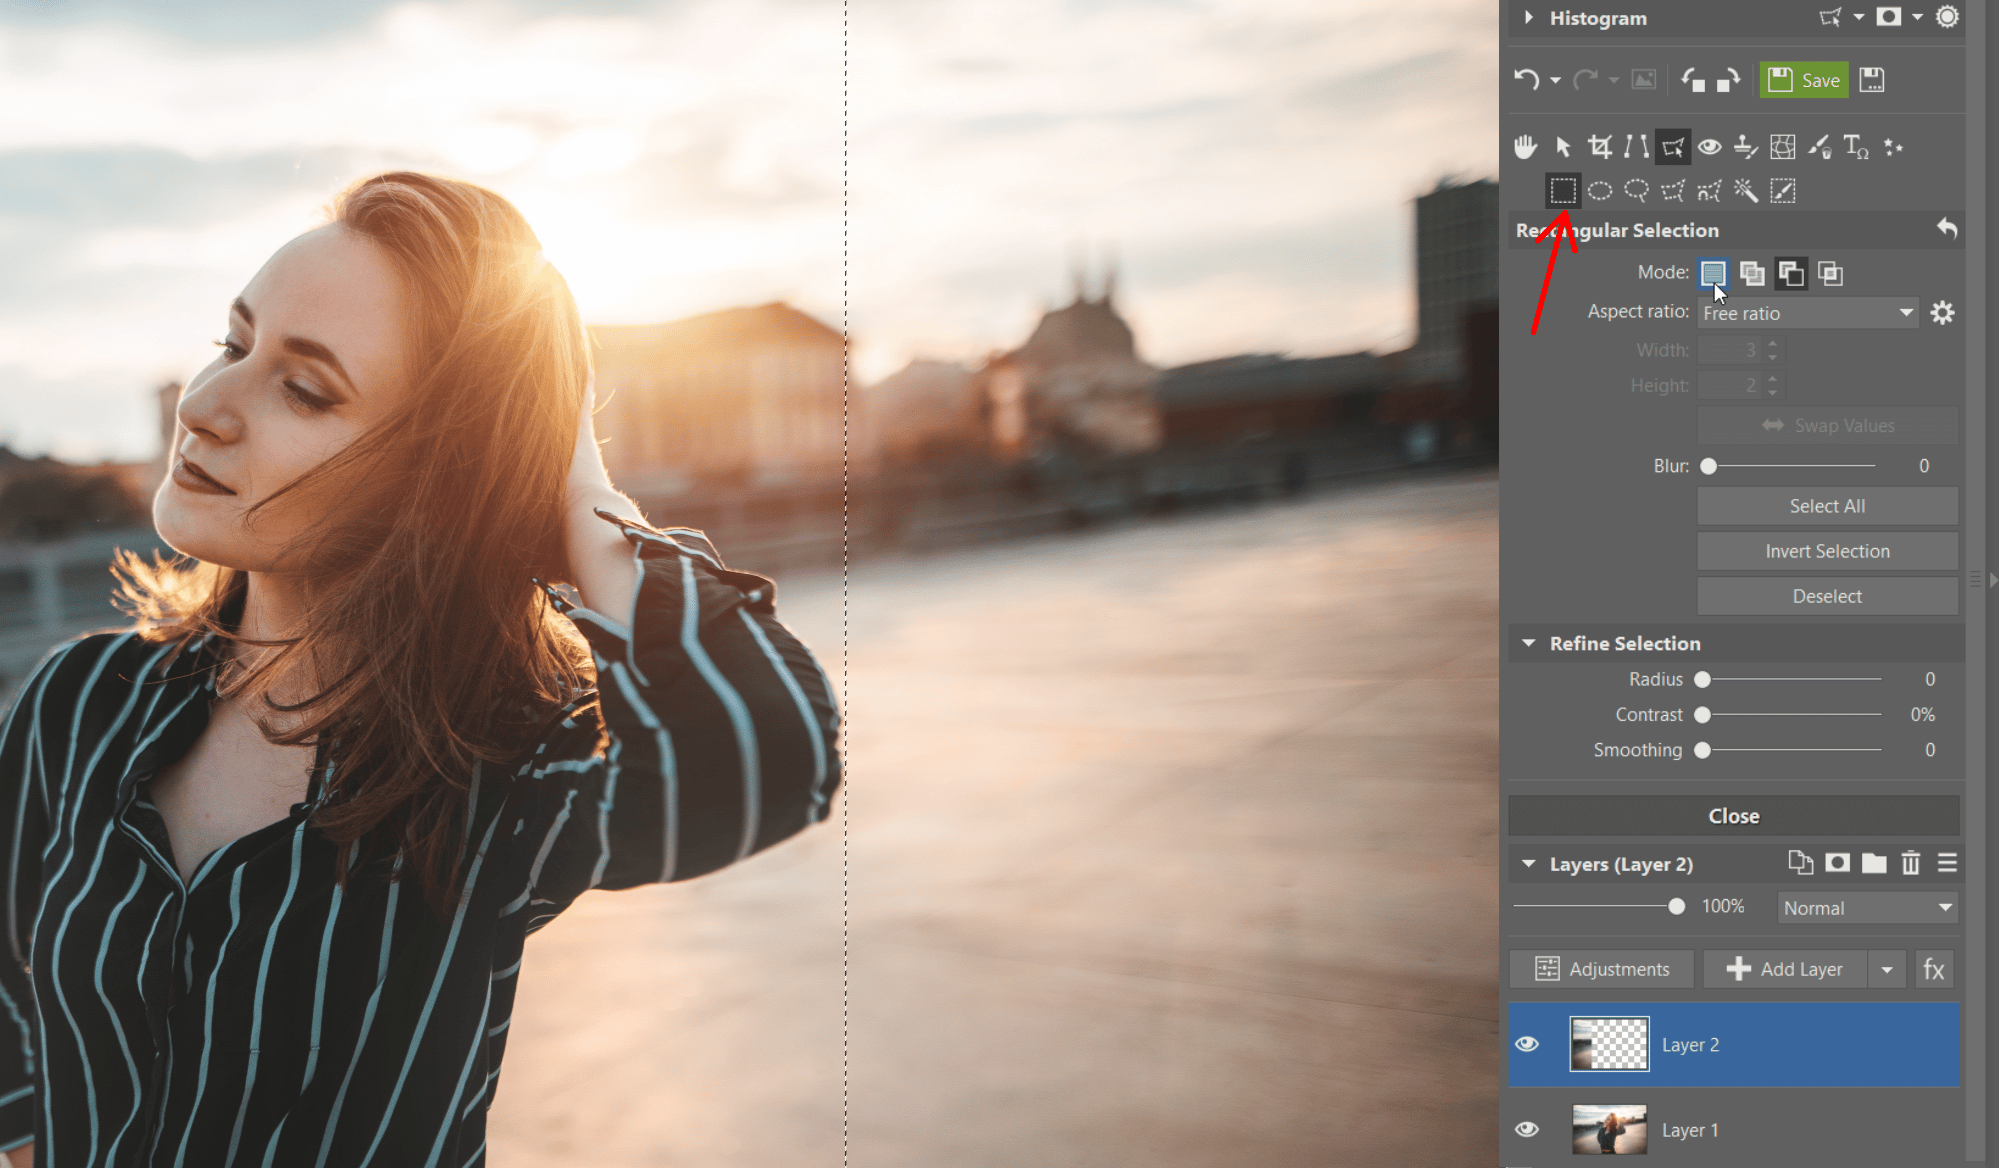
Open the Editor and Start With a Selection
Open the photo in the Editor module and choose Rectangular Selection (M). Don’t forget to set the Blur to 0. Then on one side, select the largest area that you can stretch. Copy (Ctrl+C) and paste (Ctrl+V) to place this selected area on a new layer.
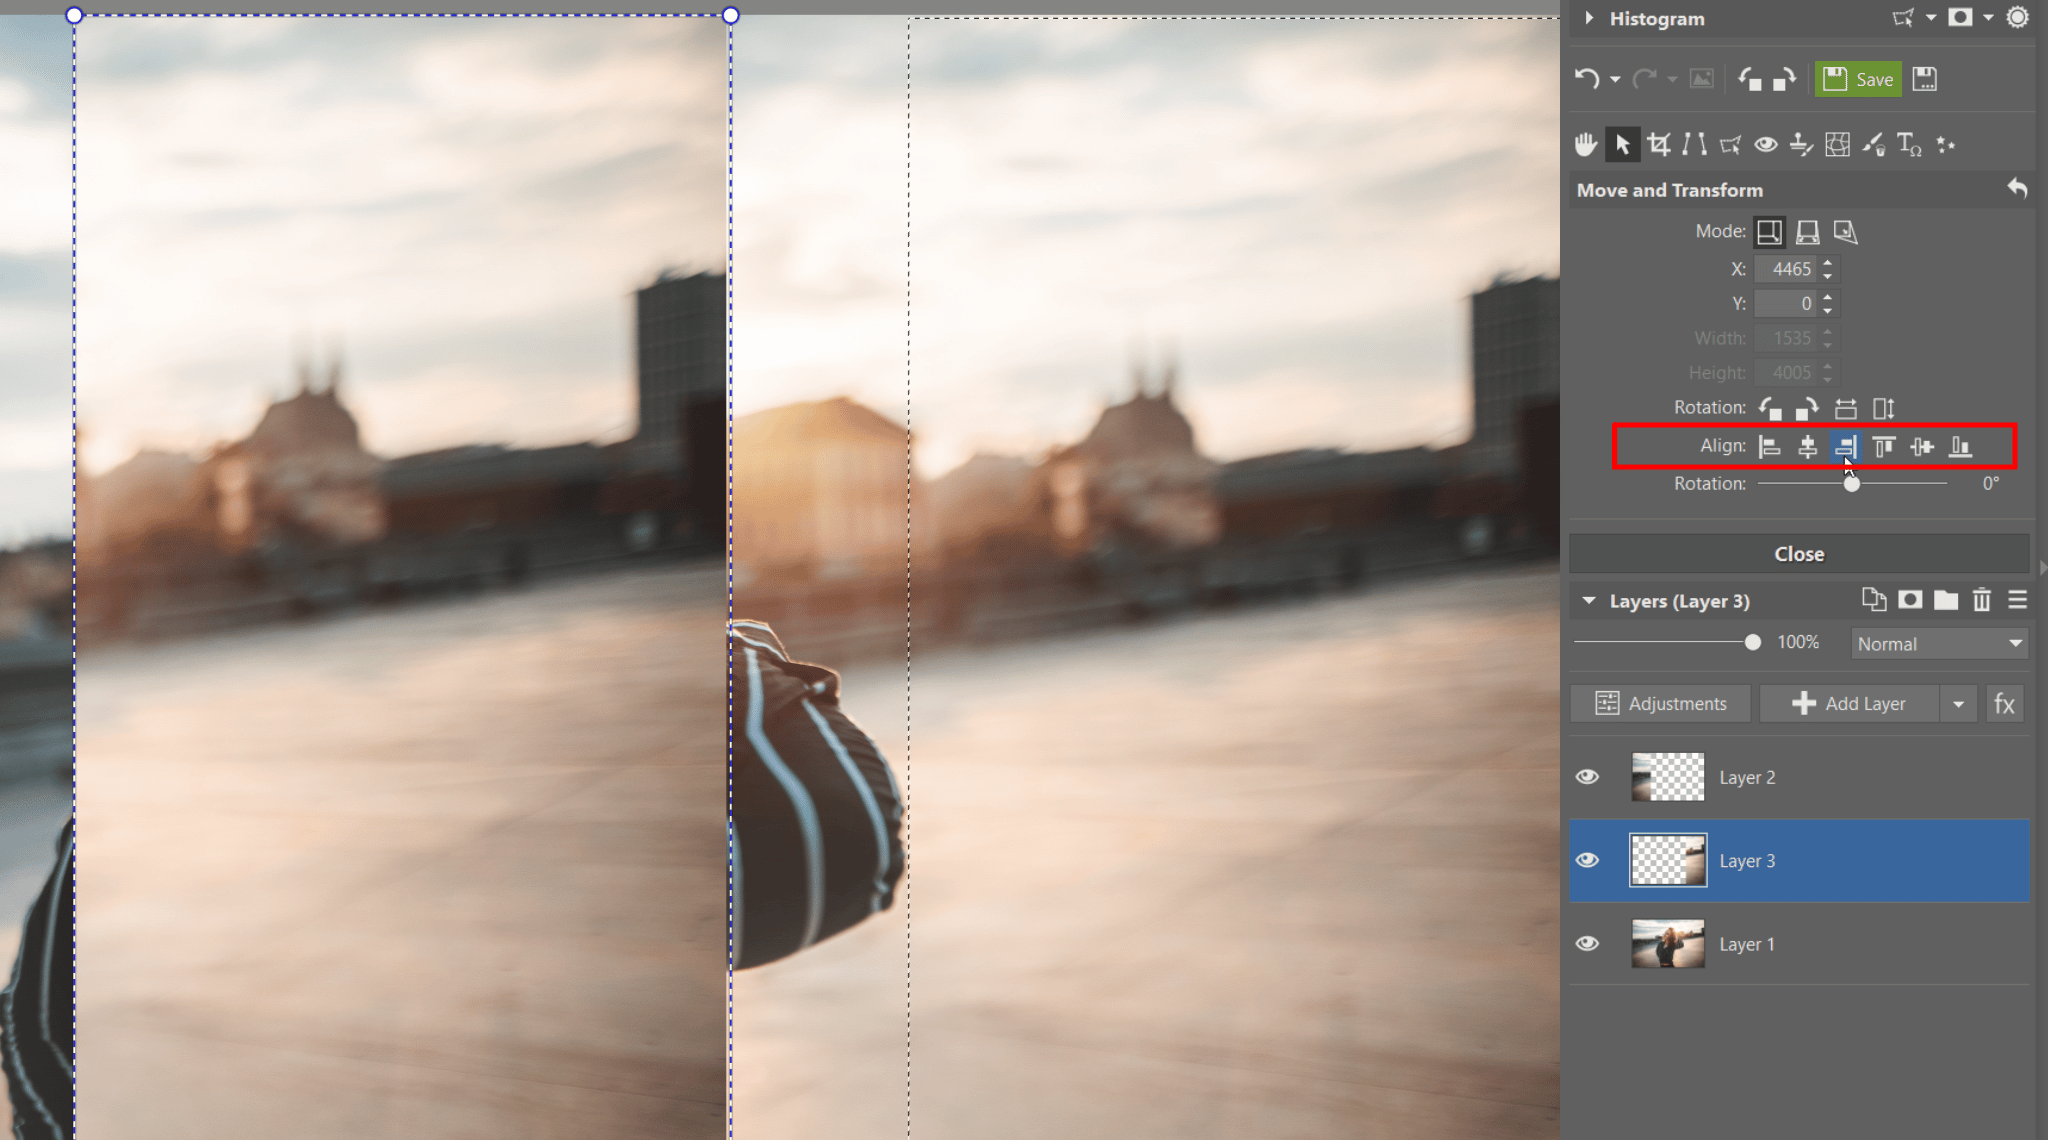
Align the Selected Area With the Edge of the Photo
The layer will likely be pasted somewhere different than where that part of the picture originally was. To get it aligned, click the alignment icon. Then click into the original—Layer 1—and use the same approach (selecting, copying, pasting, aligning) on the other side of the photo.
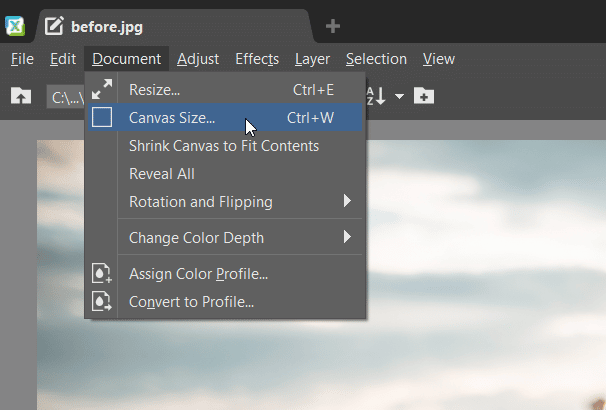
Adjust the Canvas Size
Now you have each of the parts that you’ll be deforming in a separate layer. So the next step is to make room for the stretching you’ll be doing. Click on Document -> Canvas Size.
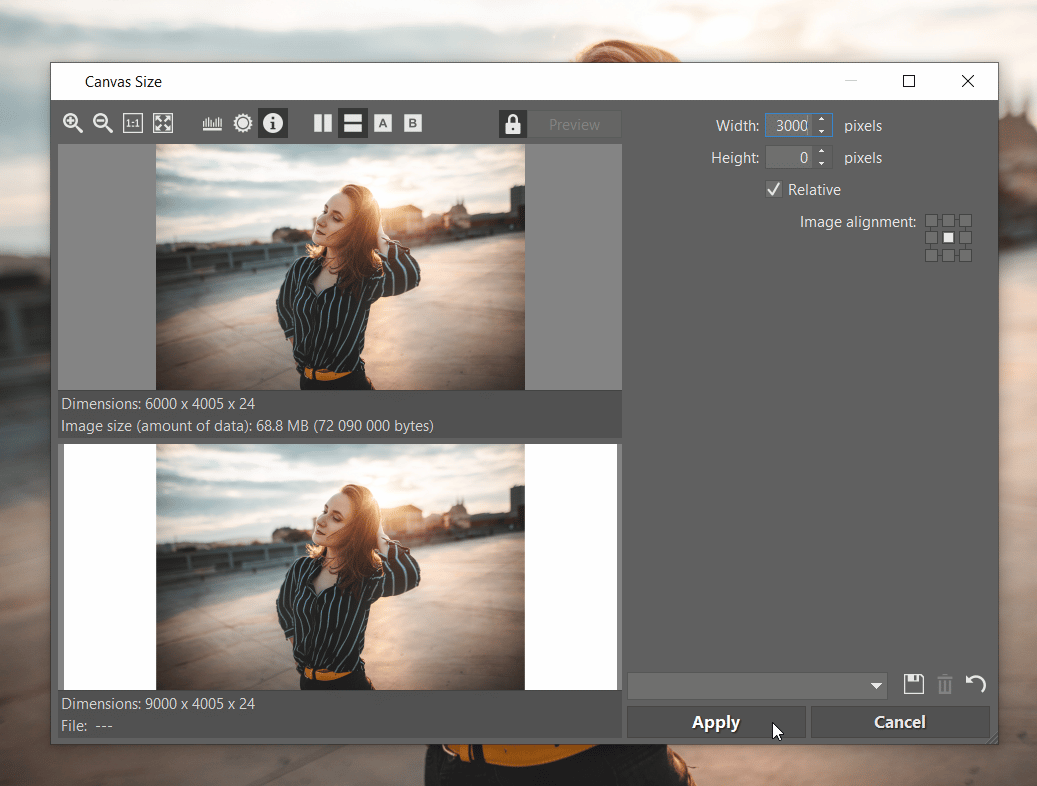
Decide how much you’ll expand the canvas based on how far you’ll be stretching the edges. When adjusting a typical 24Mpx photo to a 16:9 ratio like this, expanding it by 3,000 pixels is enough. In any case, too much stretching is better than too little. You’ll be cropping away the difference anyway.
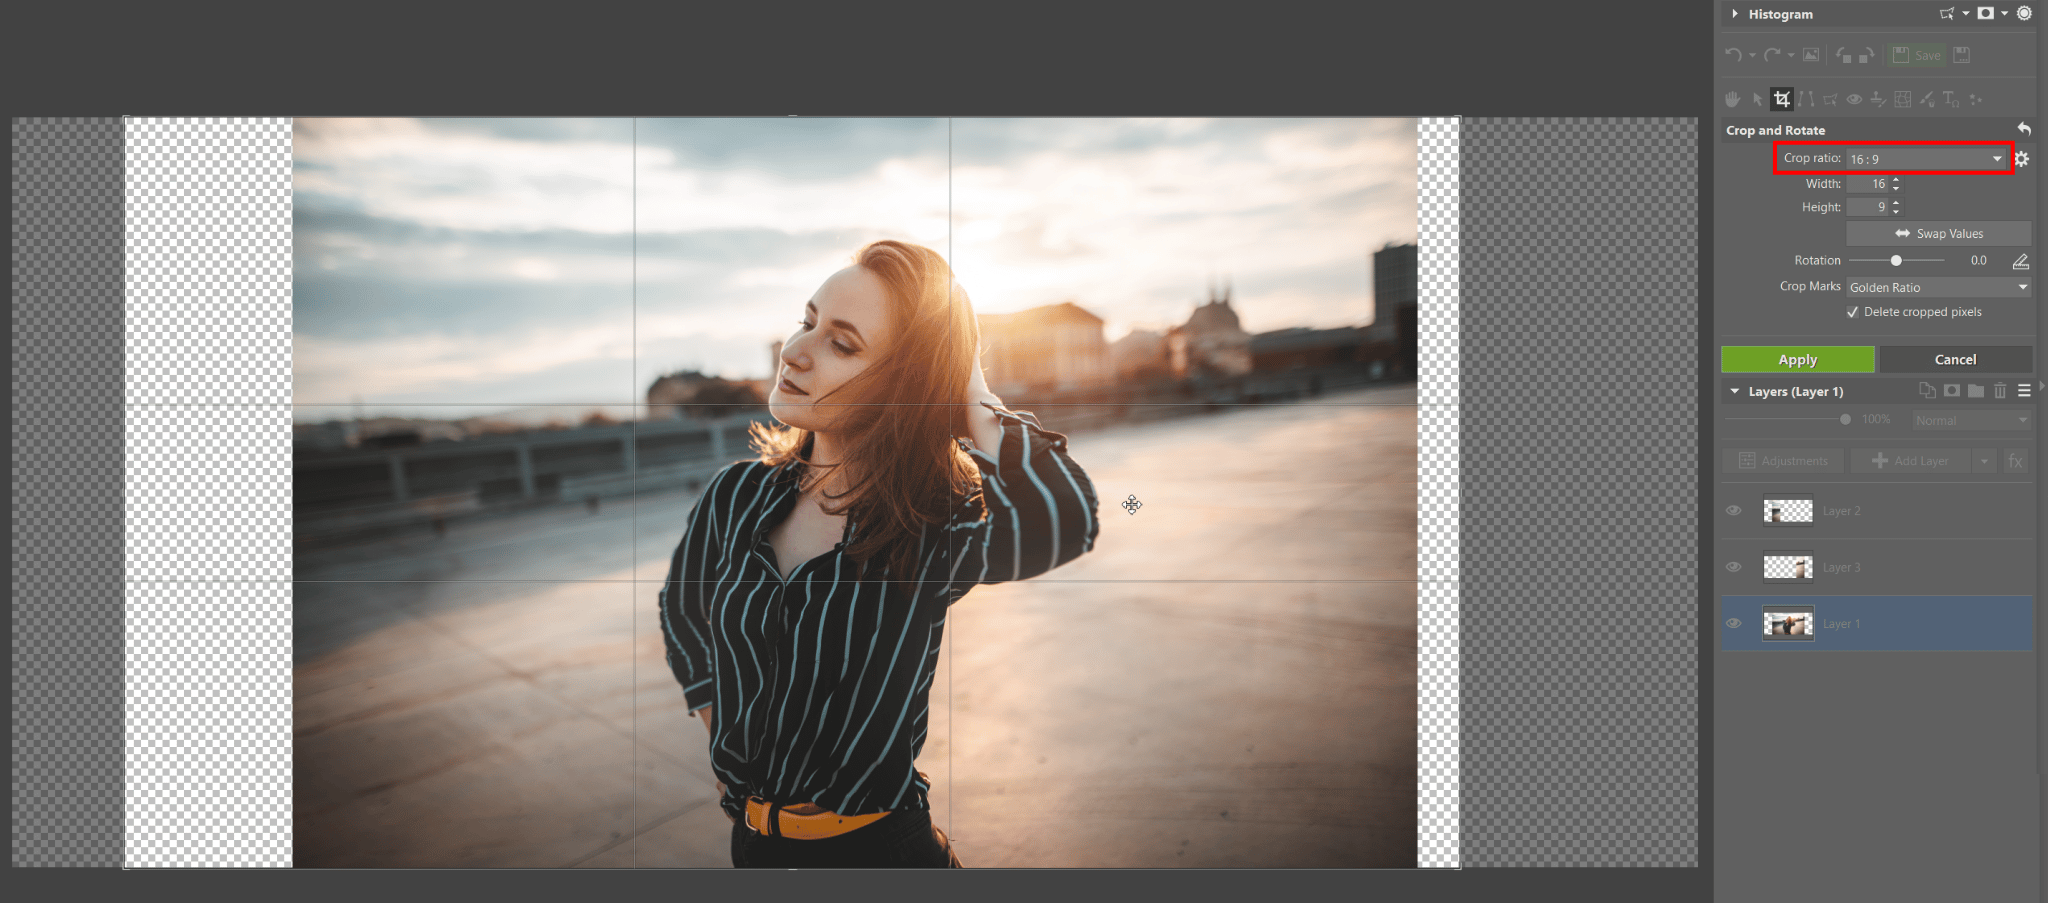
Define the Composition With a Crop
Stretching the canvas has created empty areas at the edges. To give the photo a 16:9 ratio of sides, activate the Crop tool (C) and enter a fixed ratio of sides. In this example, it will work better to leave more room on the left instead of cropping to a centered composition.
And Wrap up by Stretching the Edges
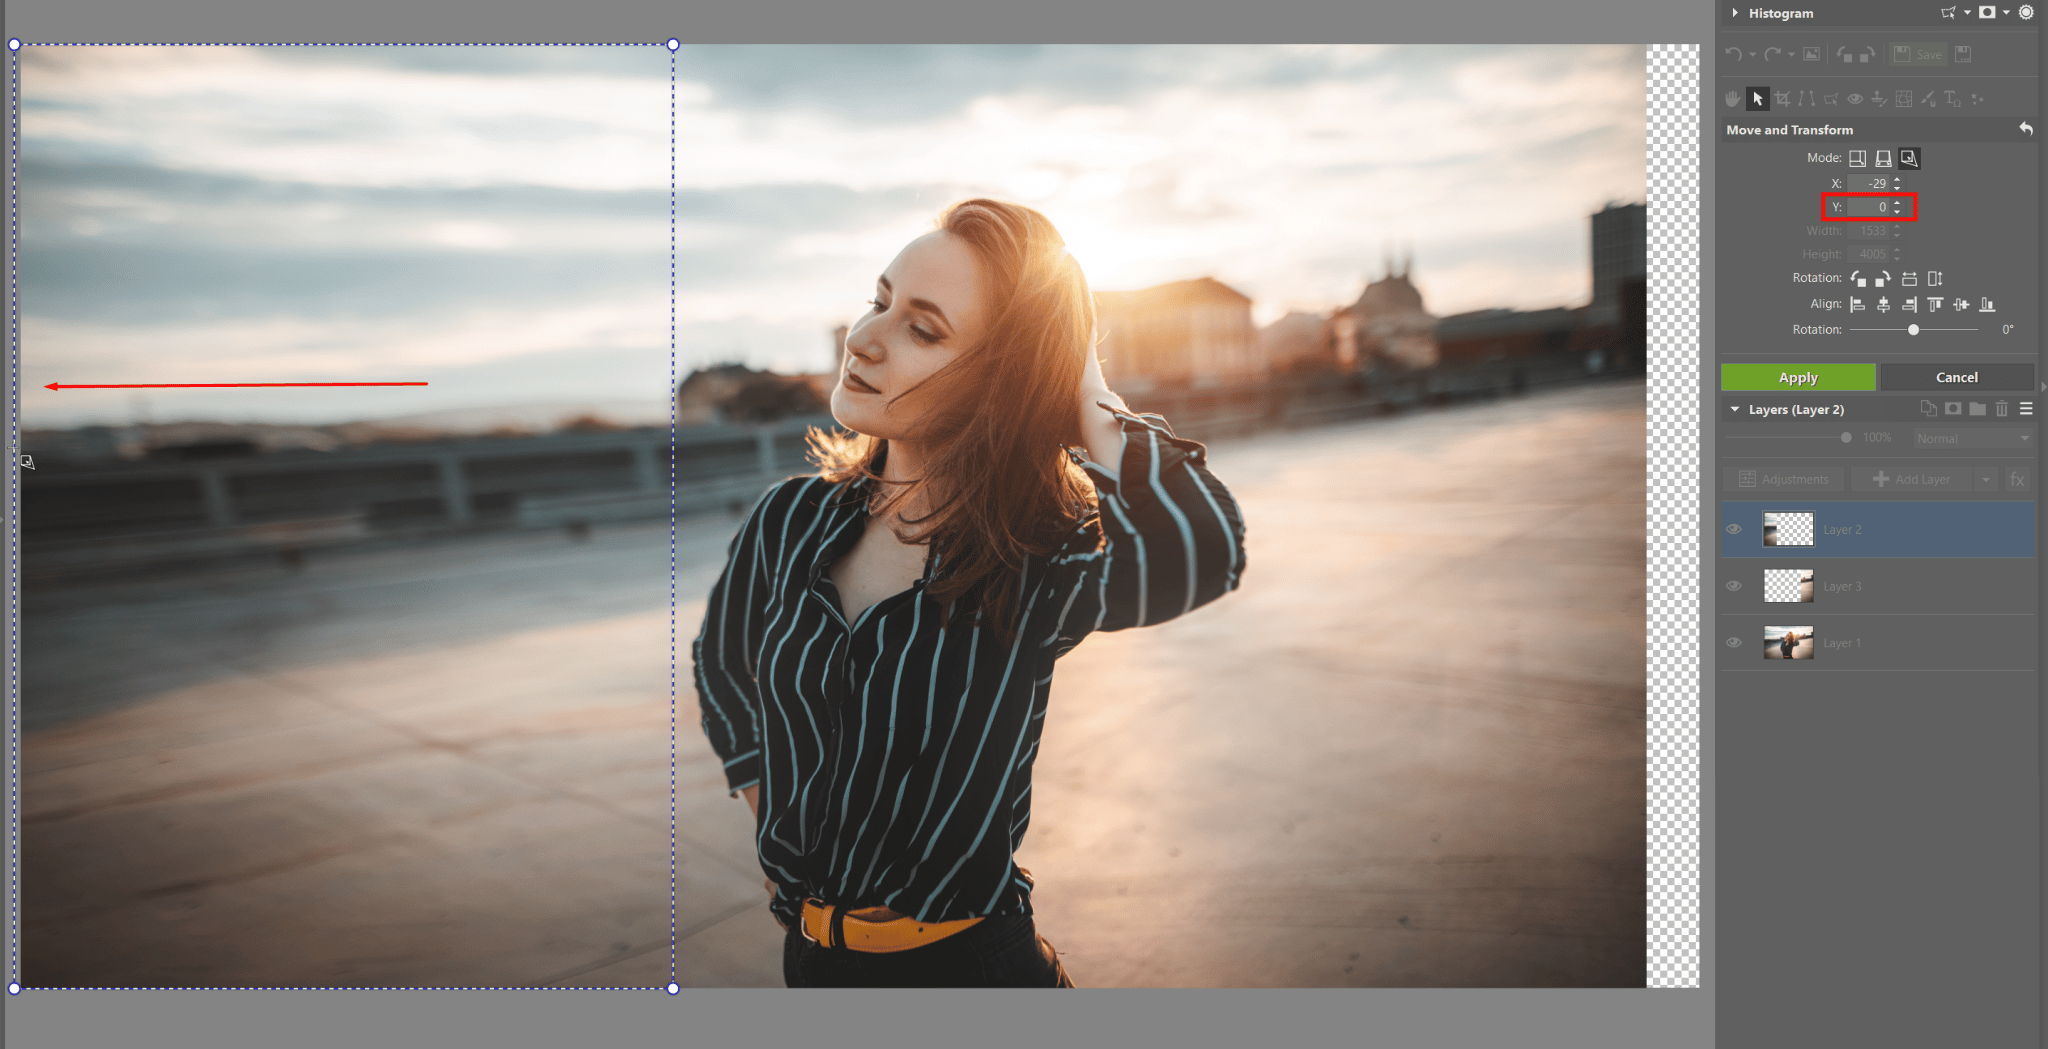
Select one of the top layers containing the edge areas, and in Move and Transform mode (V), click the third mode for transformations—Deformation. Then grab the layer by its outer edge and drag it all the way to the edge of the canvas. Take care to keep the Y value in the right panel at 0. If there’s any other number there, the deformation will be crooked. (If you change it accidentally while dragging, you can just fix it in the right panel.) Then apply the same approach with the second layer and drag that edge in the other direction.

TIP: If unnaturally sharp transitions arise anywhere after you’ve dragged the edge of the photo, merging the layers and retouching will help. Right-click on any of the layers in the list on the right and use the Merge Layers item. Then mask the sharp edges using any of the retouching tools.
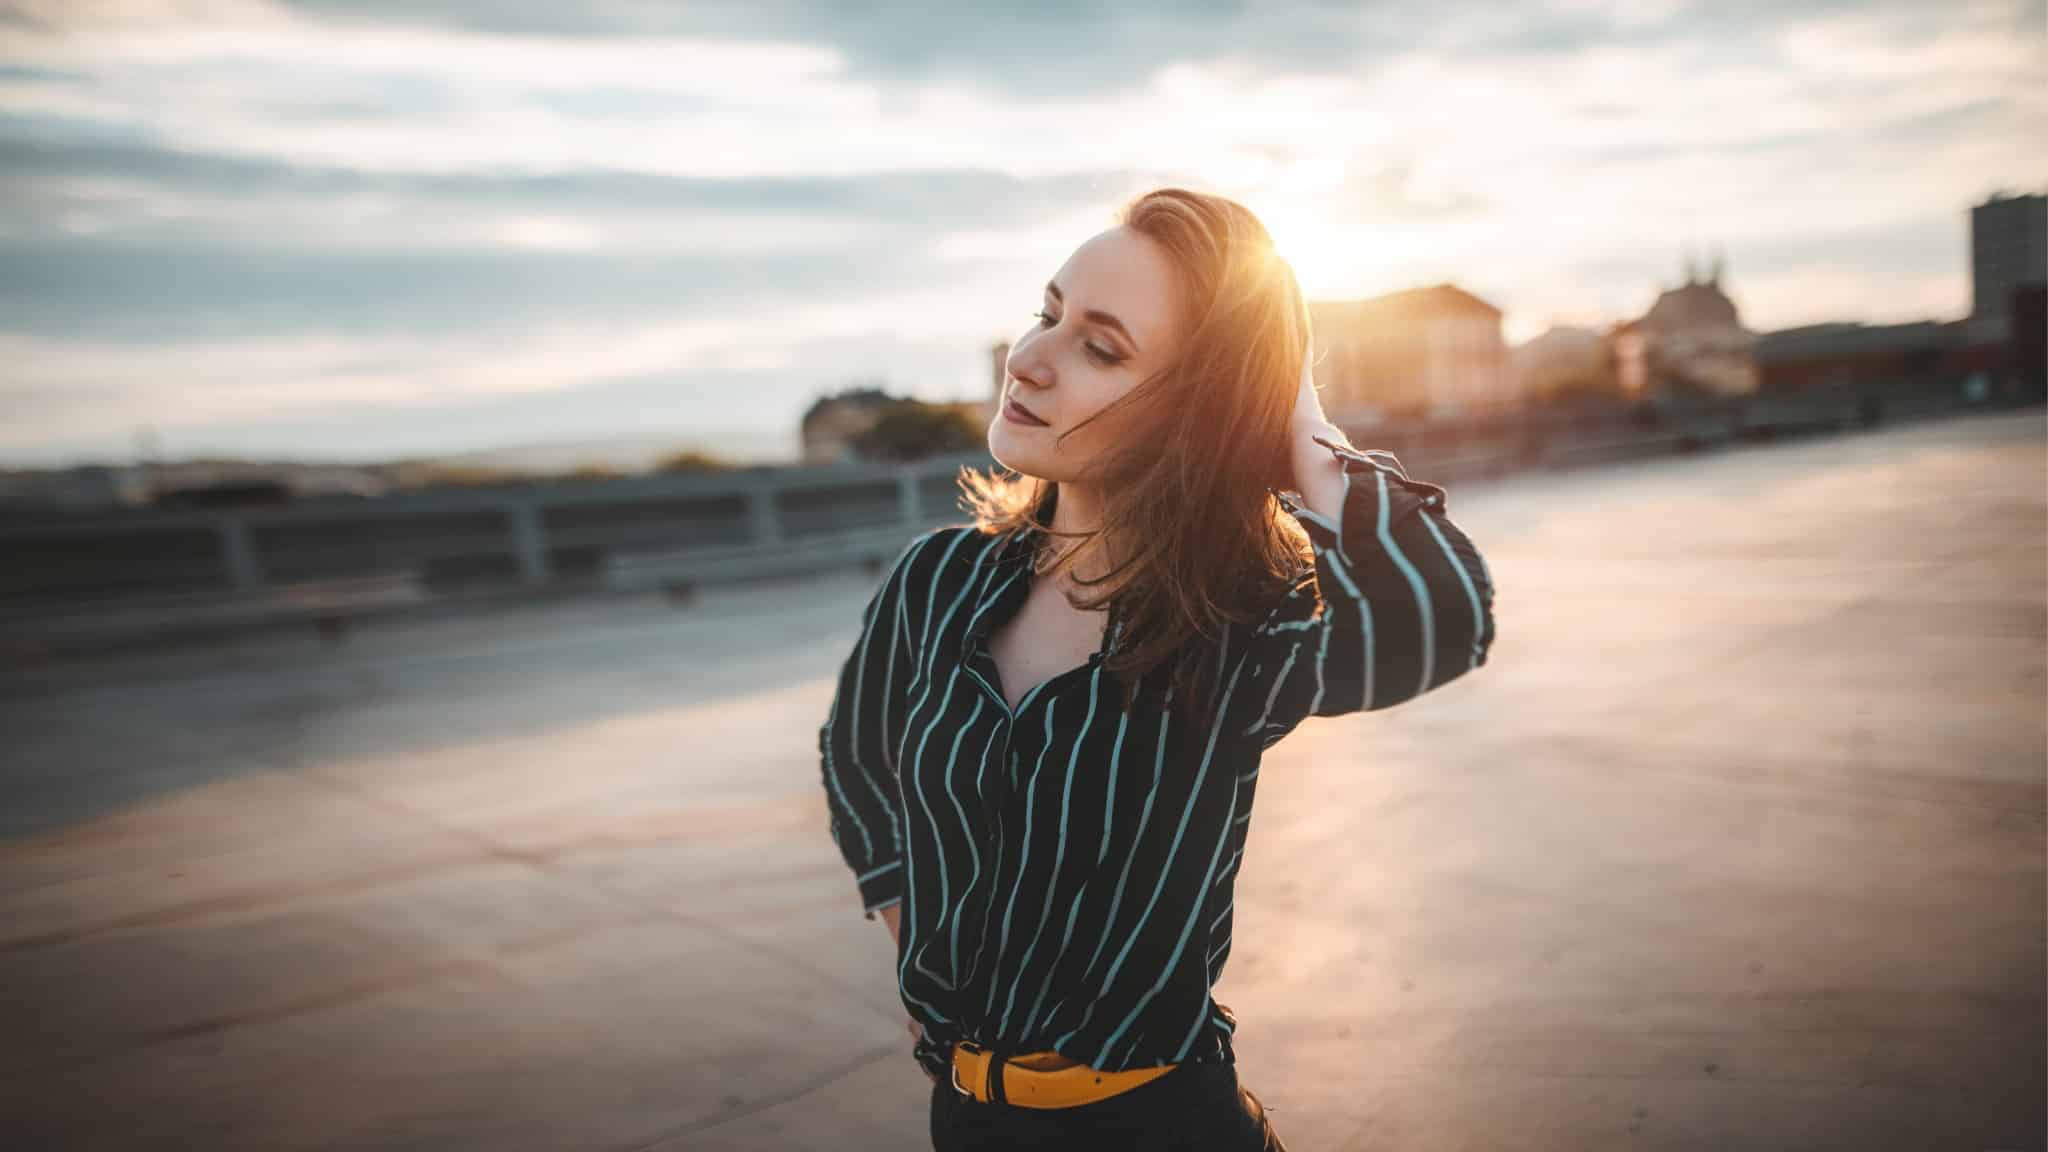
A Wide-angle Picture Pulls Your Audience in
And you’re done. Photos with their edges stretched like this look like they were photographed at a much wider angle. That can improve their overall impact by pulling the audience into the scene more deeply. Filmmakers do this, for example. By using anamorphic lenses, they try to pull their viewers deeper into the plot.
Edge Stretching in Practice
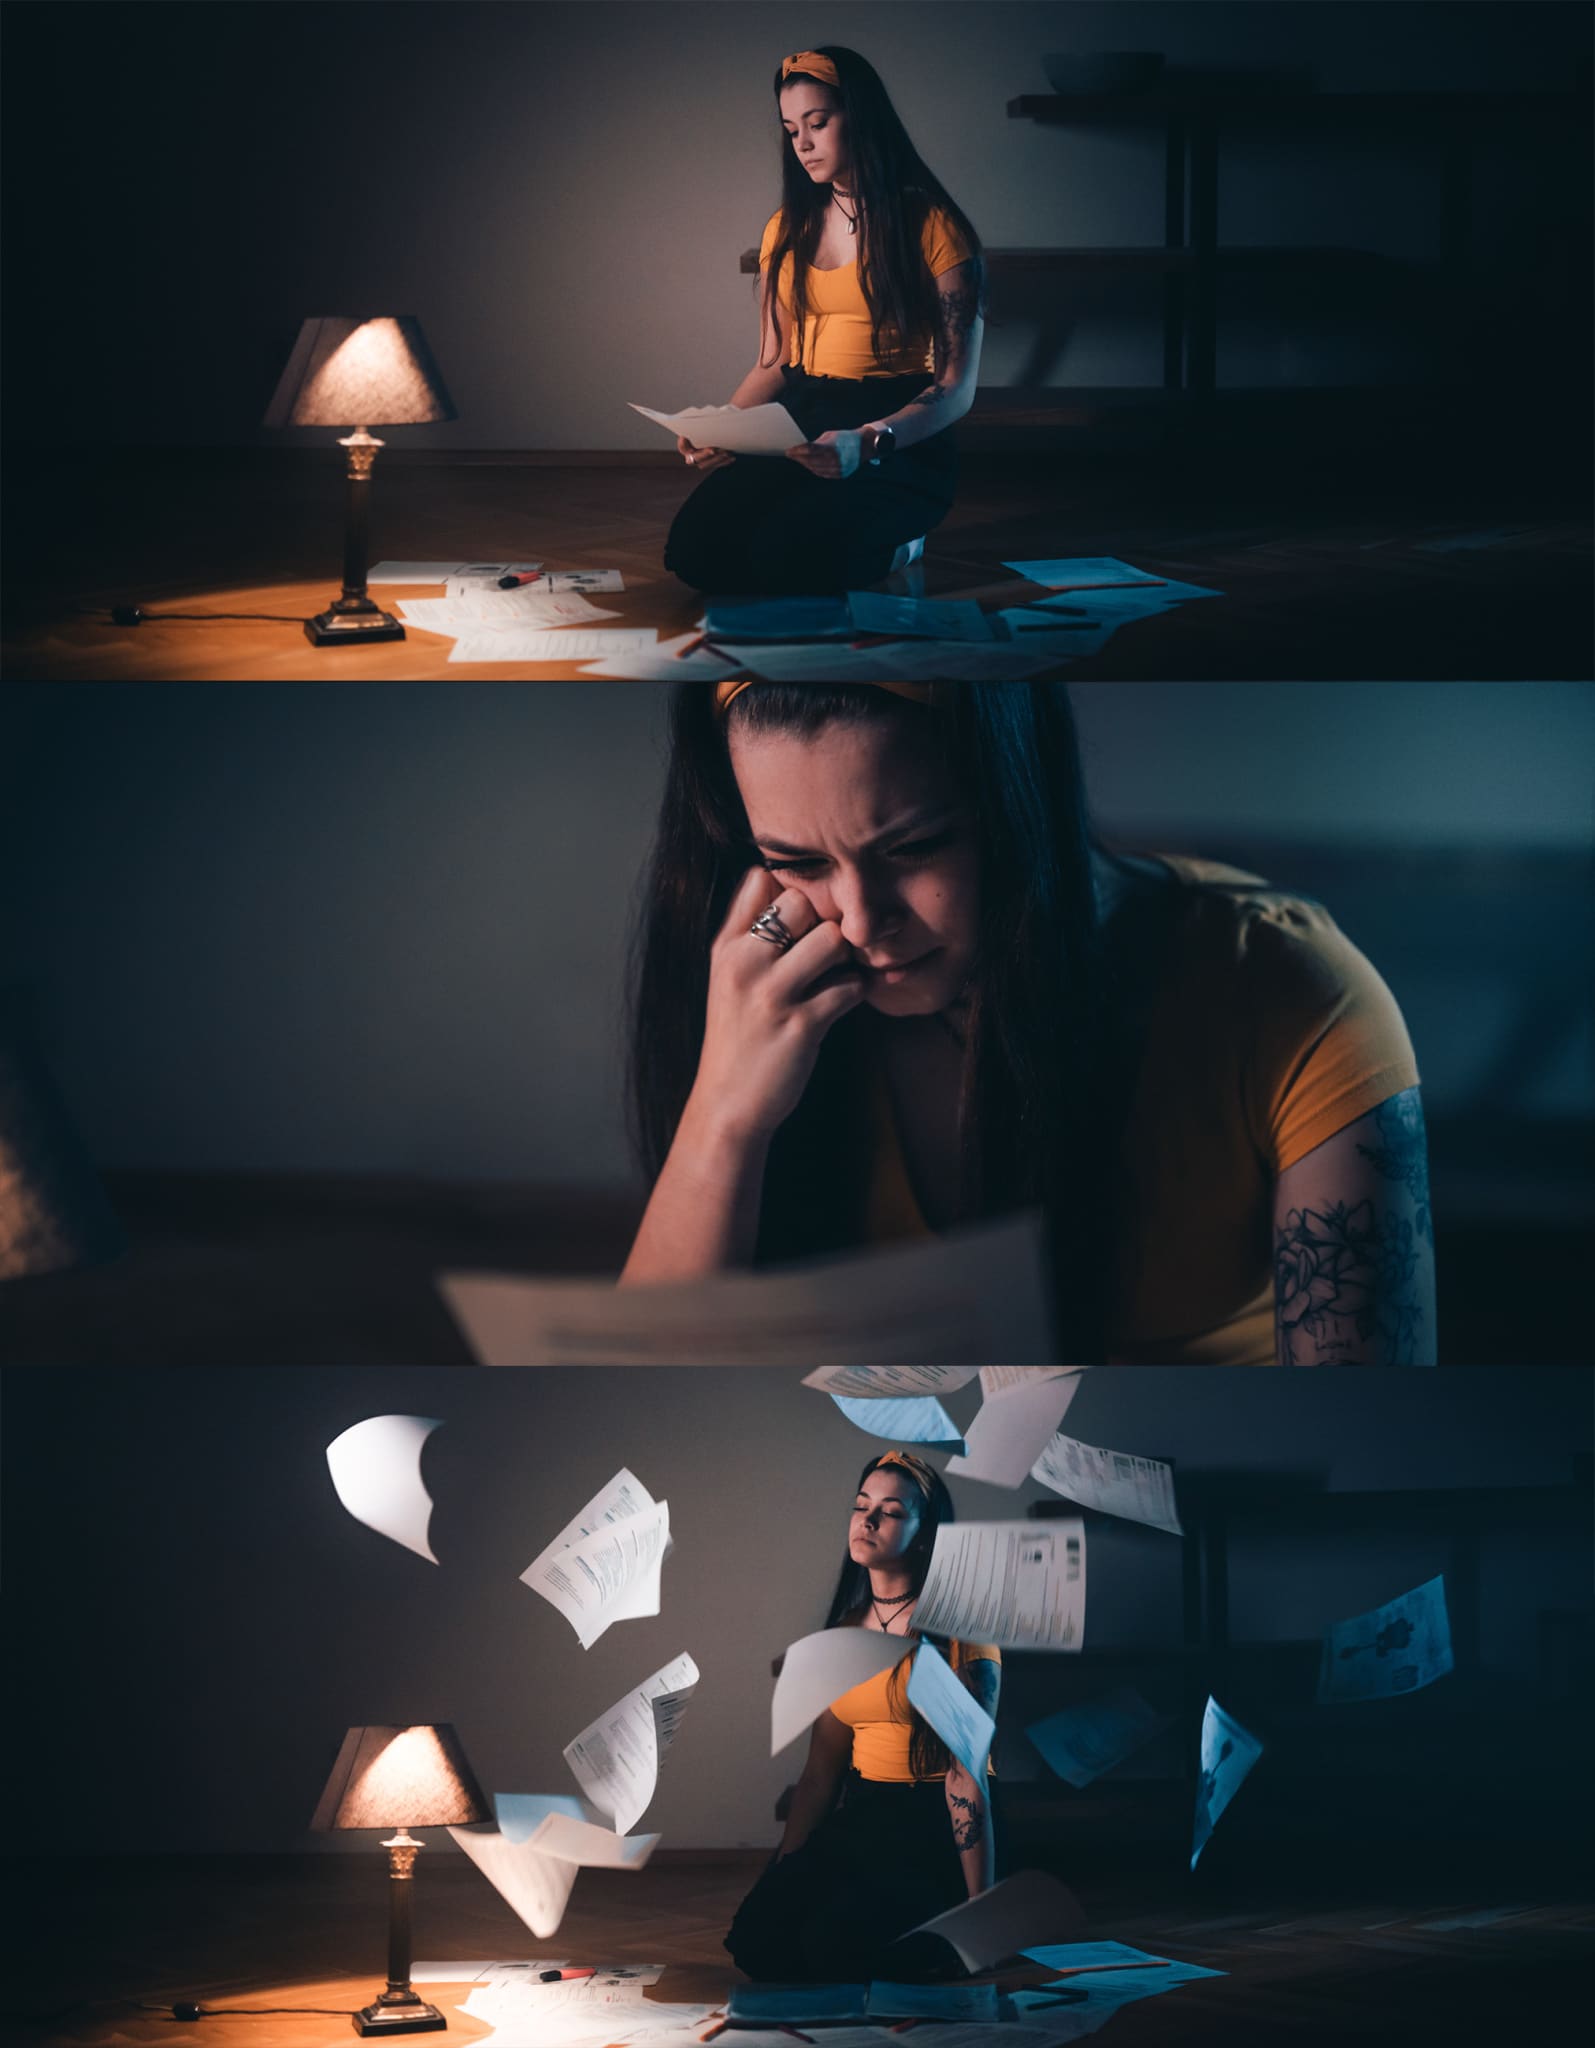
You can also see this approach in the photos for our article on cinematic lighting, where I used edge stretching in combination with a crop to produce a 21:9 ratio of sides.
I also used a similar approach in combination with mirroring in my article named How to Get Perfect Symmetry: The Editor Will Help!Take a look at these and get inspired!

Download Zoner Studio, try it free for 7 days, and make your photos wide-angle with no cropping and no losses.
Shahbaz Munshi
Image to ultrawide
Is good
Tony kha
This is nice pic in my life