How To Photograph Comets, Meteor Showers, and Stars
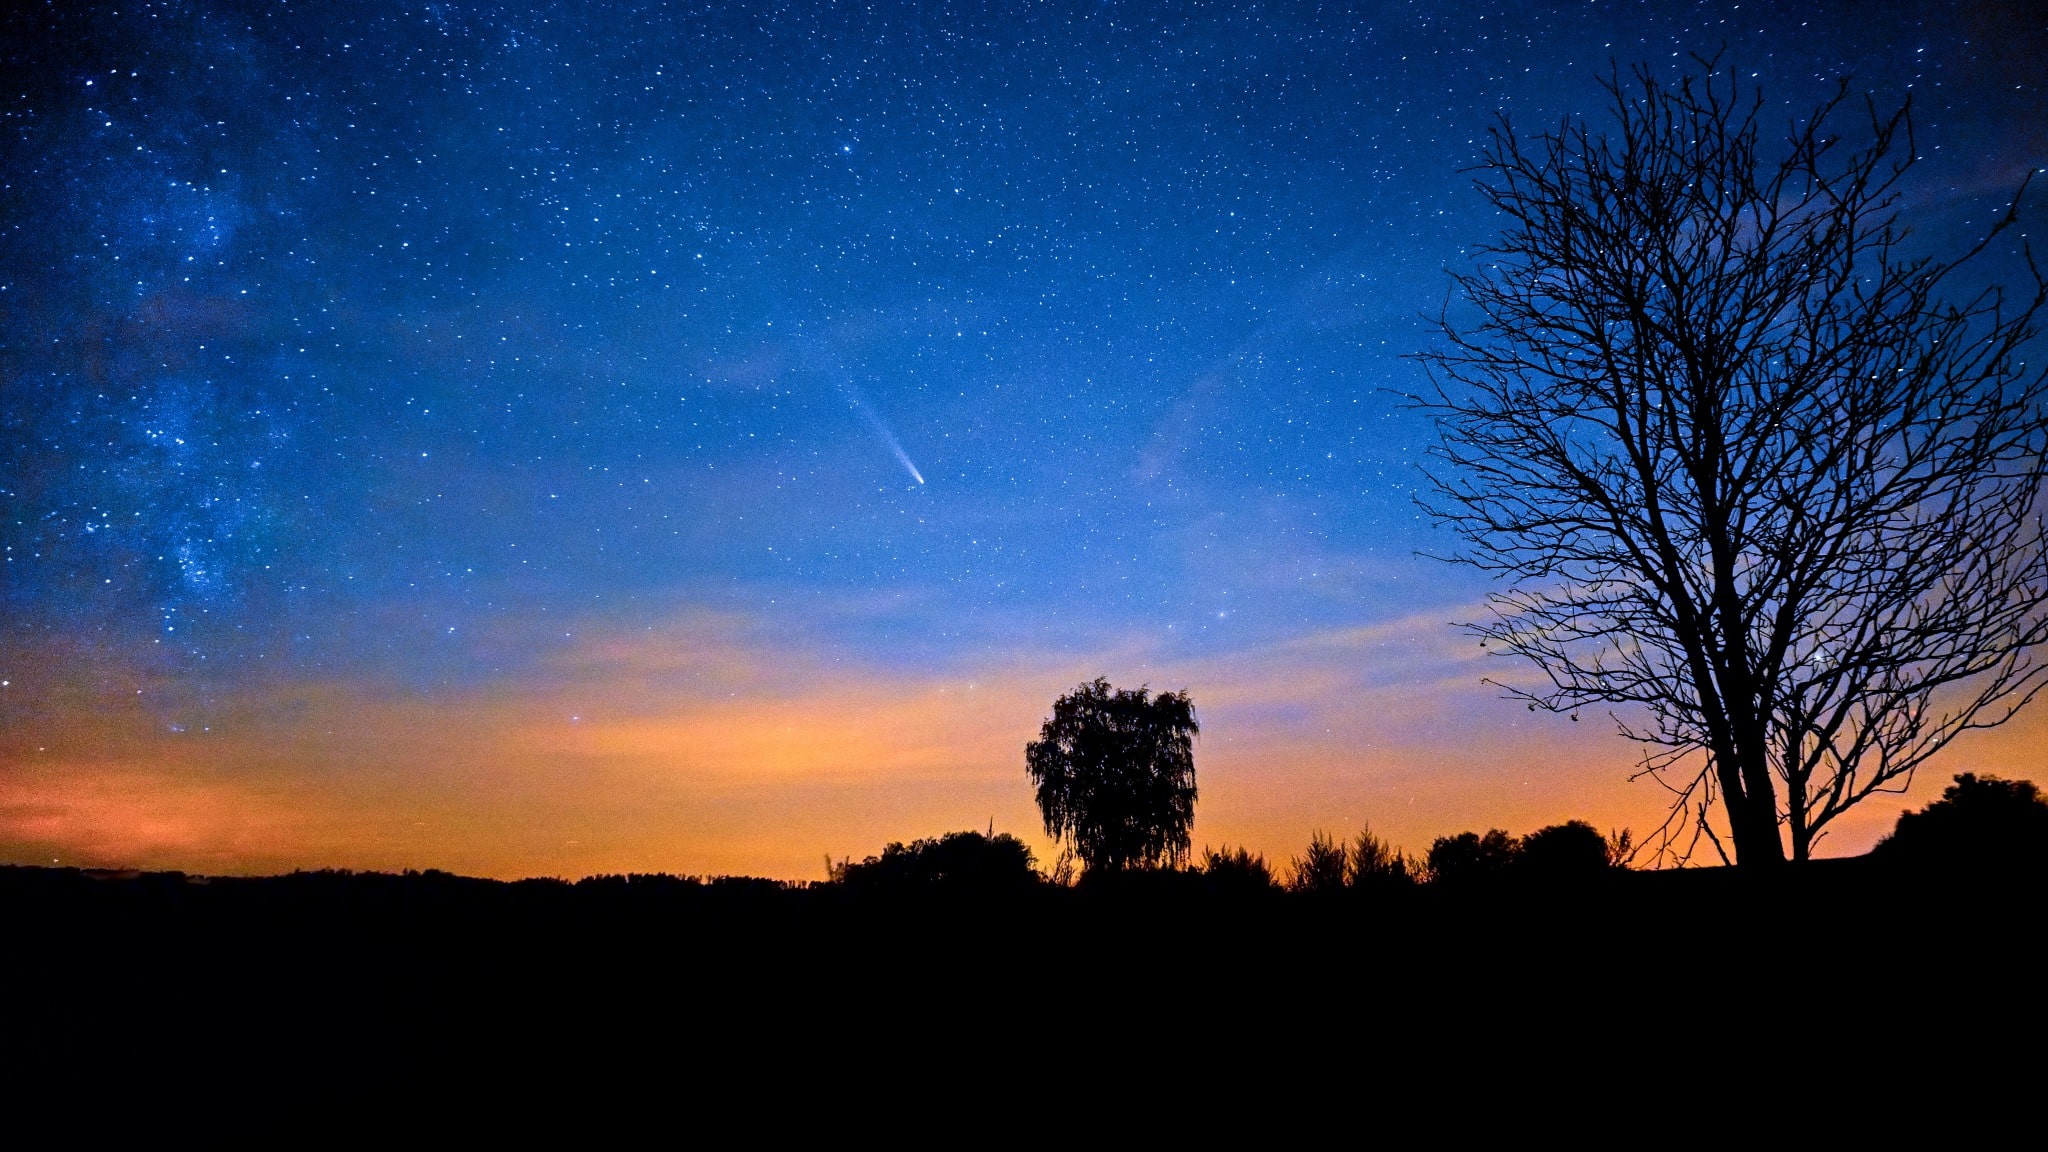
Each clear night, millions of stars shine over our heads. It’s an amazing display for stargazers and photographers alike. A star-filled night sky can be enhanced by natural phenomena like the aurora borealis, a flying comet, and even meteor showers. Be sure you’re ready for these events. We’ll tell you what you need and how to photograph comets, meteor showers, and stars.
Choosing the right equipment is crucial for ensuring you get the best possible results.
Equipment requirements
Night sky photography can be an advanced genre that requires a specially modified camera sensor and device that compensates for the Earth’s rotation. However, we’re going to take a look at how you can get good night sky photos using commonly available equipment. I say “commonly” because even a higher-end mobile phone can give you decent night sky photos.
The best night sky photos are taken on a camera with better image quality at higher ISO settings. A high ISO setting typically results in increased digital noise. Cameras with full-frame sensors tend to be better in this respect than small (APS-C, DX) sensors.
We can use practically any lens for night sky photography, but the faster the lens the more we can open the aperture and use a lower ISO value. For night photography, I like to use a 20mm f/1.8 lens on a full-frame sensor or a 12–28mm f/3.5 on a small sensor.

Don’t forget to bring a tripod for night sky photography. It’ll be hard to get decent night photos without one.
Finding comets
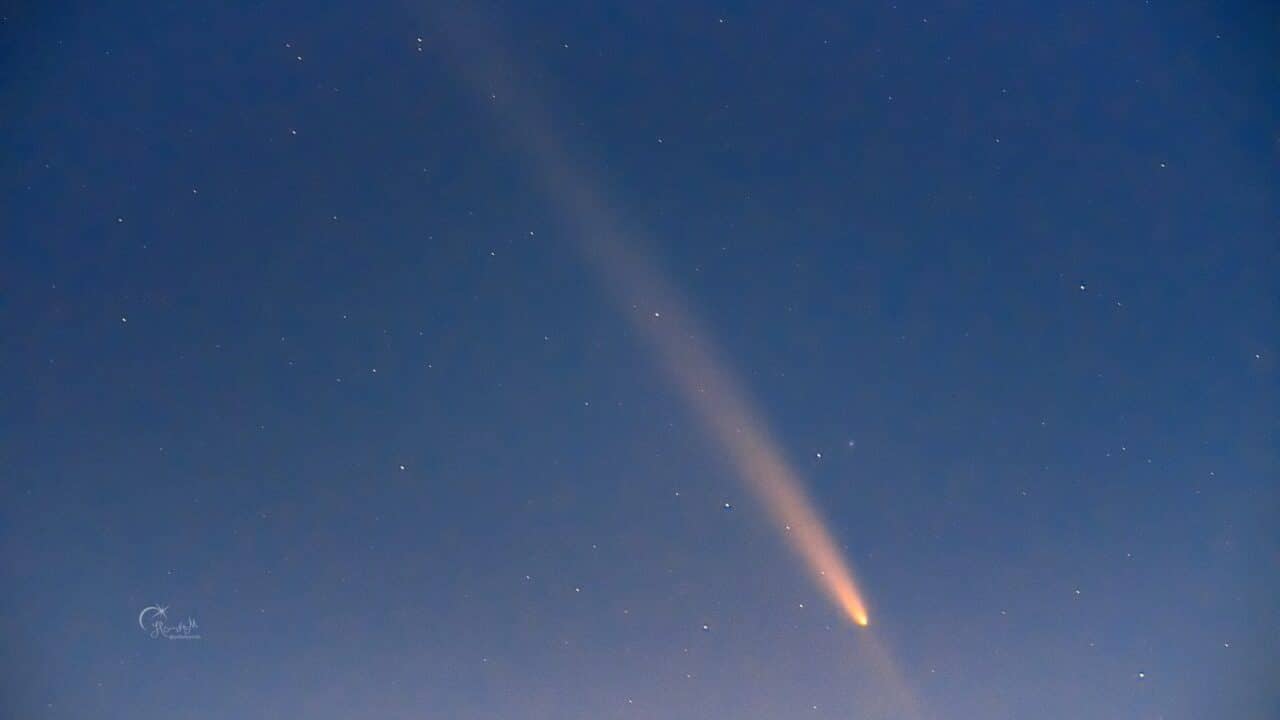
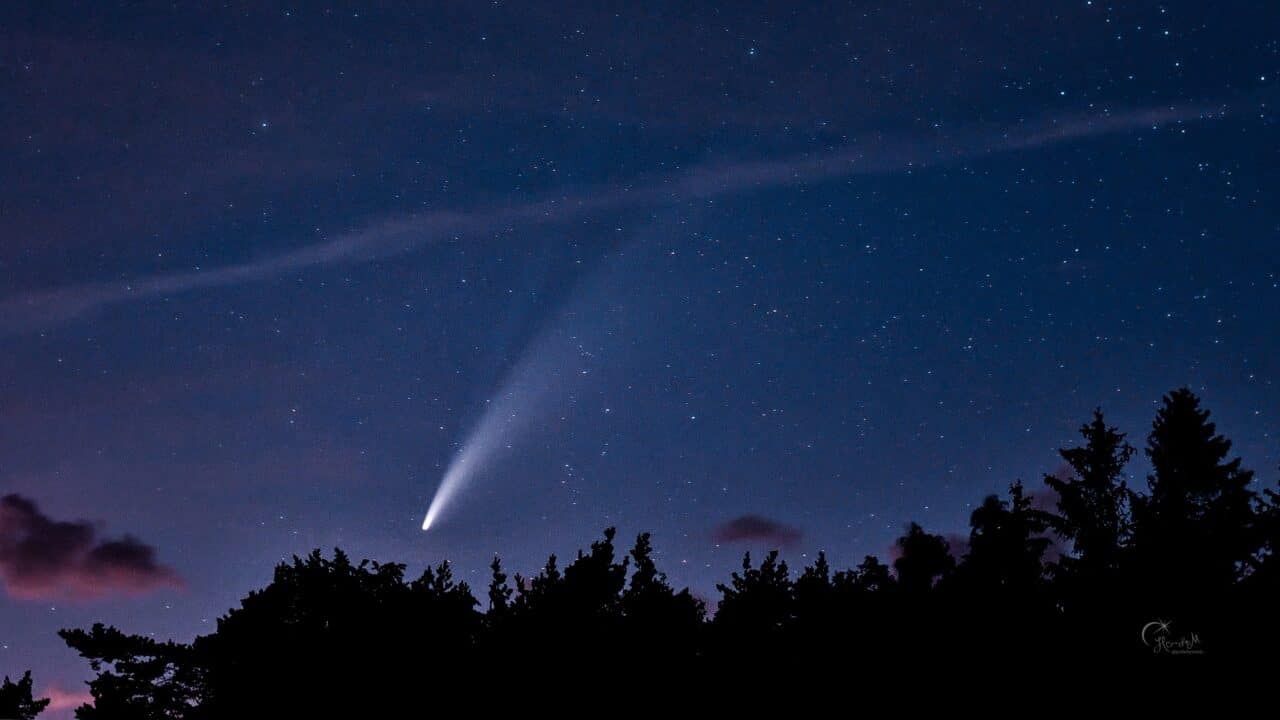
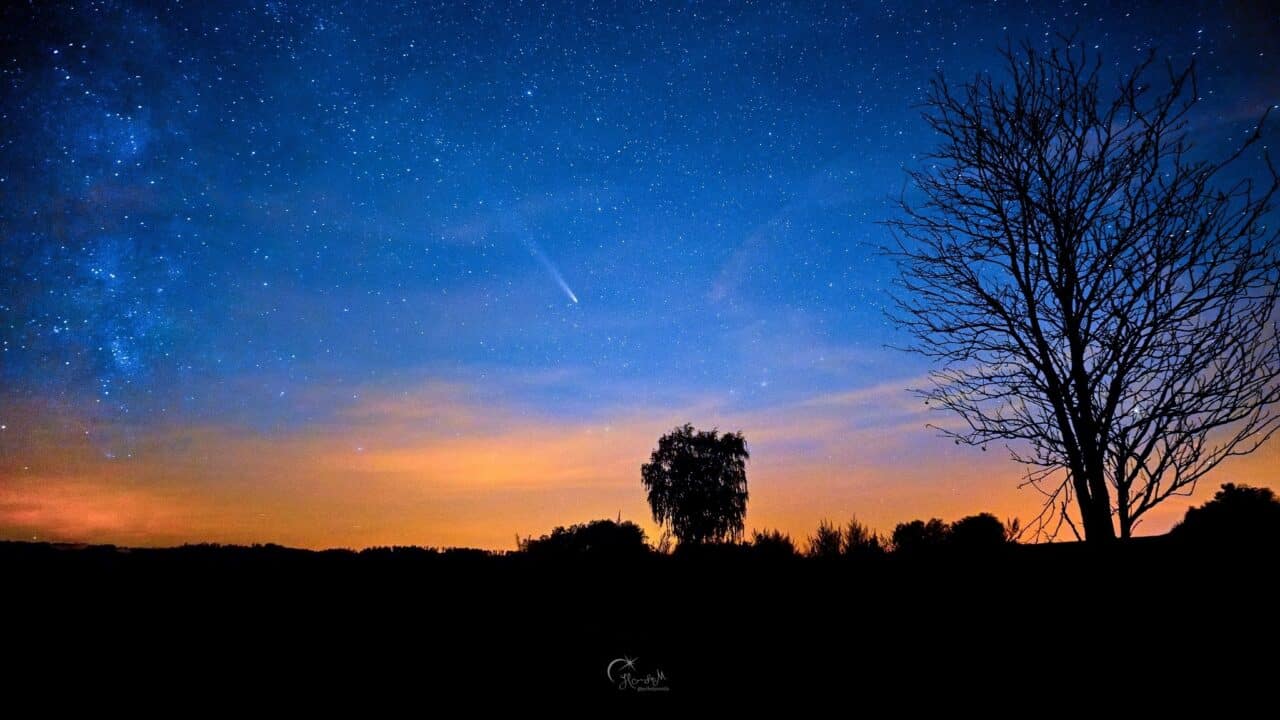
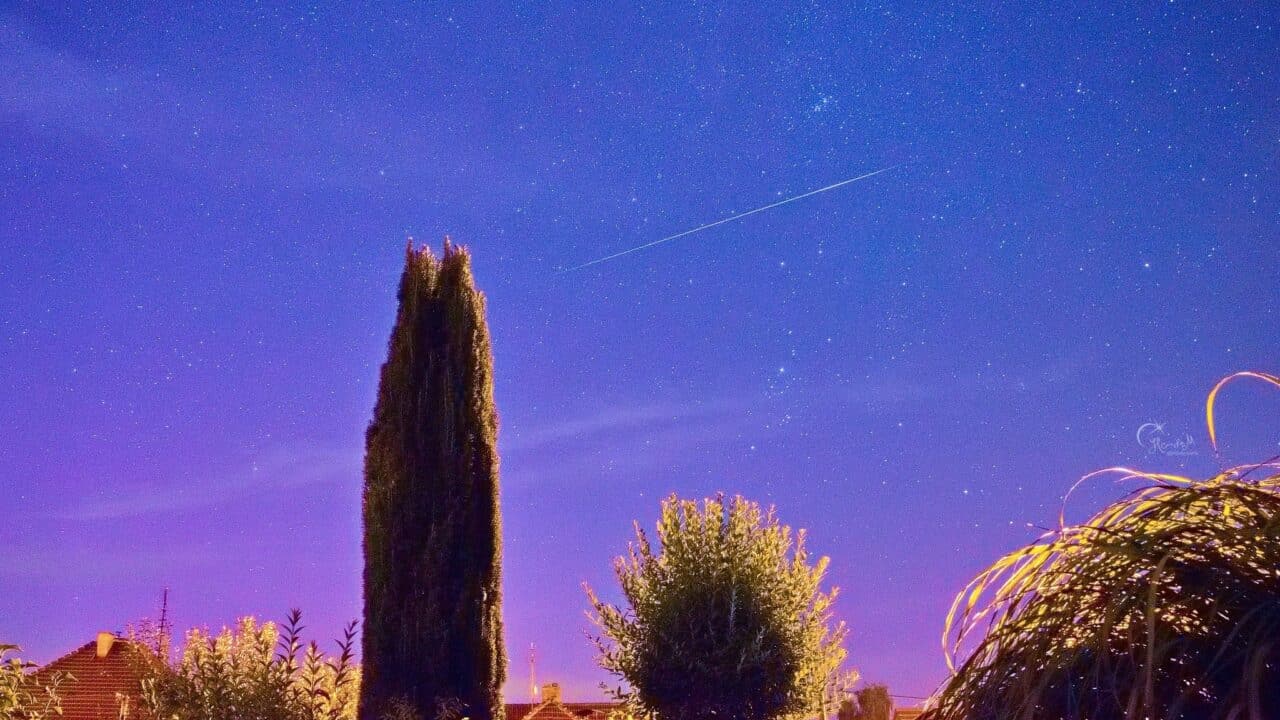
Comets are primarily made of ice and small rocks. They’re part of our solar system and orbit the Sun. As comets approach the Sun, their ice begins to sublimate, forming a bright tail that makes them stand out. After they pass the Sun, a spectacle awaits us.
You can use the website Heavens Above to check for currently observable comets. Most of them are only visible with a telescope. For use in the field, it’s much better to use the Sky Tonight mobile app.

You can tell if a comet is visible to the naked eye by its brightness—the lower the number, the higher the brightness.
For very dark skies, objects brighter than 8m (magnitude) are visible, while those higher than 6m are more likely to be seen. For comparison, the North Star is around 2m, Vega 0.03m, Sirius -2m, the planet Venus is between -3.1m and -4.4m, and Jupiter is -2.7m.
Where to observe the night sky
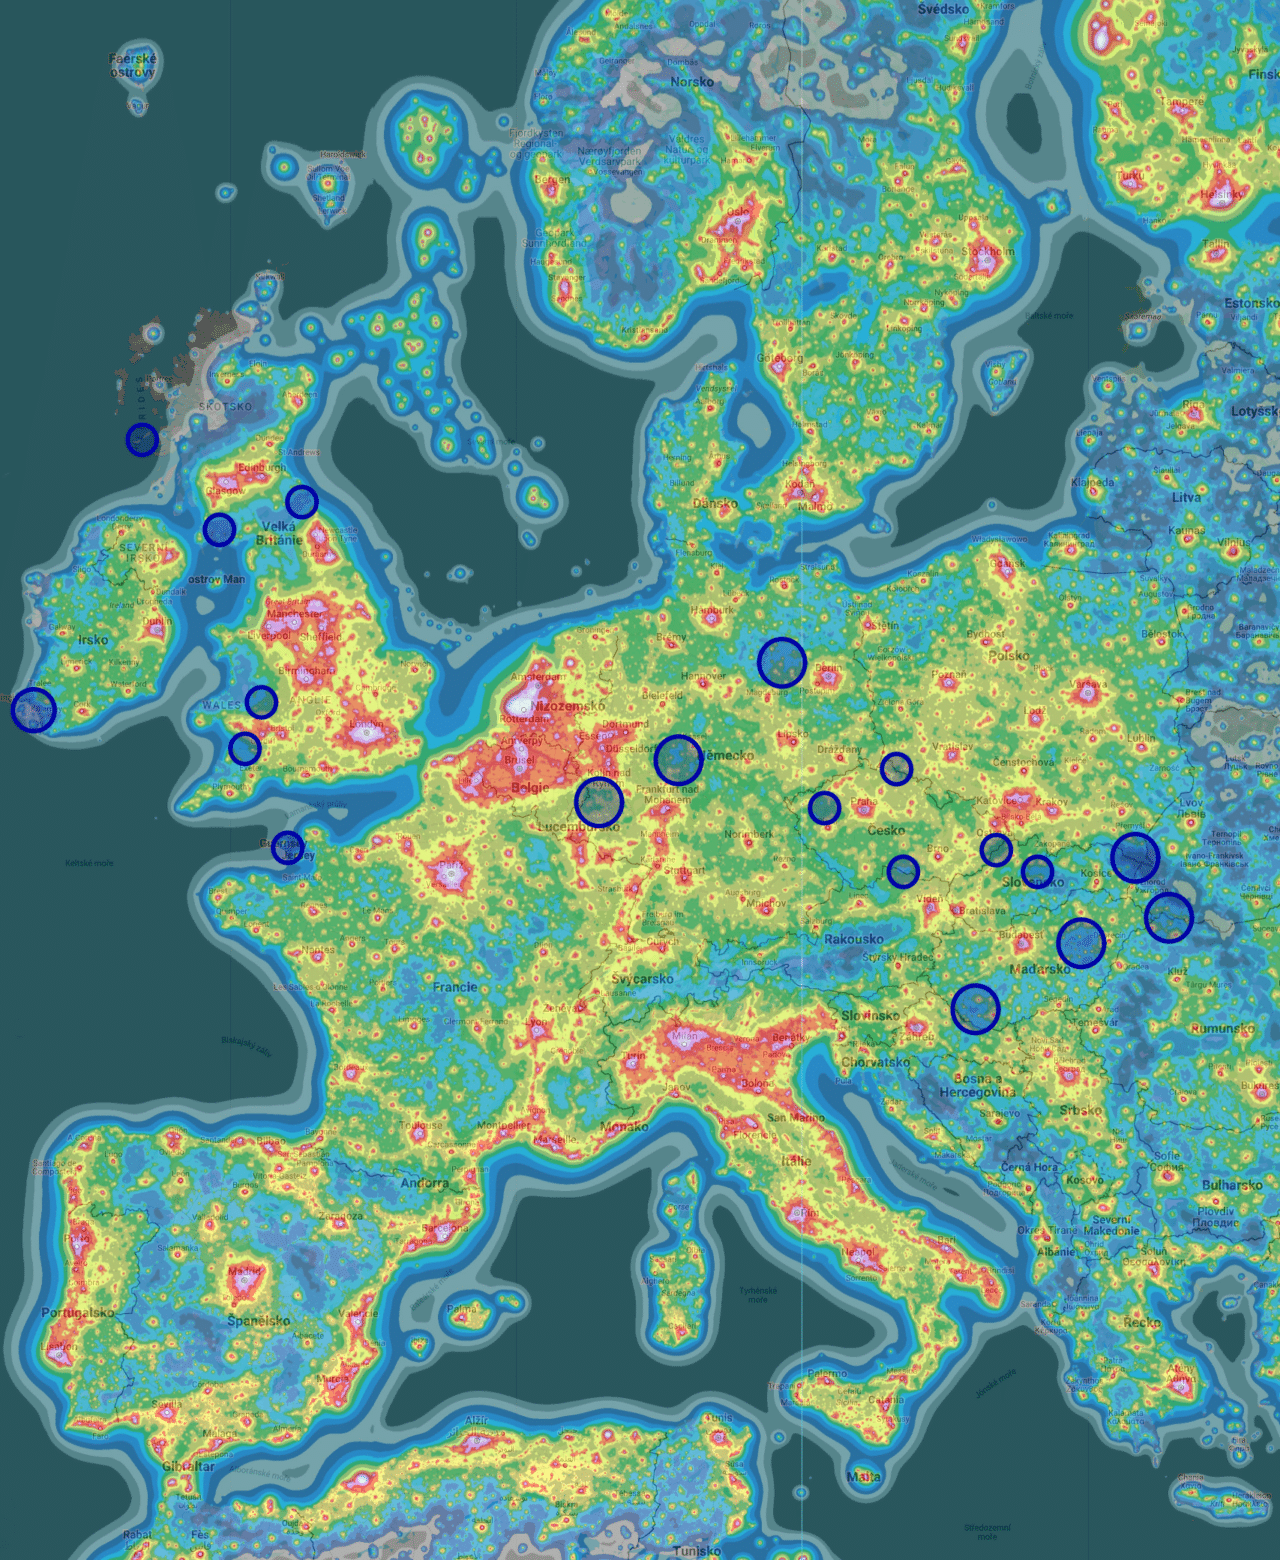
The further you get from the city and light pollution, the better. Typically, these are places in the mountains and other remote areas. However, beautiful locations for shooting comets and moving stars can also be found near cities. You need to use a composition where the light source is out of the picture. A Night Sky filter can help by filtering out the light spectrum typical of urban settings.

There are 17 of these official dark sky sites across all of Europe. They can be found using this map.
Camera settings
For night photography, you are more likely to use low apertures (e.g. f/1.8, f/3.5, etc.). This is because you are focusing to infinity and want as much light as possible. That’s correct—if you manually set a modern lens to focus as far as it goes, the stars will be out of focus. And autofocus probably won’t work. Practice perfecting your focusing with manual focus.
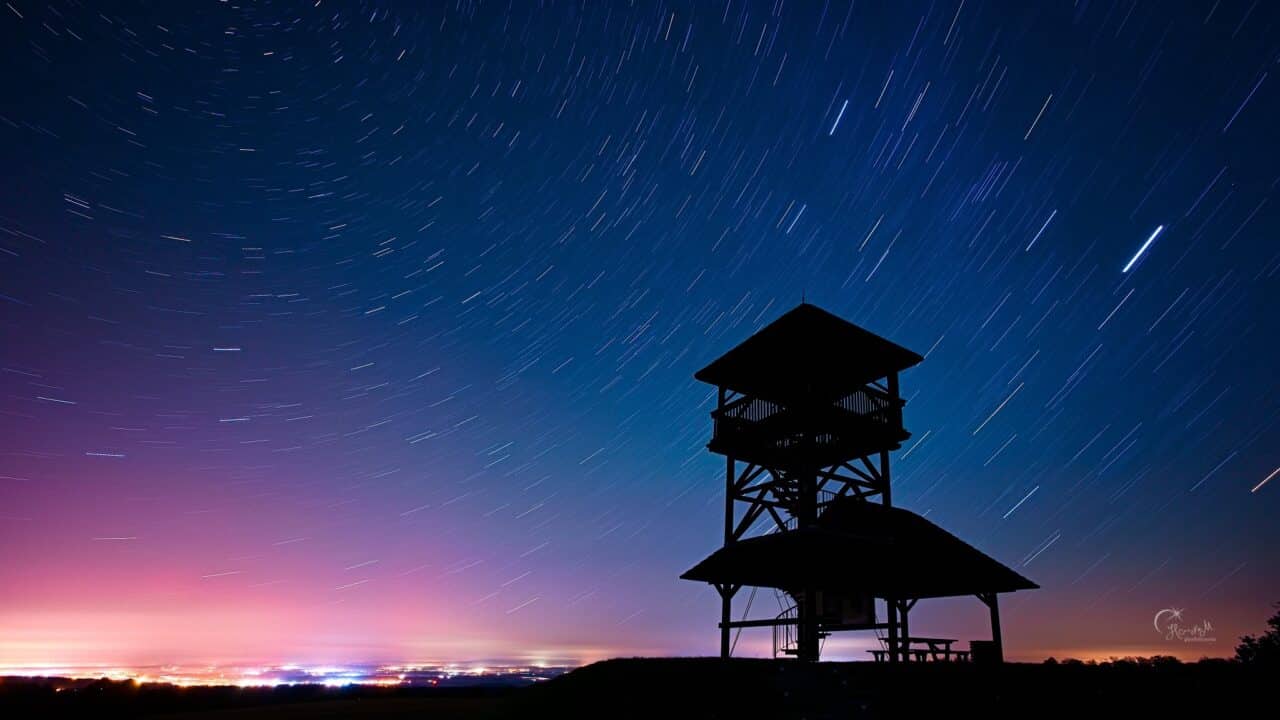
For manual exposure settings, set shutter speed between 5-15s to keep the stars as dots. To capture moving stars, it’s recommended that you use a speed of at least 20 minutes (or stitch together 80 images at 15s). Set ISO so you can get as much image information as possible. Don’t be afraid to set a higher ISO. A shooting star only shoots for a short time, so a long shutter speed won’t help.

Be careful. At night, all images will look nice and bright thanks to the brightness of the display, but they’ll look very dark on your computer.
If you’re still learning, take several shots in a row at different ISO values, including the highest ISO. This will give you an idea of what ISO values result in your camera having too much noise, and which values gives you the best result when editing.
Comets
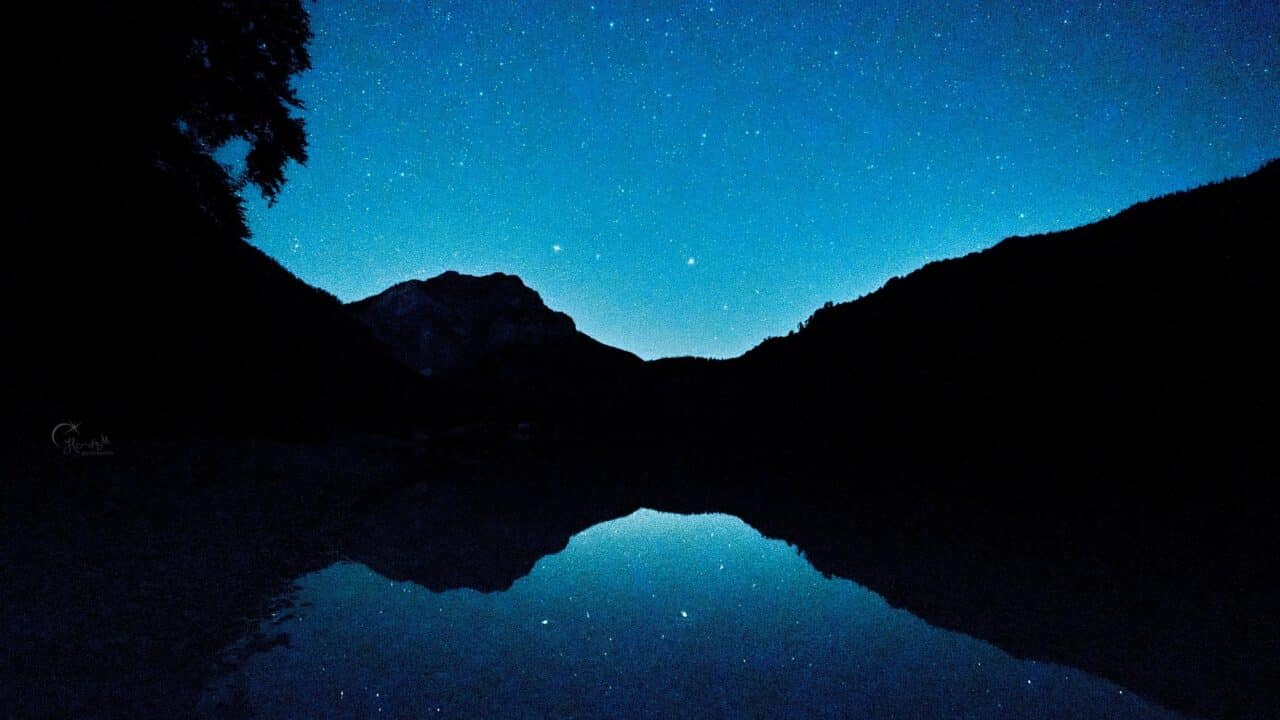
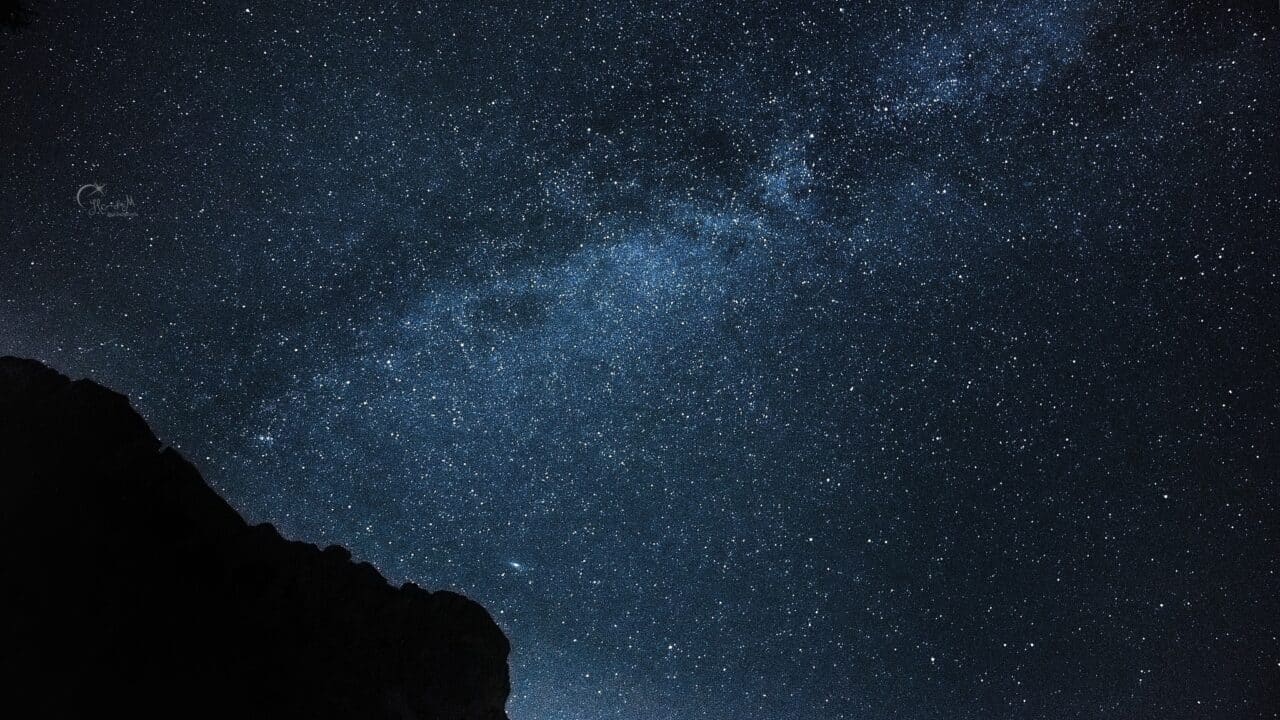
Stars
Northern Lights
In closing
Night photography is a genre that requires post-production. Often this is used to stitch together a series of images to get the highest quality. Even if you shoot “only” one frame, you need to make local adjustments to the image’s exposure. You need to dim the very bright areas caused by light pollution as much as possible and increase the contrast between the night sky and bright stars.
Star trails
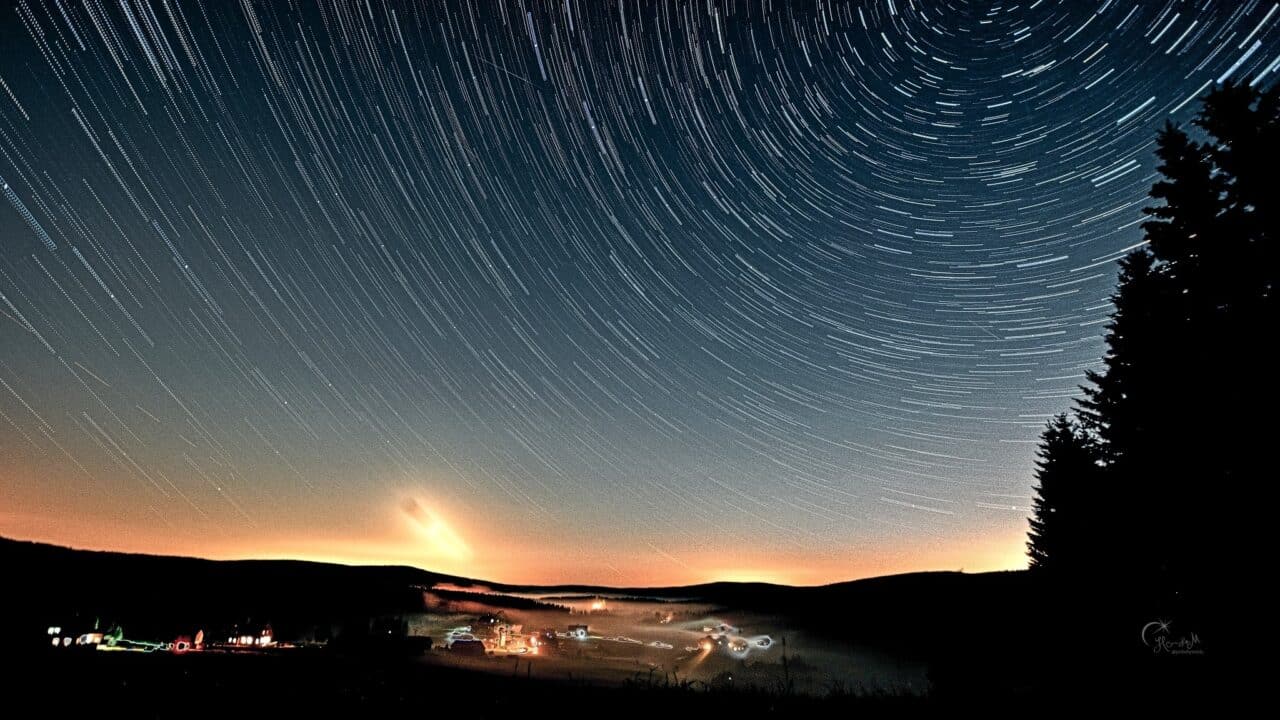
This final image needs the noise to be reduced. For night photography, color noise can be very distracting. Noise Reduction is a very effective tool in Zoner Studio. You can get even better results by stitching together multiple images and using what are called Dark Frames. Last but not least, you can try specialized AI tools.
There are many options for night sky photography. Grab your camera and tripod and head out for some star gazing. Don’t miss these stunning natural phenomena and photography opportunities!

Bob Blaylock
A trick that I have found using my Nikon D3200, and the stock 18-55mm “kit lens” that came with it, to get the lens focused to infinity…
Have the camera try to focus with the lens cap on. It will fail, but where it stops is consistently infinity. Set the camera, then, to manual focus, but leave the auto/manual focus switch on the lens at automatic. The lens will stay locked wherever it was last focused, but with the camera set to manual focus, it will not attempt to focus the lens; so the lens stays at infinity.
Honza Jan Musil
that’s interesting, I’ll try it sometime