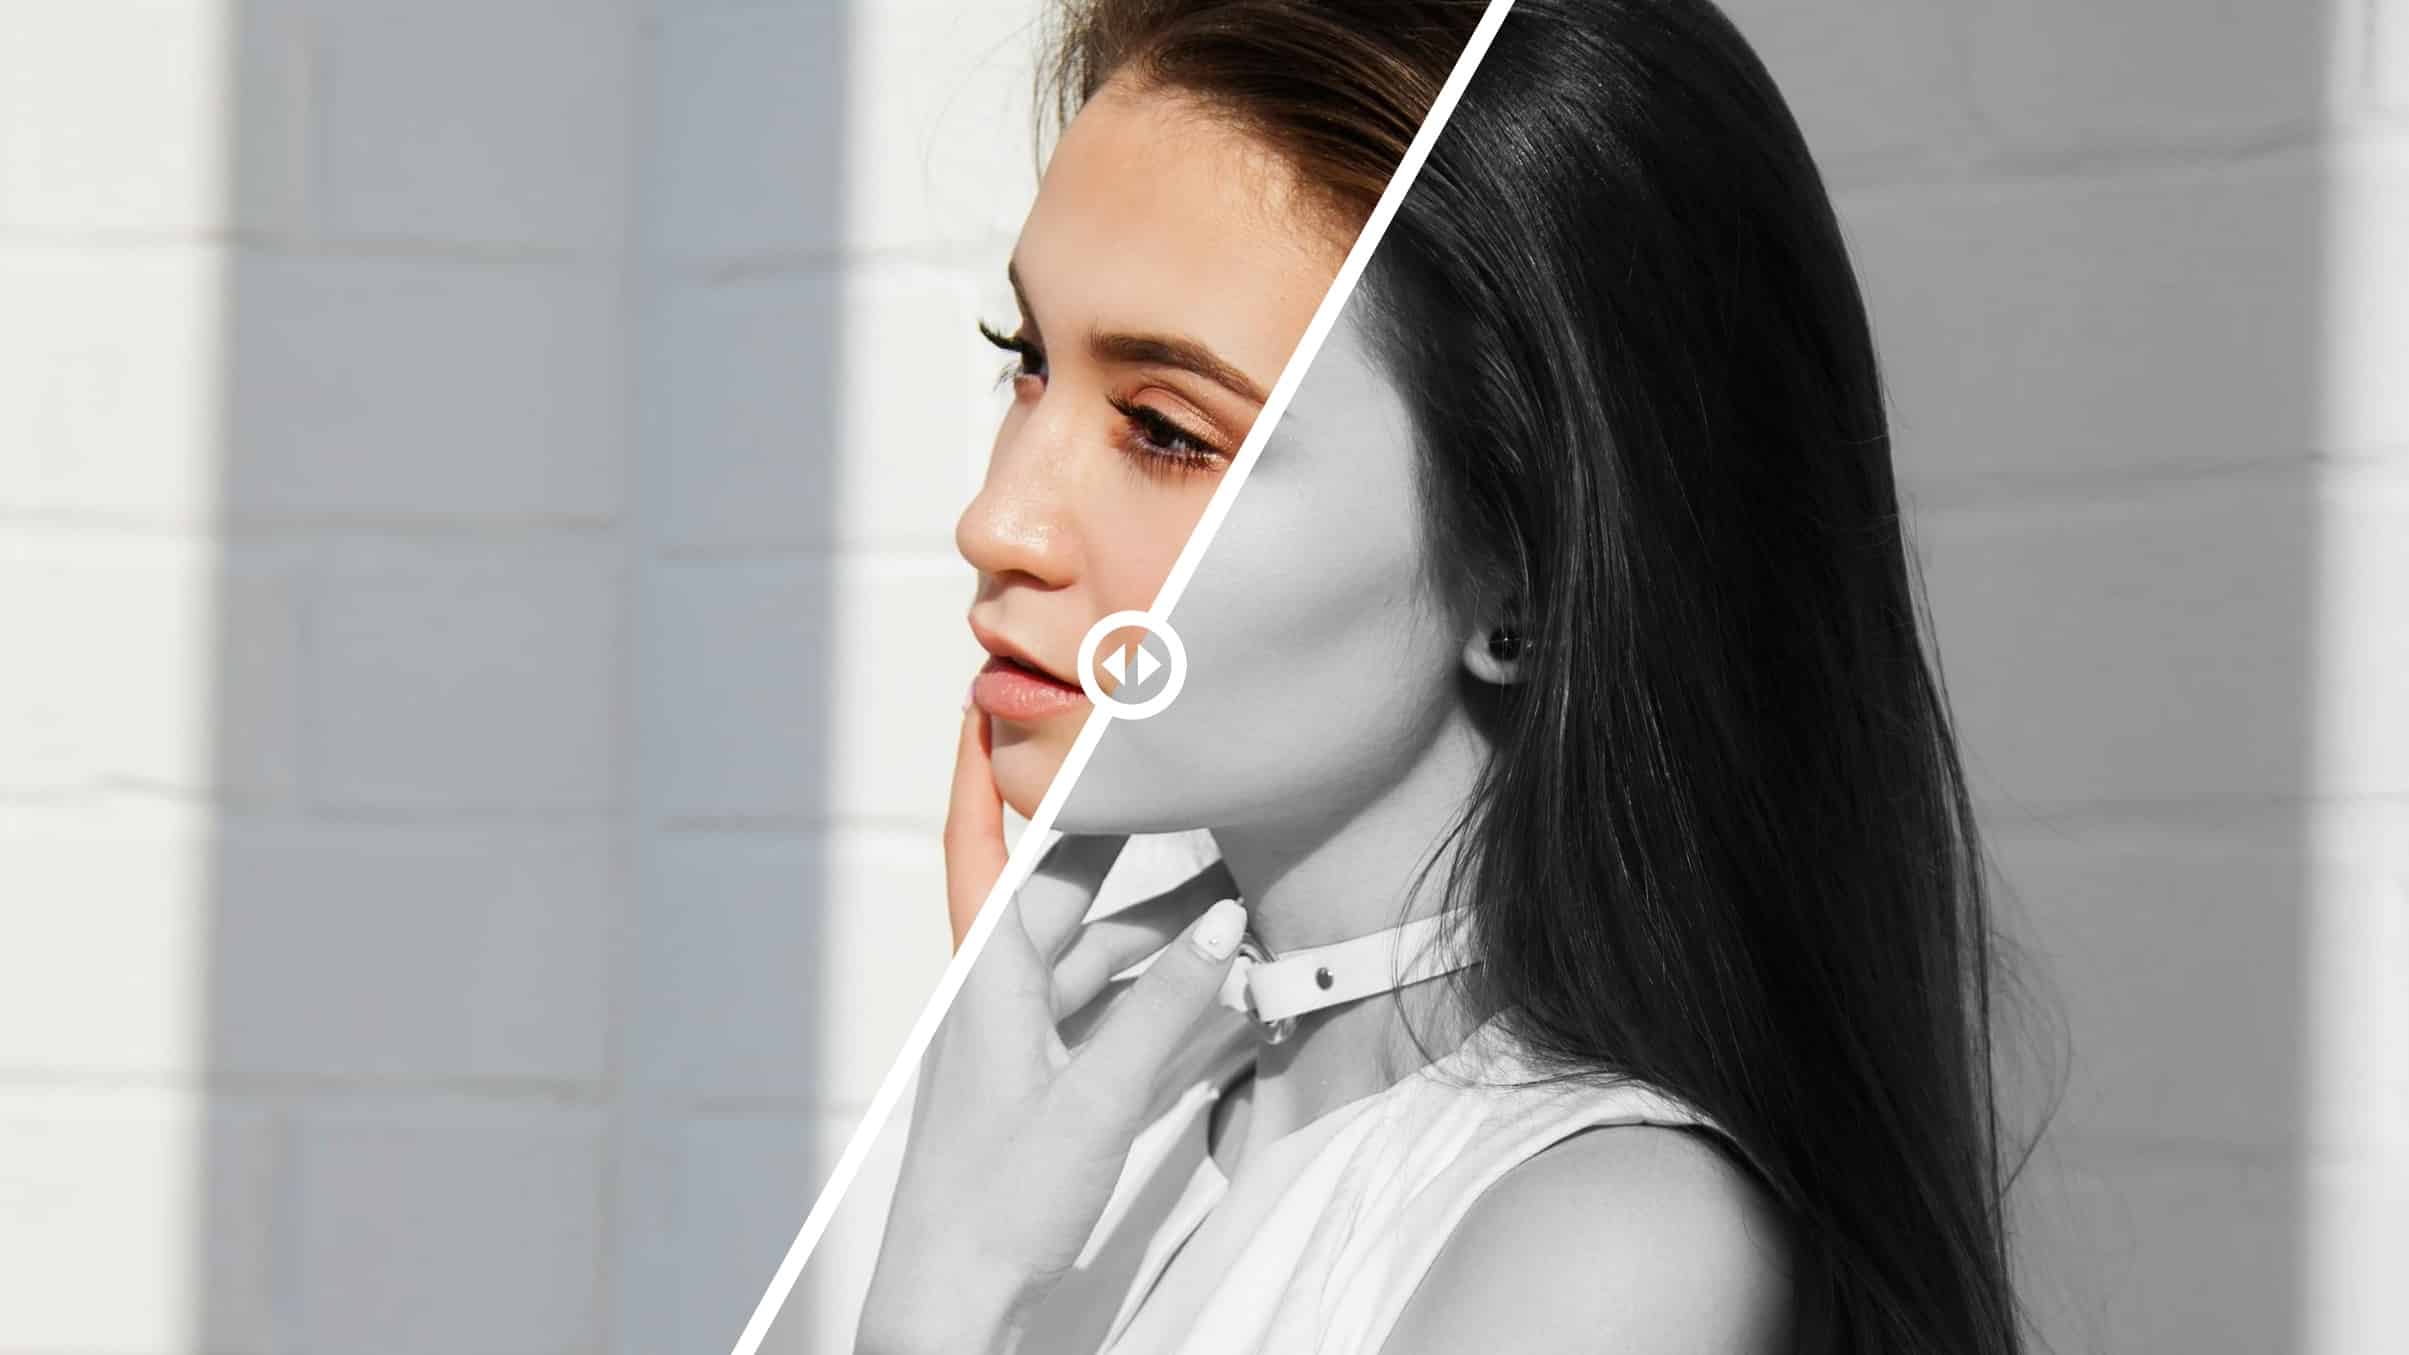
How To Convert Photos to Black and White
The first black and white photograph was taken in 1826 only because color photography did not exist at that time. But color photography quickly took over once it was invented. Black and white photos still have their charm. Many photographers still like to come back to them, whether shooting analog, digital, or in post-production.
In this article, we show you how you can easily convert your photos to black and white using Zoner Photo Studio X.


Don’t be afraid to experiment with black and white for landscapes or photos of flowers. There are plenty of interesting themes for these types of photos.
Not every photo is suitable for converting to black and white. Learn which photos are best to convert to black and white in our video.
Color Style
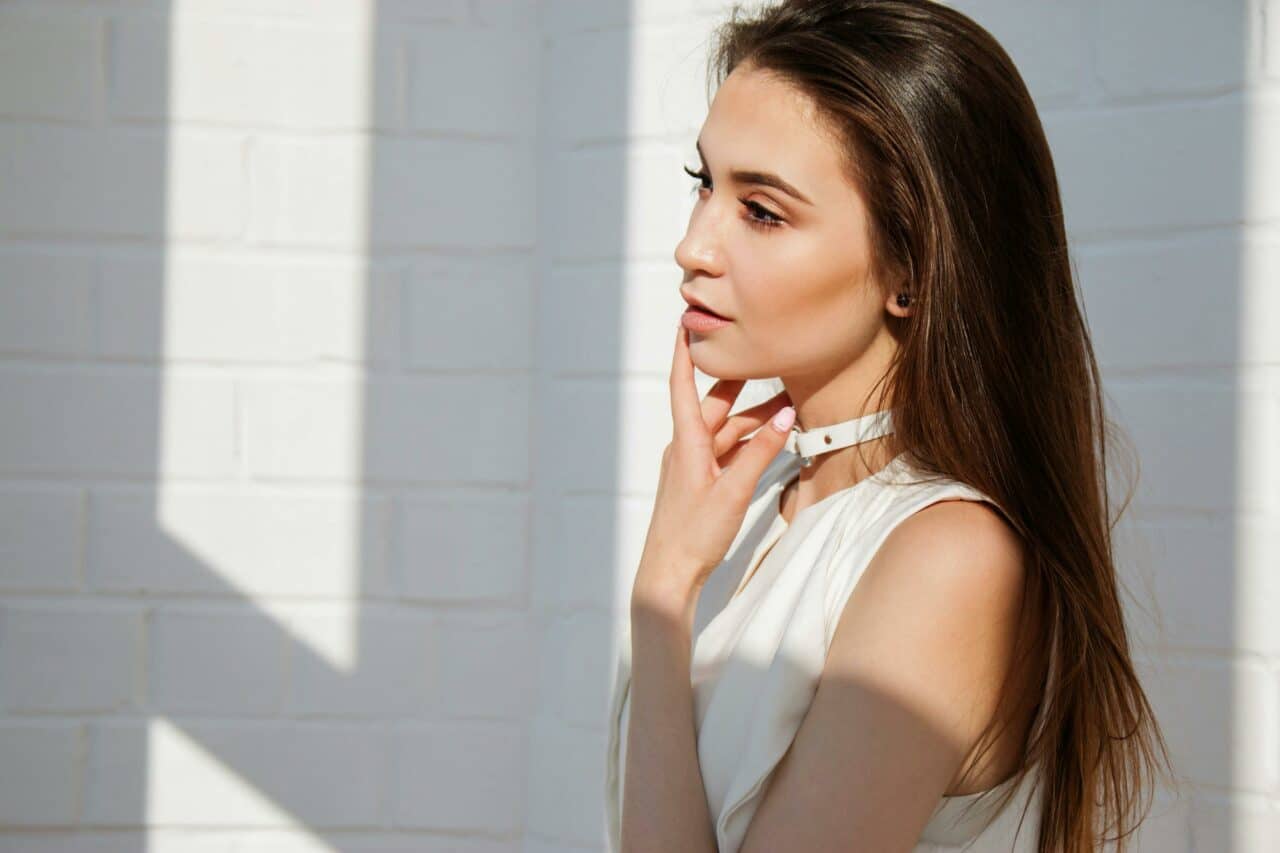
The fastest and most efficient way to convert a photo to black and white is in the Develop module of Zoner Photo Studio X. Click Black and White in the Color Style section of the right panel. For our photo, we chose Portrait for Style.

Manual channel mixing
Your photo is converted to black and white using Color Style, but if you want to make further adjustments, one option is to edit the color channels under Color. You can set the Channel Mixing to Manual. Then, edit each color channel.

The Red channel brightens all reds or darkens colors on the opposite ends of the color spectrum—blues and greens. The Red channel is well suited for high-key portraits or landscapes with blue skies.
The Green channel gives a more pronounced contrast. On the other hand, the Blue channel is the opposite of the red channel. It brightens everything with blue tones and darkens all reds.
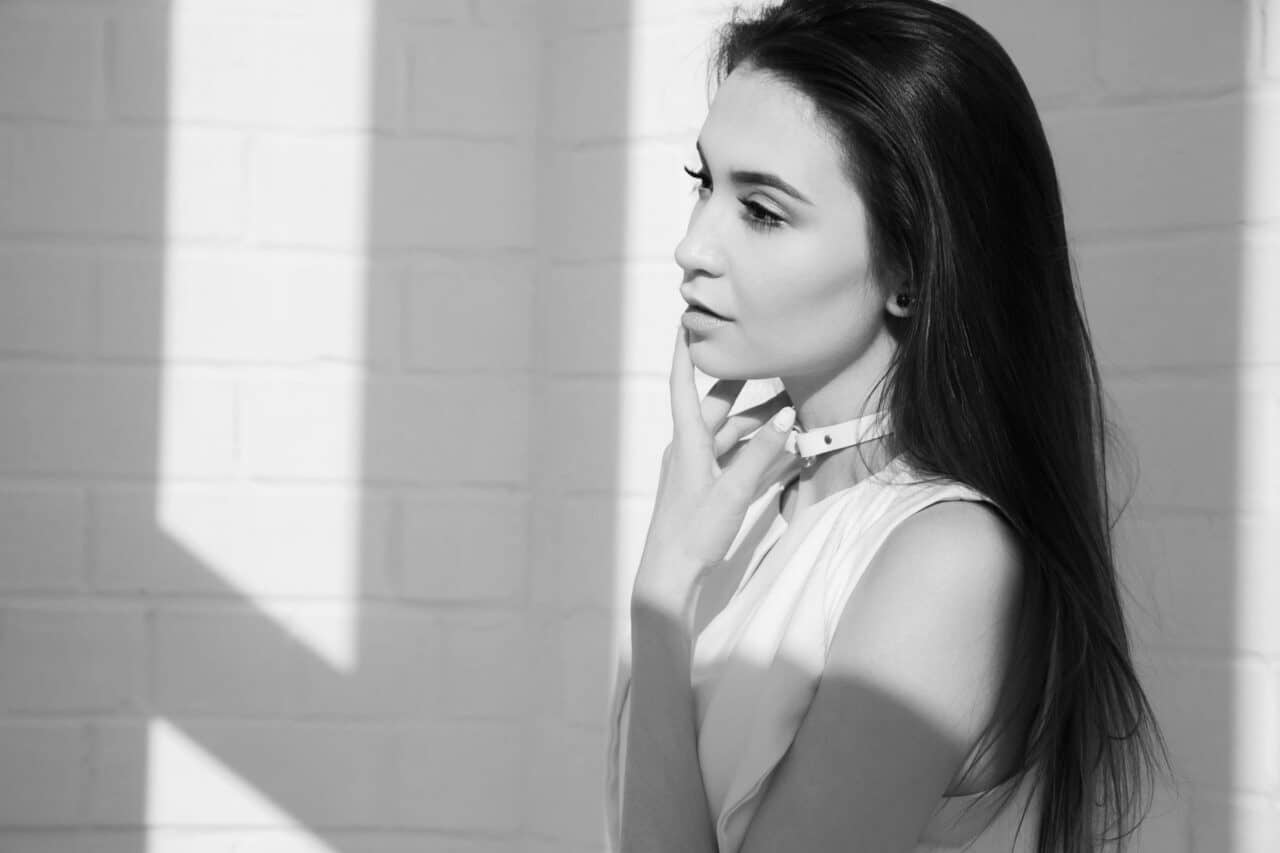
I wanted my photo to have a High-Key effect, so I emphasized the Red channel and decreased the Green and Blue channels.
Exposure
Finally, fine tune the exposure. In my case, I increased Lights under Dynamic Range to bring out the sunlight shining on the model. To increase contrast, I lowered Shadows, which darkened the model’s hair and eyelashes.

The editing style you choose is up to you. I tried to maintain the softness in the model’s face. But you can also use Low-key editing to give your portraits a different look.
Presets
In addition to converting your photo to black and white, you can also use one of the basic black and white presets. The advantage of presets is that you can use them as they are, but also customize their settings to suit your needs.

Ready to give black and white photography a try? Download Zoner Photo Studio X free for 7 days and see what your photos look like in black and white!
gritchen
C’est une aide précieuse Merci
Modi jobi
it’s for when the french version .modijobi
blakshark
Excellent article and very good explanation!
Zoner
We’re very happy you like it, thank you!
guy netud
einfach kolossal, DANKE!!!
Zoner
Wir danken auch!
Bruce Baker-Johnson, Brubaker Imaging
Whilst I agree with a lot of this article I feel it does a basic disservice to monochrome within the camera and other points thereof. As a monochrome (not black and white note – that’s just 2 colour effects) film user both professionally and personally over 65 years i reckon I know a little bit. So digital then. I have my X-Pro and X100S cameras set to take “B&W” (because thats what the menu says) with a filter effect ‘Red’, ‘Yellow, etc just as per my film days – this is set as of course ‘fine’ jpg’s (because that’s what you are stuck with unless you get a dedicated Leica – if only!) PLUS RAW – Hence “FINE+RAW” in the camera. So I have both mono (jpg) and RAW with the colour info. Plus side with the viewfinder system on both these cameras is just being able to flick the front switch to see the subject in mono or colour. The vast majority of the in-camera monochrome shots require no post processing except crop/straighten/add grain etc. It costs you nothing to try this except space on the memory card so just give it a try you may save yourself work and surprise yourself into the bargain.
Aja Vorackova
I believe there’s much more modern cameras can do today, so thank you for this information.