Mastering Colors in Photography: White Balance
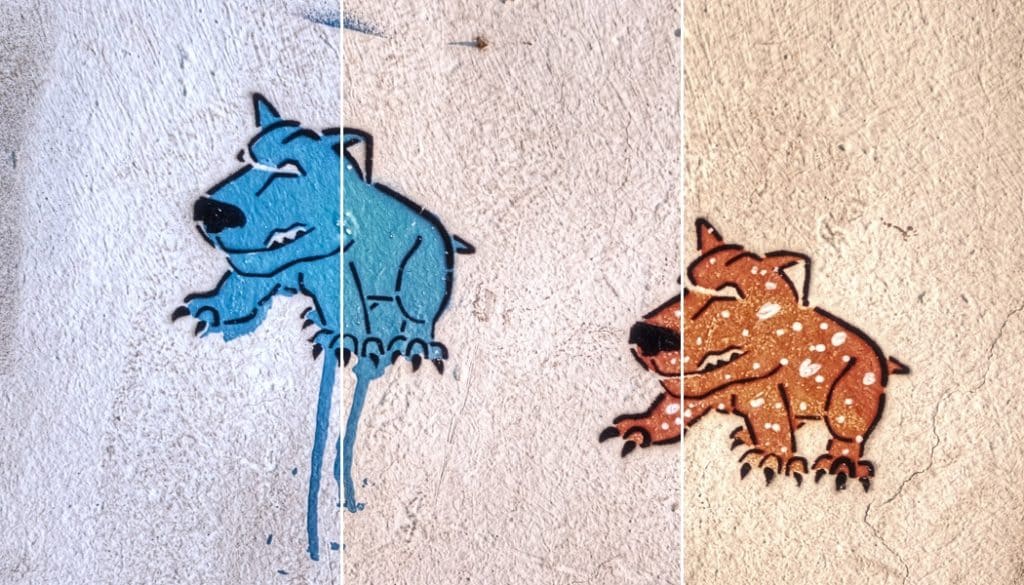
While the human eye can easily adjust to changing light colors, a camera doesn’t have it so easy here. Because of this, you have to let it know when its coloring of a scene differs from reality. The way to do this is via camera modes or automatic white balance. In the following article we’ll take a look at how to fine-tune a scene’s colors so that they match reality.
Digital photographs are made up of information on shades (brightnesses) and colors. The shades in a photo are controlled using your camera’s exposure settings, which you can read about in our article on exposure or our article on the exposure triangle. The basic tool for controlling a photograph’s colors is your camera’s white balance setting.
The Colors of Light
Different light sources have differently colored light. Our minds can adjust our perception of colors very effectively to account for this. For example: when the light from an incandescent bulb falls on a sheet of white paper, it colors that paper orange. Your mind knows that the sheet of paper is actually white, and so in your perception it automatically corrects the color cast caused by the light source’s orange color.
But a camera doesn’t work this way. It records the light’s actual color, and it then has to be told in some way if the scene’s colors are shifted.
The simplest way to see coloring in individual light sources firsthand is to take an evening stroll through the city. Your brain is tuned to the outside light, and when you look into the windows of apartments and houses, you can see orange light from incandescent bulbs, blue light from any CRT televisions you might still encounter, and green light from fluorescent lamps.
Measuring Color Temperature
Color temperature is expressed as the temperature up to which a “black body” (an object that reflects no light) would need to be heated in order to radiate light of that hue. Color temperature is expressed in Kelvin. As you heat up a black body, the heat will gradually turn it red, orange, yellow, and white, until it finally turns blue at its highest temperature. The color-temperature scale is thus the opposite of how we’re accustomed to perceiving colors. The warm hues (red, orange) have a lower color temperature than blue, which we usually would think of as cold.
When taking pictures you need to tell your camera, directly or indirectly, what temperature in Kelvin your lighting has. The camera’s processor then incorporates this information into the final coloring for the photos you take, and so they look like they should, without color casts. While this sounds quite complicated, in practice it’s all very simple.

White Balancing (Setting Correct Color Temperature)
Advanced cameras let you enter the color temperature in Kelvin directly. If you know the color temperature of your light source, then you can work with these exact values. But this is too complicated for everyday work. Fortunately there are several much simpler ways to handle white balance.
Automatic White Balance
Usually with factory settings, your camera is using AWB (Auto White Balance). These sophisticated built-in systems in cameras automatically determine the color temperature of the current lighting and set white balance based on that. Just as with automatic exposure settings, this method is successful about 90 percent of the time, and you can generally rely on it. In situations with complicated lighting, you have several ways to influence the white balance settings.
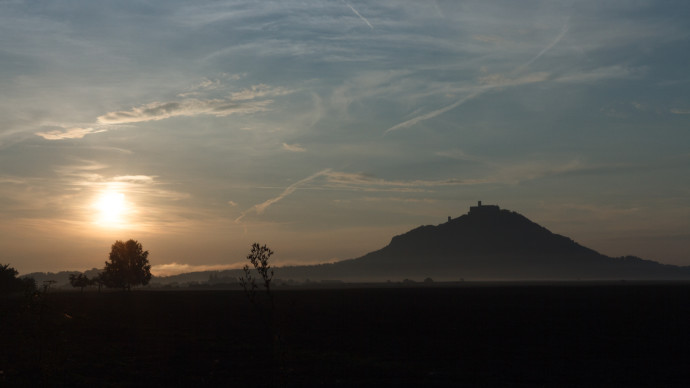
Canon EOS 7D, EF-S 15-85/3.5-5.6, 1/640 s, F16, ISO 100, focus 42 mm (67 mm equivalent)
Manual Presets
The simplest way to influence white balance is through the presets included in your camera. The standard white balance presets have names like daylight, cloudy, shadow, tungsten (or incandescent), fluorescent, and flash. By using one of these presets, you’re selecting the color temperature that the manufacturer feels is a good fit for the situation described by that preset. For everyday photography, these presets are definitely enough. But when you need to set white balance more precisely, there are tools for that as well.
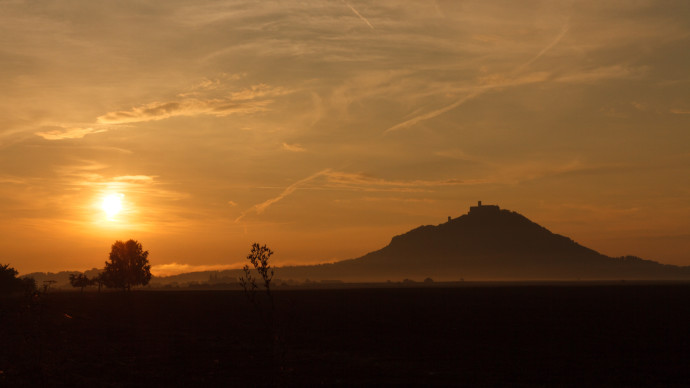
Canon EOS 7D, EF-S 15-85/3.5-5.6, 1/640 s, F16, ISO 100, focus 42 mm (67 mm equivalent)
Precise White Balance Settings (Gray Card, Expodisk)
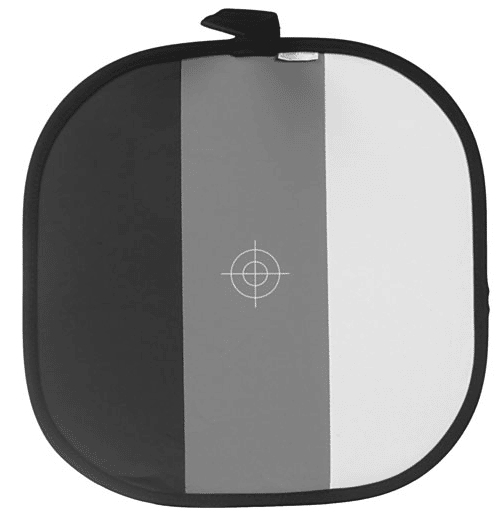
Advanced cameras let you set white balance precisely by taking a shot that includes a neutral (white or gray) surface, and setting color temperature based on that picture. Every camera handles this a little differently; you need to learn how it’s done on your camera, so read about this in its manual.
A gray card (the cheap solution) or e.g. a special white balance filter (expodisc) are good for use in your neutrally colored picture.
White Balance Correction
Some cameras also offer a way to correct white balance—to shift it a little warmer or colder compared to your setting. Let’s say you’re shooting in constant light conditions and you have your white balance set correctly, but you want your final pictures to be a little warmer. Using white balance correction, you can slightly shift all your future shots in the set towards warmer tones.
White Balance Bracketing
When you’re not sure what’s the best white balance to use, certain cameras can help out via white balance bracketing. With this mode, pressing the trigger makes the camera take three shots. One based on the white balance setting, one cooler shot, and one warmer shot. You can then go on and choose the take that fits you best.
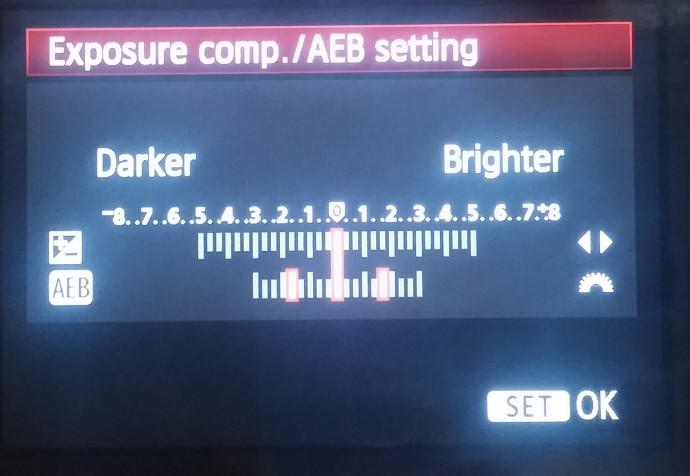
Complicated Lighting Conditions (Mixed Lighting)
Work with white balance settings is simple… as long as you’re working with a single light source, or multiple sources that have the same color temperature. But sometimes you’ll be photographing scenes that mix multiple light sources, each with a different color temperature. The solutions for these situations vary.
If you’re taking pictures at a concert, for example, then the colored lights are part of the show, and so it’s best to balance for daylight and record the show’s chromatic atmosphere.
Meanwhile, if you’re taking pictures in a room lighted with a mix of fluorescent light and of daylight coming through a window, then you need to balance for both sources… which is impossible to do in-camera. In complicated situations like these, you’ll have to turn to work in a photo editor. The simplest solution, and a popular one, is to convert the photo to black and white. To actually preserve the colors in the photo, you’ll need to use local color edits.
White Balancing on a Computer
All of the above information on white balance settings is mainly important if you are shooting to JPEG format. Although even JPEG photos can be edited in Zoner Studio if the color shift needed is not too large, you keep complete control over white balance after the shot when you’re shooting to RAW format.
The right route here is to take a shot containing a neutrally colored surface (e.g. a gray card) every time the light changes. These shots will then be your reference for setting white balance in the other photos you take in the same light conditions.
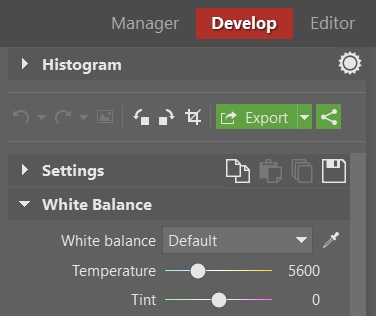
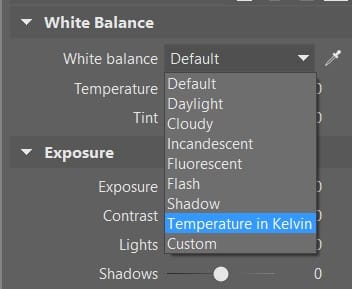
For professional product photography you need to set how the products’ colors will look precisely. Here even white balance settings based on a neutrally colored surface may not be enough. Specially calibrated cards with a variety of colored boxes are used in this situation. You photograph the card, and then a compatible RAW converter uses it to compose a custom color profile, enabling you to balance the photo’s colors precisely. One popular, high-quality solution here is the ColorChecker Passport by X-Rite.
White Balancing Creatively
You don’t always have to use white balance settings to get technically correct colors. You can also use them to deliberately shift a picture’s tinting towards warmer or cooler shades, to give it an unusual atmosphere.
One popular trick among portrait photographers when shooting in daylight is to deliberately set the white balance to Cloudy. This gives a warmer picture, which is a plus for portraits. Warmer skin colors make a portrait livelier.
Learn Manual Settings to Improve Your Photos
If you shoot to JPEG format, then setting white balance correctly in your camera is very important. If you shoot to RAW, then you can still change white balance without losing quality while developing your photos in e.g. the Develop section of Zoner Studio.
Generally you can rely on automatic white balance in your camera, but once you learn to consistently use manual presets, you’ll get more constant colors in your pictures. There are many tools out there for precise white balancing. The simplest of them are standard gray cards.
Want to Learn More About Exposure? Read our other articles on this topic:
Learn What Exposure Is and How It Shapes Your Photos
Discover the 3 Keys to Good Exposure: The Exposure Triangle
Discover the Three Keys to Good Exposure: ISO
Mastering Colors in Photography: White Balance
There are no comments yet.