One-Minute Edit: How to Brighten a Photo That’s Too Dark
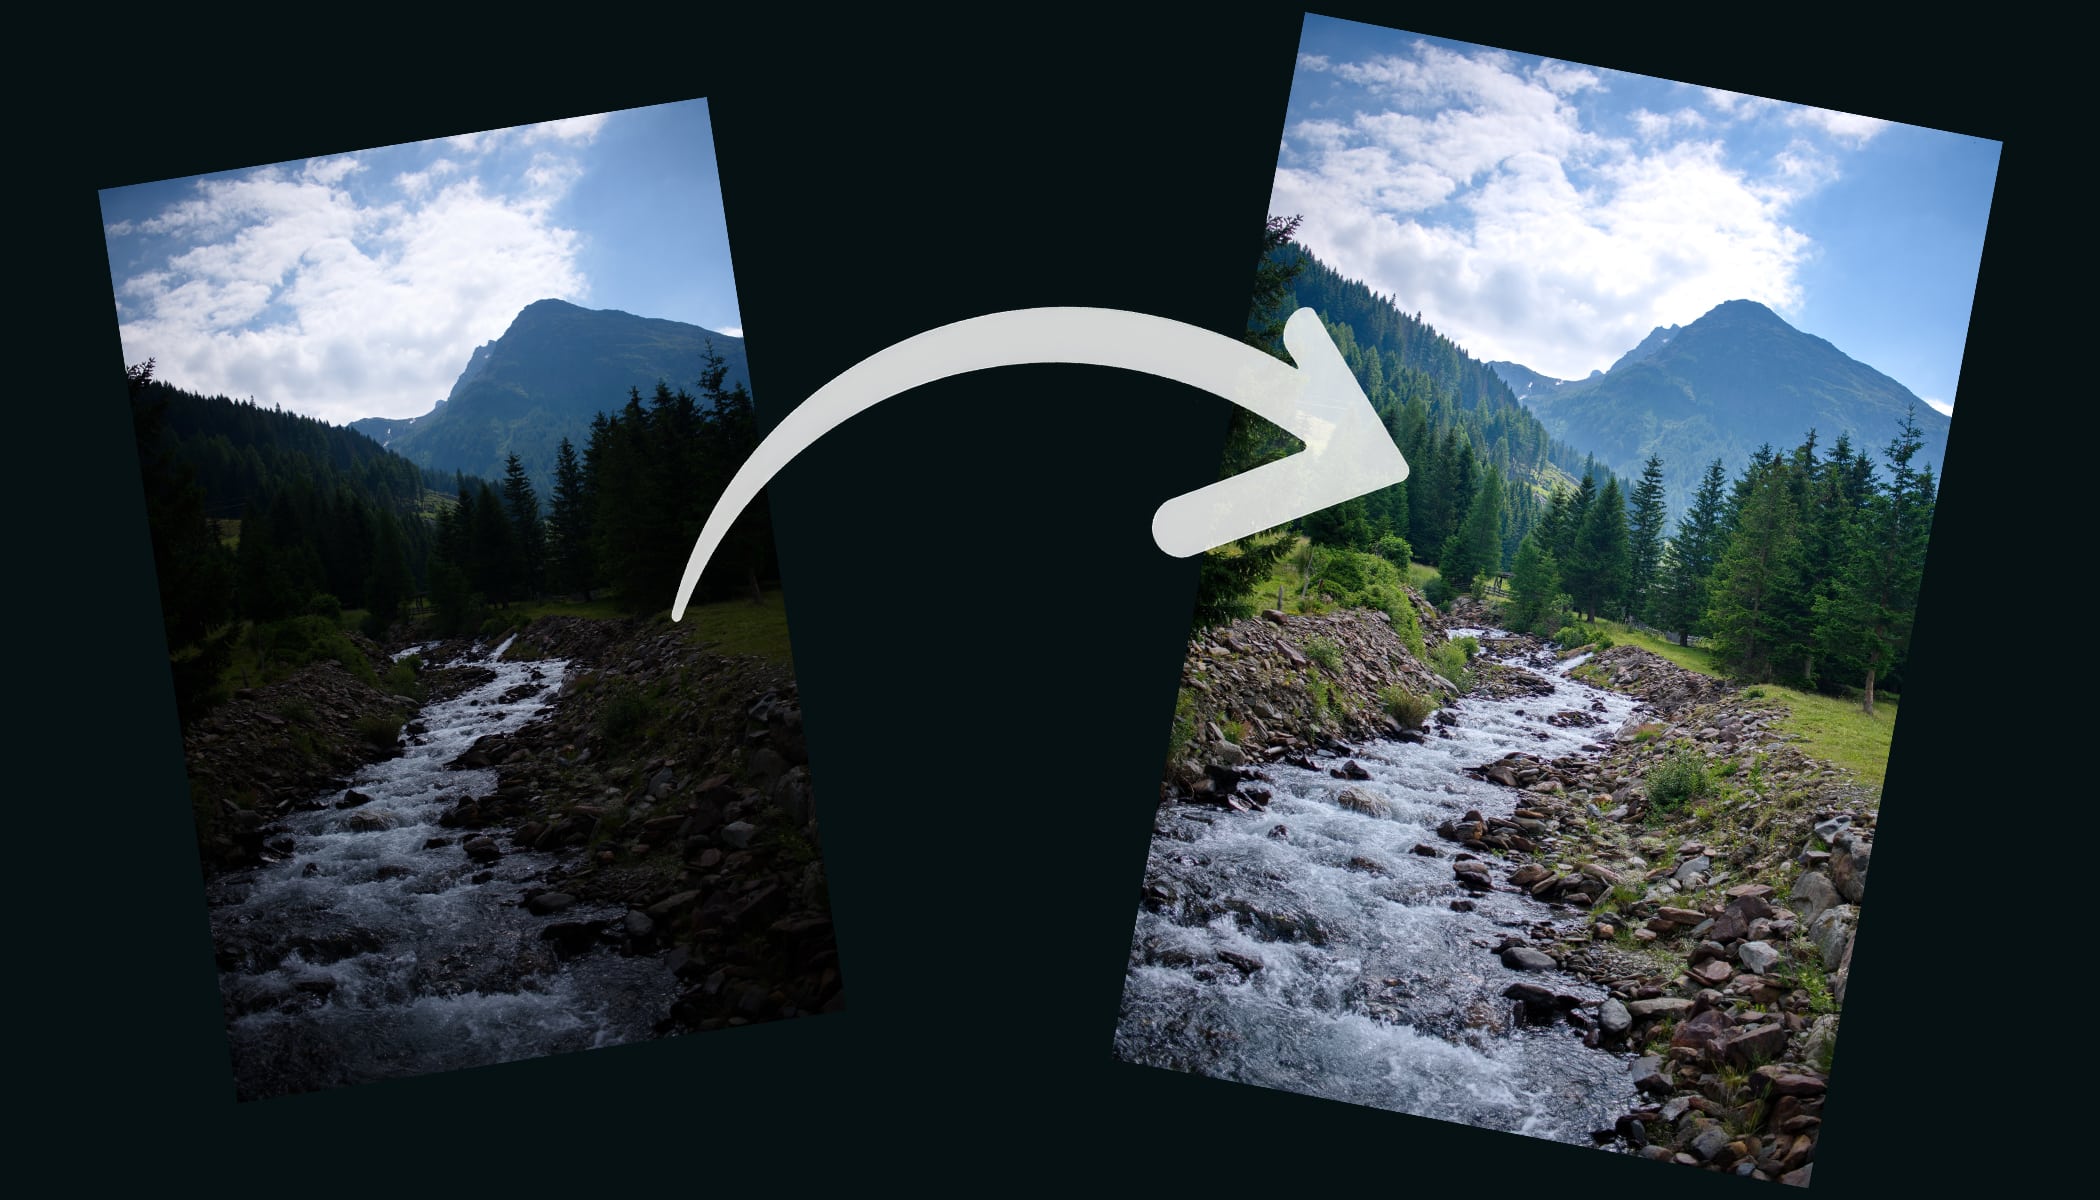
A dark photo with lost details, blocked shadows, and flat-looking tones—most photographers have been there. The shot itself might be great, but the image simply looks too dark. The good news? Brightening a photo in Zoner Studio only takes a moment. Here’s how to adjust the exposure and bring back hidden details.
With just a few simple adjustments in the Develop module, you can make your photo brighter and more natural-looking. There’s no need for complicated editing—the key is using the Exposure, Highlights, and Shadows sliders correctly. In this tutorial, you’ll learn how to brighten a dark photo in under a minute.
Browse through the gallery for a quick visual guide to each step, or read the detailed instructions below. If you don’t have Zoner Studio yet but want to try the edit yourself, download the free 7-day trial. Even complete beginners can master this adjustment.
How to Brighten a Dark Photo in Zoner Studio


Start with the Exposure slider
If your photo is too dark overall, begin by increasing the Exposure. This brightens the entire image evenly. Make adjustments gradually, as pushing the slider too far can blow out the brightest areas. Aim for a natural-looking result that preserves detail.
Fine-tune the Lights
Increasing Exposure can make bright areas too bright. If that happens, lower the Lights slider to recover detail in the lightest parts of the image and keep the photo balanced. In some cases, you may want to increase Lights instead—it all depends on the individual photo.
Recover details from the shadows
Once the highlights look good, adjust the Shadows slider. Raising it brightens the darker parts of the image and reveals hidden details in areas such as hair, clothing, or dark backgrounds. Be careful not to overdo it, or the photo may start to look flat.
Reduce noise and add a touch of sharpening
Brightening an image often makes noise more noticeable, especially in shadow areas. As a final step, reduce luminance noise and, if needed, color noise as well. Then apply a small amount of sharpening to keep the image crisp and natural.
Key Takeaways
Brightening a dark photo in Zoner Studio is all about increasing Exposure, fine-tuning Highlights, and lifting the Shadows. Finish by reducing noise and adding a subtle amount of sharpening.
With these simple steps, you can transform even a very dark image in less than a minute and restore its natural look.
There are no comments yet.