Tips for Taking and Editing Portraits Against a Bright Sky
The sky can be tricky to get right for many photographers. The majority of us remember a time when we were on vacation and made the whole family move from place to place so we didn’t have to shoot against the sun. Luckily, technology and software today allow us to shoot in backlight without a problem. It’s important to keep a few basic rules in mind. Watch the camera settings and know how to use Zoner Studio to properly edit the photo later. Learn how to do all of this in this article.
The sky can be beautifully dramatic or romantic. If you use it to your advantage, it can add the right color and atmosphere to your photograph. There are many methods for shooting against a bright sky:
- Use flash. I am partial to a remote flash that can be placed anywhere I need. I also add a softbox to better diffuse the light. This is certainly the most demanding option, technically speaking.
- Use a reflector. It will help you angle the light where you need it, such as the model’s face. It’s also very affordable.
- Use the right settings. It’s best to shoot in RAW and use Zoner Studio for adjustments to exposure and dynamic range.
Underexpose the image
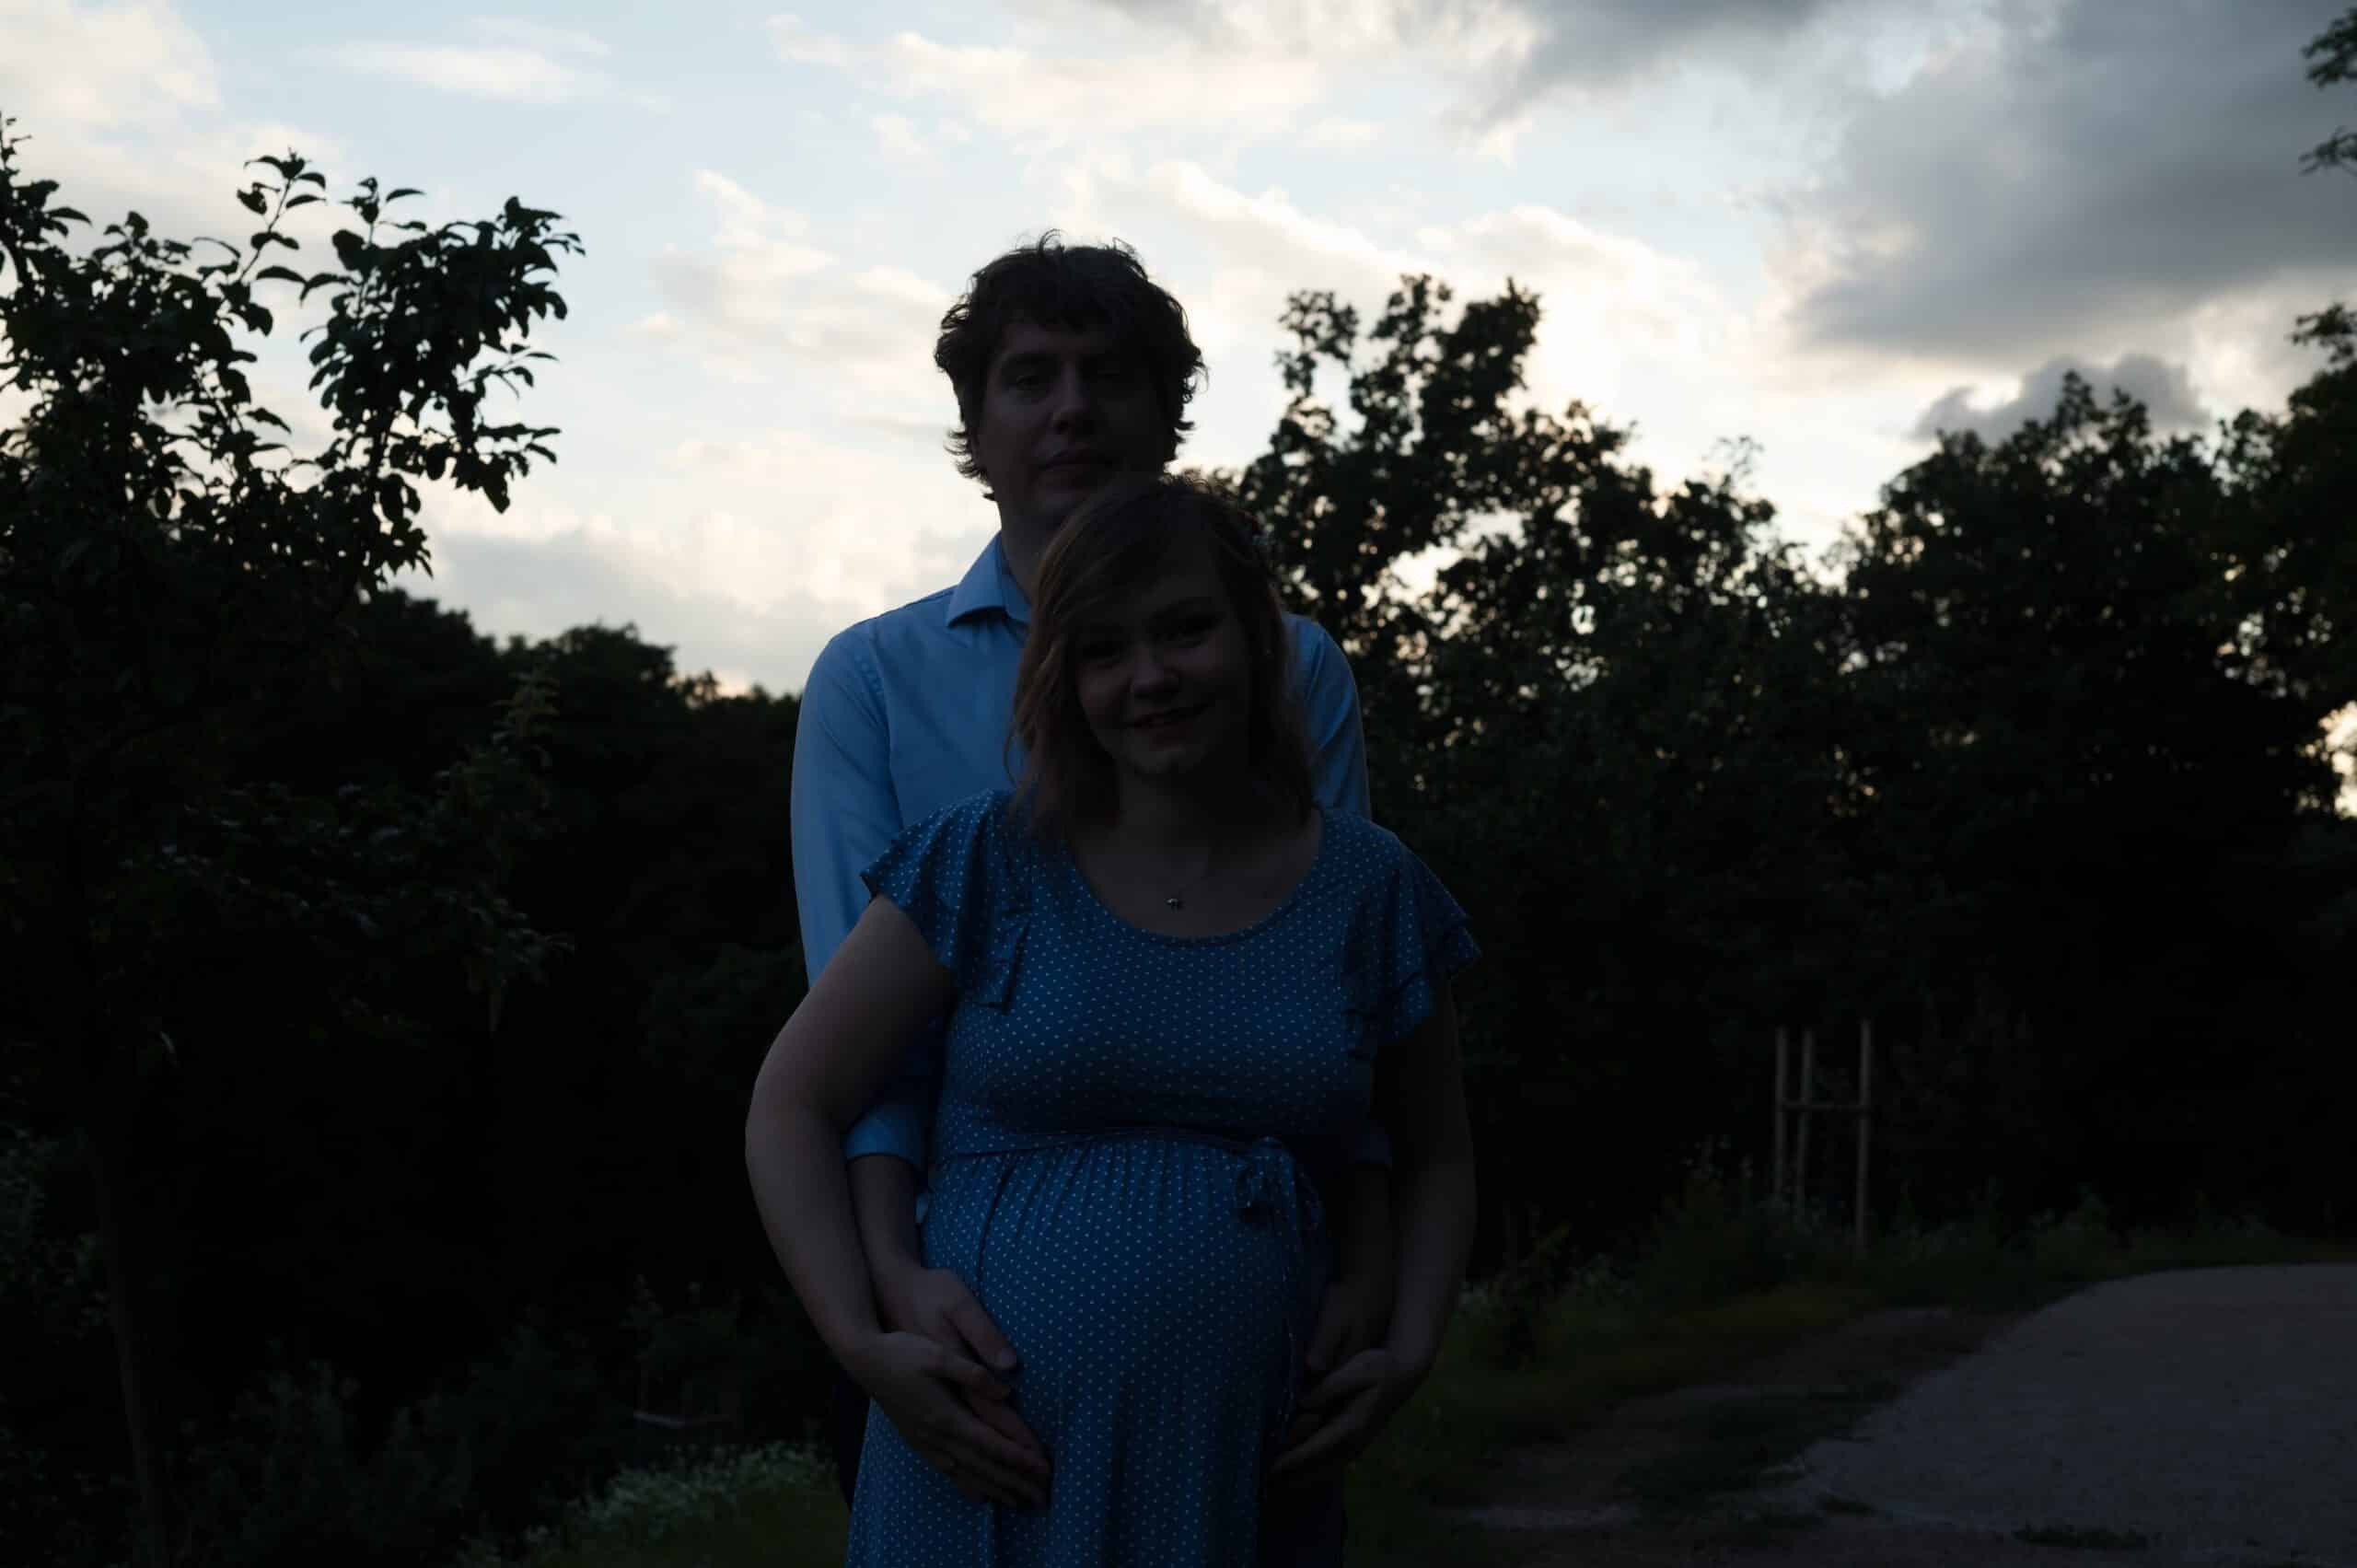
When shooting against the sky, it’s necessary to slightly underexpose the scene. If the sky is too bright in your photo, there’s no way to fix it. On the other hand, when you underexpose, your subject’s face will be very dark. You then need to brighten it using either flash or a reflector, or by editing in post-production.
Not using any additional lighting does carry the risk of increased noise in the photo. Nevertheless, this isn’t necessarily a bad thing, especially if you don’t have a remote flash or assistant that can hold a reflector for you. The best option is to use a combination of on-site lighting and post-production editing.
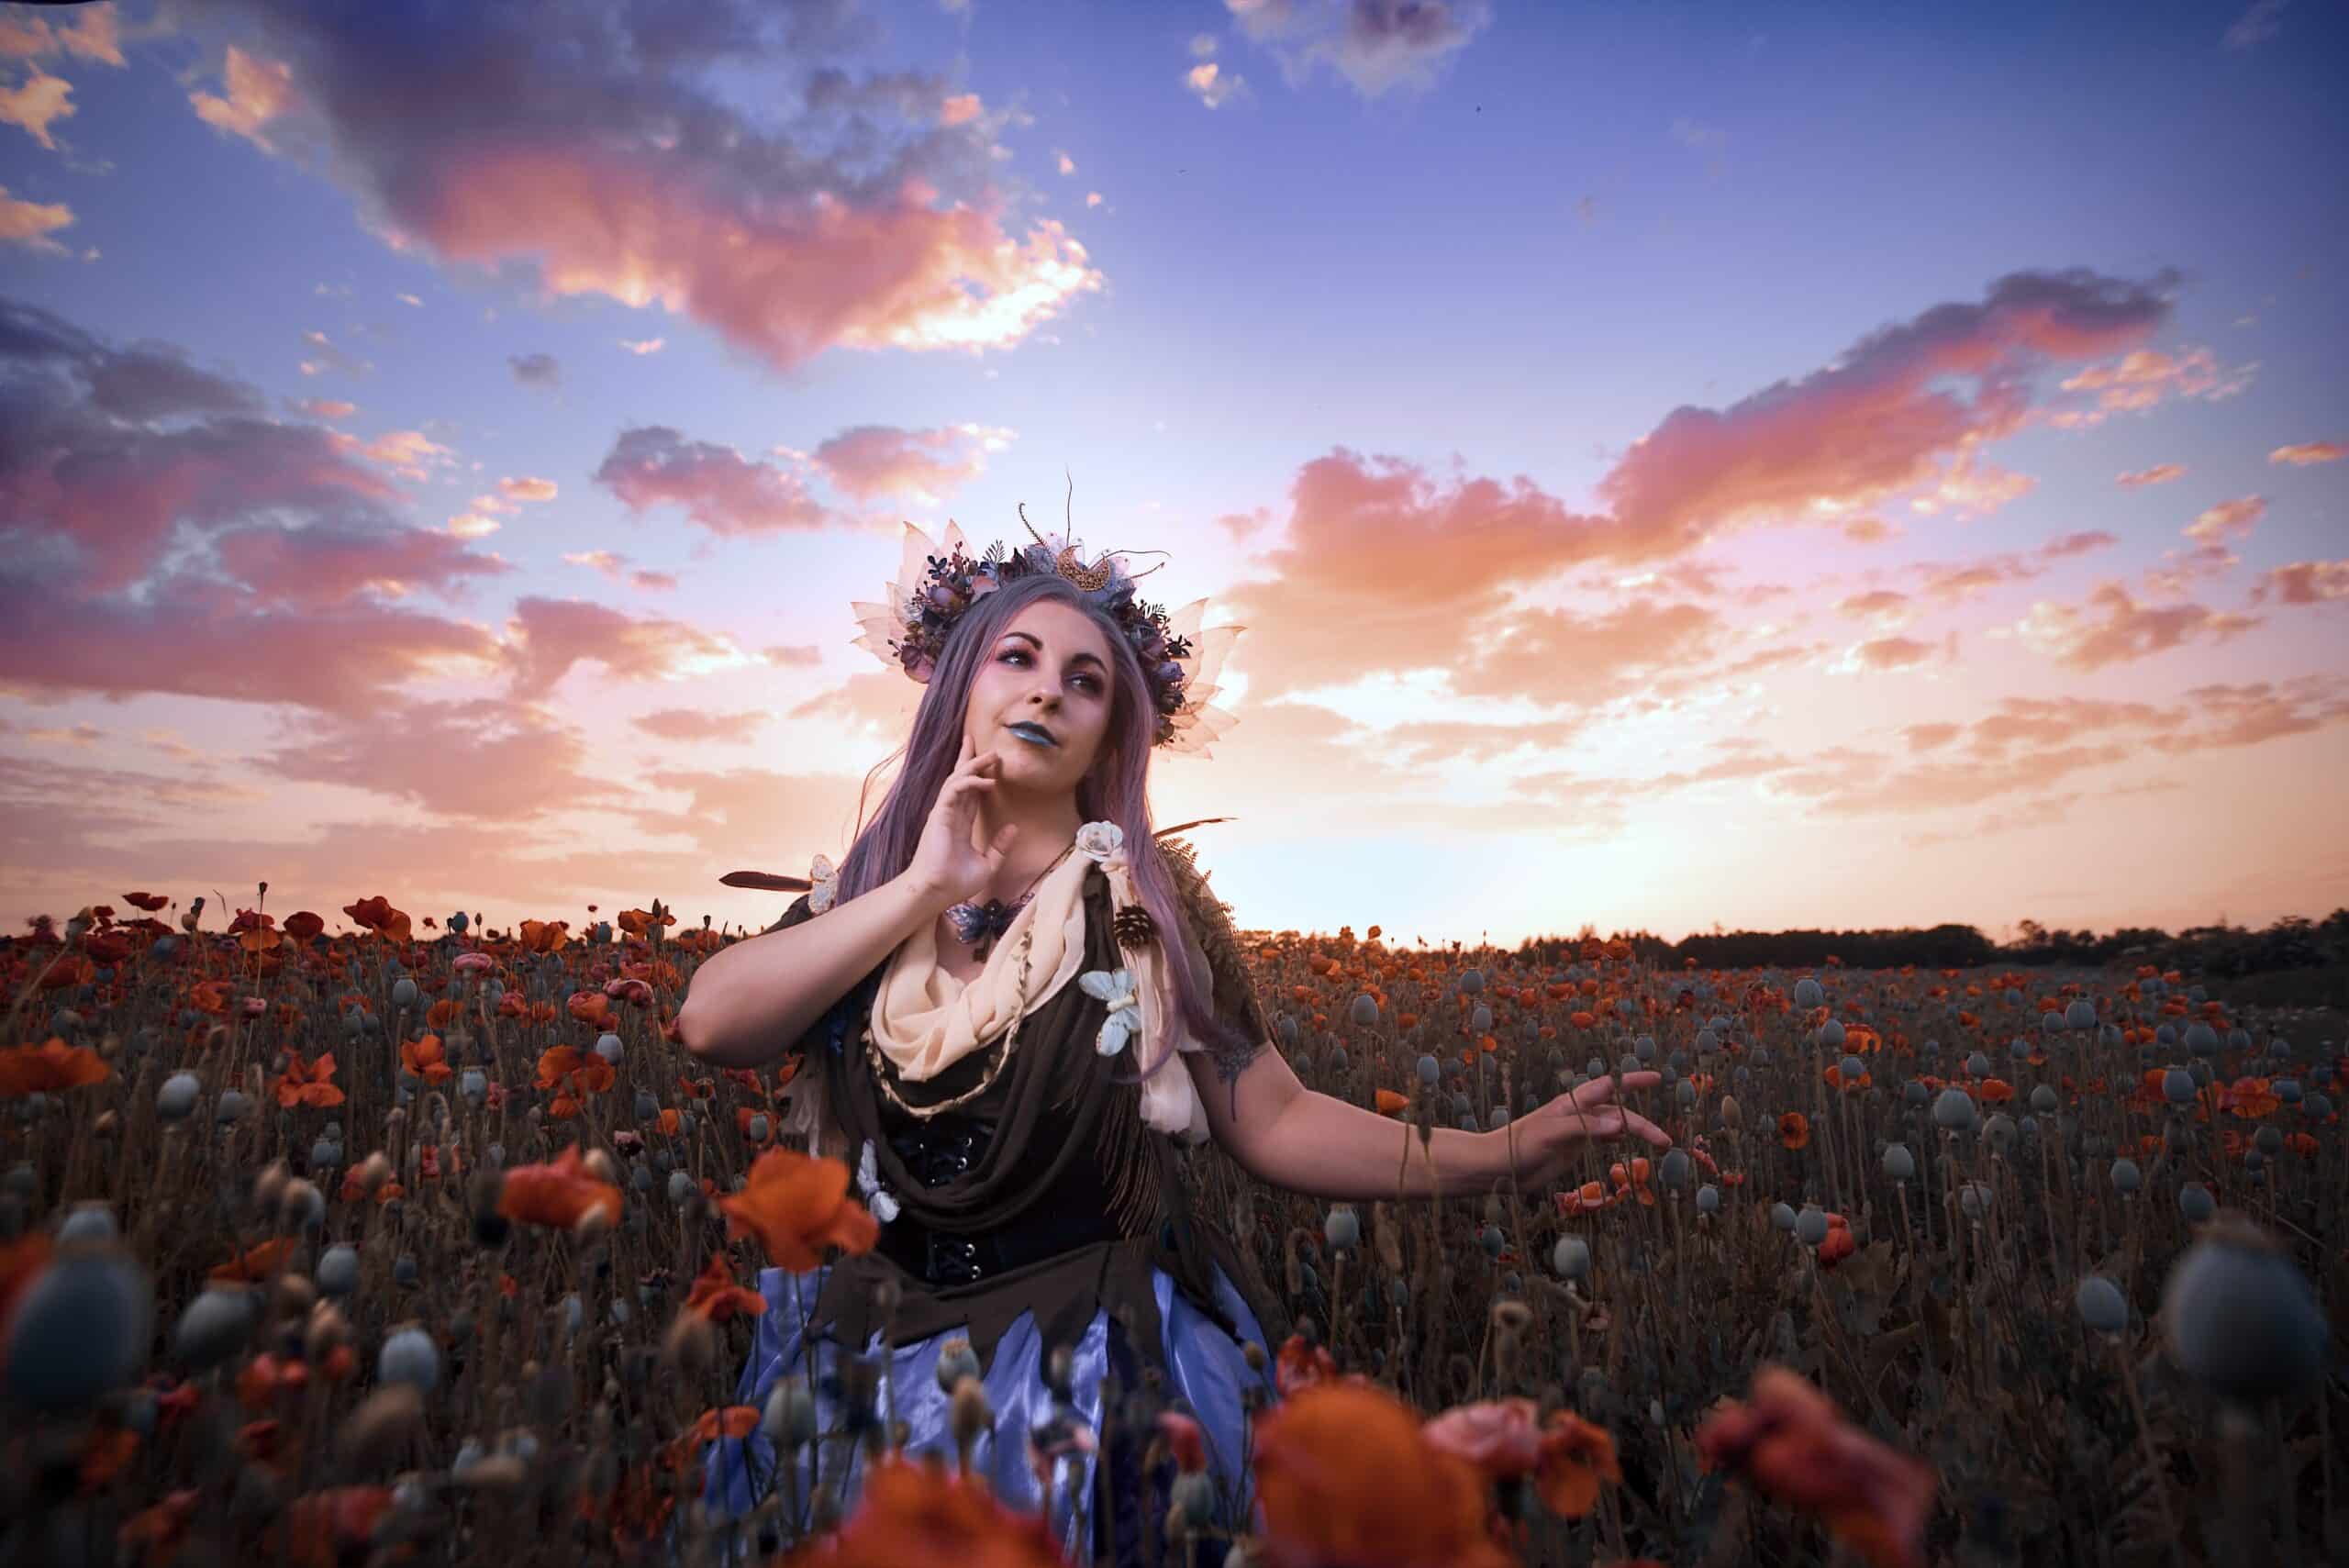
Nikon Z6II, Nikon 50mm f/1.4 AF-S NIKKOR G, 1/80s, f/7.1, ISO 100, focal length 50mm. Even without a reflector or flash, a photograph can still turn out like this. Everything is perfectly visible using just the proper settings, shooting in RAW, and subsequent editing.
3 basic suggestions
- Be sure that the horizon doesn’t slice through your subject’s head. Keep a close eye on the horizon and keep it straight – unless, of course, there is a hill in the scene.
- Keep your sensor clean. A bright sky is a dead giveaway for contaminants on the sensor.
- Choose the right lens. Lenses with a long focal length are great for portraits, but then the sky will be included in the bokeh. With a lens that is too wide, the sky will stand out, but the person you are photographing may not be captured in the most flattering way due to distortion. When choosing your lens, it’s best to stick to a middle-of-the-road option.

The best time to shoot
The best time to shoot against the sky is at dusk, especially in the summer. The sun isn’t overly bright and the golden hour gives the best backlight. Good backlight is one of the most beautiful things about shooting against the sun. The light appears to “embrace” the model, highlights their curves, and can beautifully illuminate their hair.
Mini Tip: The backlight effect is especially beautiful on portraits of models with curly, blonde hair. We recommend trying it at least once.

Camera settings and shooting in RAW
What about ISO settings? Keep them as low as possible, especially when shooting without a reflector or flash. In this case, you need to get as much information (detail) as possible from the shadows, which again results in more noticeable noise.
TIP: If some noise appears in your photo, you can easily remove it. Find out how in the article, Sharpen and Reduce Noise: Balancing the Amount of Sharpness and Noise in Your Photos.
Now, what about shutter speed? You can use a longer shutter speed. If your model can stand still, you can go as low as 1/80s. But play it safe and stick around 1/100s and faster. Of course, if you bring a tripod along, longer exposure times are possible.
Lastly, what about the f-number? An f-number of f/2.8 is universal and great for portraits, but you can increase it since you want the sky to be sharper than the model. Don’t be afraid to try an aperture of up to f/7.
Sample settings for a for 50mm lens is ISO 100, 1/80 shutter speed, and an aperture of f/7.1.

For this type of photography, you need the maximum amount of information from the image. For this reason, shoot in RAW. RAW will allow you to get a lot out of the highlights and shadows and can really work wonders with the colors. If you want to know more about the differences between JPEG and RAW, see our article RAW vs. JPG: The Eternal Struggle. When Is It Best to Shoot to RAW?
Now for the editing
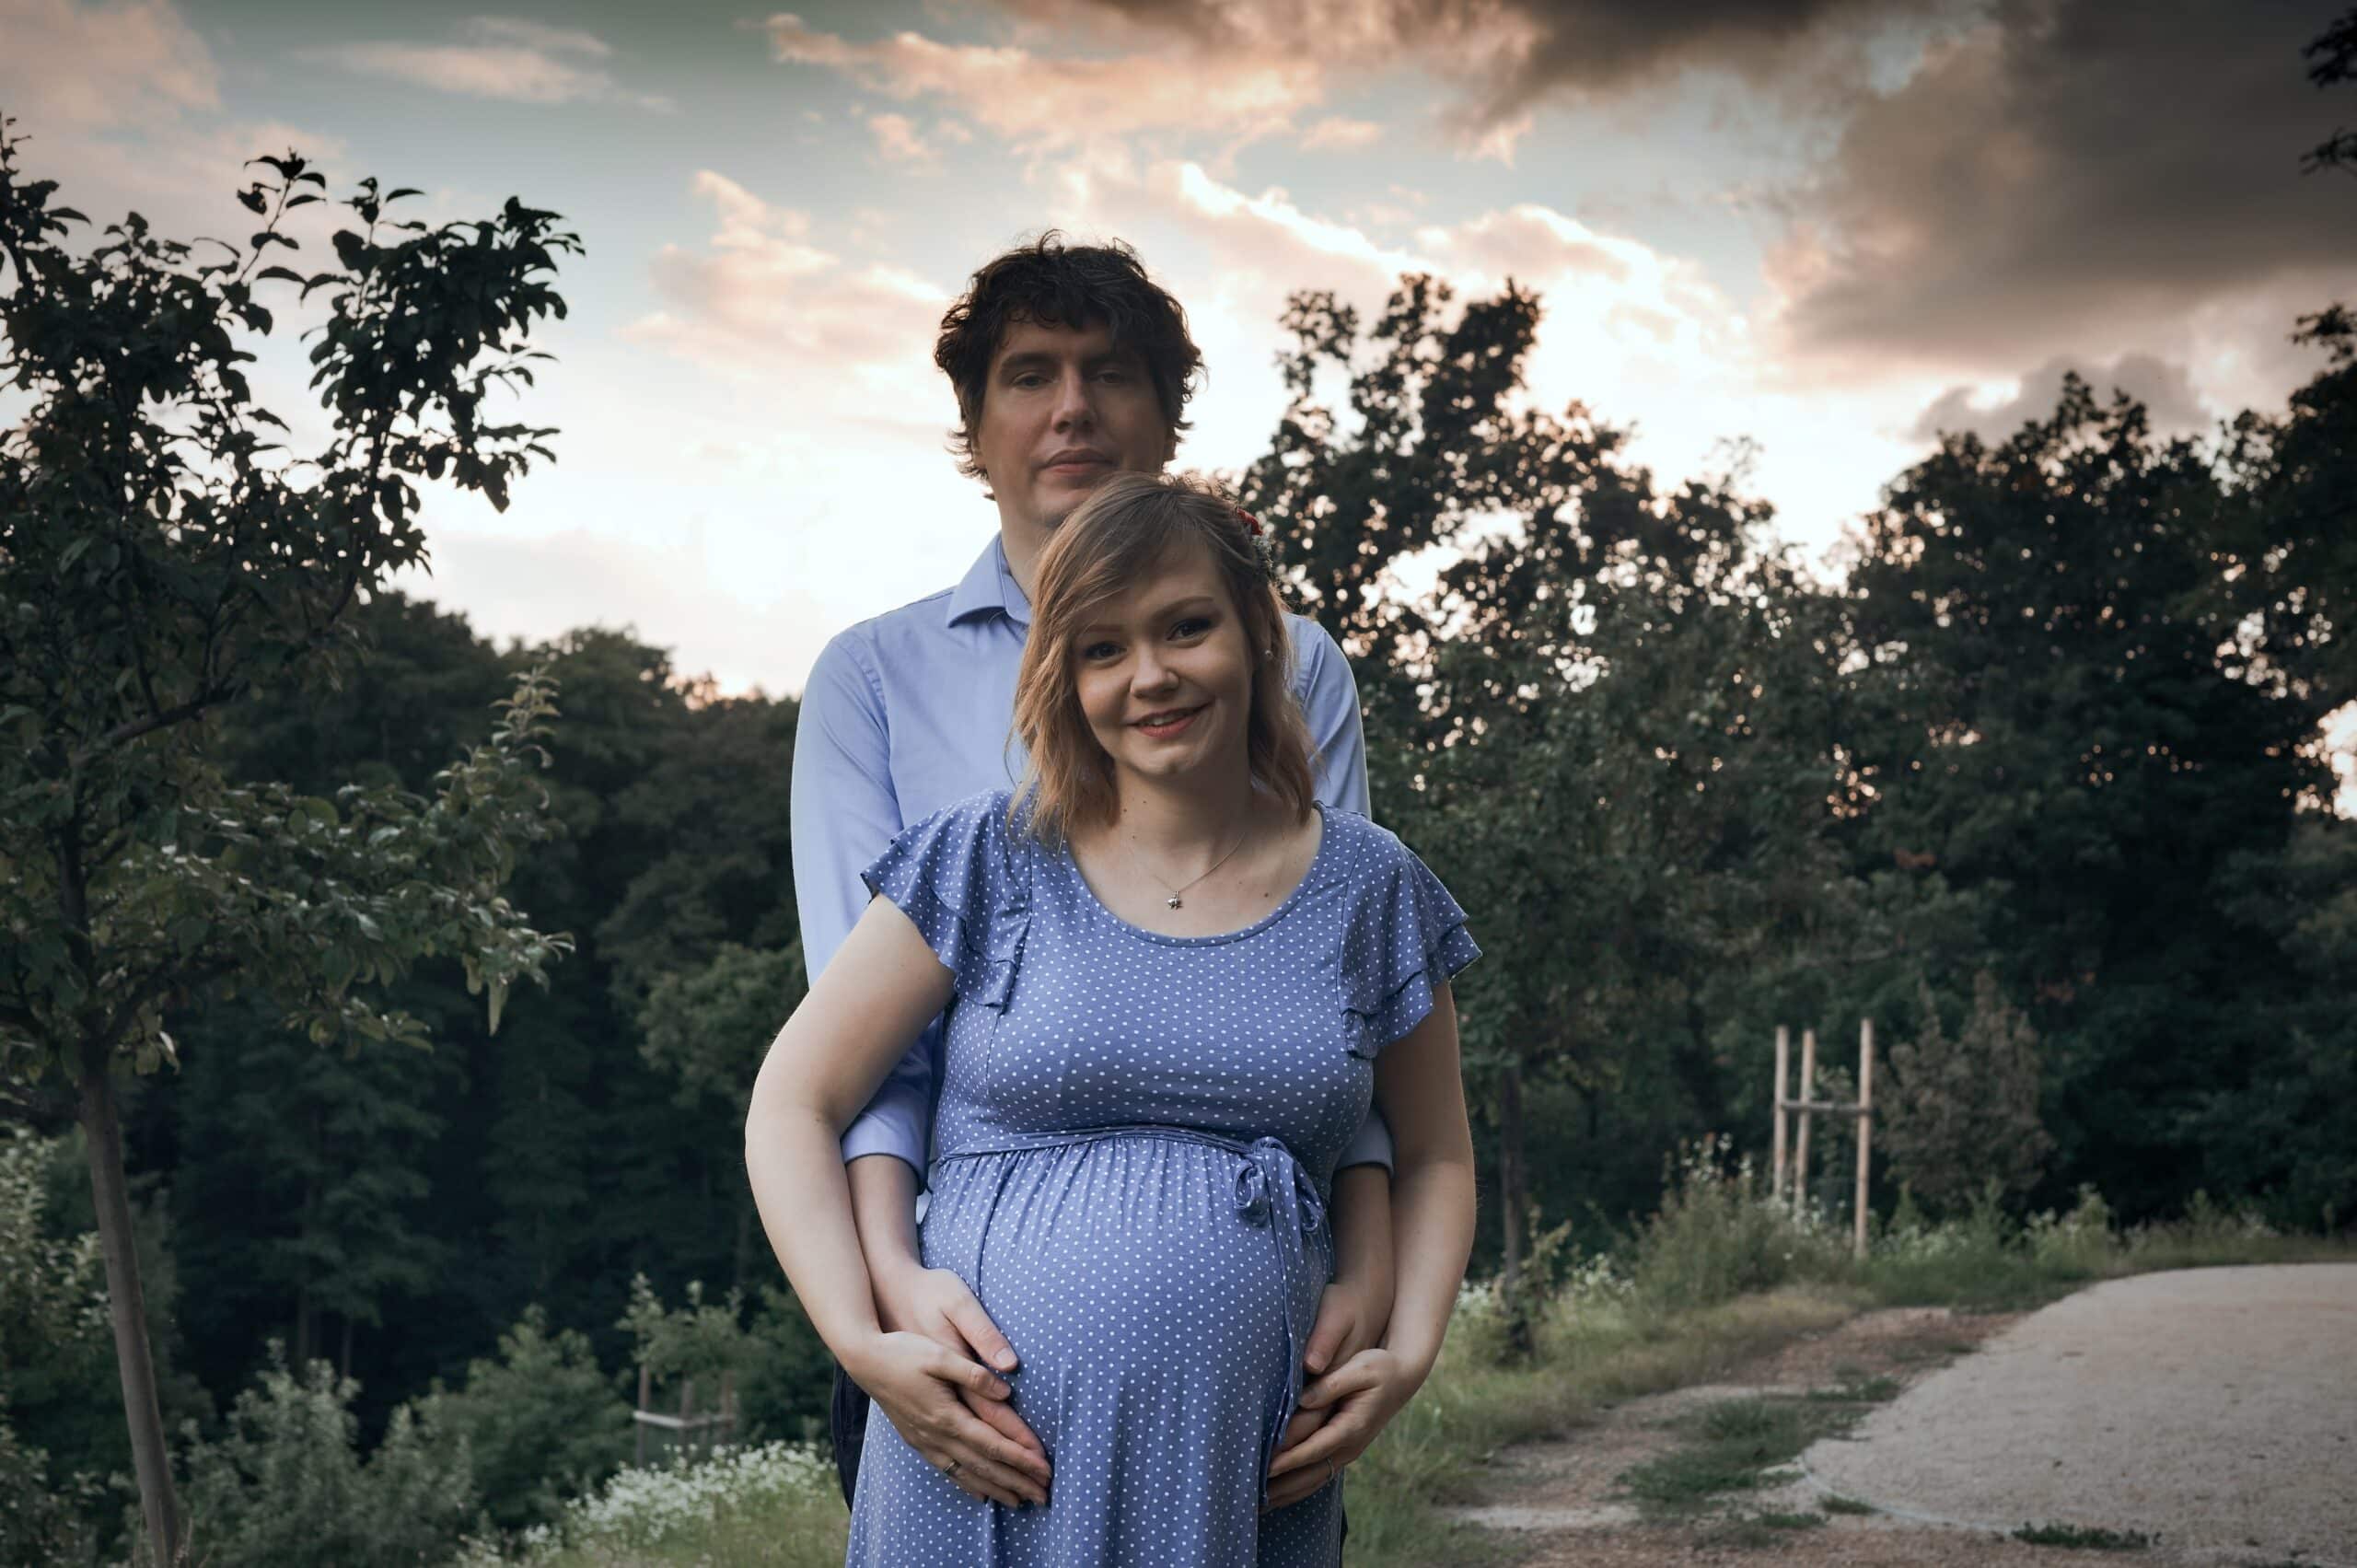
All of the editing can be easily done in the Develop module of Zoner Studio. The Gradient Filter (G), Filter Brush (B), or the Radial Filter (R) are great tools to use for your editing. With local edits, you will have complete control over every part of your photo and you can edit your models separately from the sky and vice versa. Therefore, there is no need to overexpose an entire photograph with high contrast between a bright sky and an underexposed subject.

Another option is to use the tools in the right panel of the Develop module in the Exposure or Dynamic range settings group. Use the Lights and Shadows sliders to work separately in the light or dark areas of the photo. This will nicely dim the highlights in the sky and will brighten the shadows where the model is, as well as the area around them. Learn how to work with exposure in the article, How to Adjust Exposure and Dynamic Range. This method can yield fantastic results.
If the previously dark areas of the photograph are still grainy, the simple Noise Reduction function will make tweaking the photo a snap.

Try it out for yourself
Clouds illuminated by the setting sun, a beautiful line in the backlight, or a dramatic autumn sky for some whimsical photography. Don’t be afraid to try it all. Photographing against a bright sky is more than possible. But do keep in mind that you need to take photos that are darker and use additional lighting on your model. You can get a lot from a dark photo, but next to nothing from an overexposed one. Last but not least, don’t forget to shoot in RAW!
There are no comments yet.