In
Zoner Studio it’s easy to create a video with your high-resolution photos and your choice of music or spoken commentary. This is a stunning way to show off your photos.
The article is over 5 years old. The information in it may be outdated.

We are working on its update. In the meantime, you can read some more recent articles.
I want to continue reading the article.
In Zoner Studio it’s easy to create a video with your high-resolution photos and your choice of music or spoken commentary. This is a stunning way to show off your photos.
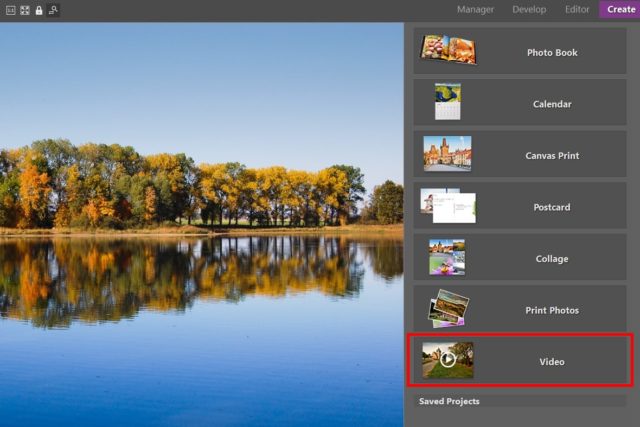
1) Select your photos
Find the folder where you’ve readied photos for the video. Then switch to the Create module and click the Video option.
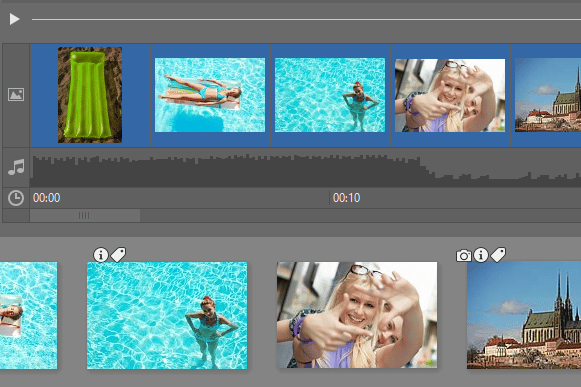
2) Add photos to the video
The Video function shows a filmstrip with your selected photos at the bottom and the timeline for your video above them. It’s empty for now. But you can quickly change that by dragging selected photos onto the timeline. To select multiple photos at once, hold down Ctrl while selecting them. To remove some photos from the video, select them and press Delete.
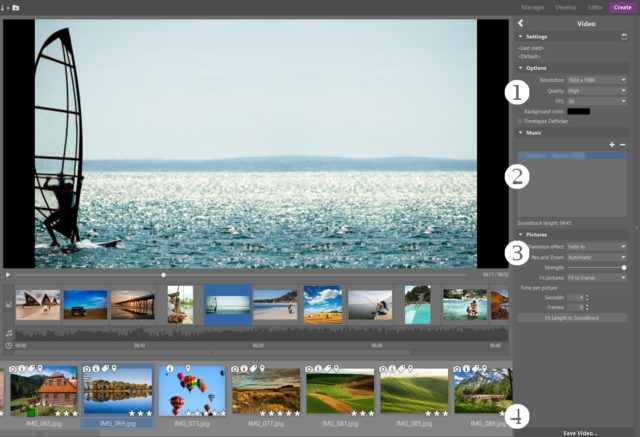
3) Adjust the settings and add music
You can then adjust the video’s resolution (1), add a soundtrack (2), or adjust the effects for transitions among pictures and how photos move during the presentation (3).
Click  the button below the video preview to play back the results. Once you’re satisfied, save your video (4).
Turning photos into a video in Zoner Studio is a very simple and practical way to create photo presentations with pizazz. It’s a great and fast way to produce a video with music or spoken commentary, for presenting live or publishing on the internet.
Get the maximum from your photos—download Zoner Studio right away and try it for free!


There are no comments yet.