Blending Modes 2.0

The options available for photo editing today are so sophisticated that you must get creative when coming up with new and interesting adjustments for your photography. Figuring out what to do with a photo can often be more complicated than the editing process itself. This is one of the reasons we’ve written this article. You’ll find some unique adjustments for your photography using a tool that is not very commonly used, despite its great potential. Let’s check out some tips for using blending modes in Zoner Studio.
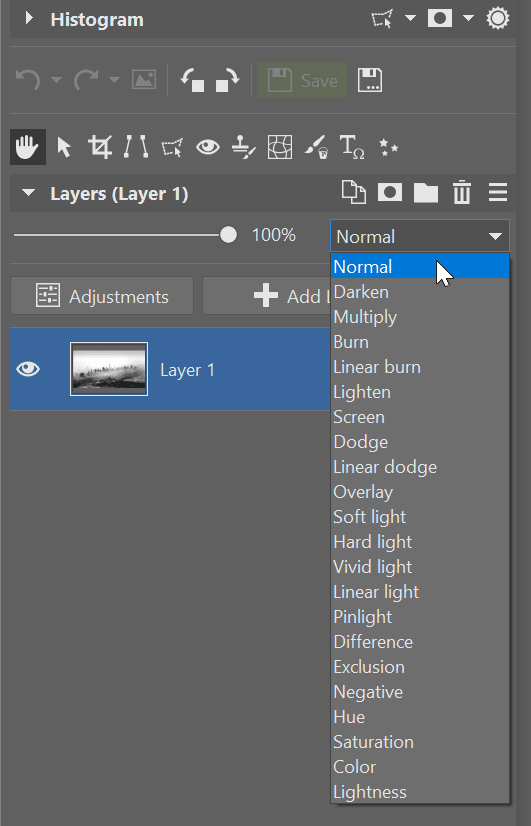
Blending modes are found in Zoner Studio in the Editor module’s right side panel. It’s one of the basic layer settings, right above the layers list along with Layer Opacity.
We also recommend reading the previous article on this topic Open New Doors in Photo Editing with Blending Modes where you’ll find plenty of additional tips.
Diffuse light with Screen mode
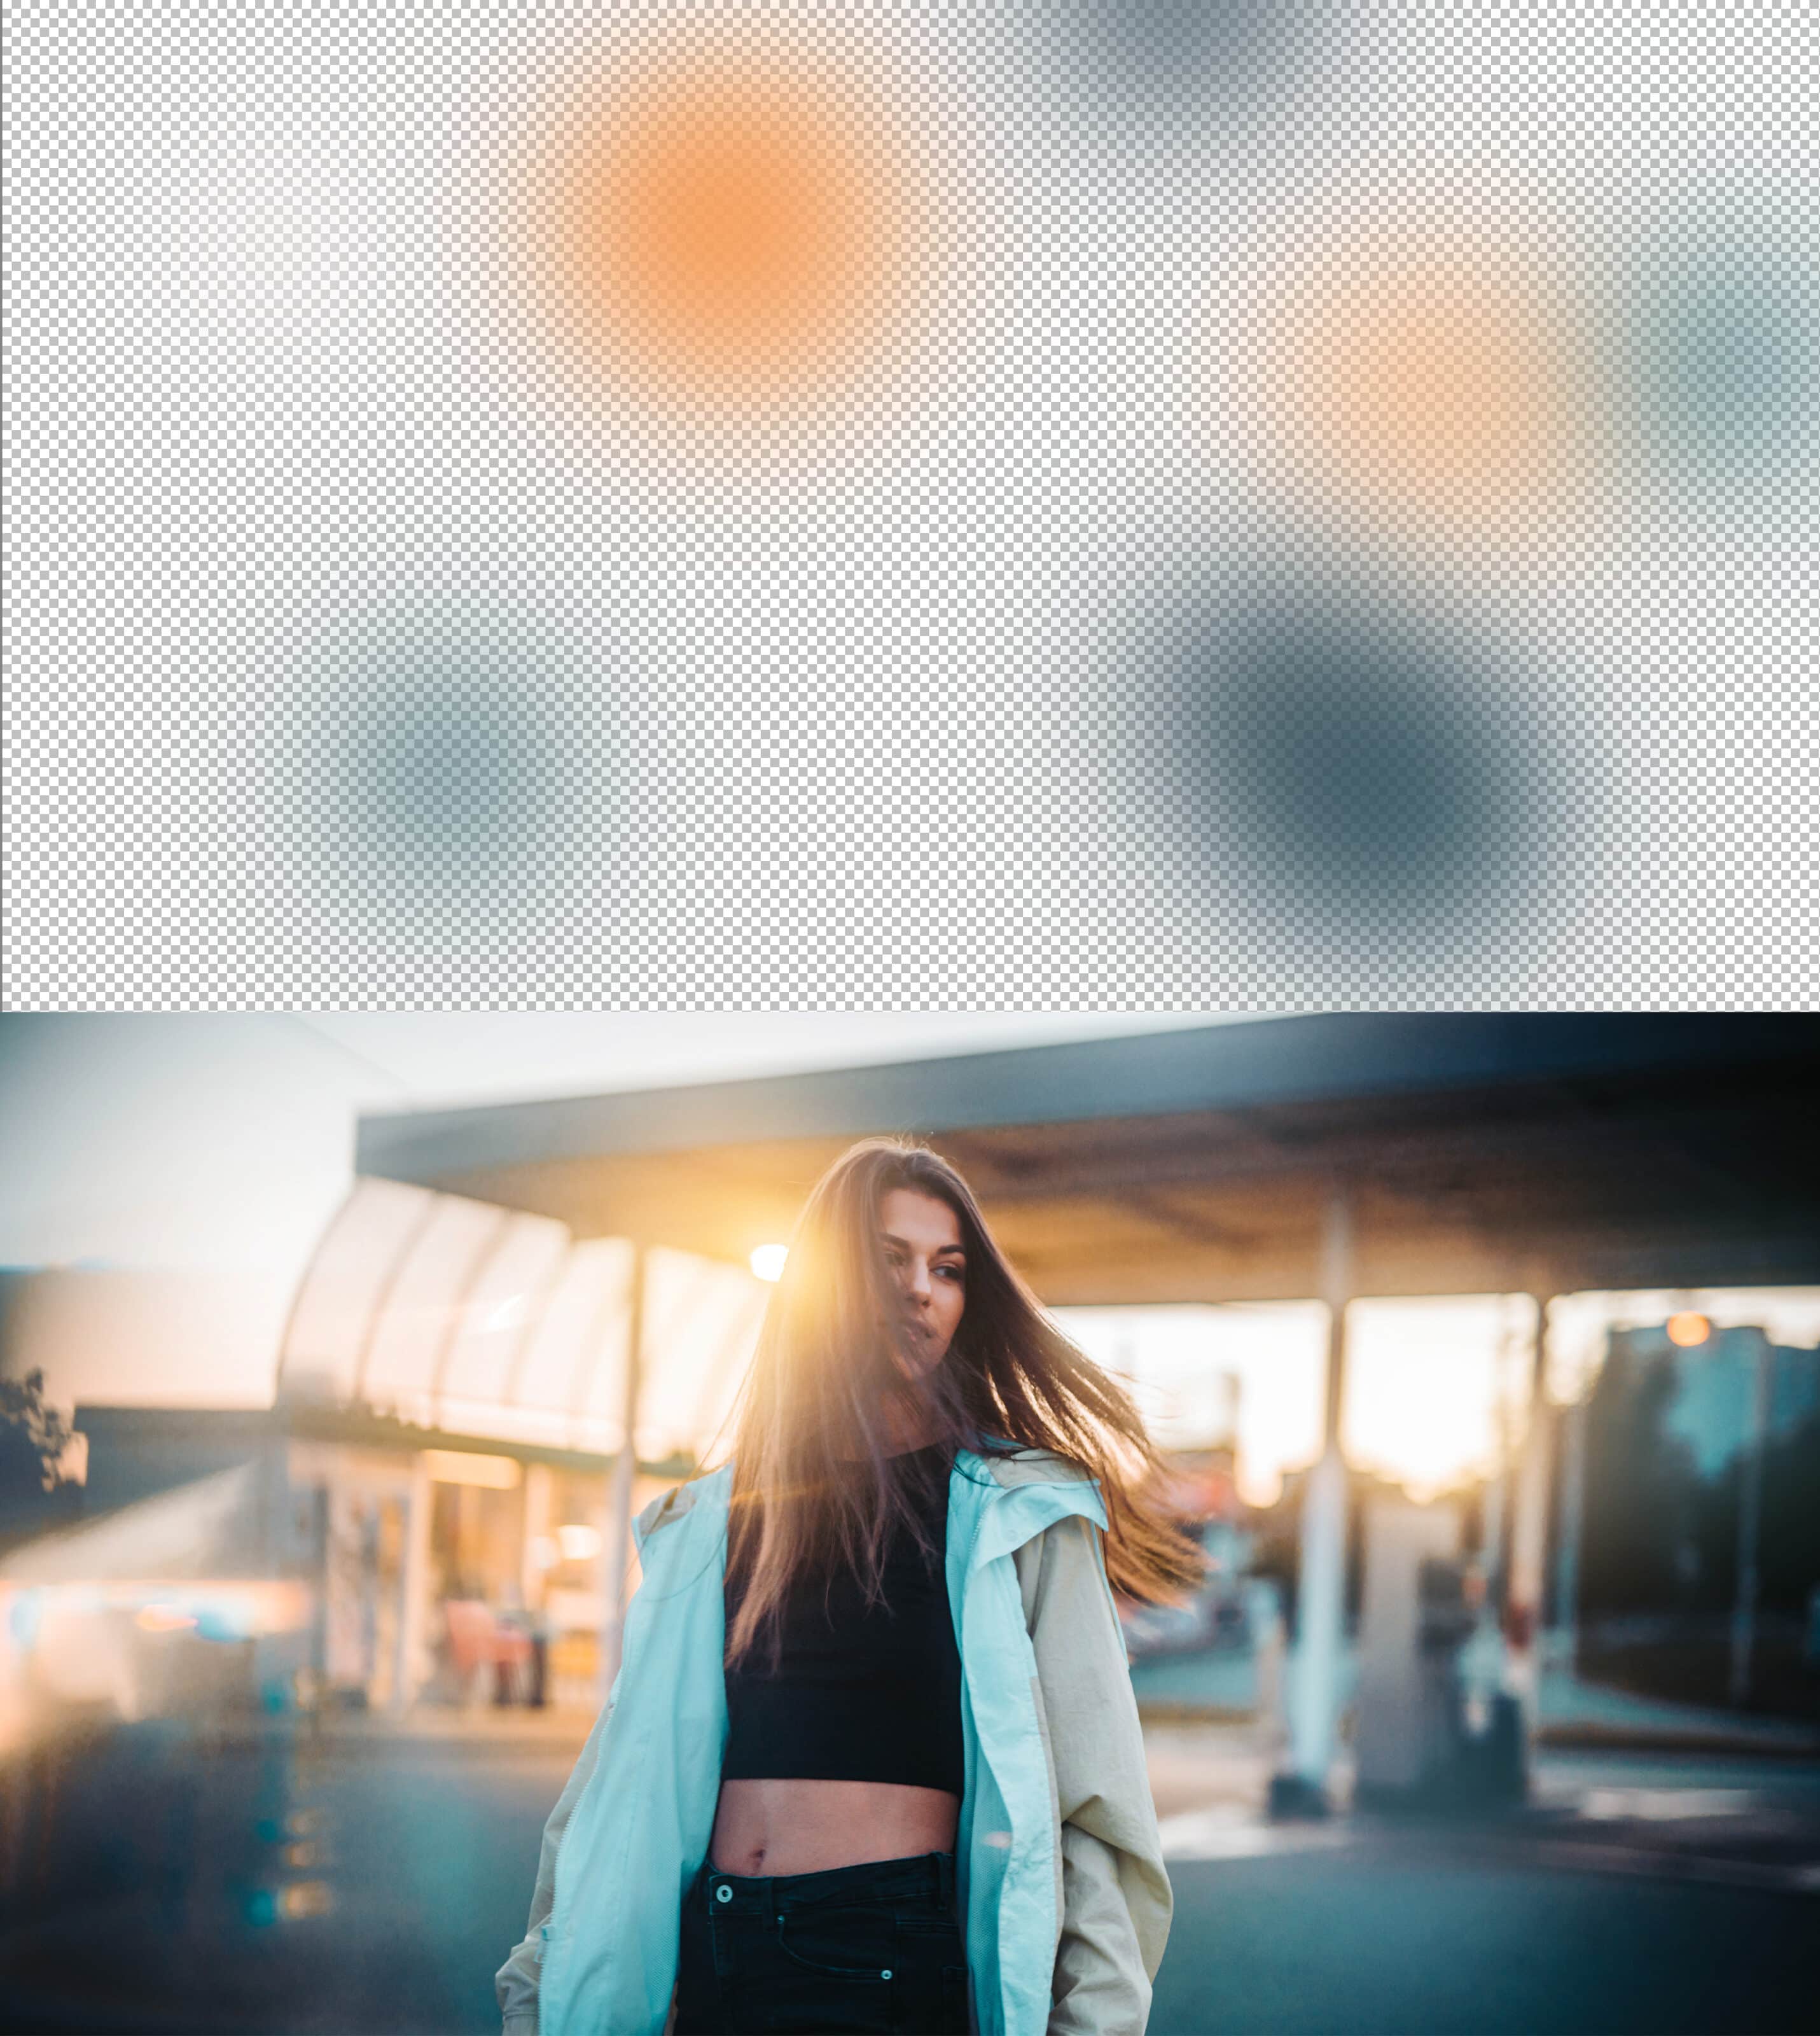
The concept of editing with modes is quite simple. Open your photo in the Editor, click the +Add Layer button, and select the Brush (B) tool. Set maximum Blur and use the eyedropper (Ctrl + click the photo) to select a color. Use this color to gradually click the areas in the photo that you want to brighten.
Finally, use Screen mode for the brush layer or lower the Layer Opacity if the effect is too strong.
This adjustment is also covered in the article about mist filters. This filter creates a similar effect on the camera side, but it’s a good idea to know how to use it in your editing. Or, as in this case, shoot using a mist filter and strengthen the effect with editing.
Change the color of the sky using Multiply mode
Adjustments to the sky are most often done with the Gradient Filter in the Develop module. However, the Editor also offers interesting options especially if you are replacing the sky with another sky, or want to change its color. We’ll show you how to change your sky’s color.
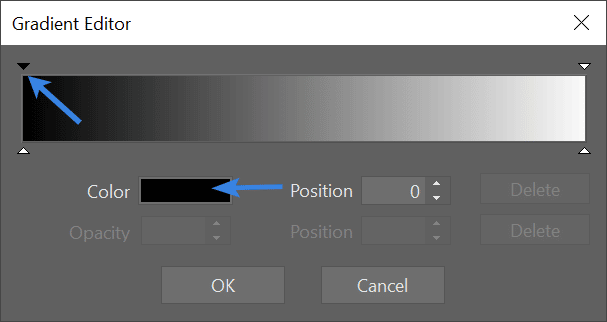
Add a new layer and select the Gradient tool which is found under Drawing Tools in the right panel. In the Gradient menu, you see a black to white spectrum. We need to change this spectrum, so click it and then in the top left, use the small arrow above black to select a different color. In this case, we need a shade of blue.
Next, drag the gradient from the top part of the photo down. It’s important to click the top empty layer so you don’t add the gradient directly to your photo.
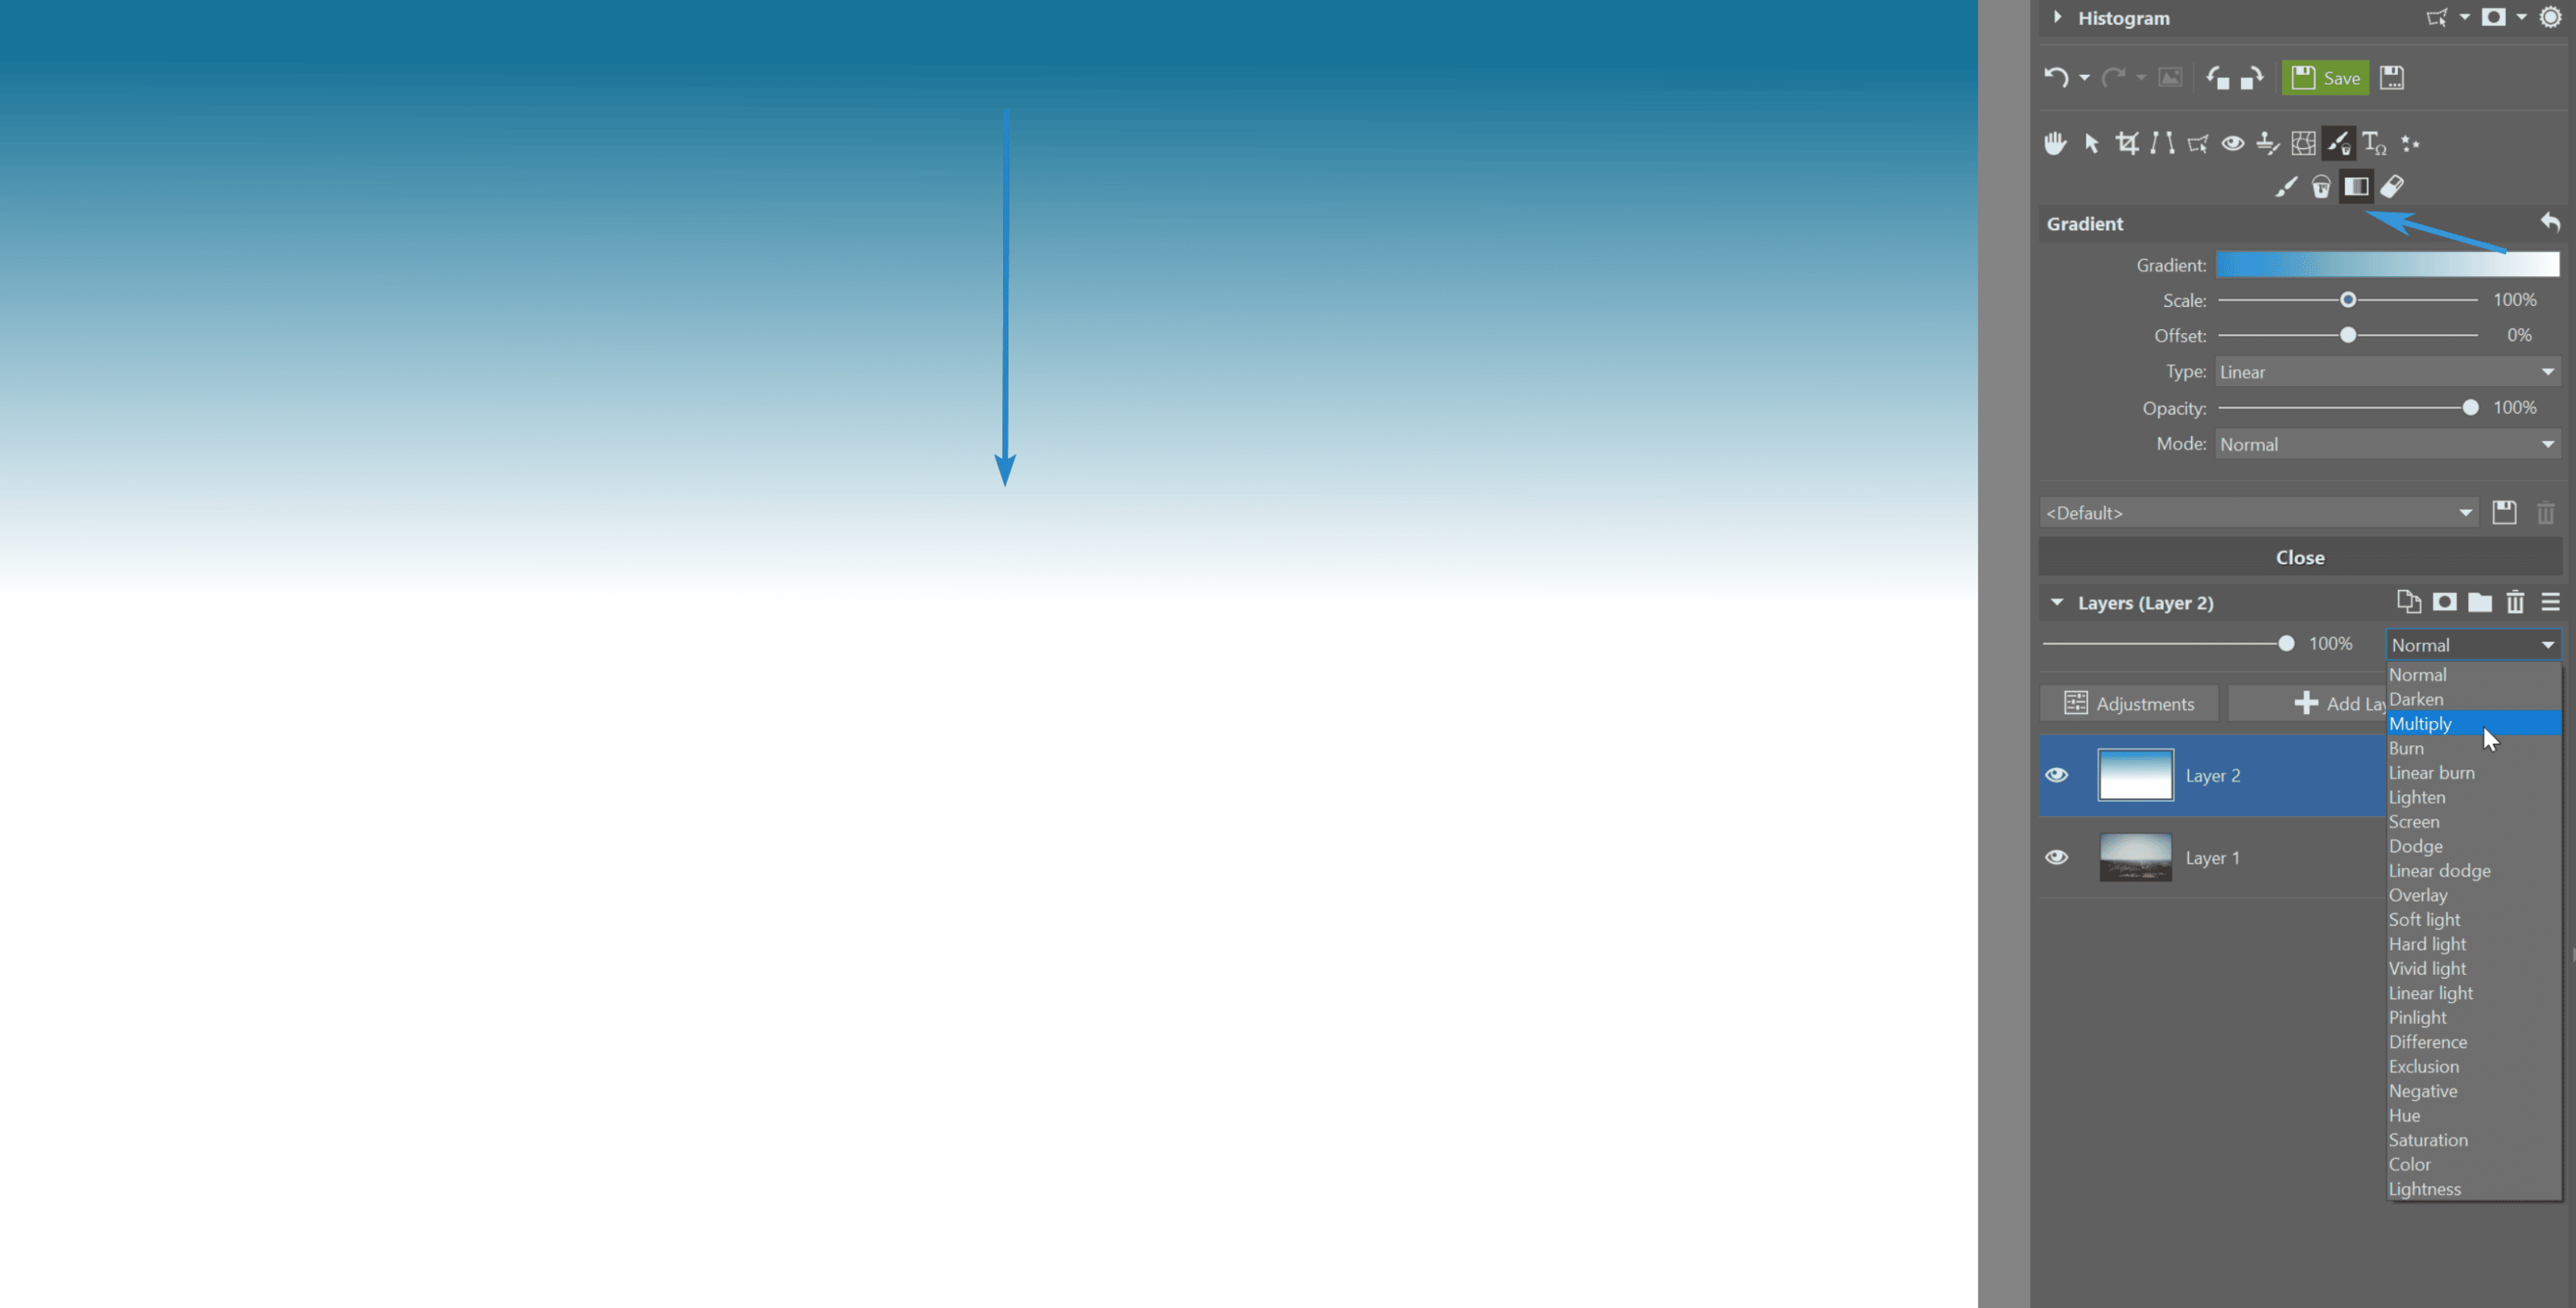
A blue-white gradient will be added across your entire photo. You need to get rid of the white. Change the layer blending mode from Normal to Multiply. This leaves only the blue gradient at the top of the photo.
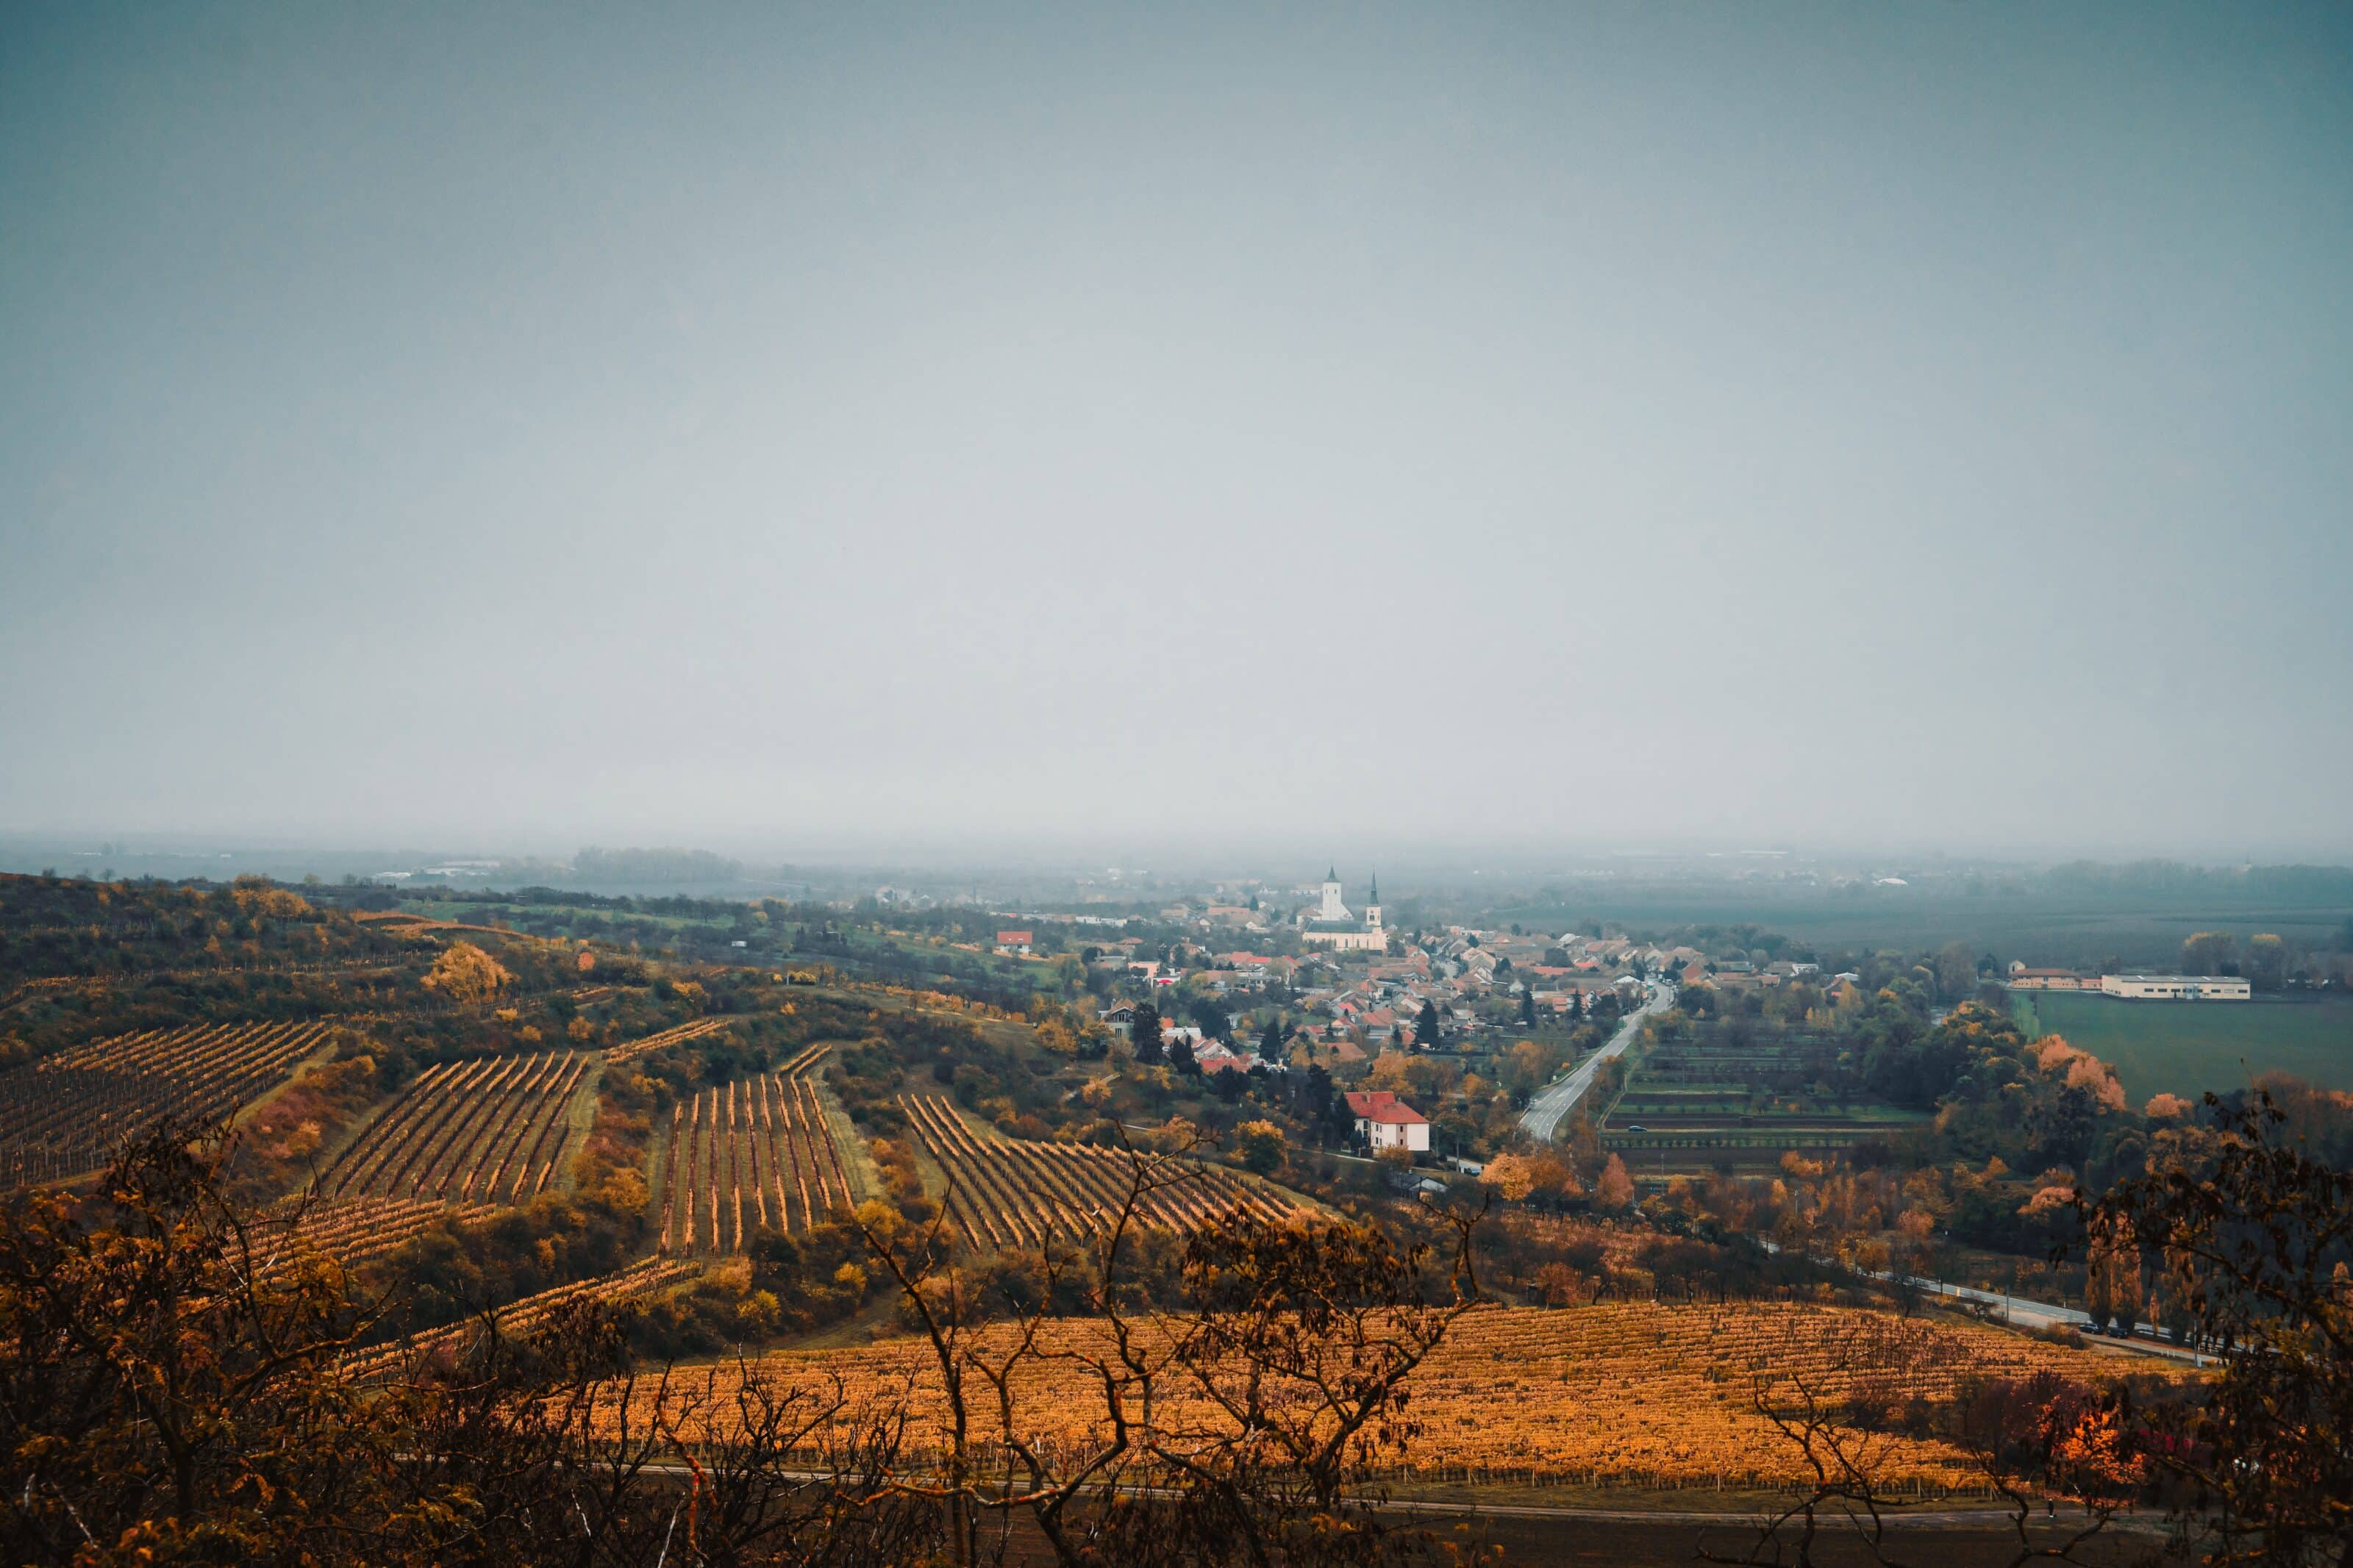

A photo with a previously foggy gray sky gets a more vibrant background with a blue gradient.
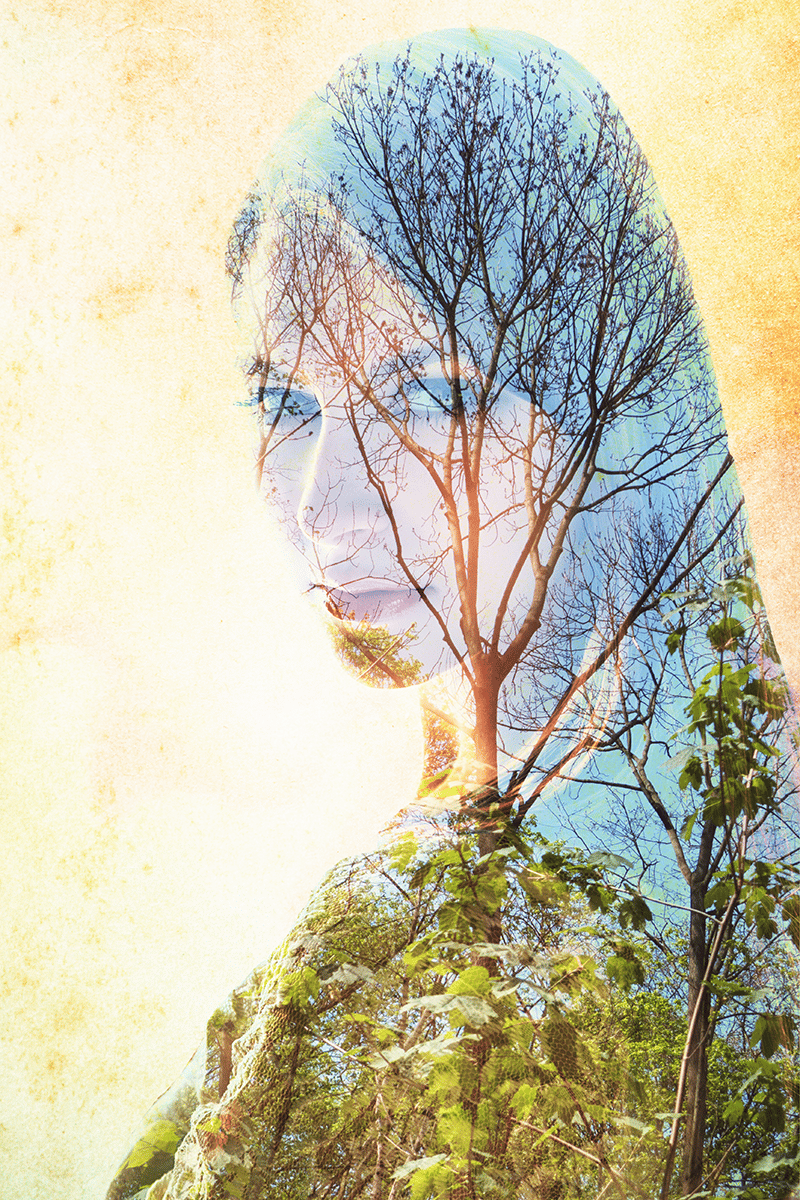
Combine blending modes for double exposure
A landscape portrait is one of the possibilities for double exposure and uses the Screen and Darken blending modes.
Try Difference mode for black and white graphics
Blending modes like Difference or Negative aren’t very commonly used. We’ll show you a method for getting text into a black and white photo in a unique and interesting way. The way the Difference blending mode works is that when you add something white to a black and white photo, you always get the inverse. So, for a white background, the text will be black and vice-versa.
It also works for color photo, but there are few cases when the result actually look good.
Add text to the photo using the Place Text tool. You need the text to be white and set the layer blending mode to Difference.
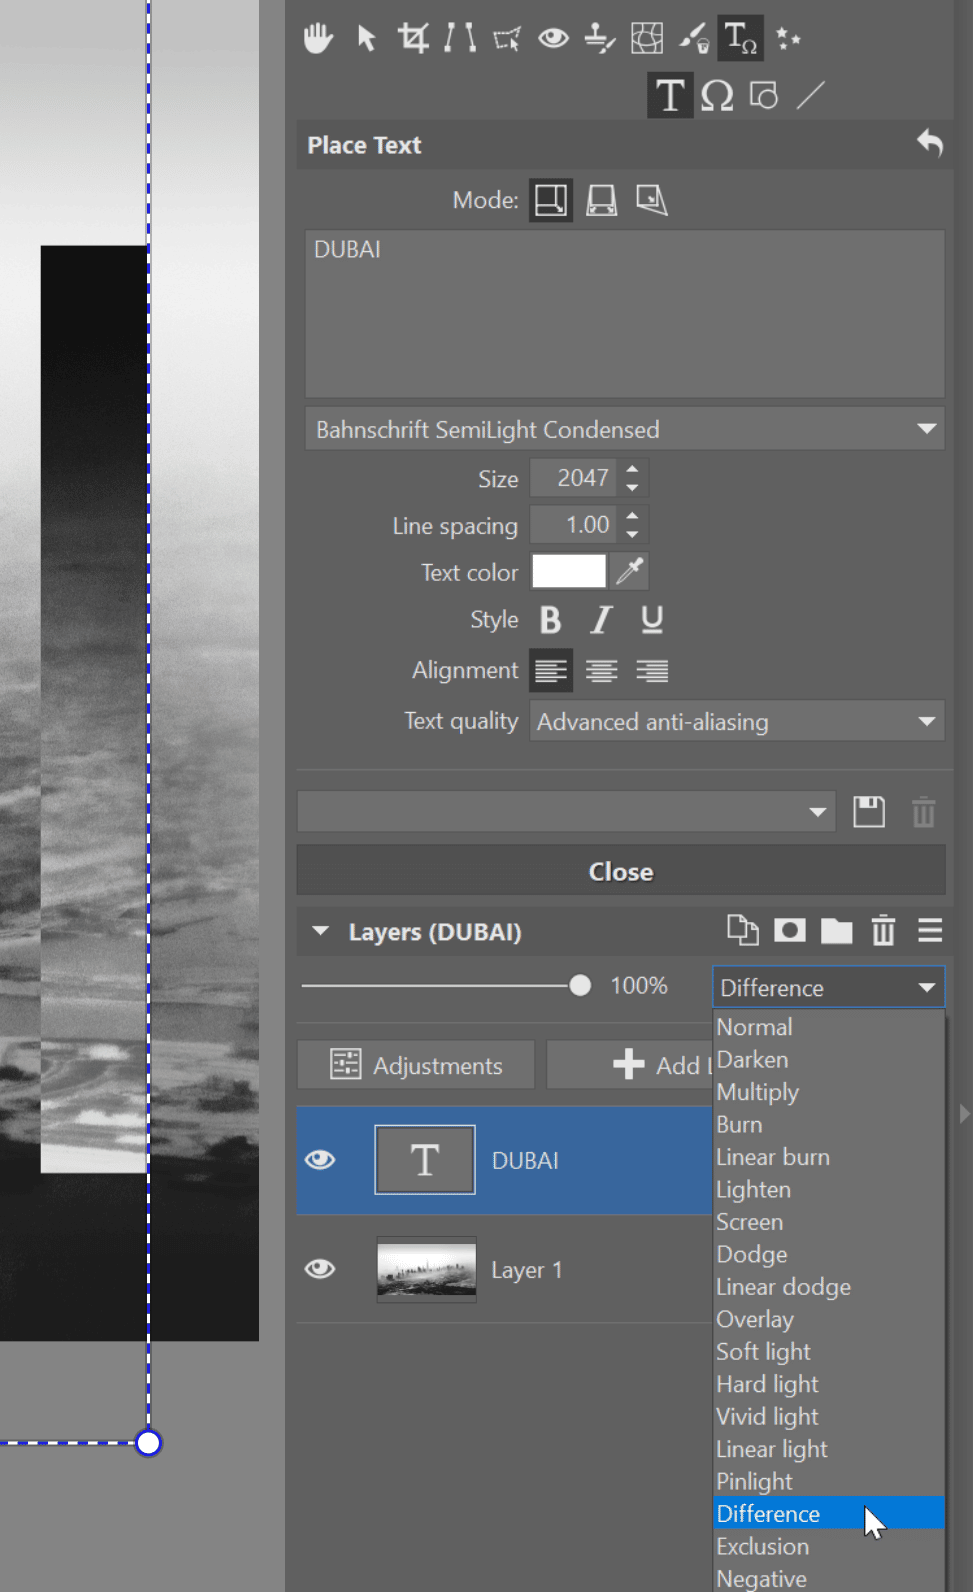
The text will be high-contrast and with this type of photo, where the upper part is light and the bottom dark, it will create a natural transition from dark to light.

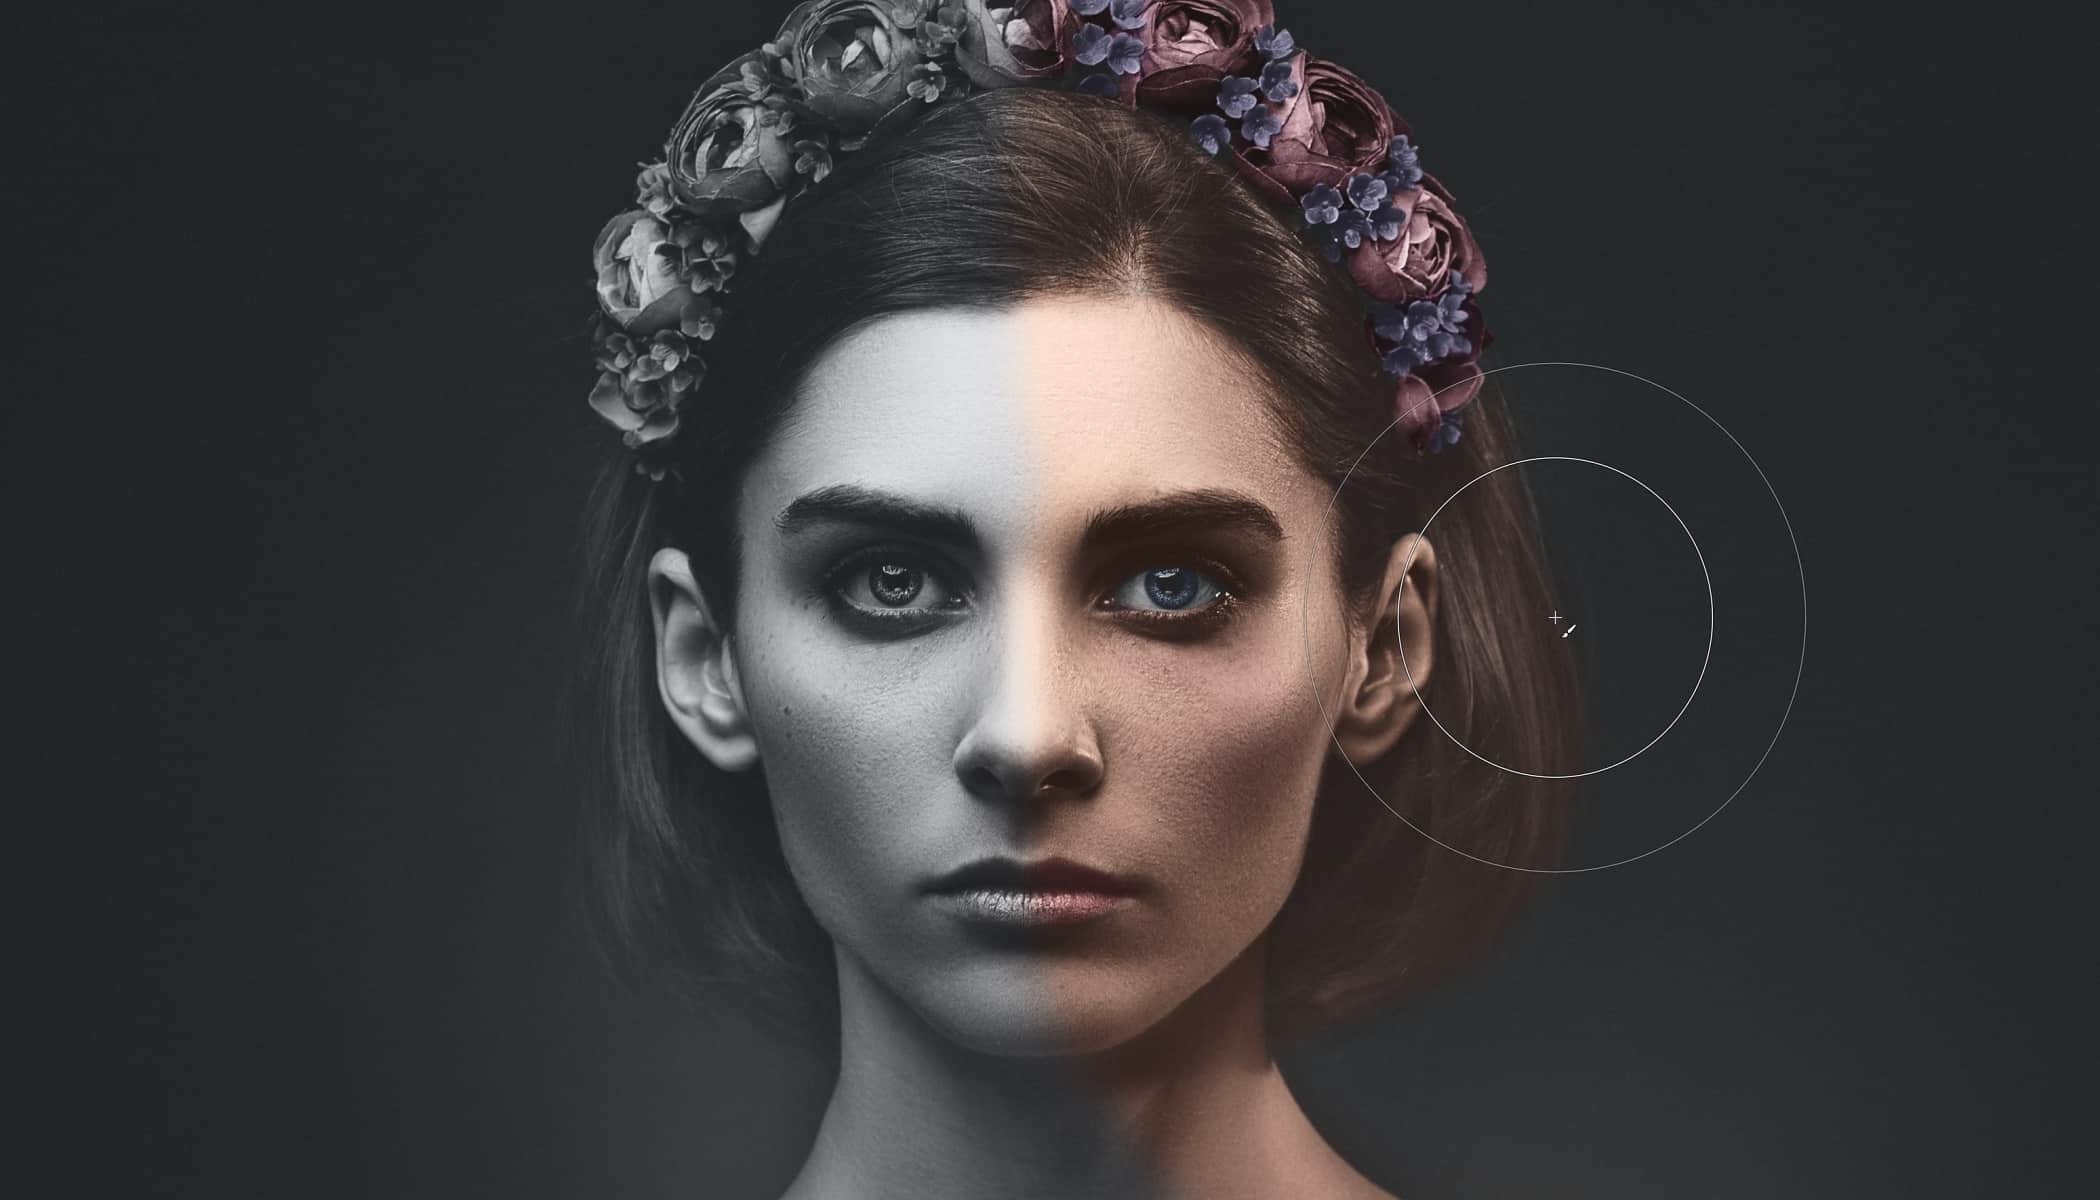
Colorize black and white photos using Color mode
Another unique adjustment is colorizing black and white photos. For this, you need a range of color shades and specifically, the Color blending mode. Check out the article Colorize Black and White Images to read about the method for doing this adjustment.
Download Zoner Studio free for 7 days to get a full version with support for all functions and test out how blending modes work.
There are no comments yet.