Portrait Retouching: How to Perfect Your Portraits
The article is over 5 years old. The information in it may be outdated.
![]()
We are working on its update. In the meantime, you can read some more recent articles.
I want to continue reading the article.
SIMILAR NEWER ARTICLES...…
Quality portrait retouching doesn’t have to just mean removing a few pimples. It can be more comprehensive—and there are several different processes involved in achieving a professional portrait. So take a look at how to get ideal faces in portraits by improving not only the skin, but everything else as well.
During your edits, keep in mind that even after retouching, a portrait should look natural and believable. So don’t go too far.
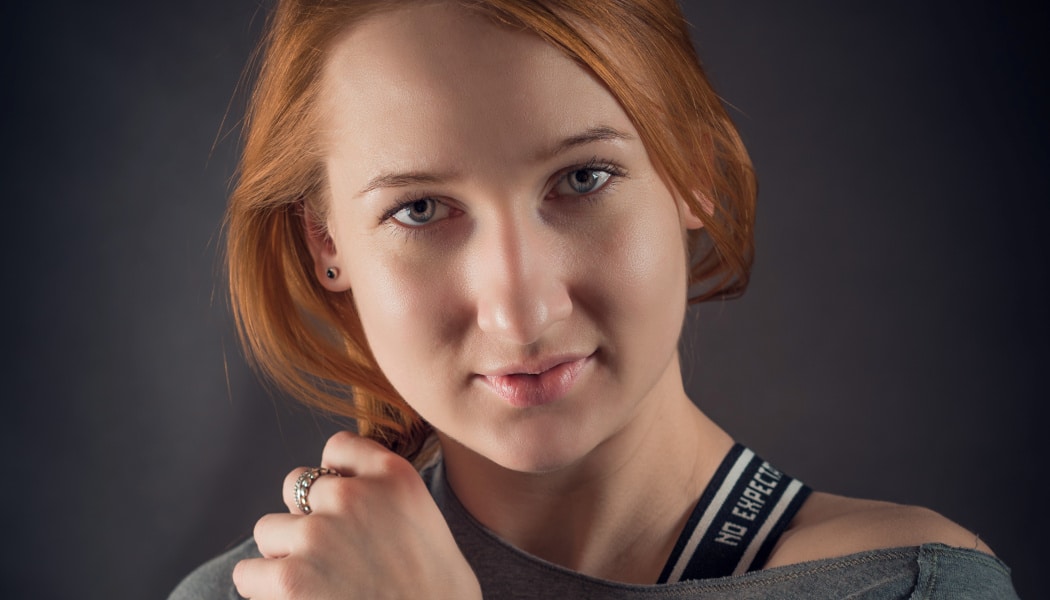
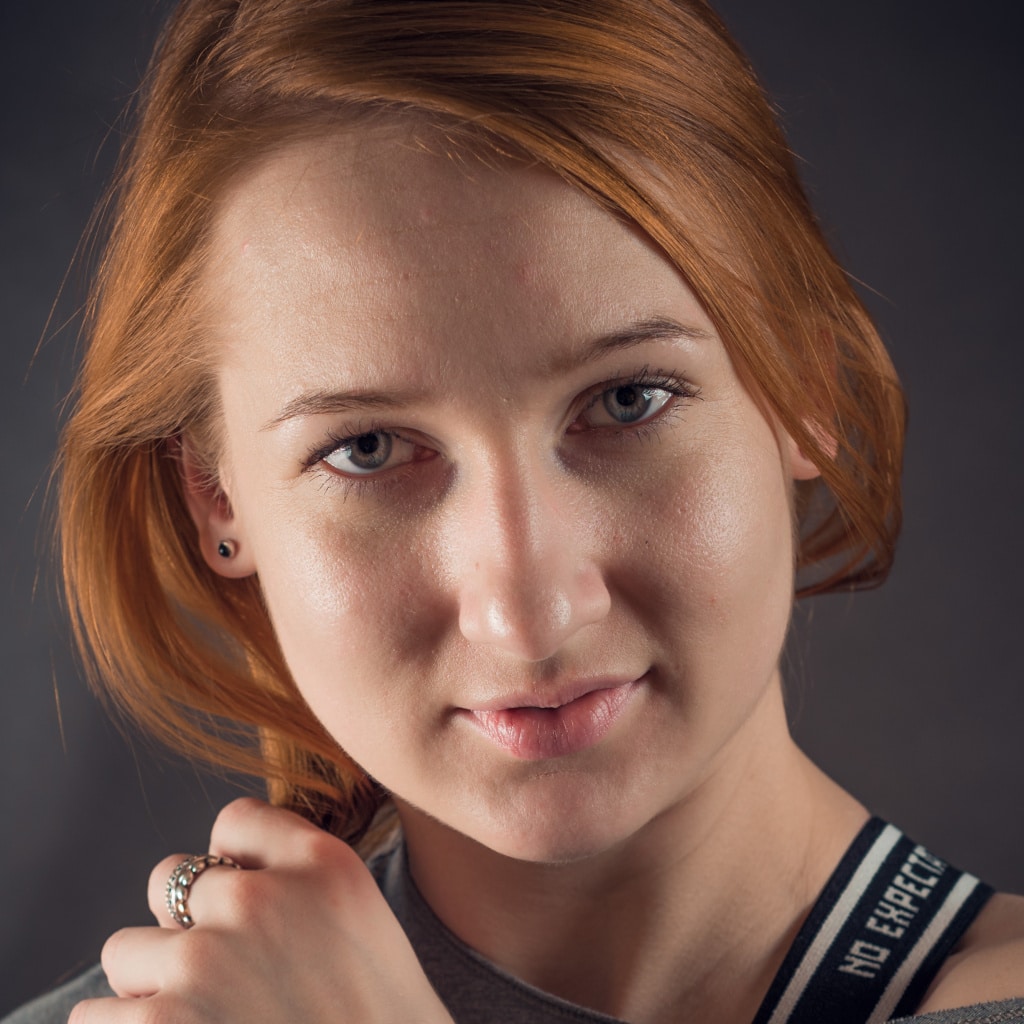
You can try out face retouching on the studio portrait below. The shot was lighted using two softboxes at almost 90° on both sides. So instead of soft, smoothing light, it’s dramatic and high-contrast. That makes the skin defects all the more visible. And that in turn will give you several problem groups to try and fix.
So download the picture at full size and get started editing with us. We’ll show you how to edit the portrait while keeping a natural skin structure so that you don’t turn the model into a wax sculpture.

Use this process for your edits:
- Start with overall smoothing that softens the skin’s structure. Some of the milder defects may be fixed by this edit alone, and it will make your work easier.
- Then retouch away the major defects before moving on to the smaller ones.
- Wrap up by enhancing the subject’s eyes, and potentially their teeth and lips.
You can handle all of these edits in the Develop module within Zoner Studio.
Basic Overall Skin Smoothing
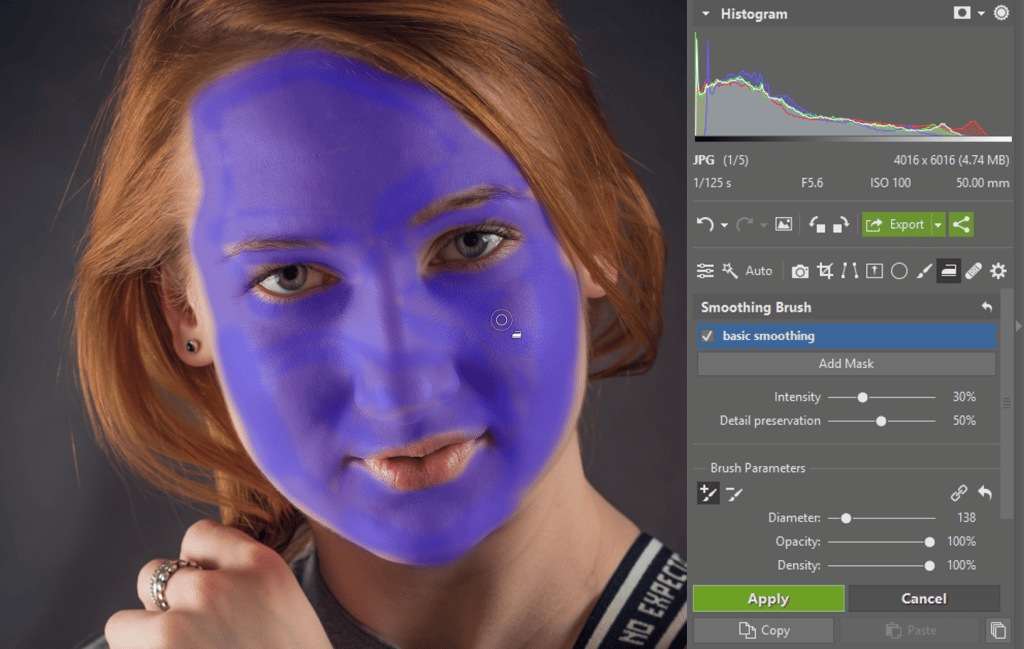
Your first step should be overall skin smoothing using the Smoothing Brush (U), which you’ll find among the tools on the right. This tool works based on frequency separation—separating information on tonality and colors (low frequency) into a different imaginary “layer” than information on details and textures (high frequency).
Click on it and then draw with it over all the skin regions that you want to soften. But leave out:
- hair,
- skin,
- lips,
- and generally every place where features are sharp.
These parts of the face have to stay sharp to ensure they catch attention. That’s especially important for the eyes.
To change the brush diameter, hold down Shift and scroll the mouse wheel. And do change it, to ease your work—make it small in small spots and big in big ones. Set the brush Opacity and Density to 100%, so that your edit forms a smooth coat. Choose a high Blur as well, perhaps 100, to prevent sharp transitions.
If your edits feel too strong, you can use the brush to erase them from the mask one by one. To do so, just hold down Alt while working with the brush.
When erasing, use an opacity of less than 100%, so you’re just gradually weakening the edit, not immediately removing it.
It’s useful to name the masks you’re working with. Just double-click on the Mask 1 mask and name it as needed. If you’re working with multiple masks, naming them will prevent confusion. And frankly, it will also save you time. You’ll know right from the name what a mask is doing, instead of having to test it by turning it off.
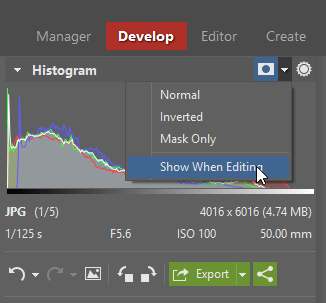
To gain a better idea of whether you have the whole face selected, hover the mouse over the face mask’s name on the right—the mask’s coverage will be displayed temporarily. Or show the coverage more permanently by clicking the mask icon in the Histogram group; then it will be shown in purple nonstop.
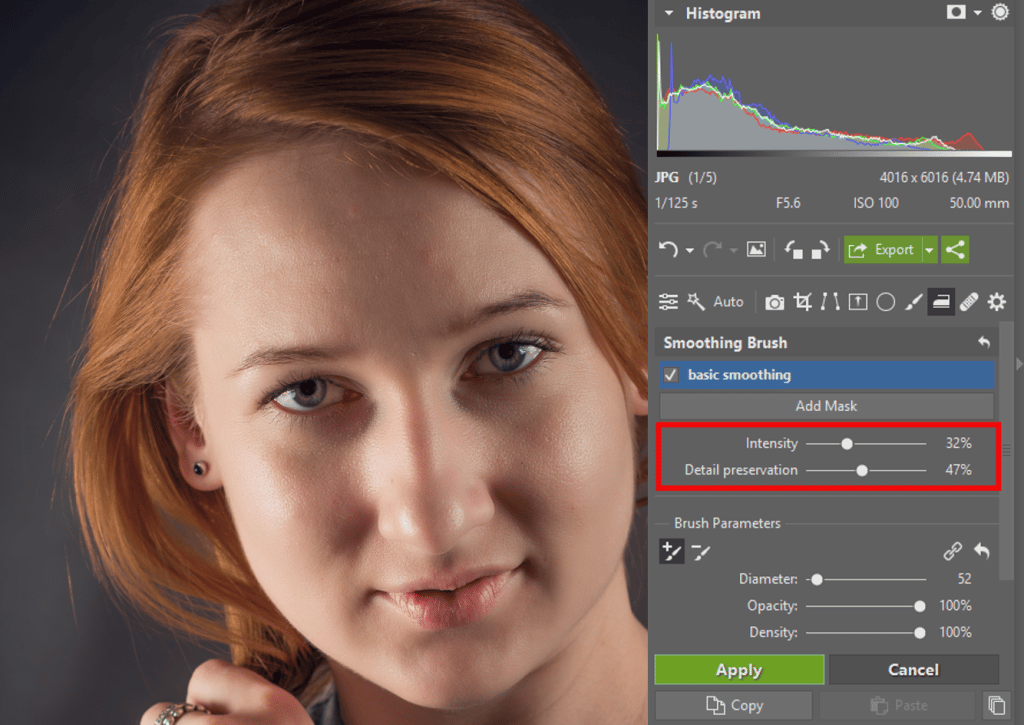
Once you’re done checking, turn off the mask display using the same icon, and adjust the Intensity and Detail Preservation to make things look perfect.
Use the Intensity to determine how strongly the structure is smoothed. Around 30% is usually enough, but feel free to use a higher value. Meanwhile take care to keep your edit from looking artificial.
And that’s where Detail Preservation comes in, because it restores skin’s original structure and pores. Set this value based on the situation. For fairly smooth skin, you can use a high value. For our sample picture, around 50% is optimal. Sharp edges will fall away, and round pores will stay.
If there are some spots where you feel the effect could be stronger, click on Add Mask and use the Smoothing Brush locally one more time with the same approach.
Everyone’s skin is different, and it also depends on how harsh the light is during the shot, and potentially on the model’s makeup, so there are no universal values to recommend here. But even after your edit, the skin should look natural. Also, for now it doesn’t need to be perfect—we’re just at the beginning.

We aren’t done by far, but the Smoothing Brush has done a good piece of work. The skin is far smoother, yet it also hasn’t lost its structure. Traditional “cloning” work would have left the model looking like a sculpture. Here she still has a natural look.
Brush Settings
Before you get started with retouching areas large or small, you need to know which tool and which mode to choose. They’re all useful in slightly different places.
When you’re retouching a large number of points (e.g. pimples), choose the New Brush Stroke mode in the brush settings, so that each stroke (each dab) of the brush uses a new source.
If you’re retouching large, complex objects such as wrinkles or hair, where it’s not possible to do it in one stroke, use Add Brush Stroke mode. The individual strokes will all be within one mask, and their source point will be the same Only start a new stroke after moving on to a different wrinkle in a different part of the face. Hold down the Shift key to switch between these modes temporarily.
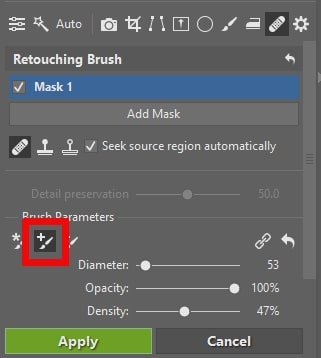
Use Remove Brush Stroke mode (hold down Alt to switch into it temporarily) when you’ve drawn a stroke where you shouldn’t and you want to erase part of it.
These settings are available for all of the retouching tools that we’ll describe in the following paragraphs.
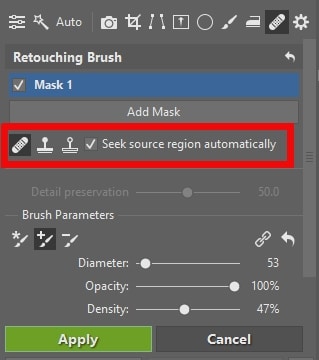
You can also set whether the program should seek a source region automatically for your retouching. It’s usually best to leave this option turned on. When you do need to choose the source region yourself, hold down Ctrl and then click.
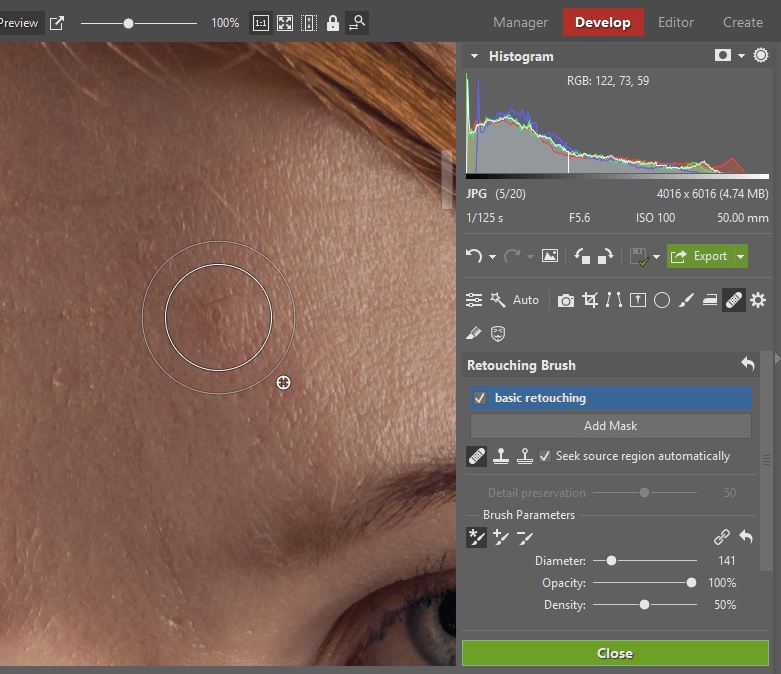
Removing Rough Details
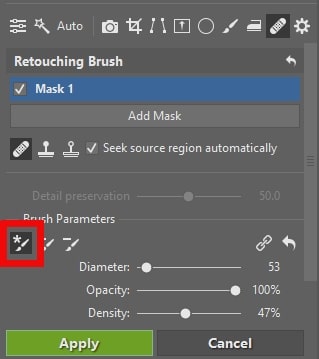
The Smoothing Brush has removed many small problem areas. But you’ll have to remove the bigger ones manually. For this, use the Retouching Brush (J). It offers 3 modes:
- Healing Brush,
- Clone Stamp, and
- Structure Cloning.
The Healing Brush is the most universal. You can use it to fix most skin defects. It works by transferring texture while averaging the colors and exposure from a spot’s surroundings.
For elements such as pimples that you want to remove entirely, increase the Opacity to 100%. But use a low value on this slider for wrinkles—you want to soften them, not remove them.
For the most natural-looking retouching, keep the Density down at around 70% and the Blur at 20%, so that there are no marks around the brush edges.
The Clone Stamp copies precisely the source region that you feed into it. So it’s useful for retouching fences, grates, and other smooth textures. But it’s fairly useless for faces.
Use Structure Cloning for wrinkles or other details where you want to change the structure only, while leaving the original color. For wrinkles, here again it’s good to just soften them instead of removing them. And likewise here again, achieve this by reducing the Opacity and Density.
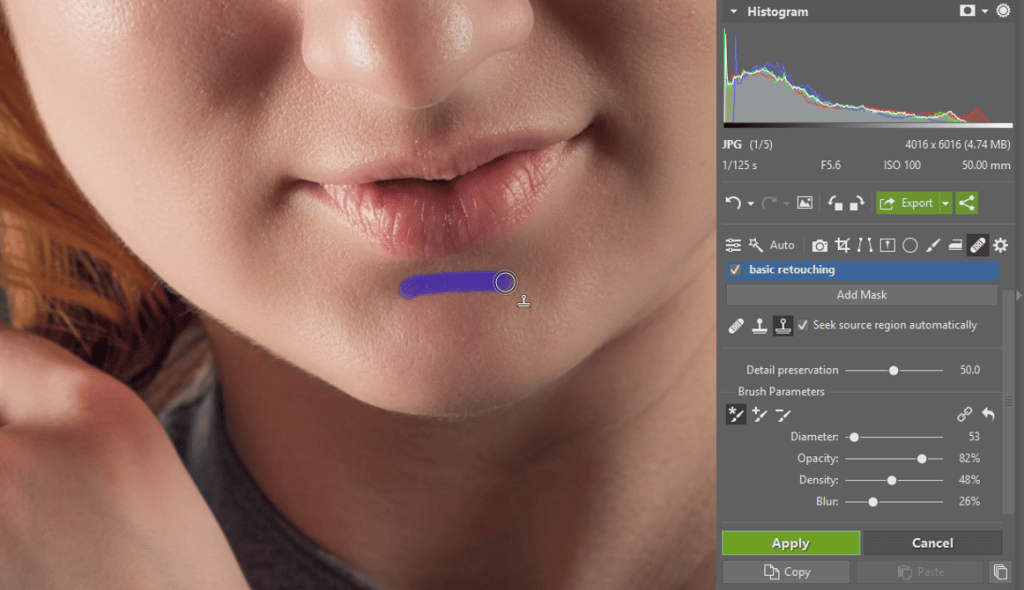
Retouching Minor Defects
So that your individual steps are organized and you can adjust them later, create masks one more time and name them based on the edits they contain.
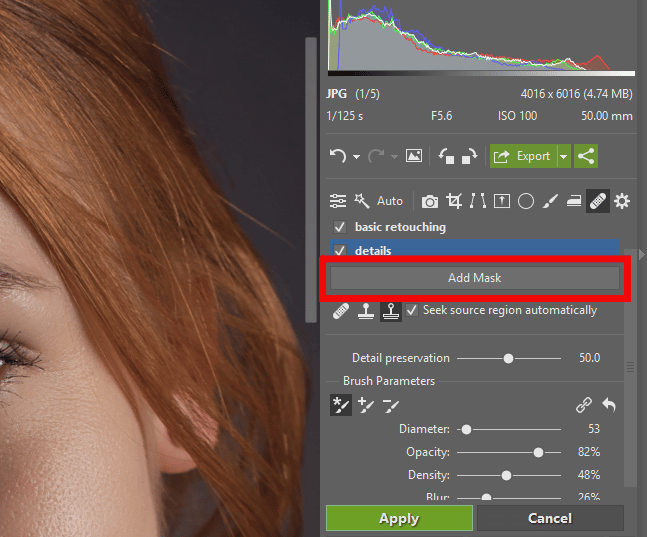
Within this mask, use a smaller brush, zoom in on the photo even more, and retouch away minor defects such as eyeliner traces and small pimples. The brush settings for this are the same as before.
Although you could do both sets of edits in one step, if you later decide that you overdid your detail retouching, this mask will let you roll it back without having to remove individual points.
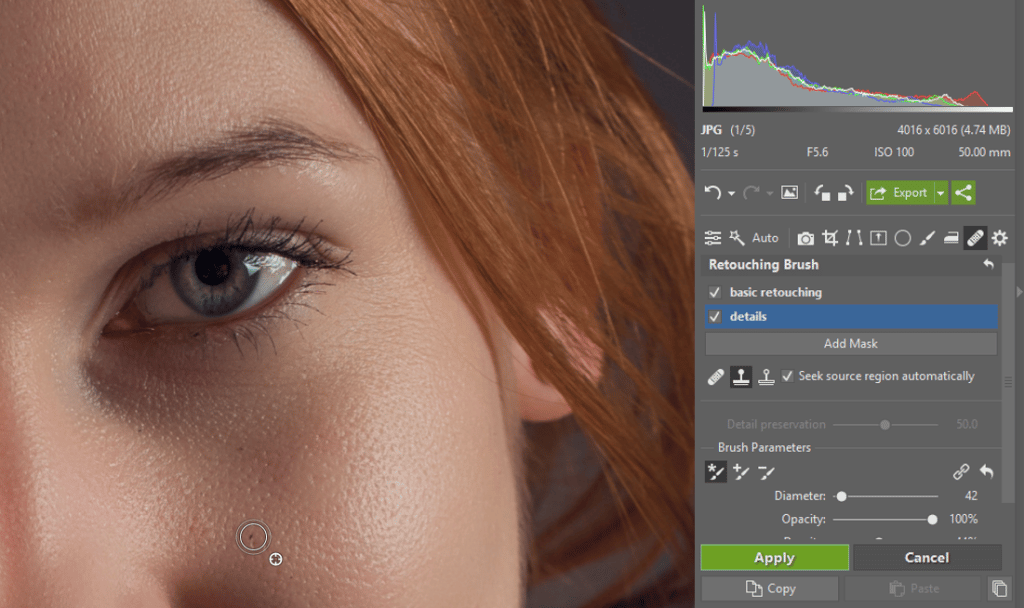


Retouching Eyes and Teeth
Eye retouching is generally a two-step process.
The first step is emphasizing the irises and reflections in the eyes. Turn on the Brush Filter (B) and give it a high blur level to keep things looking smooth. Then draw over the irises with it. Add Clarityand Saturation as well—and you can also slightly increase the Exposure, Sharpness, and Shadows.
But: moderation in all things! When a model’s eyes are too shiny, it can make her look sick, or even drunk.
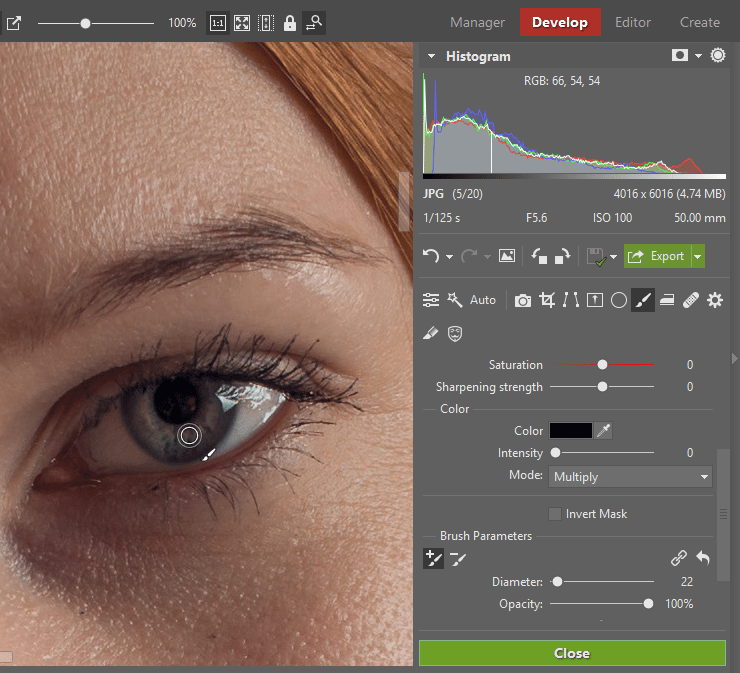
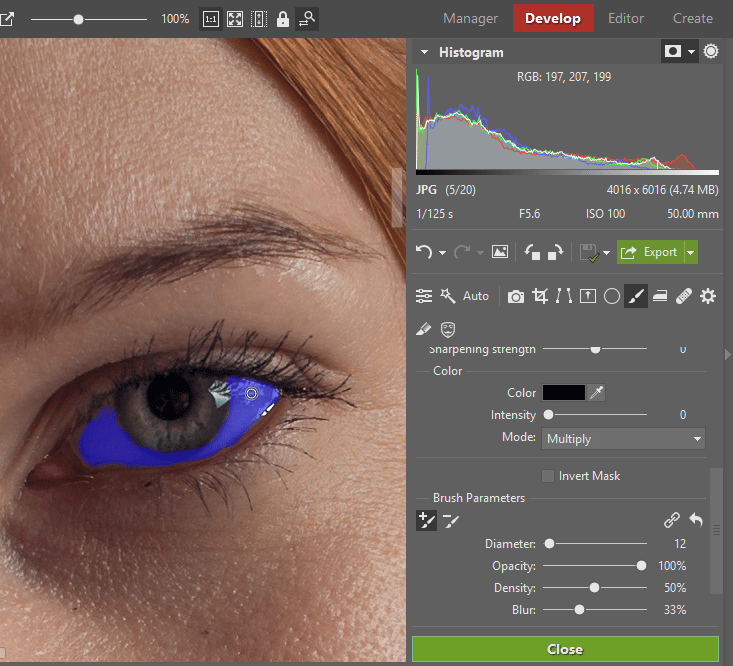
Edits to the whites of the eyes are the second step here. For these, the approach is basically the opposite. You want to make the veins and the surface of the eye less visible. So use the brush to add a new mask and select the whites. Then drag the Clarity down into the minuses. You’ll also want to reduce the Saturation and Sharpness by a few units. For Exposure, on the other hand, you can raise it a bit.
Things work similarly when you’re retouching teeth. But here there aren’t any.
Sometimes you also need to retouch the lips. This applies for cases where they’re dry and marred by deep lines or a cold sore. In those situations, work similarly to how you work when removing wrinkles—use the Retouching Brush and choose a source that’s as similar as possible to your ideal state.
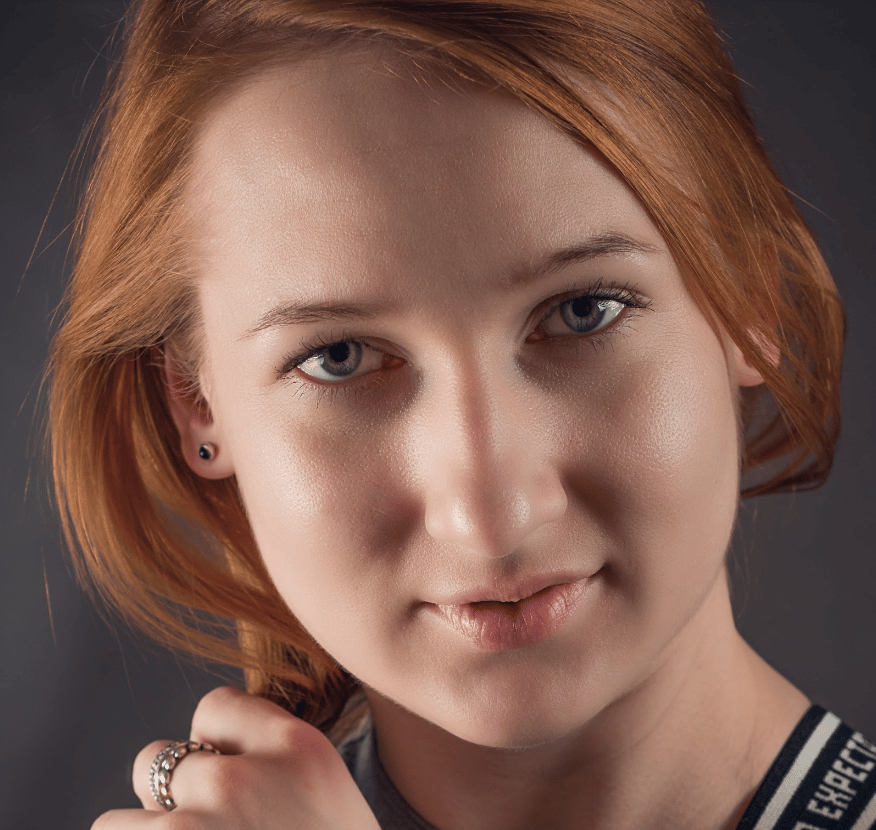
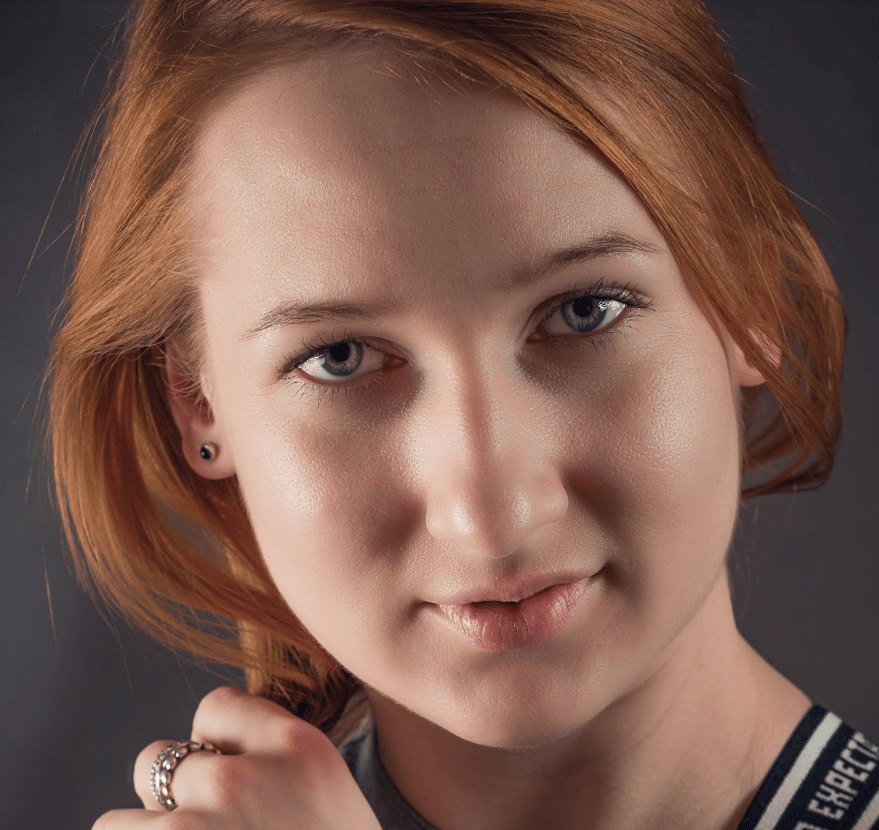
The photo before and after retouching. Try to keep your retouching invisible. Less is more here. During your retouching, always keep the portrait looking as natural as possible.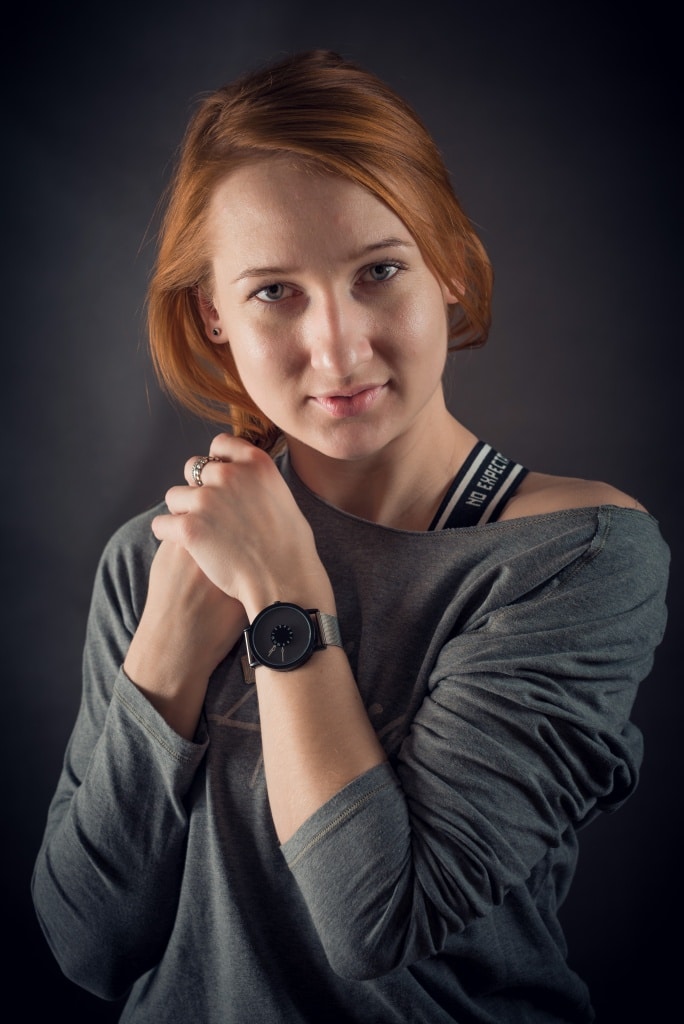

Closing Words
There are no comments yet.