How to Print Multiple Photos on One Page: Creating Your Own Photo Collage
The article is over 5 years old. The information in it may be outdated.
![]()
We are working on its update. In the meantime, you can read some more recent articles.
Every photographer wants to print out their photos from time to time. Printing photography isn’t always easy, especially when you need to fit multiple photos on a sheet. There are many ways to deal with this issue.
Perhaps you’ve already tried to print out multiple photos by pasting the photos into a text editor. Preparing collages in this manner is time-consuming, complicated, and imperfect.
Let’s try a better solution.
Print your photos with a photo editor. You’ll be able to work with your images more easily and have more options for printing. For example, you can use Zoner Studio to print multiple photos on a single sheet with:
- Collage,
- Print photos,
- and Contact Sheets.
Each tool will help you print your photos in a slightly different way. You can choose which one you’d like to use at any time.
All you need to do is:
- In the Manager Module, select the photos you want to print. Switch to the Create Module and choose one of the above-mentioned tools.
Before starting a new project, make sure your photos have an sRGB color profile. Zoner Studio automatically creates one for you. When exporting photos, check to see that you have Do not change or sRGB in Color space. If photos with a different color profile are received, we cannot guarantee color fidelity.
How to print a collage
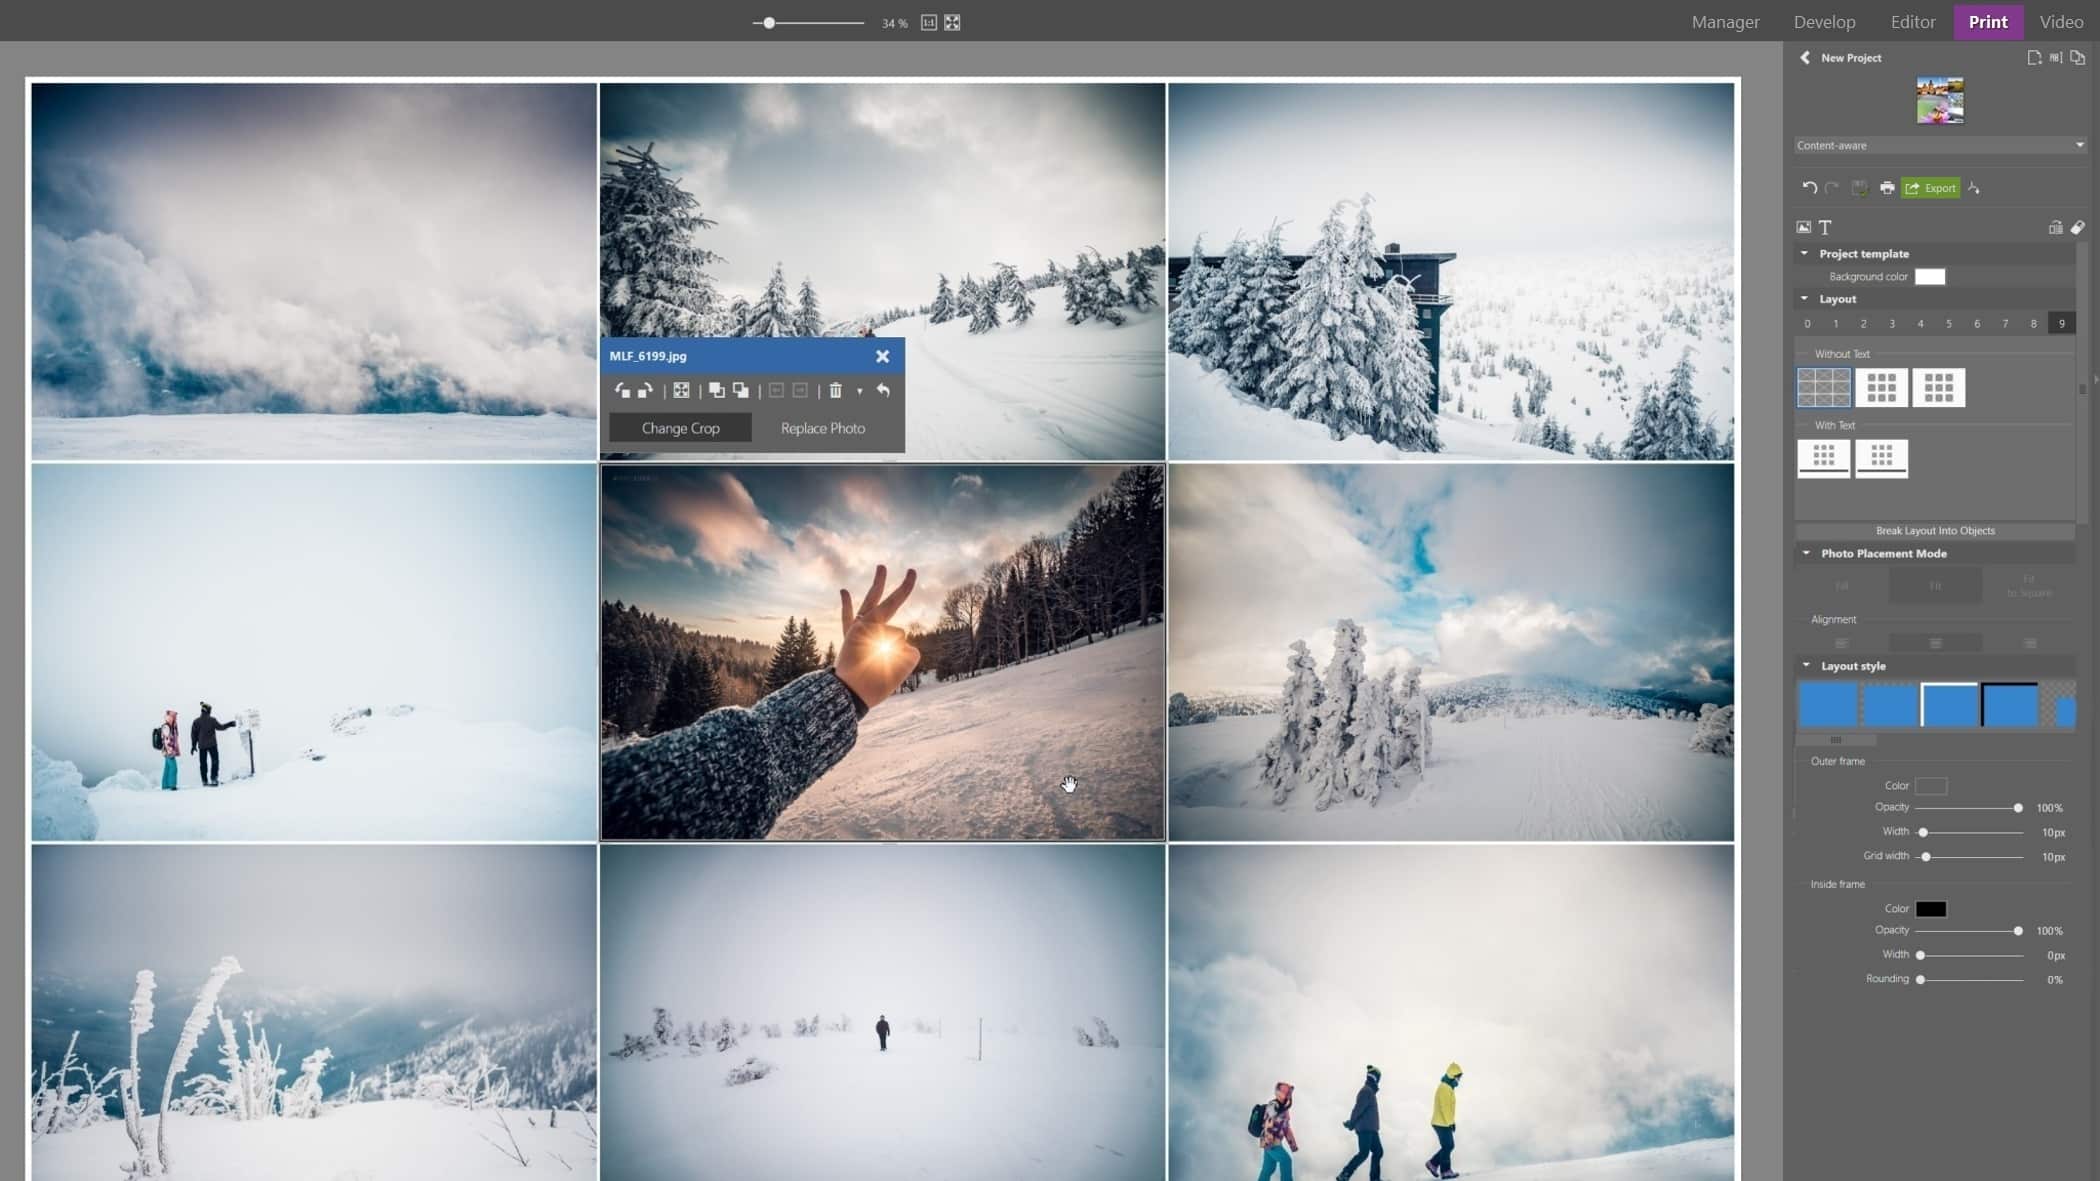
The first tool listed is Collage. As soon as you activate this option, a picture with all of the selected photos will automatically appear.
If the layout isn’t to your liking, all you have to do is choose a different Layout in the right panel. You drag additional images to your collage from the filmstrip at the bottom of the window. Depending on the number of photos you have, the program will suggest an automatic layout.
Click on a selected photo to display more options. You can rotate, change crop, or click Replace Photo to drag and replace it with another.
Then, you need to:
- Choose a frame in Layout style,
- adjust settings for the inside and outer frame,
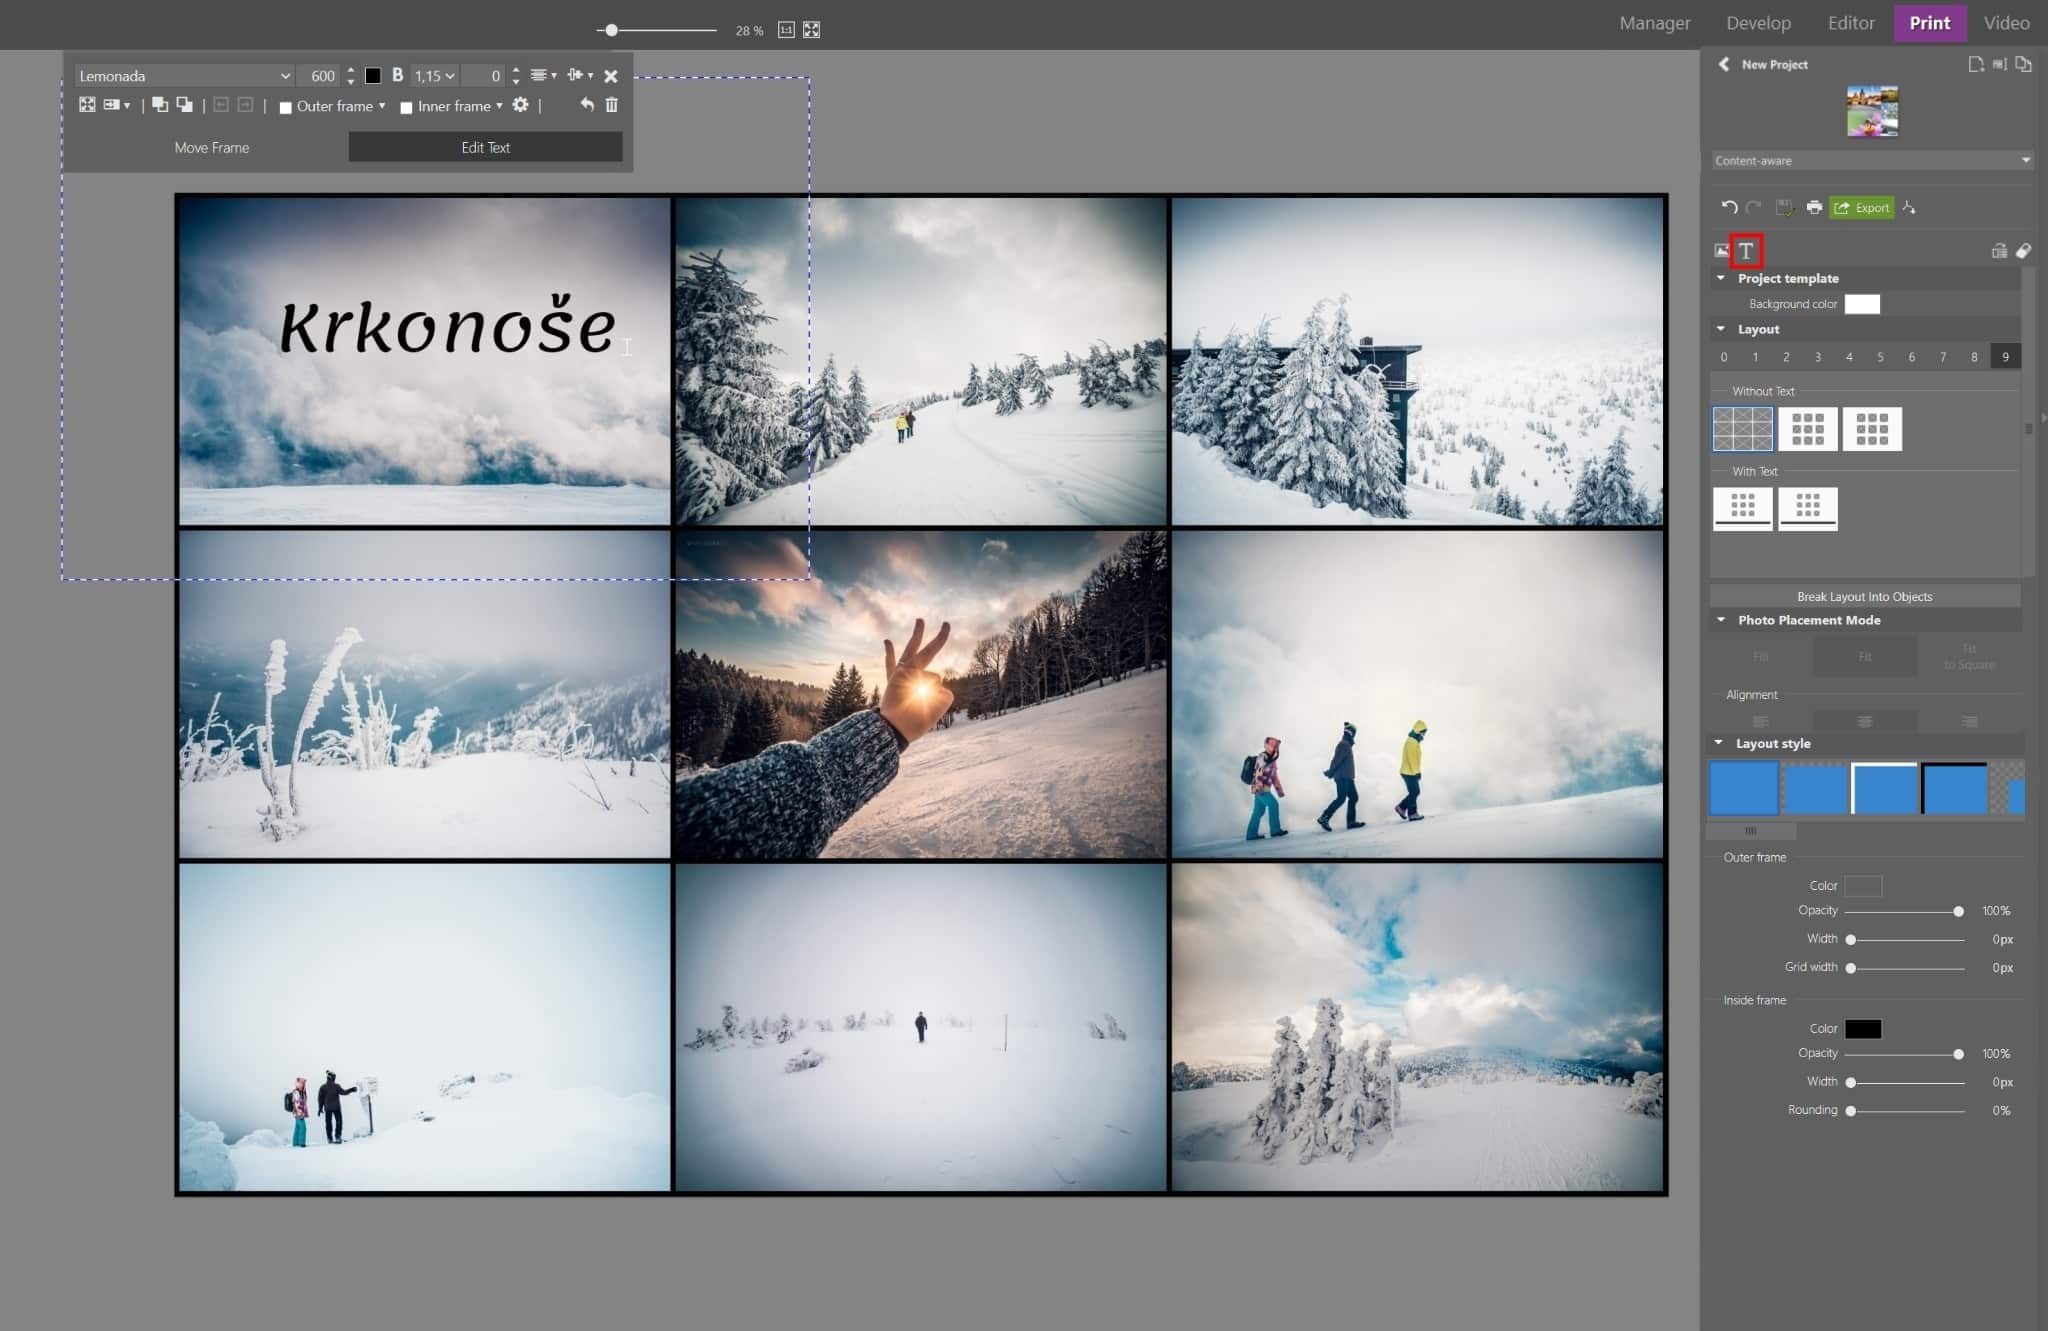
- or even add text by clicking the icon under the green export button.
You can then export your collage as an image and even post it to social media. Or, click the printer icon to print it out.
Print photos
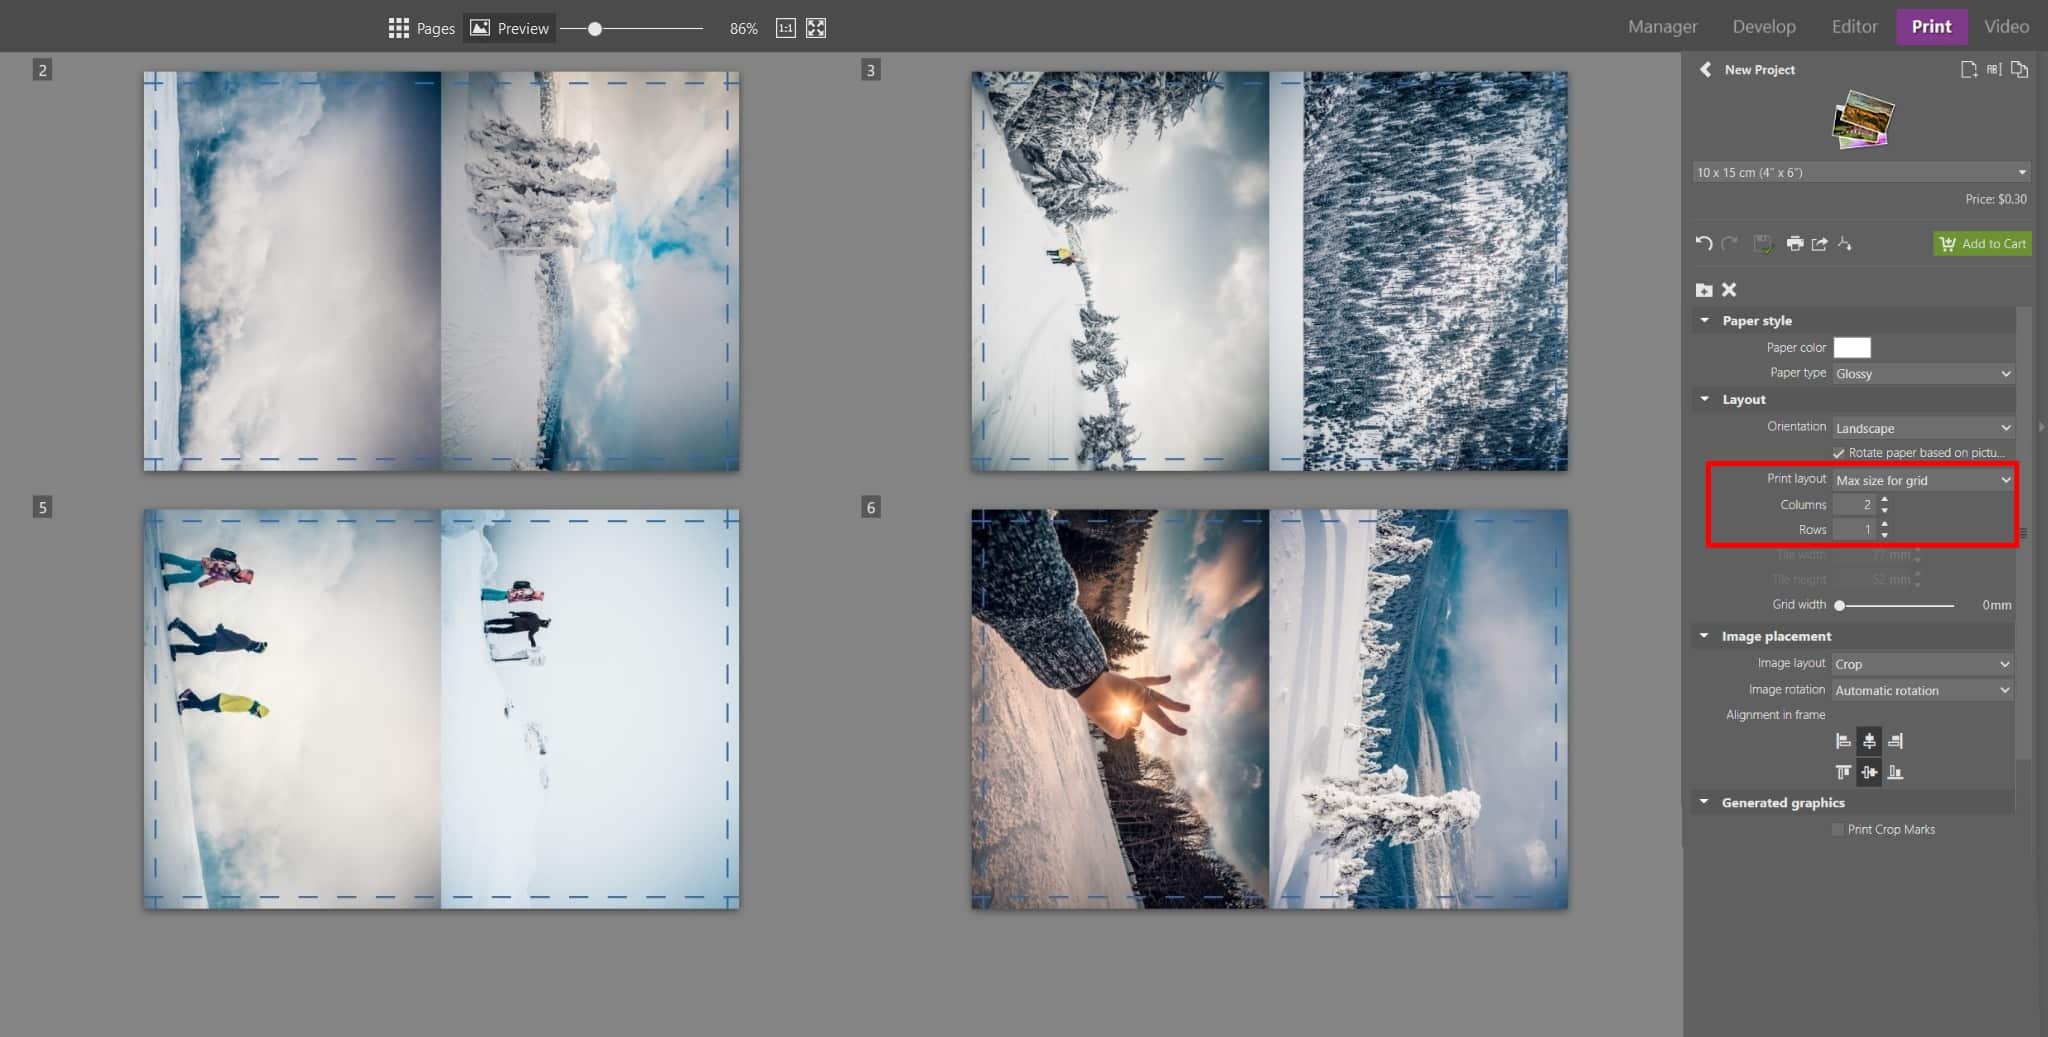
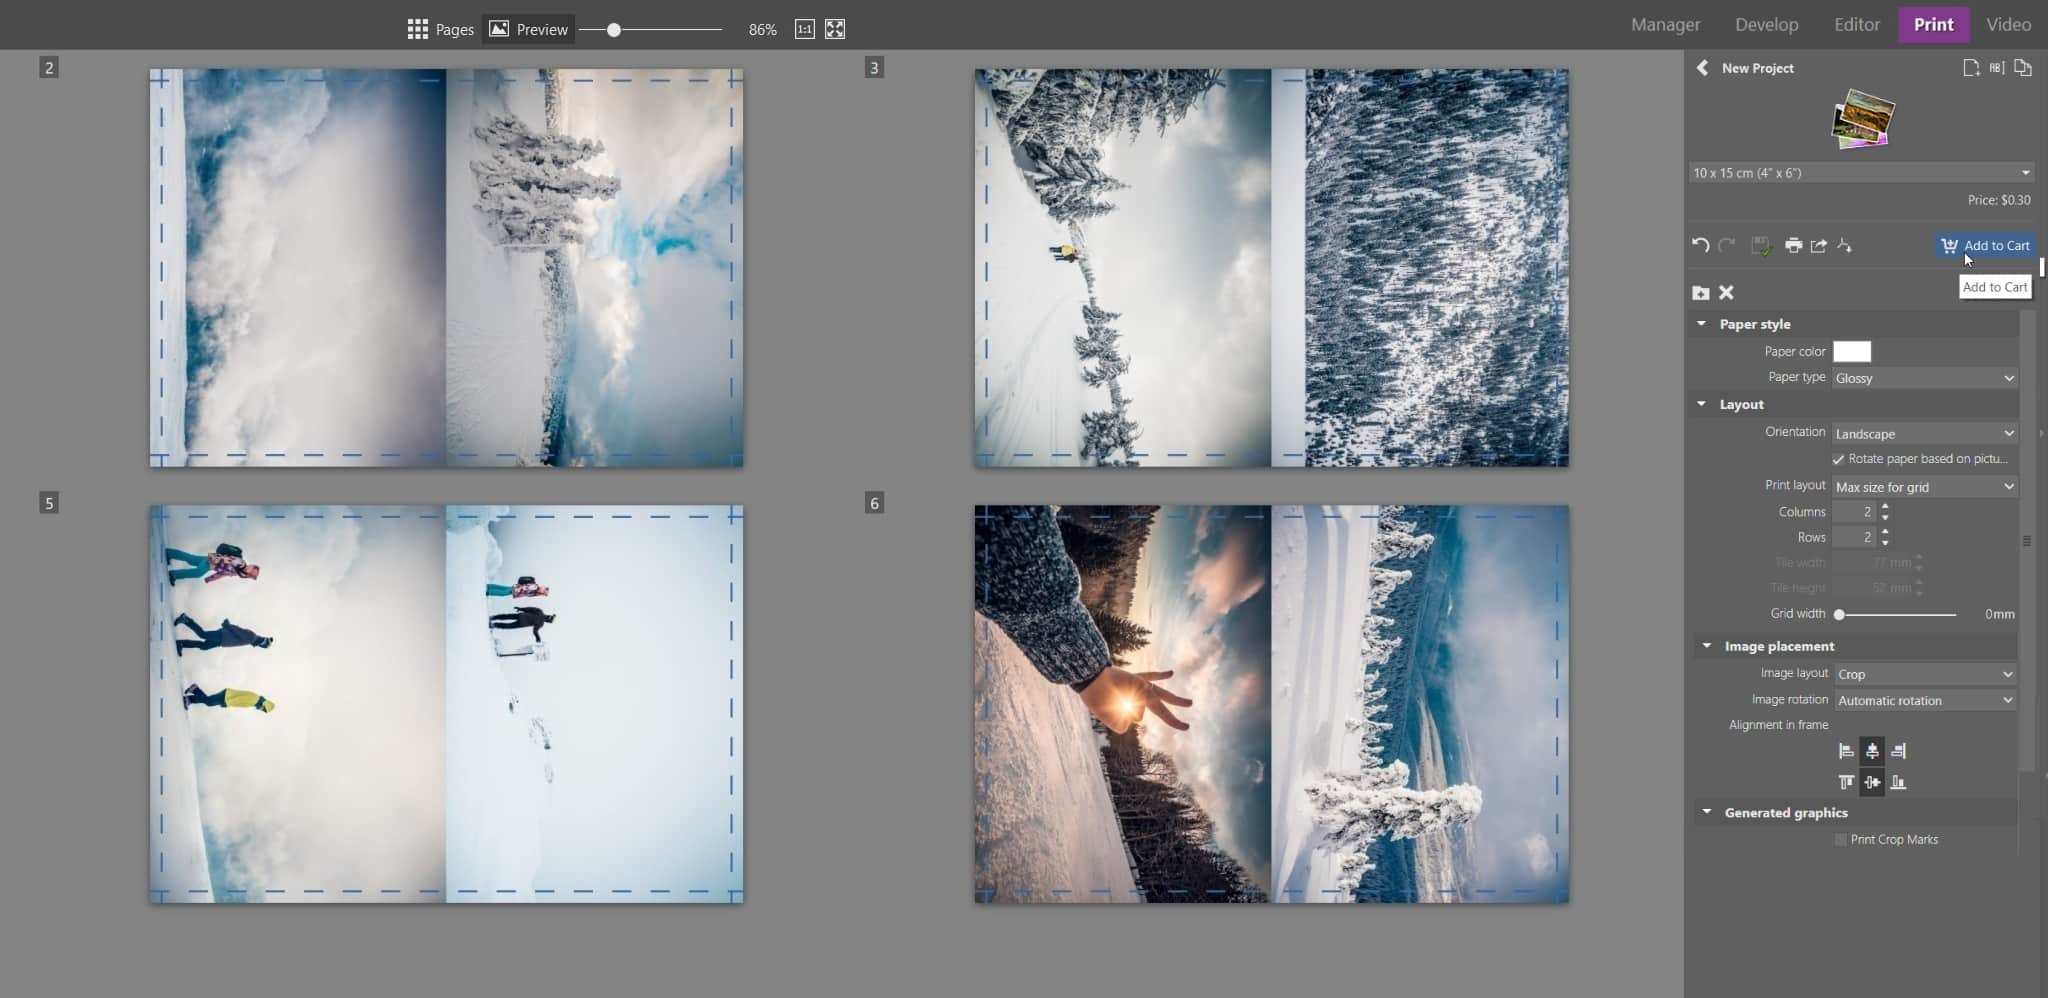
The Print Photos tool works for printing photos with standard dimensions, such as 10 x 15 cm (4” x 6”). You can also print one image per page, or change the layout and insert multiple photos on a page.
All you need to do is choose the correct paper size and set the number of columns and rows. You can drag other photos from the filmstrip into each field to replace the current ones.
As soon as you’re happy with the layout of your photos, you can print them out right away or send them off for professional printing.
Another option is to export the photo to PDF. This way, you’ll have everything in one document and your home printer can easily handle it without needing to change settings because they are set exactly in the PDF. Insert crop marks for further cropping of your photograph.
Contact Sheets to choose photos
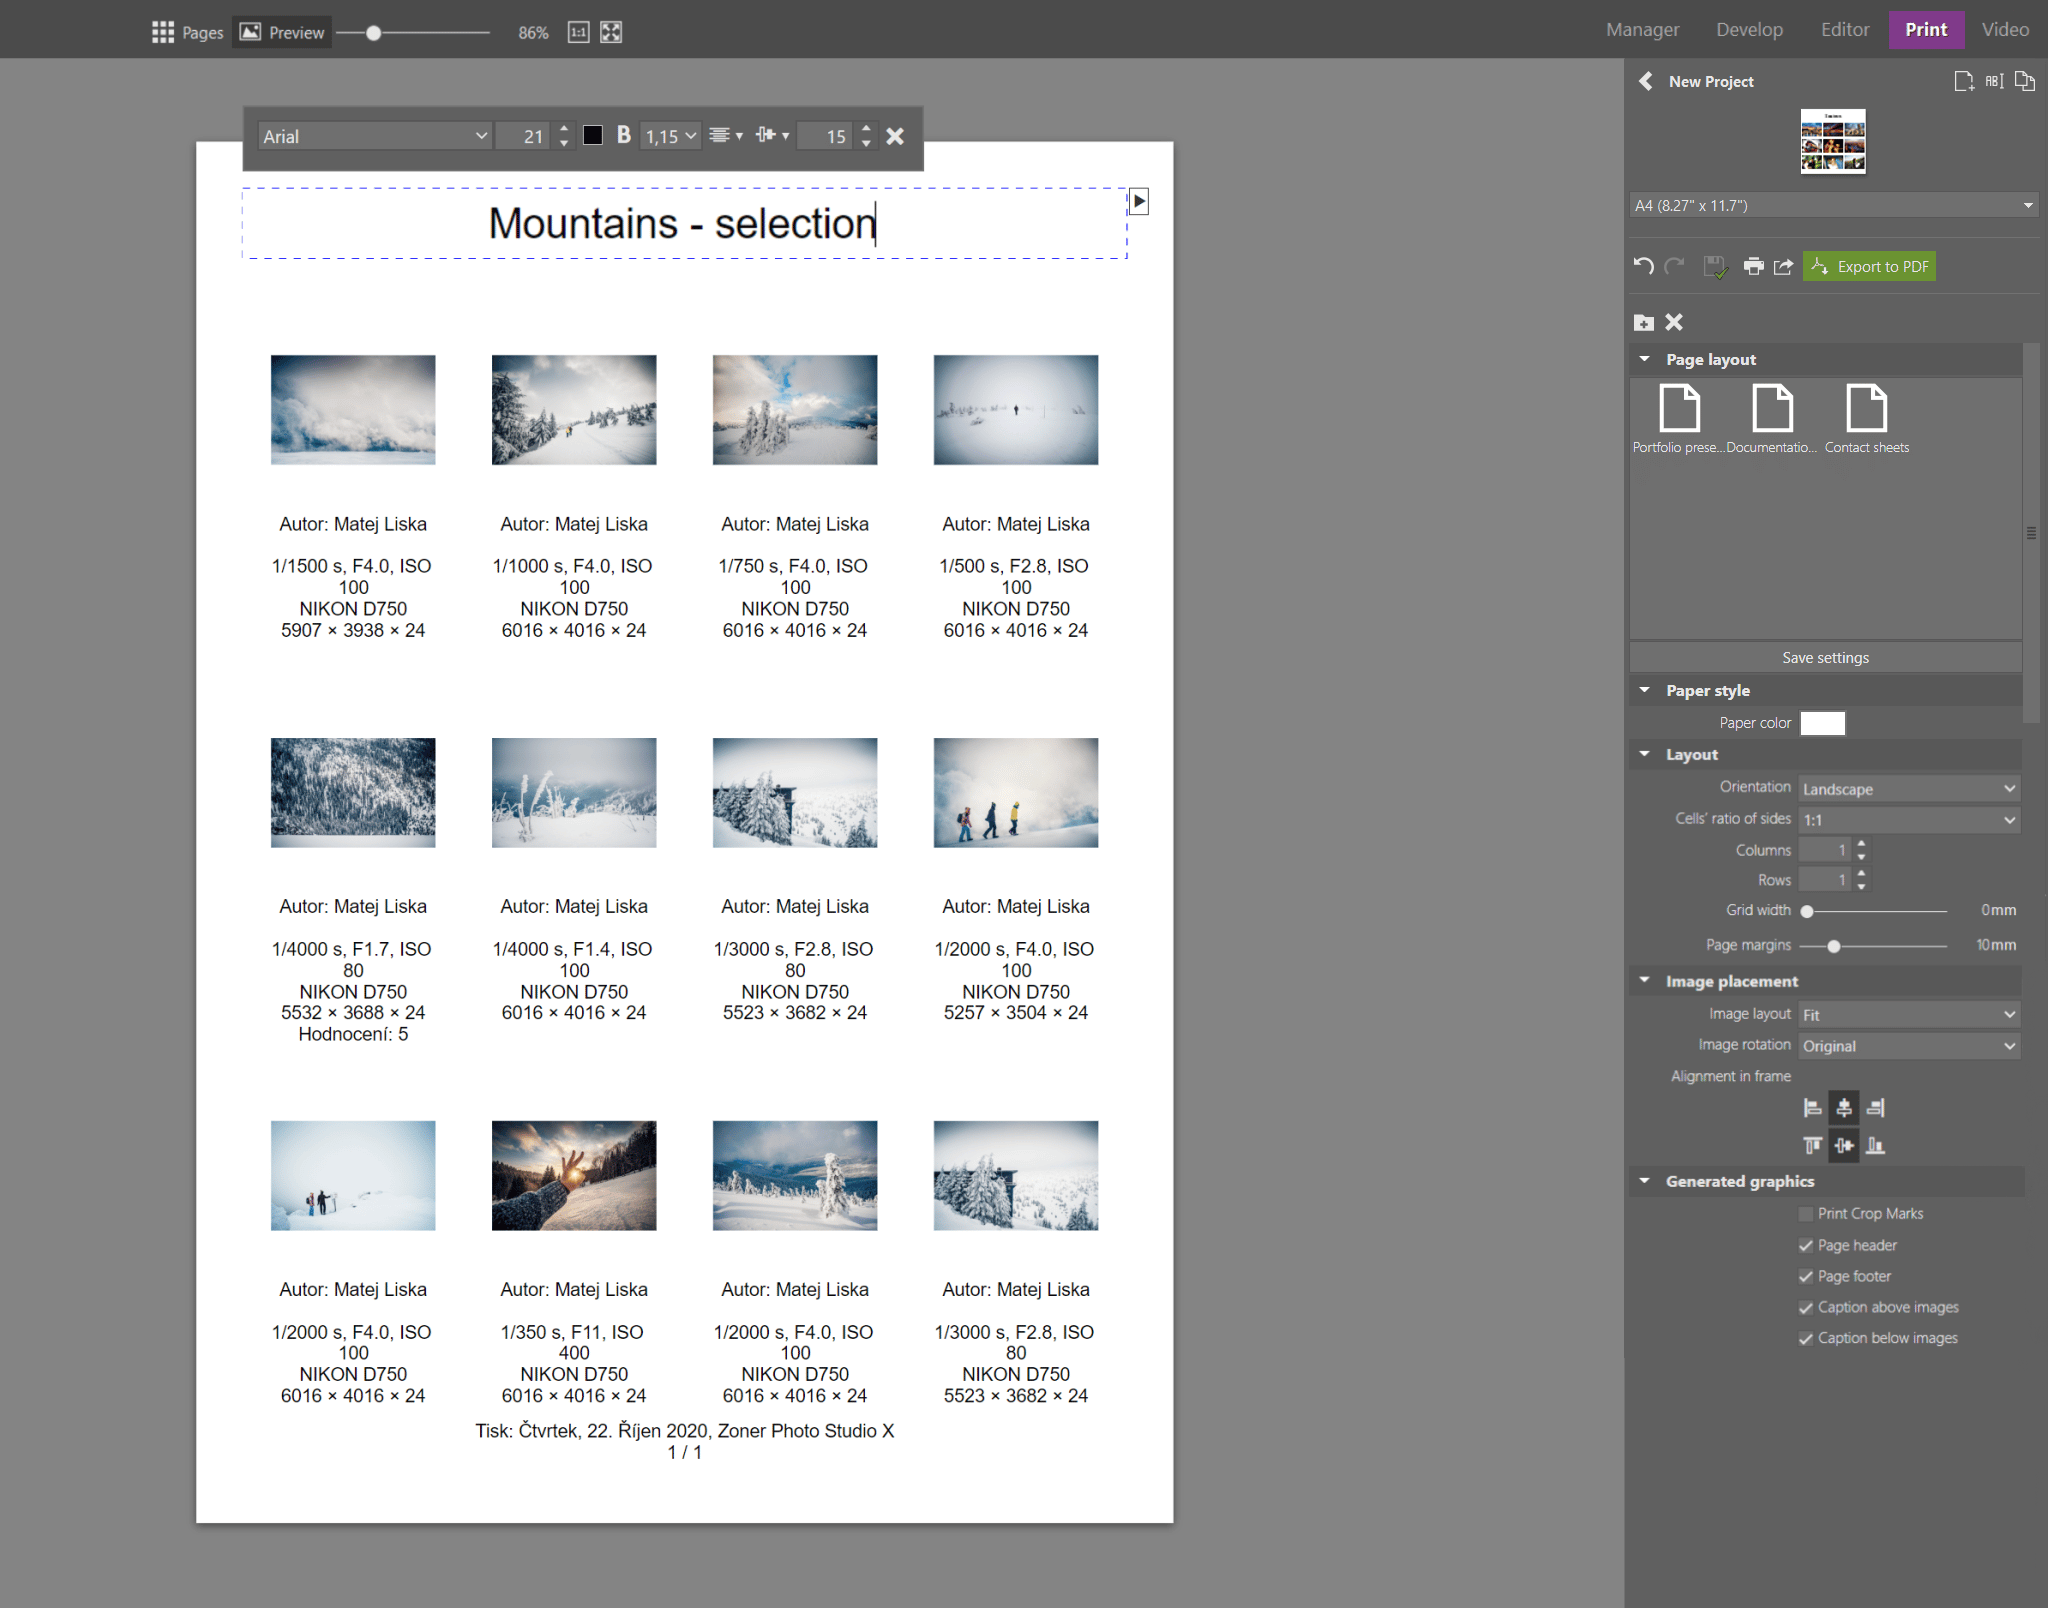
A major advantage of contact S=sheets is the option to edit individual layout settings of the photos on the page, including captions and headings.
You can use contact sheets to send photos to a client. Print all photographed images on one sheet in small thumbnails so the client can circle which ones they like, or add comments.
You edit headings and other sections of text by clicking them. A formatting bar appears.
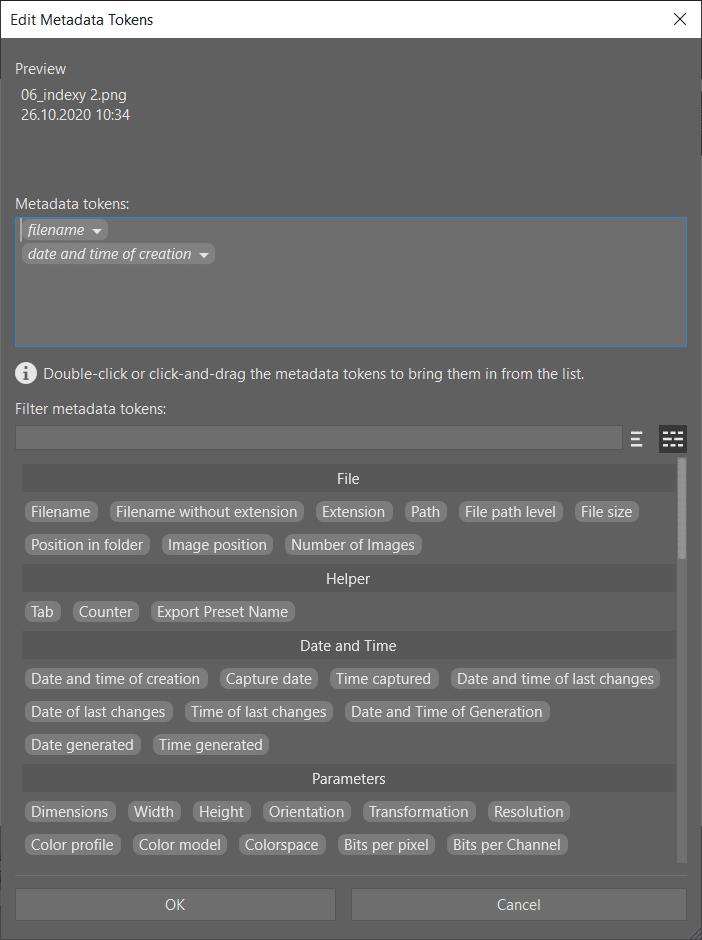
Click the caption to display the window with formatting string and choose the text which will be under each photo. You can include information such as photo title, EXIF data, location, as well as plenty of other information.
Then, all you need to do is choose the paper settings and print everything or export it.
The basic steps for printing multiple photos on a sheet are all the same. You can do it in a matter of a few clicks. See for yourself – download Zoner Studio free for 7 days and maybe print yourself a collage from your most recent vacation.

There are no comments yet.