The Winter Sun: Ideal for Portraits
When you photograph people under bright sunlight, they tend to scrunch up their face and look… silly. How can you avoid that? It’s simple—do these shots in autumn or winter. This works because the light in these seasons is much gentler on the eyes—the sun’s farther away, making it less intense. You can take pictures practically at high noon.
Every photography handbook will warn you portraits under direct sunlight are not exactly the greatest idea. But that doesn’t apply for autumn and winter! In these periods, the sun is less intense than in summer, so it’s possible to “look into it.” That makes the shoot less unpleasant for the model than in summer—when even white surfaces can be uncomfortably bright. What to Do, and How?

Light in the Eyes
The most important rule for shooting portraits under direct sunlight, or any light for that matter, is to have light in the eyes. A portrait with dark eyes just doesn’t have the right touch.

Light the Whole Face
In the most basic kind of sunlight lighting, you light up the model’s whole face. Here you want to keep the subject’s face as shadow-free as possible. So pose your model in a way that leaves them looking straight at the sun.

Even winter light can be rough for some models. If yours is one of them, here’s a trick: have them close their eyes. Then fine-tune the composition, the sharpness, and the camera settings. And then say “go,” have them open their eyes, and press the trigger. And your photo’s ready!

Light gradients and Contrasts
Doing your portraits under the sun opens up endless new possibilities. You can use different compositions. So it’s no problem to separate your model out from the background using depth of focus or contrast.
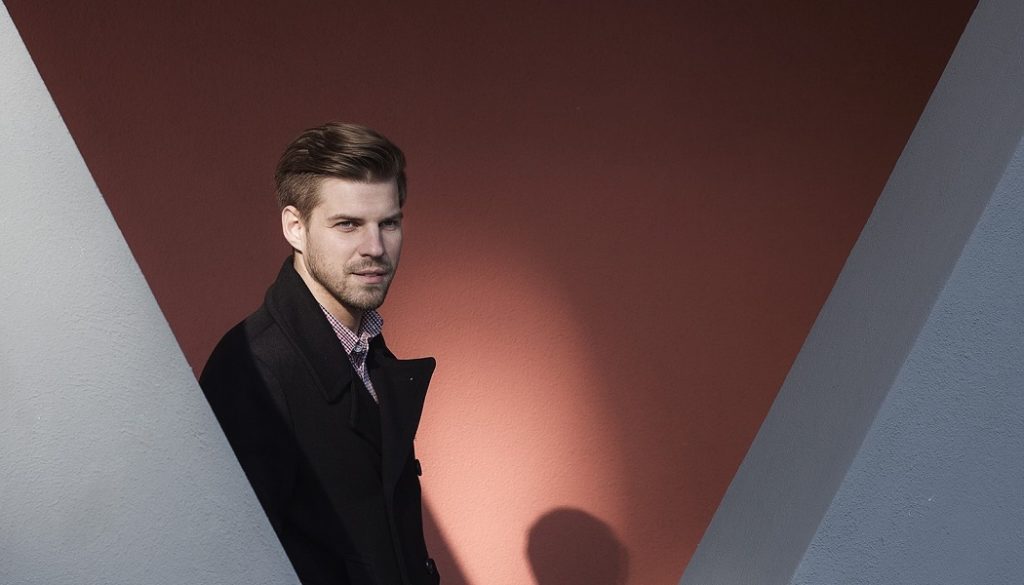
A simple example: a building in the background that’s not getting any sunlight, thus throwing it in shadow. Your model is standing in the sun, so they’re well separated from the background. You can work very creatively in such an environment.

Against the Light
You can shoot against the light too, but you’ll need the right equipment—the right lenses and a camera sensor with good dynamic range. Choose a lens that can still focus properly when shooting against the light and that has enough contrast. A kit lens can have real trouble meeting these criteria. But if that’s all you have, then focus manually and fine-tune the focus on a PC after the shot. Sensor dynamics are important because they help you give your photos detail in both the lights and the shadows, with nothing lost to over- or underexposure. Unless it’s on purpose, that is. Occasional artistic blowout can be very expressive.

The process for a picture like this is simple—place the model between the sun and the camera, and a nice line of light will appear on their face. If your equipment is dynamic enough, try letting the sun “peek out” from behind your model.

Reflections Big and Small
When you’re taking pictures in the city, there are reflections everywhere around you. You can use these for your photos. They can be interesting background “effects,” or you can use them directly as a part of the model’s lighting. You’ll find some examples of this below.


Seasons of Unique Light
Autumn and winter tend to be a depressing time, one where the daylight is fleeting or fleeing, and it’s not as warm as it was. So why not bring some light back into your world by taking advantage of this period’s unique advantages? Light.
Photography is about light, and these seasons yield great light that’s really on your side. So don’t lay around depressed at home or in your studio—go take some pictures in the sunny outdoors!
Klaus-Peter Bittner
Leider erhalte ich ihre guten Informationen nur in englisch. Was hab ich falsch gemacht?