Light in Photography? Light Is Photography
An eye for light and perfectly handled work with natural and artificial light sources are the key prerequisite for a good photo. The right lighting lifts a photo up out of the dull gray average, while a badly lighted picture, no matter how beautiful its subject, will never impress.
Photography—Drawing With Light
Work with light is the most fundamental element in work with photography. Even the word “photography” tells us this; it was formed by joining the Greek words for light and drawing. Just as painters brush paint onto a canvas to create a picture, photographers paint an image by capturing light particles (photons) on a light-sensitive medium (film or a digital sensor). So without light, not a single picture could ever be taken.
A photographic image is created by capturing various amounts of light reflected from the various parts of a scene. Dark objects absorb more part of the light and reflect less into the camera, while bright objects reflect more light. This defines the picture’s brightnesses. Its colors are defined by the wavelengths and frequencies of the reflected light. Objects with different hues reflect light of different wavelengths and frequencies.
Canon EOS 7D, EF-S 15-85/3.5-5.6 IS USM, 1/50 s, f/16, ISO 100, focal length 15 mm (24 mm equiv.)
Learn to See Light
Knowing how to see the light is a key trait of a photographer. It’s the most fundamental photographic skill, but also the hardest and most time-consuming to learn.
Now, you can study and master the various rules of composition and exposure fairly quickly. In modern photography, this is especially true for exposure, since today’s technology makes it so much easier to determine exposure than before. You can get the rules of composition under your thumb too via various exercises, and after a time, you’ll apply them automatically. But learning to perceive light generally takes a great deal of time, and only years of practice will lead you to this skill.
Beginning photographers can generally only say if there is light, or there isn’t. If there is, they take a picture; in the second, they look for where to turn on their camera’s flash. But leave this attitude for mere picture-takers who are only out to produce “image records,” and not to create photographic images.

Canon EOS 7D, EF-S 15-85/3.5-5.6 IS USM, 1/50 s, f/4.5, ISO 100, focal length 32 mm (51 mm equiv.)
The Properties of Light
Light has several basic properties that can fundamentally influence a photo. They include intensity, color, quality, and direction.
There’s no such thing as the ideal light for every subject. Each photographic genre demands light with different characteristics. If you photograph the same scene with the same composition, but you change up the light, that gives you an entirely different photo—in terms of both aesthetics and meaning.
Light Intensity
Light intensity determines how much light you have to “draw” with. Ideally, you want just enough light to be able to use your desired exposure settings while still getting a properly exposed picture, but not more light than that.
If there’s too much light in the scene, then you’ll have to adjust exposure factors (the lens aperture and the exposure time) to avoid blown highlights. Or you can limit the amount of light flowing into the lens using a neutral gray filter or a polarizing filter.

Canon EOS 5D MkII, 70-200/2.8, 1/125 s, f/4.0, ISO 100, focal length 135 mm
Meanwhile, if there’s not enough light in the scene, then you’ll have to use a longer exposure, open the lens aperture more, or increase the ISO. You can also add light to the scene using an artificial source to acquire the exposure values you want. There’s more information on exposure in some of our previous articles.
You can also control the light’s intensity by controlling the distance of the light source from the scene. You’ll learn more about that in future articles.
Light Color
Different light sources emit light with different colors. We call this color temperature, which is given in Kelvins. The color of the light in a scene fundamentally influences the colors of the whole scene, because its tint contaminates the colors of individual objects.
In digital photography, you can compensate for these color shifts caused by colored light using white balance settings.

Canon EOS 7D, EF-S 15-85/3.5-5.6 IS USM, 6 s, f/5.6, ISO 100, focal length 31 mm (50 mm equiv.)
Light Quality
In terms of light’s character, we distinguish diffused light, which throws soft shadows, and concentrated light, which throws sharp shadows.
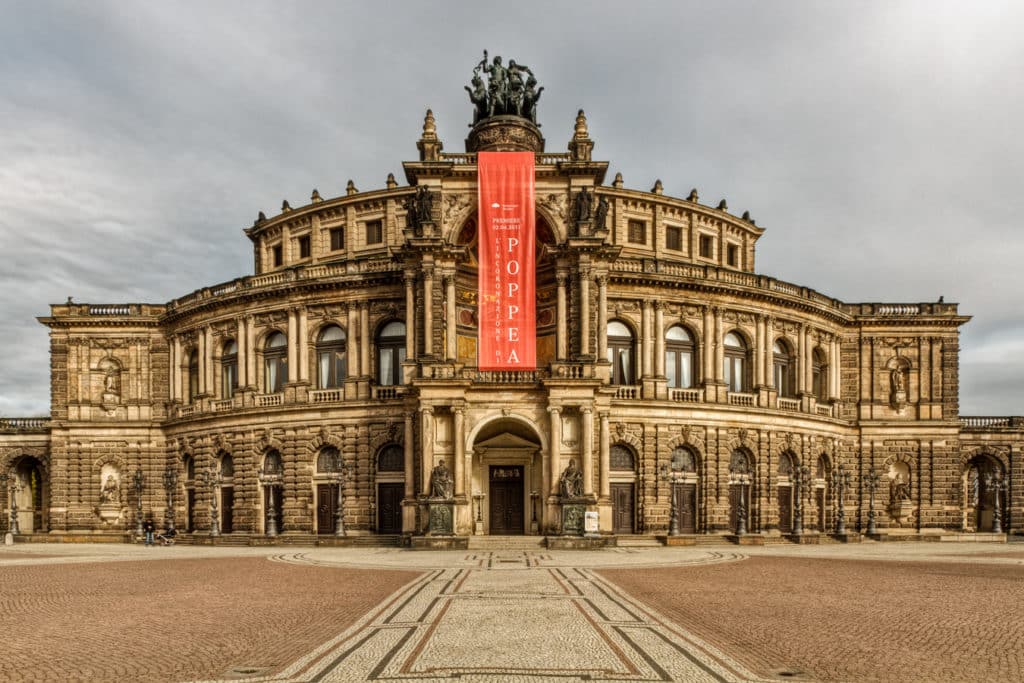
While portraiture benefits from diffused (“soft”) light, which doesn’t create unpleasant sharp shadows on the face, other genres demand harder light. For example, architecture needs it in order to define the substance of buildings in space.
Light’s character depends on the size of the light source compared to the photographed object. If the light source’s surface is larger than the photographed object, then you get diffused light. In the opposite case, you get sharp light.
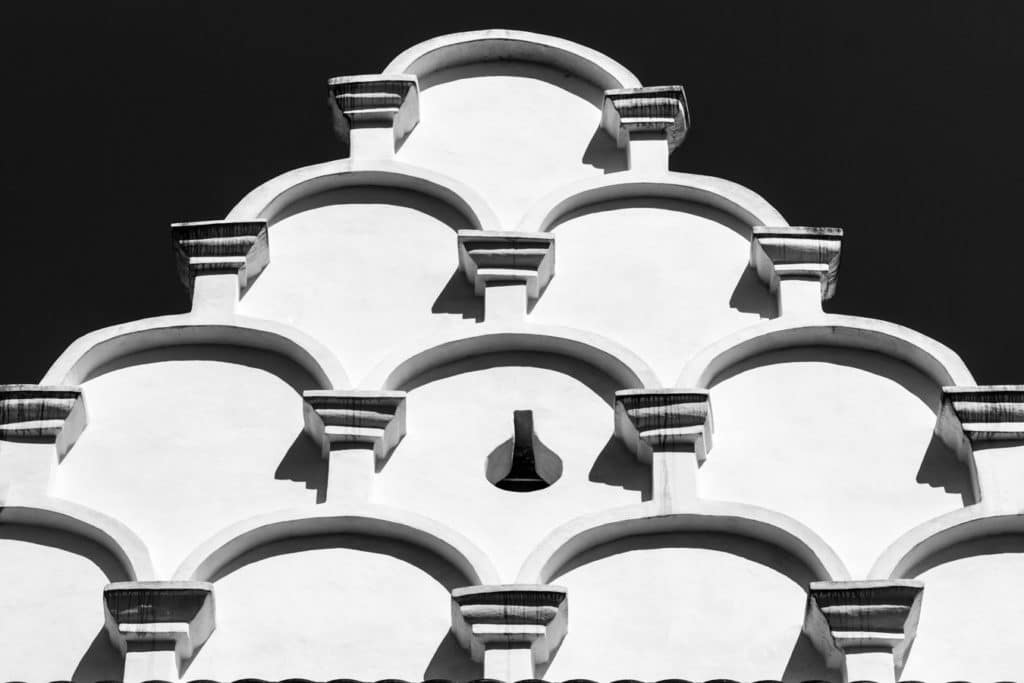
Canon EOS 7D, EF-S 15-85/3.5-5.6 IS USM, 1/10 s, f/16, ISO 100, focal length 29 mm (46 mm equiv.)
You can observe this in the basic light we all have available: the light from the Sun. Although the Sun is enormous, it’s so far from the Earth that it looks like a very small light source compared to all objects on Earth.
And so when you are taking pictures in clear weather at noon, the Sun throws very sharp and hard shadows. In those conditions, you have no chance of taking e.g. a good portrait. But when the sky is cloudy, then the clouds essentially become your light source. These are enormous relative to objects down on the ground, and so the light is diffused, giving you good light for portraits.
Directing Light
Your positioning of your light source relative to the scene determines the positions of your shadows. This is a fundamental skill for picture-taking. A photograph is a two-dimensional medium on which you capture a three-dimensional world. So to interpret space, you have to use some kind of substitute for space. Shadows are that substitute. When the brain sees shadows in an image, it automatically assigns space to them, since flat objects do not throw shadows.
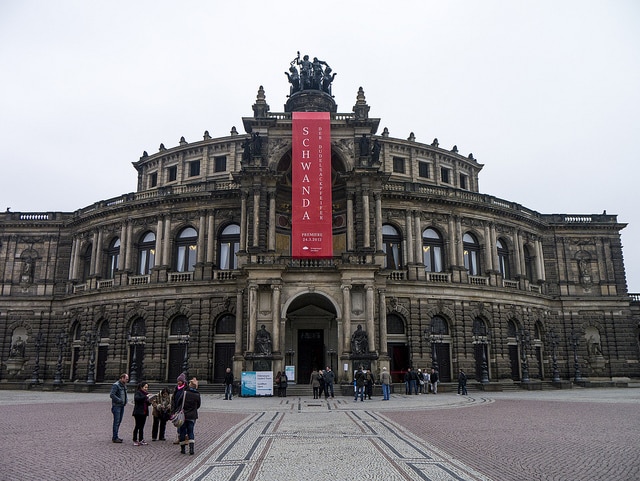
So if you use frontal lighting (the kind where you have your light source at your back), you create an entirely flat image with no expression of space. After all, the shadows are hidden behind the photographed object. This kind of lighting can be useful for some purely reproductive work, but it has no place in artistic photography. The further you place a light source from the scene and the camera, the longer the shadows you get, and the more you express space.
Canon EOS 7D, 70-200/2.8, 1/1000 s, f/8.0, ISO 100, focal length 70 mm (112 mm equiv.)
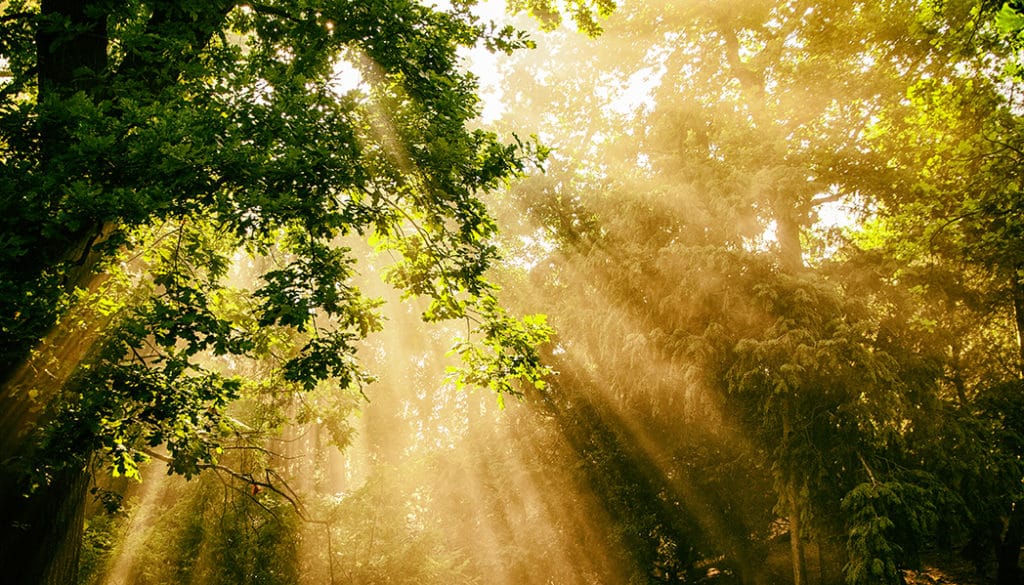
The most demanding photographic method is shooting against the light. This places huge demands both on the lens that you use and on your photographic technique itself. With this kind of light you’re at risk for a variety of image defects, but if you handle your technique well, you’ll be rewarded with—in terms of light—some of the prettiest photographs possible. Also, for transparent objects, shooting against the light is the only option there is. These objects don’t reflect light, and so backlighting is the only way to display them well.
Light Sources
I mentioned the properties of light above. These depend on the light source used and its placement relative to the subject—the distance and angle it’s shining from. All of the mentioned properties of light can be influenced using a wide variety of accessories.
Light sources can be divided into two kinds—natural and artificial.
Natural Light
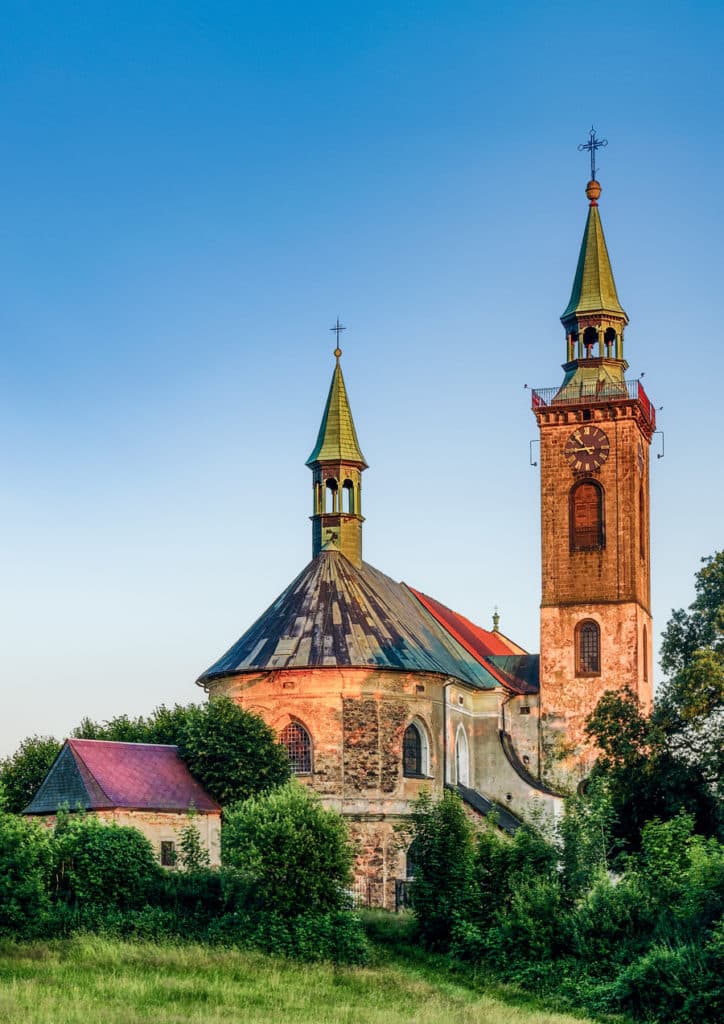
With the term “natural light,” we’re generally talking about sunlight or moonlight. But some photographers use the term to refer to any light that is present in a photographed scene that you’re not able to influence. You can especially find this light in cities—the lighting of historical buildings, street lighting, and more.
When taking pictures in natural light, you have fewer options for altering its properties compared to when you’re using artificial light sources. But even here there are a number of tools and techniques to use, which you’ll learn about in upcoming articles.

Canon EOS 7D, 70-200/2.8, 1/125 s, f/4.0, ISO 100, focal length 70 mm (112 mm equiv.)
Artificial Light
Artificial light is fully under your control, and you can influence its color (the bulb used, a color filter on your flash), intensity (the strength setting, the distance from the scene), quality (using a reflector to get hard light; using a huge softbox for soft light), and direction.
The basic artificial light sources include system flashes, strobe light assemblies, and permanent lights. We’ll write more about taking pictures using artificial light sources in a future article.
Control Your Light
Learn to see and control your light—both natural and artificial. This is the only way to create truly beautiful photographic images that aren’t mere dull records of reality.
We’ll talk more about working with various light sources in future articles.
Discover the Power of Artificial Light in Photography
5 Techniques for Shooting in Natural Light
Adapt Your Photography to Natural Light
There are no comments yet.