Urban Architecture Photography
Most of us have been lucky enough to travel extensively. The more exotic the cities we visit, the more we are drawn to the various places the city has to offer. This may be a well-known landmark, a quaint tucked-away corner, or an ordinary street scene that captures the city’s character. Let’s look at several ways you can embrace and enhance your knowledge of architecture photography.
Taking pictures of buildings is something not only for enthusiastic architecture students, but also for anyone who enjoys walking through a new city and wants to capture a piece of it to remember. For many people, this means taking pictures on their mobile phones, which is more than sufficient for these purposes. Even with mobile phone photography, there are rules for composition as well as different tricks that bring your photography to the next level.
Ordinary city street – Everything in one shot is chaotic
I often see architectural images that capture too much in one shot. The viewer doesn’t know where to focus. However, I must admit that these types of photos give an overall impression of the place and culture but lack any artistic twist. Unless there’s something truly remarkable in the photo, it’s merely something to help you remember the city. 10 years later, I will probably have no idea why I took it in the first place.
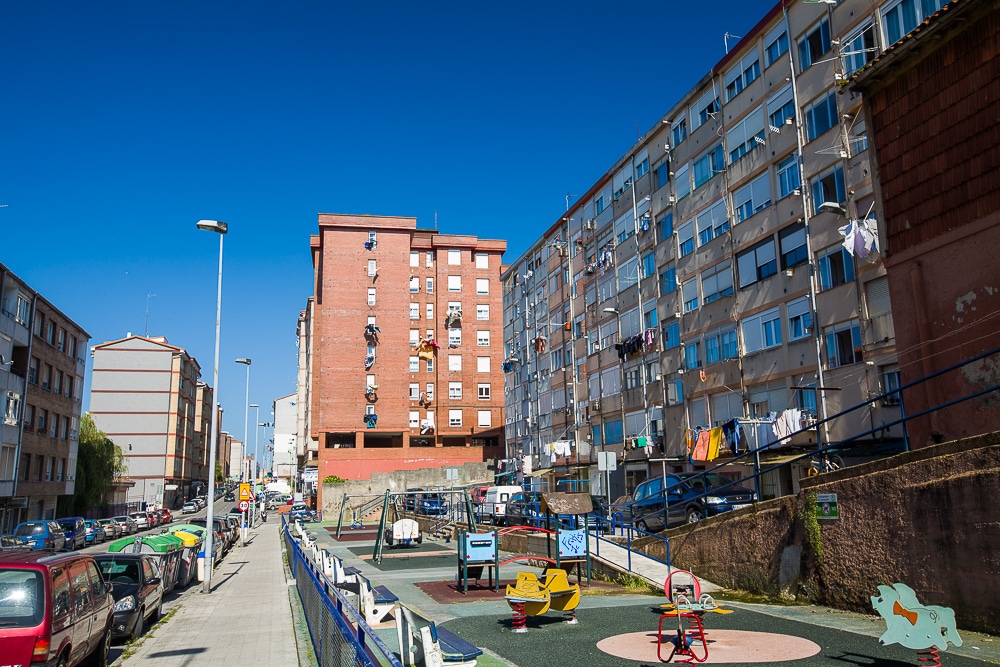
A solution is to focus on what’s most important. Get rid of objects that don’t contribute to the composition or actively take away from it by being more eye-catching than the object you want to focus on. For example, the most common problem in smaller scenes is garbage cans or bright yellow recycling containers. In a similar way, cars can interfere, as well as large parts of the city that don’t matter to us at the given moment.
Zoom in on the scene using a telephoto lens
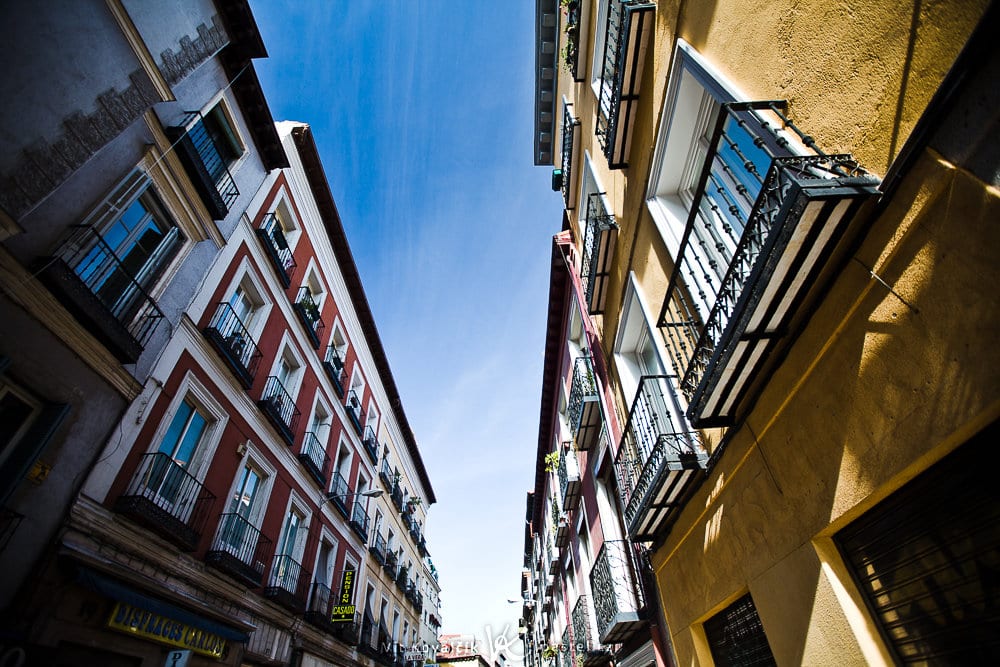
The simplest thing to do is use a telephoto lens and isolate certain parts of an entire city street. In the following picture, it’s clear that the balconies and colorful buildings are what’s most interesting.
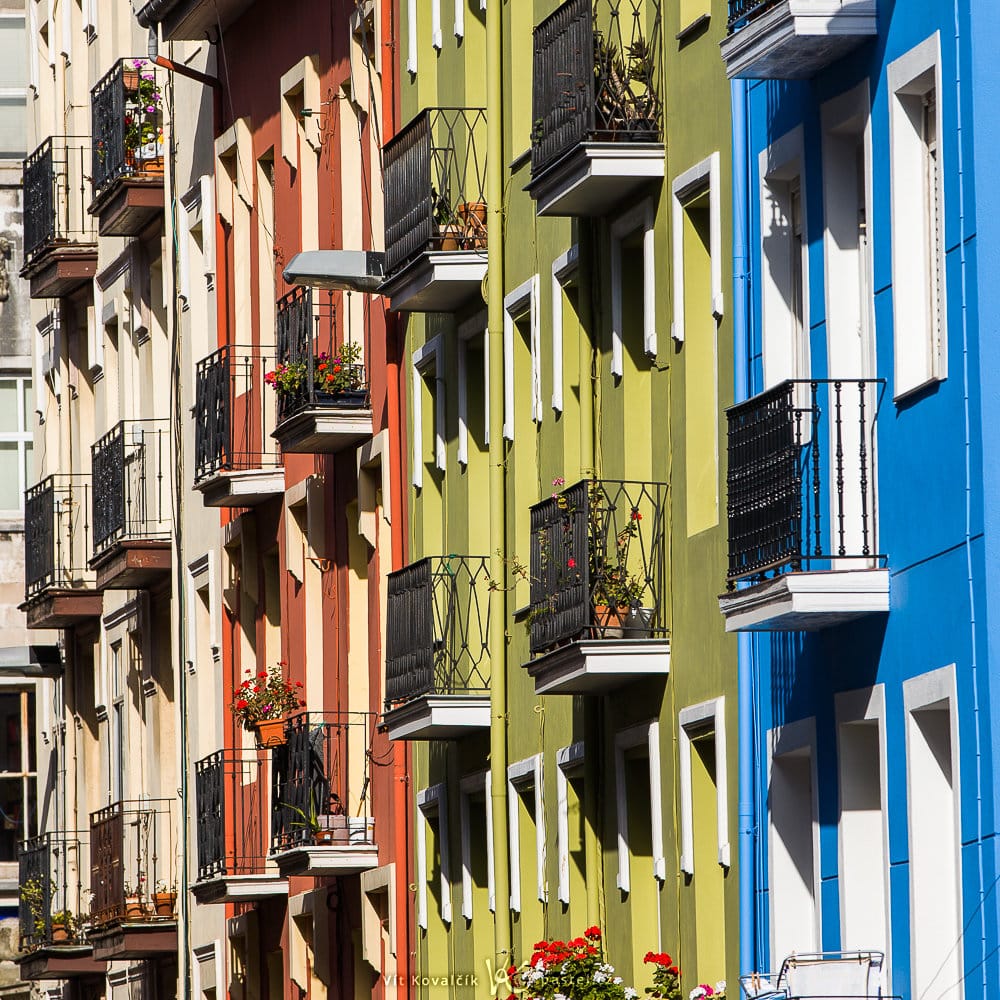
In the previous image, you may have noticed two distinct composition rules: repeating elements and diagonals. The latter is more inferred, created by the optical linking of the balconies. While you have to look to locate these patterns, they are basically handed to you on the street. All you have to do is notice any repeating elements around you.
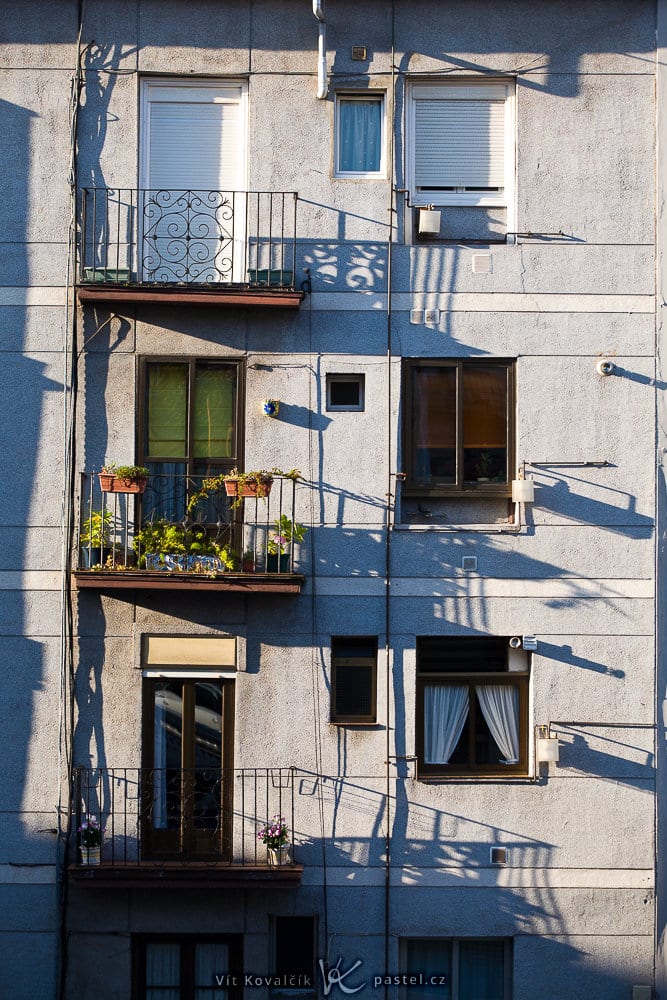
Of course, the shot doesn’t always have to go off into the distance. It’s just as effective to shoot perpendicular to the wall if there is enough room to step back. In the example below, I also used repeating elements but instead of colorful buildings, I wanted to emphasize the shadows:
Wide-angle lenses reduce objects in the background
Wide-angle lenses are considered must-haves for architecture photography. Again, it is helpful to only focus on what is essential. With ultra wide-angle lenses, you can also use perspective distortion to reduce the size of objects in the distance.
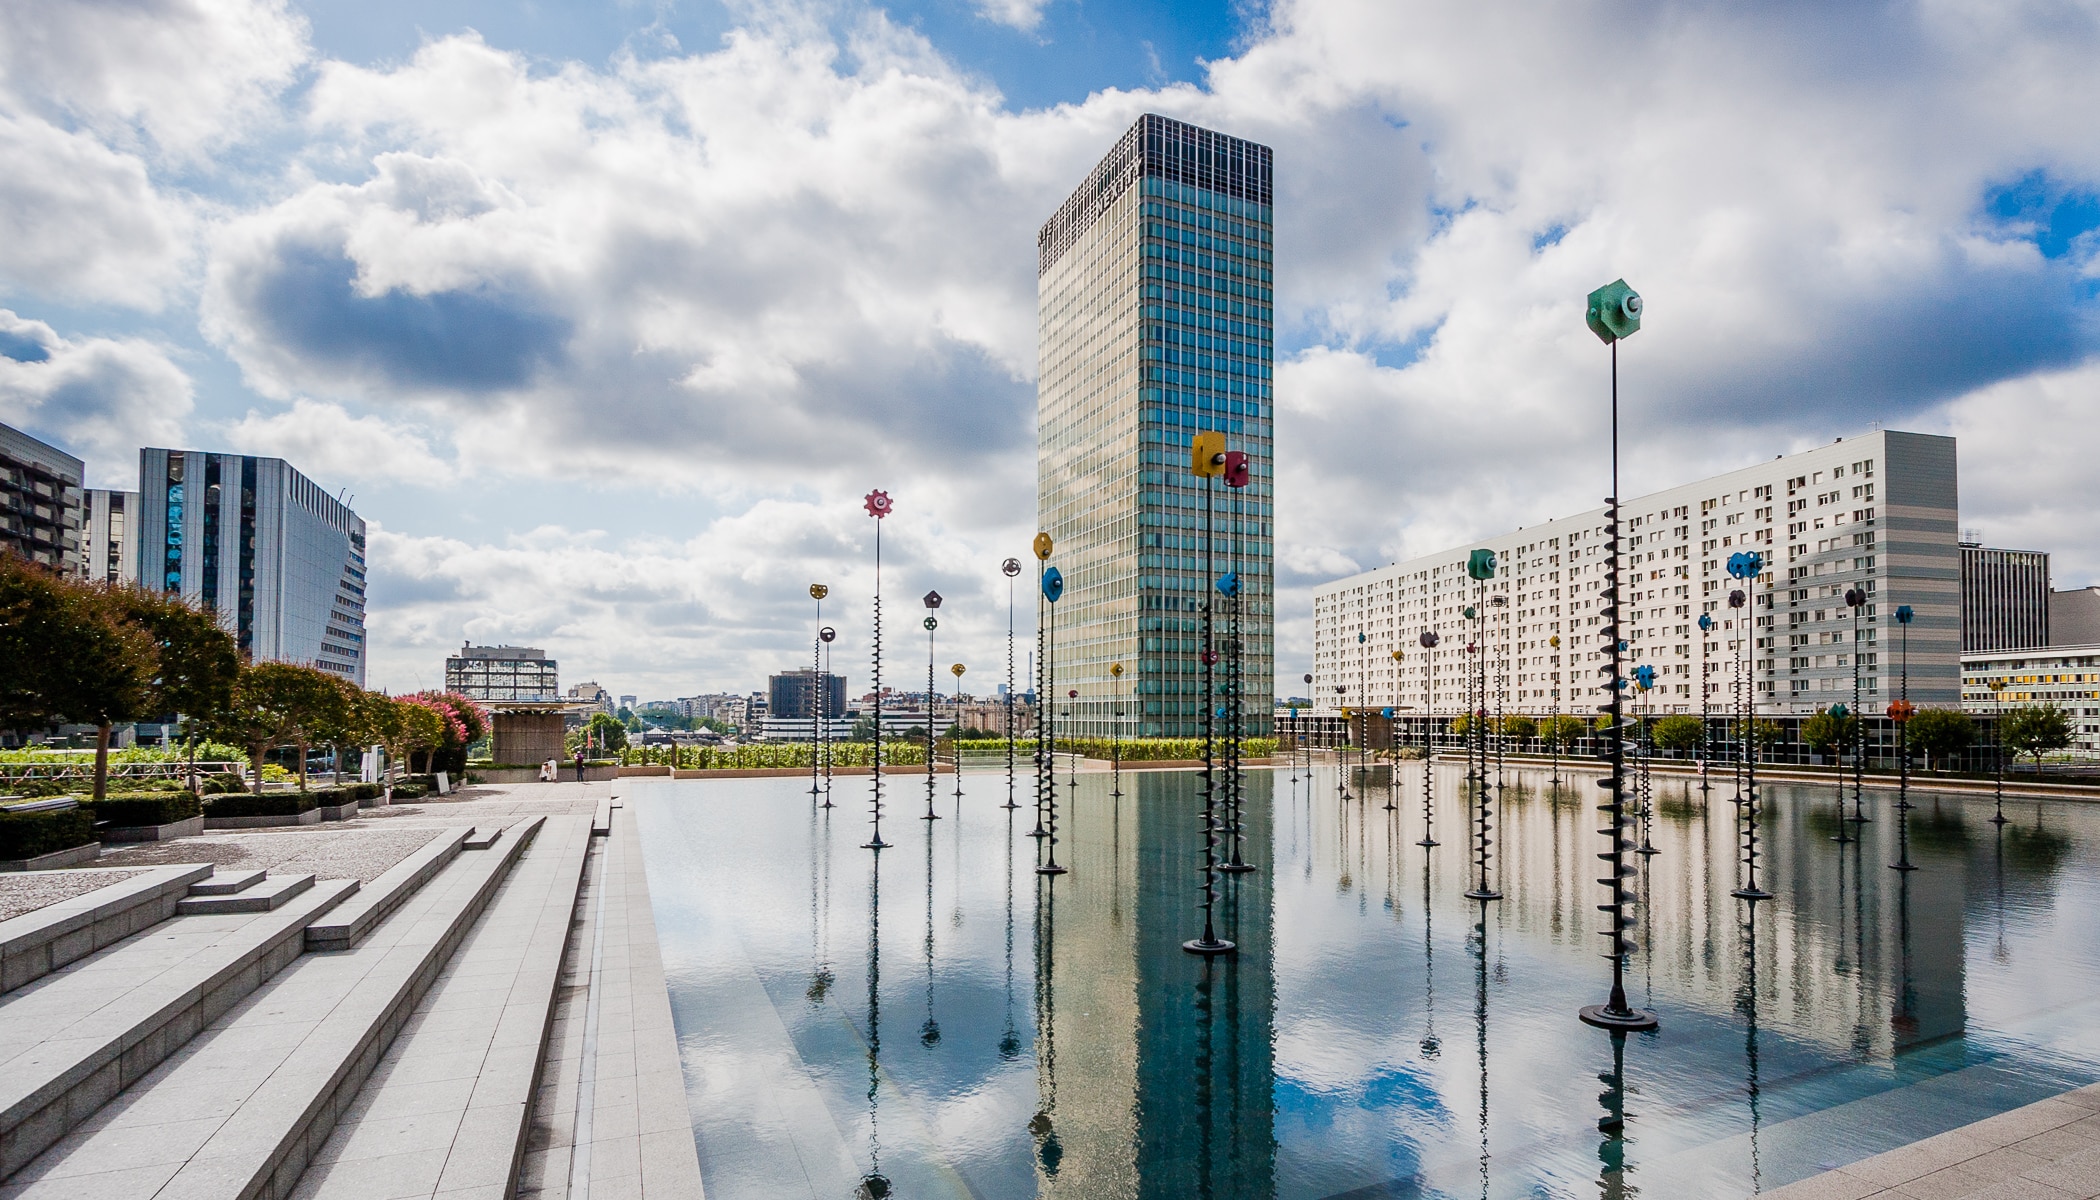
Notice that in the next picture there are still several cars, but even though they are nearby, the lens reduced their size so that they don’t overly distract the viewer. On the contrary, preference is given to the nearby greenery whose size is comparable to the multi-story building in the photo. At the same time, it puts the composition rule of framing into practice – the use of nearby objects to frame the main object of the picture. It pays to look for places like this and as was the case here, go under the tree so the branches above you nicely frame the shot.
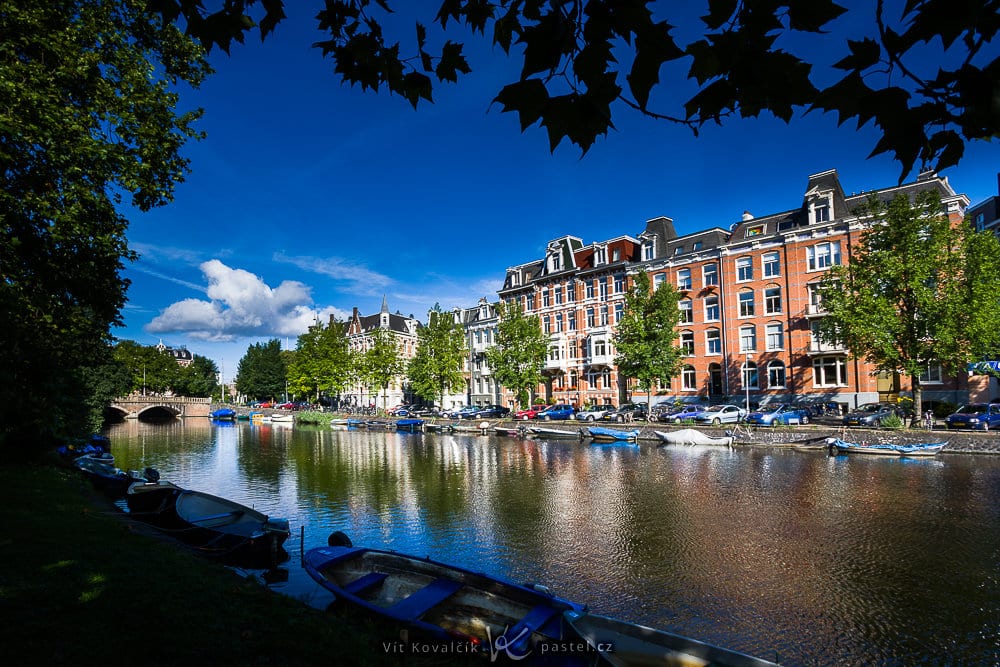
If you are left with no other choice, you can escape from the chaos of the streets by looking up. The natural perspective using an ultra wide-angle lens creates a dramatic view as seen from an ordinary street.
Early morning with no people
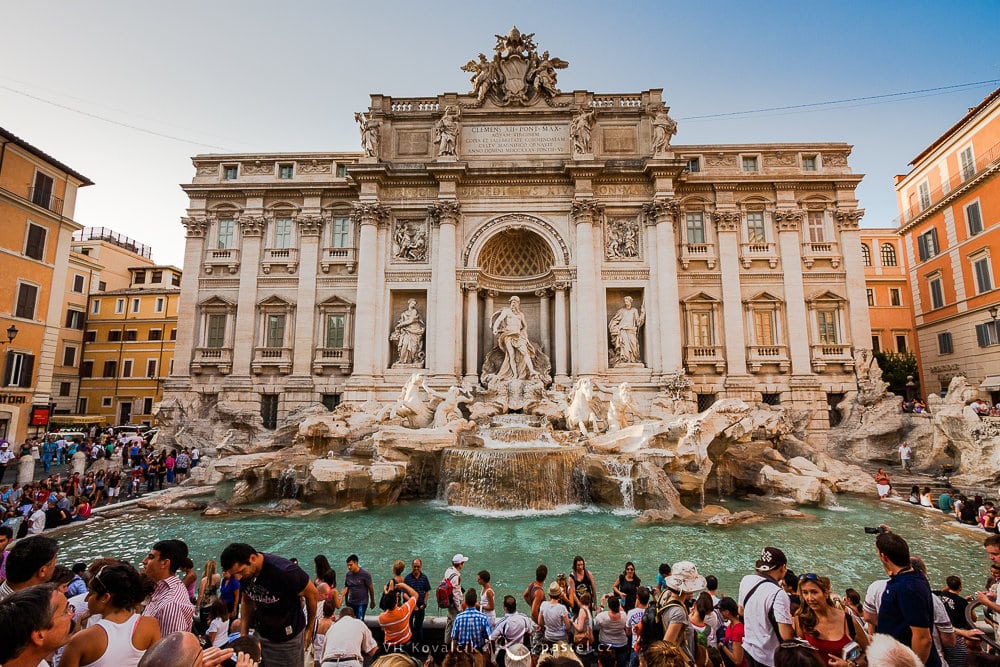
The time of day you take pictures makes a big difference, especially in popular tourist destinations. For instance, the Trevi Fountain in Rome is packed with tourists later in the afternoon.
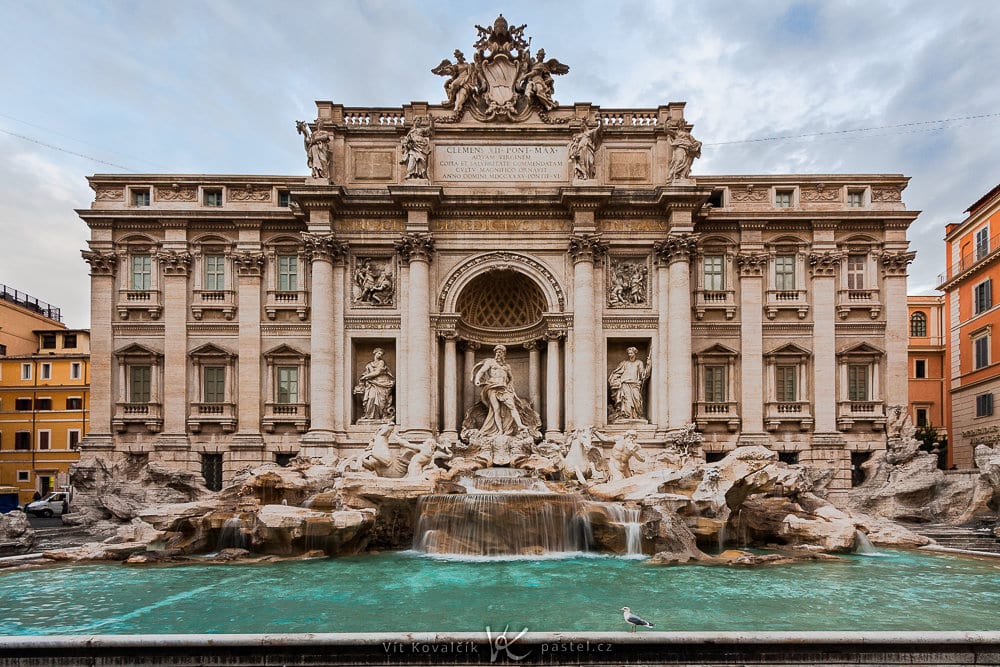
But if you are an early riser, you’ll have the entire place to yourself at 7:30 a.m.:
In some cases, you may be able to shoot during heavy tourist times using a very strong ND filter. An ND filter stretches the exposure time to minutes and makes the people passing by completely disappear. Unfortunately, it won’t work for people that sit in the same spot the whole time.
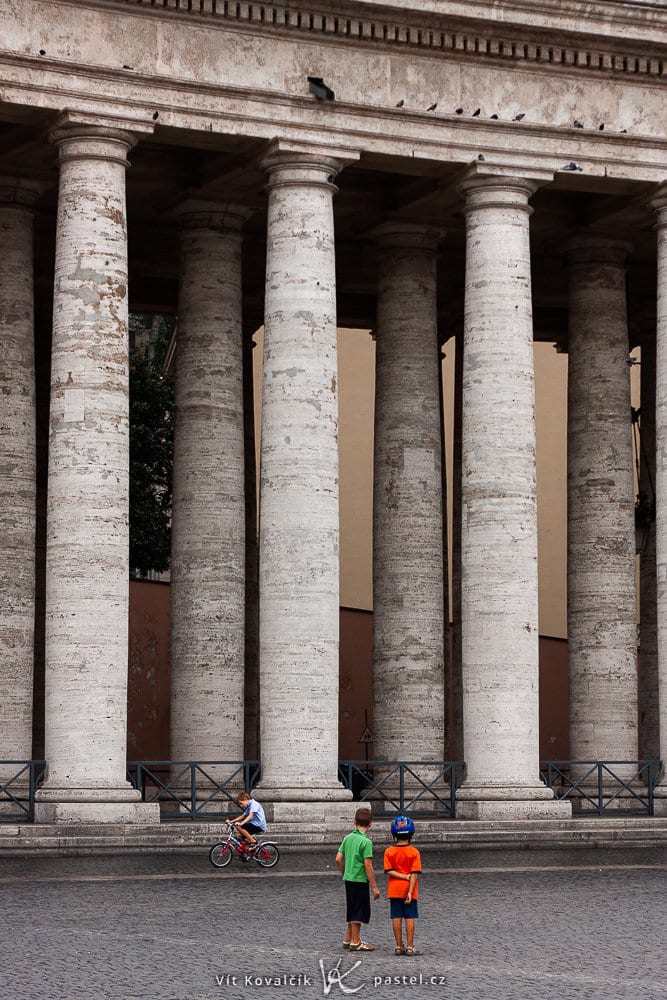
Use people to complete the photo
Sometimes, a human element is desirable in an image. Whether to add an element of interest or for scale. In the photo from the Vatican, we get an idea of the size of the columns, while at the same time, playing with contrast in many senses: the old (and inanimate) architecture with young budding life, as well as the brightly colored t-shirts against an almost monochromatic background.
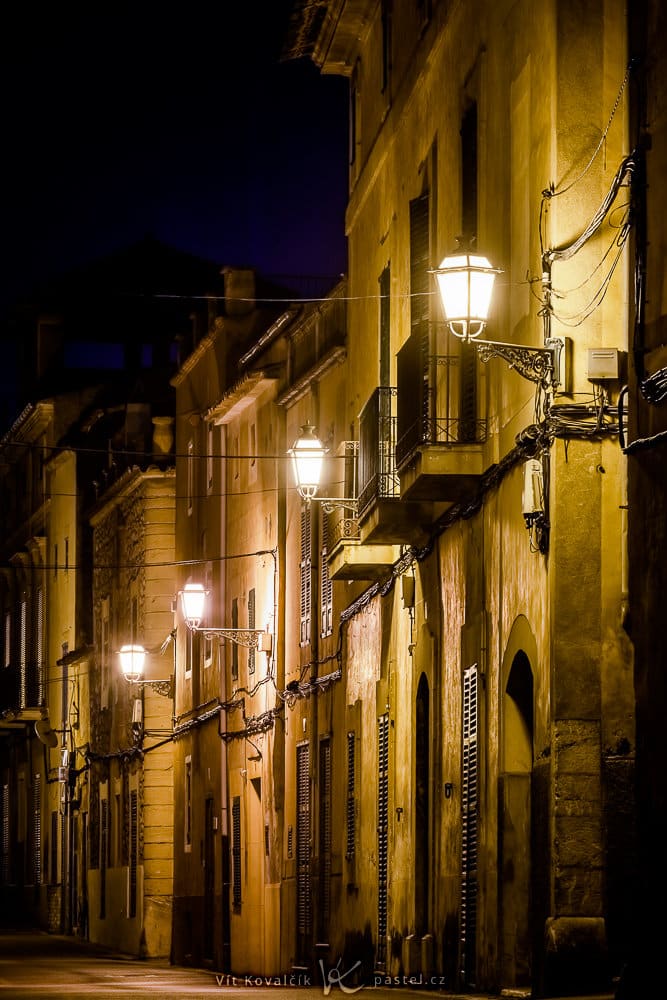
Nighttime transforms a city
Don’t forget about photos taken in the evening and at night. Even places you’ve already visited will take on a whole new look by night. Everyone probably thinks of well-lit monuments and views of the whole city. But even ordinary streets like those we mentioned at the beginning of the article can be photo worthy. At nighttime with artificial lighting, there’s an entirely new way of looking at them.
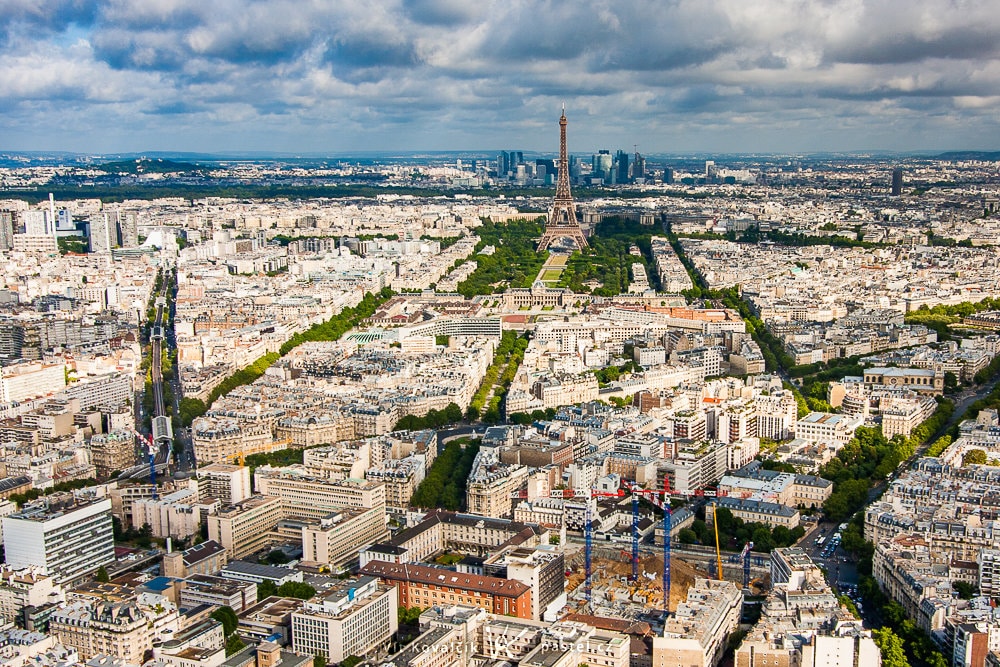
Full-frame shots
Photos of the city shot from above are also effective and may take you to an observation tower or a hill, giving you a view of the city below. Even here the composition rules apply, though it’s not always easy to change where you are shooting from. You can also choose a single point of interest from the entire scene using a telephoto lens.
The first article in a series about architecture photography
City photography includes many subgenres that you can focus on. For this reason, this article is the first of a series that will follow. Hopefully, you’ll find your favorite topic in the series to make use of during your travels.
Brian Binns
Loved the article and look forward to more, as a retired Architect, Traveller and amateur hobbyist photographer. From my early school days, developing and printing in black and white with my father in an attic at the age of 5. Hate to say it but with todays equipment life is so much easier, I miss the anticipation of the shot you took coming to life when developed, but not the frustration of yet another poor picture. The challenge now at 71 is can I remember everything my camera can do and where are the settings. I thought focus stacking was something that happened in warehouse until recently!
Keep up the good work
Vit Kovalcik
Thank you for you kind words, I appreciate that and I also like that you are still interested in photography after all those changes in this field. Don’t worry, I have hard time remembering the rarely used settings too. As you mentioned focus stacking I realized that maybe my camera can do focus bracketing, which I haven’t used yet, but might be handy… and Google says that yes, indeed, there is a setting for that. Now I have something new to learn today and perhaps I will stop doing it manually in those few cases, so thank you :)